How to Make Wire Stars for Christmas Decoration
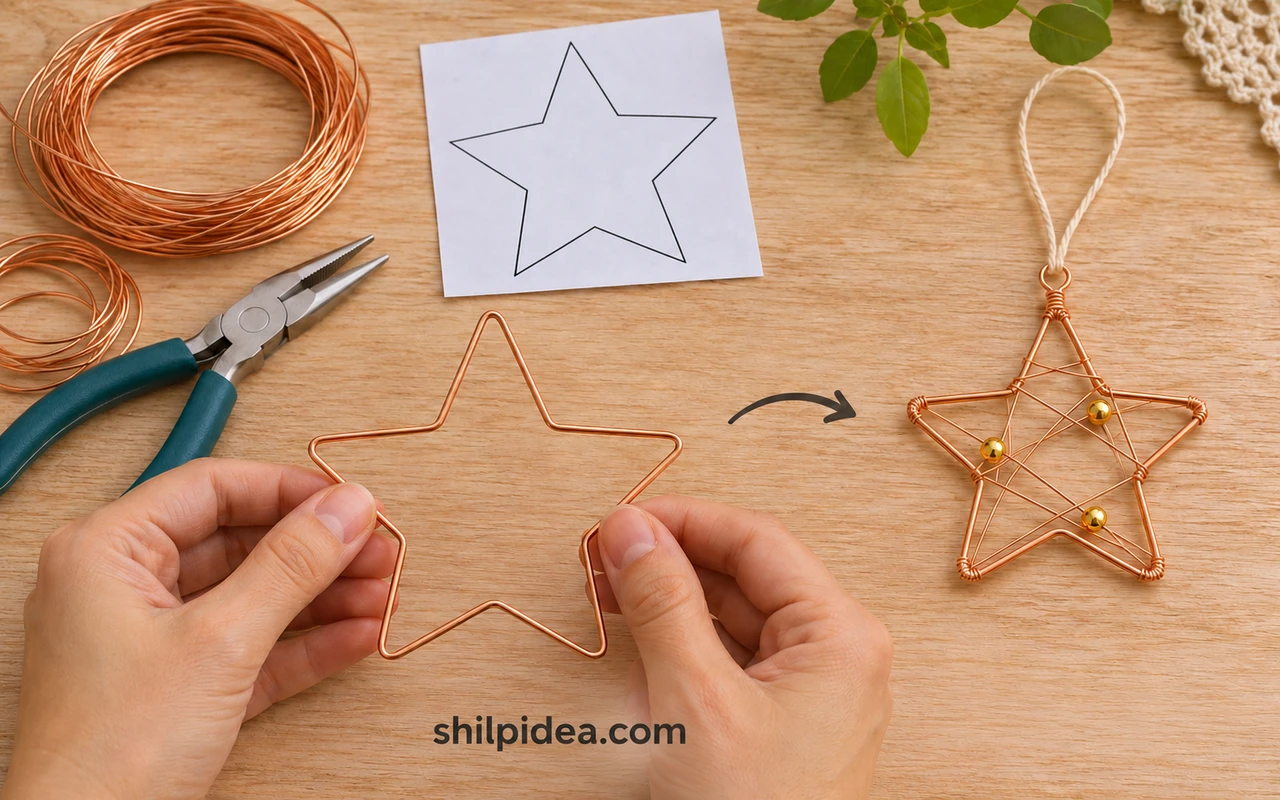
A small wire star adds a warm metallic detail to a Christmas branch, gift or ornament display. This version starts with a simple outline, then adds fine wire and a few beads for a light, open finish.
You will shape the frame with pliers, bind the ends and add a hanging cord. Pair the copper tones with our wooden Christmas trees for a natural display.
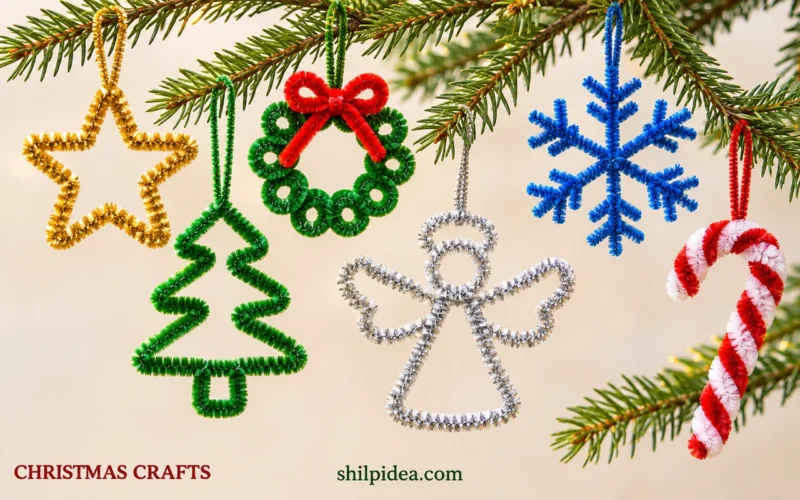
The guide covers one small ornament, followed by two photographic display references. For a softer project using familiar shapes, browse our pipe cleaner ornaments.
Materials and Tools

Choose soft craft wire and tools that can cut and bend it comfortably.
- Frame wire – Soft, bendable copper craft wire about 1 mm in diameter (roughly 18 AWG); measure your template perimeter and add overlap before cutting.
- Wrapping wire – Thin copper craft wire around 0.5 mm (roughly 24 AWG), plus a little extra for the join and optional hanging eye.
- Pliers – Flat- or chain-nose pliers for bends and tucked ends, plus round-nose pliers if making a hanging eye.
- Wire cutters – Cutters rated for the chosen wire diameter; do not use household scissors or hardened steel wire.
- Paper, pencil and ruler – A five-point star outline around 4 inches (10 cm) tall, with string for measuring its perimeter.
- Beads and hanging cord – A few lightweight beads that fit the thin wire, and a short length of cord or narrow ribbon.
- Eye protection and work mat – Safety glasses and a protected surface to contain clipped wire pieces.
Precautions Before You Begin
Keep sharp ends and small supplies under control as you work.
- Wear eye protection when clipping wire and cover the offcut with your free hand or a cloth so it cannot fly away.
- Keep wire ends pointed away from faces; collect every clipped piece before clearing the table.
- Adults should handle cutting and tight plier work; keep loose beads and wire scraps away from young children and pets.
- Use soft craft wire rather than springy, hardened or unknown scrap wire. Stop if a tool needs excessive force.
- Make this a lightweight indoor decoration. Keep it away from flames, electrical contacts and children’s play areas.
1. Plan the Star and Cut the Frame Wire

- Draw the outline – Draw or print a simple five-point star about 4 inches (10 cm) tall. Use a continuous outer outline with five inward corners; a crossing pentagram is a different shape.
- Measure the wire – Lay string along all ten edges of your outline, then add about 1 inch (2.5 cm) for the overlap. Cut that length of soft frame wire; keep the cut end pointed away from you.
2. Bend the Five Points and Inner Corners
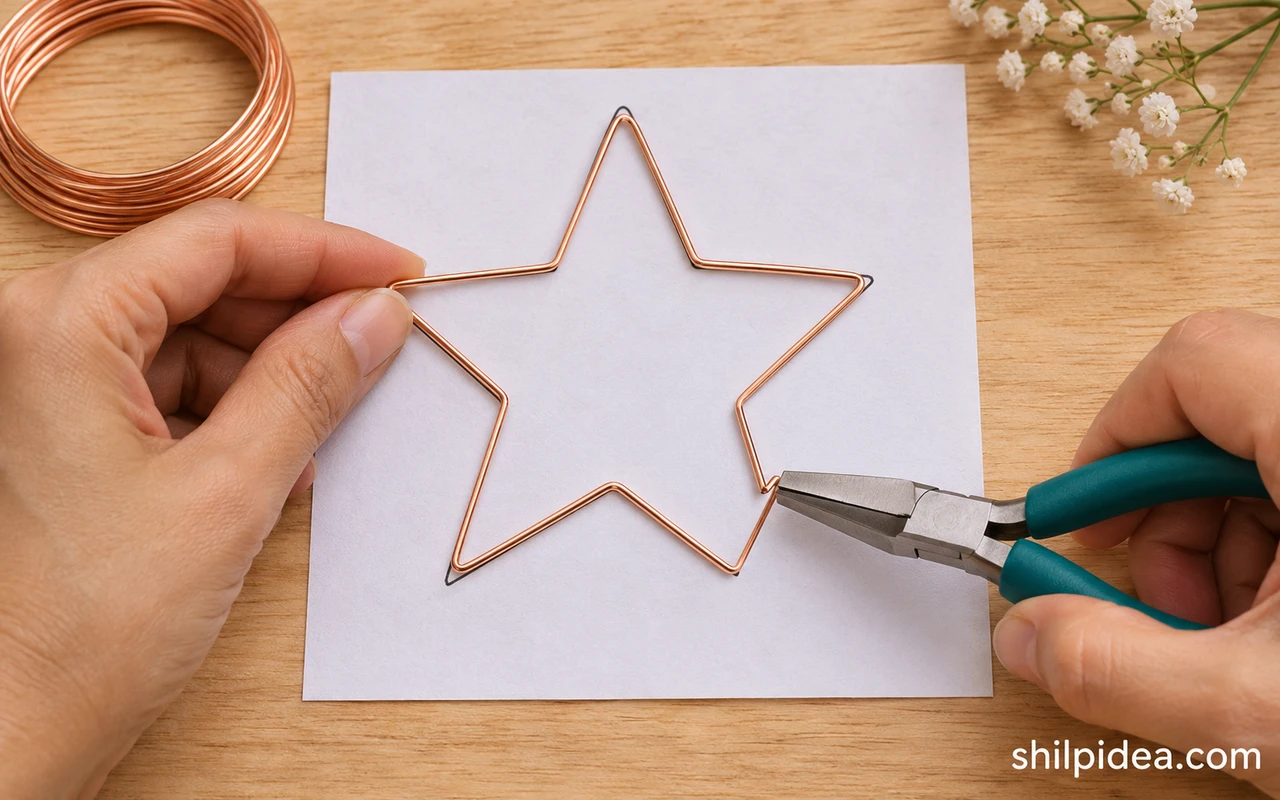
- Choose a starting edge – Begin halfway along a straight side so the eventual join sits away from a pointed tip. Hold the wire against the paper and mark the first corner with your thumbnail or a small pencil mark.
- Work around the shape – Use flat-nose pliers to bend each outer point, then the next inward corner. Follow the outline in order, checking the wire against the paper after every bend instead of trying to form all five points at once.
- Keep it flat – Set the frame on the table and gently adjust any twist. Aim for a recognizable, balanced star rather than perfect machine-made angles; repeatedly bending one spot can weaken the wire.
3. Bind the Join and Prepare the Hanger

- Overlap the frame ends – Bring the starting and finishing ends alongside each other on the straight edge. Keep roughly 1/2 inch (1.3 cm) of overlap, trimming excess only after the outline fits your template.
- Wrap the join – Anchor a short piece of fine wire around both overlapping ends and make several close turns. Tighten with pliers, trim the tail and press it against the frame so neither end sticks outward.
- Prepare a hanging point – You can tie the final cord directly around the top point. For the small eye shown in the wrapped version, bend a separate wire loop with round-nose pliers and bind its two legs firmly to that point.
4. Add Fine Wire and Optional Beads
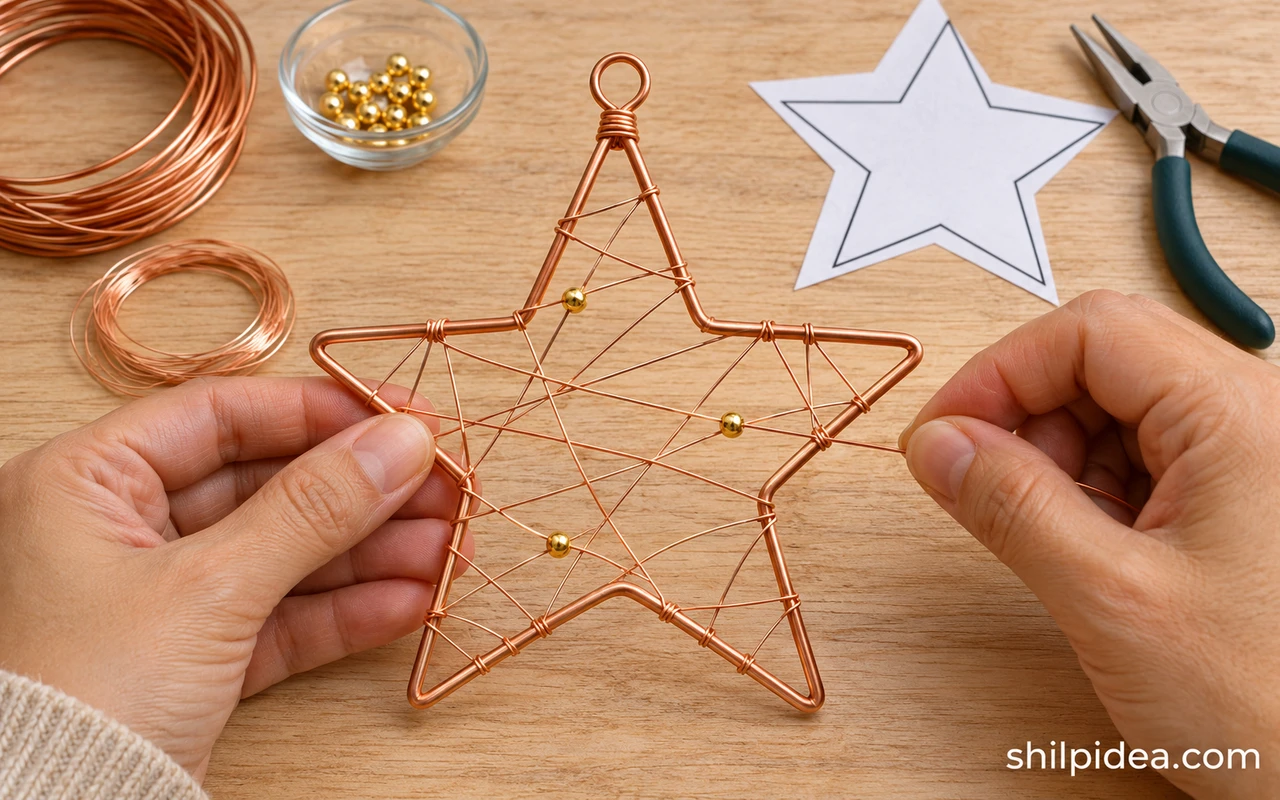
- Anchor the thin wire – Cut a manageable length of wrapping wire, around 3 feet (90 cm) to start. Wind one end around the frame several times, then press the short tail flat with pliers.
- Cross the center – Take the wire across the opening, loop it around another part of the frame and change direction. Keep enough tension to hold the spans in place without pulling the outline inward.
- Place a few beads – Check that the bead holes fit your thin wire, then slide a bead onto selected spans as you go. Stop before the center becomes crowded; secure the final end with close wraps and tuck the trimmed tail.
5. Check the Edges and Hang the Star

- Inspect both sides – Look closely at every cut end and feel around the frame carefully with a folded cloth. If anything catches, tuck it in with pliers. Check that the seam and any separate hanging eye cannot slide loose.
- Attach the cord – Tie a short loop of cord through the hanging eye or around the top point. Give it a gentle pull over the worktable, then hang the light ornament from a branch that can support it.
Adjustments for a Neater Wire Star
If the points look uneven, place the frame over your paper outline and make small corrections with pliers. If the center pulls inward as you wrap, loosen that span instead of forcing the outline back against tight wire. Keep beads sparse until the frame holds its shape.
The original article mentioned a board-and-nail jig. That can help when making repeated shapes, but this version uses a paper outline and pliers so no hammering is needed. For a different wrapped finish, see Sew Historically’s wire star tutorial. Welcome To Nana’s beaded star guide also explains shaping a frame using a cookie-cutter outline or nail jig.
More Wire Star Display Ideas
These two reference photos show different treatments of an open metal star. They are inspiration for finishes and placement; their lighting and three-dimensional construction are separate from the small ornament made above.
An Open Star with Small Lights

A clear outline can look striking without a dense center. This reference shows a strand of small lights following the star’s edges. For a lighted display, choose a purpose-made light set and suitable frame; keep the small beaded ornament above as a separate, unpowered project.
A Sculptural Star for Tabletop Inspiration

This dimensional metal star offers a different way to think about holiday displays: repeated points and open spaces create depth instead of a flat silhouette. Its rigid rods and fixed joints require another construction method. Use it as a styling reference, not a result promised by the plier-bent ornament guide.
More Handmade Christmas Projects to Try
Build a small group of decorations around your wire stars rather than filling every branch with the same shape. The projects below bring in soft textures, paper details and natural materials. Choose one that suits the supplies you already have, or use a shared color to connect ornaments, stocking tags and a nearby mantel display.
- Pipe Cleaner Christmas Ornaments with Simple Shapes
- Popsicle Stick Christmas Ornaments for Kids
- Handmade Christmas Stocking Name Tags
- Dried Orange Garlands for Christmas Decor
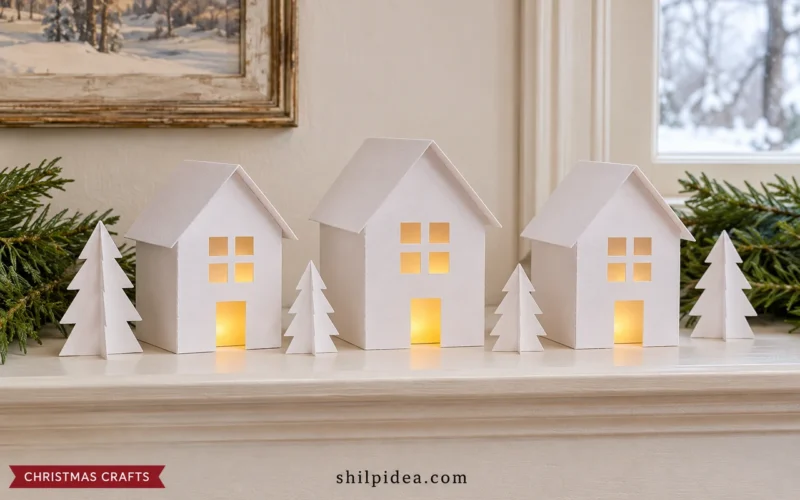
- Paper Christmas Villages for Mantel Displays
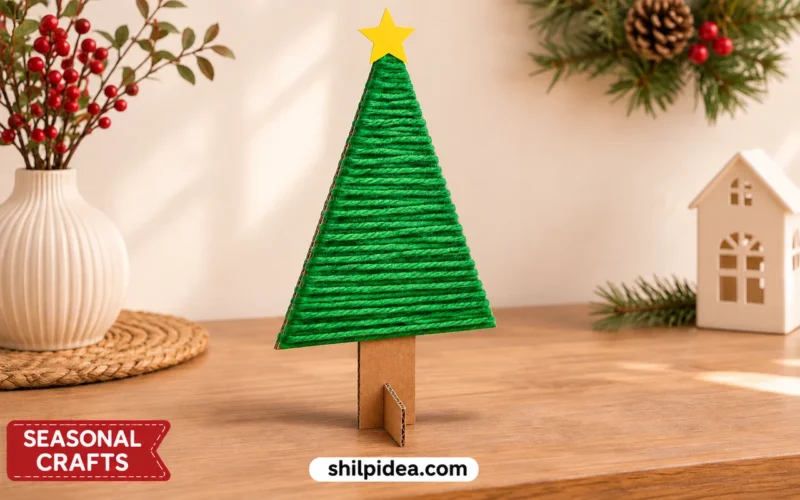
- Wooden Christmas Trees Using Sticks and Pallets
Would you leave your star as a plain copper outline or add beads and fine wire? Share your decorating plans in the comments. If you have worked with craft wire before, we would also love to hear which bending or finishing tips helped you.


































0 Comments