18 Pipe Cleaner Craft Ideas with Colorful Shapes
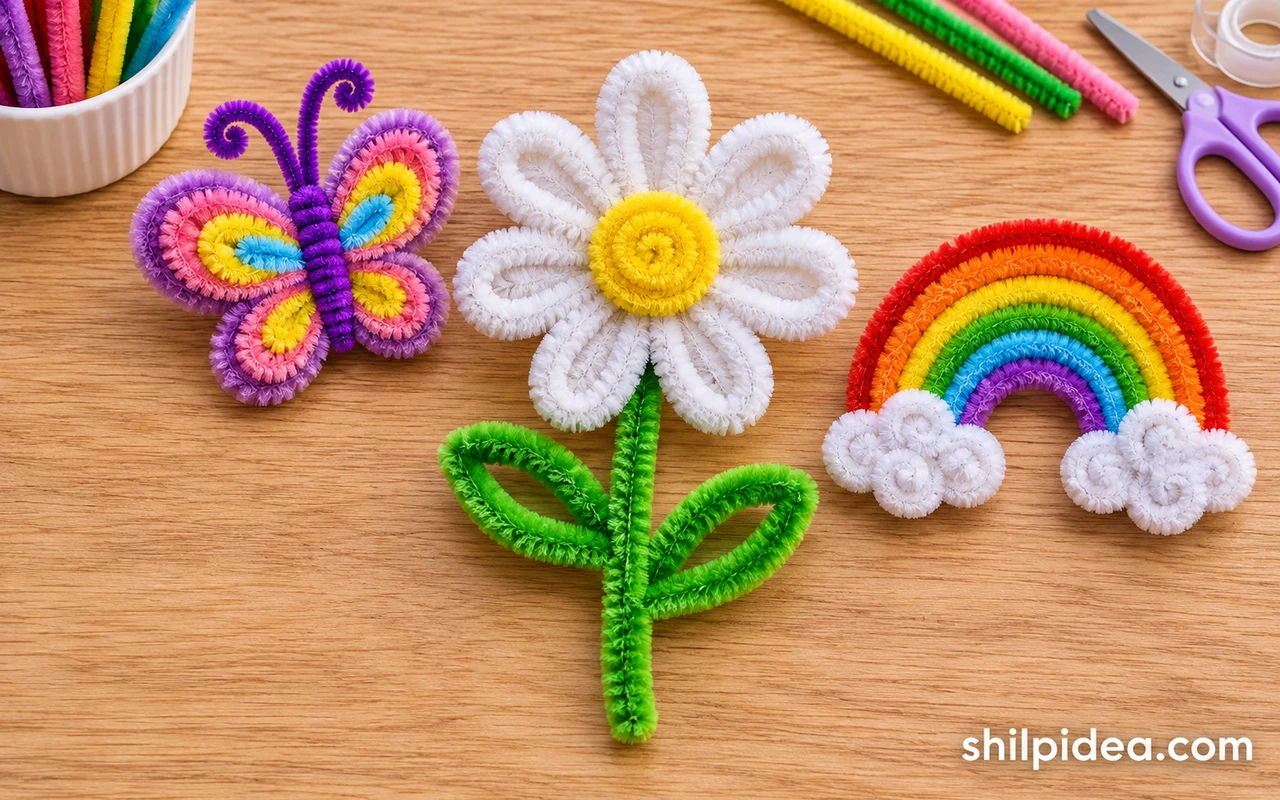
Pipe cleaner crafts start with a few bends and can turn into flowers, animals, or small decorations. Set out a short selection of colors so each shape is easy to plan.
Choose a shape you can make in one sitting, then repeat a color across a small set. For a winter display, fuzzy ornaments sit well beside paper bag snowflakes.
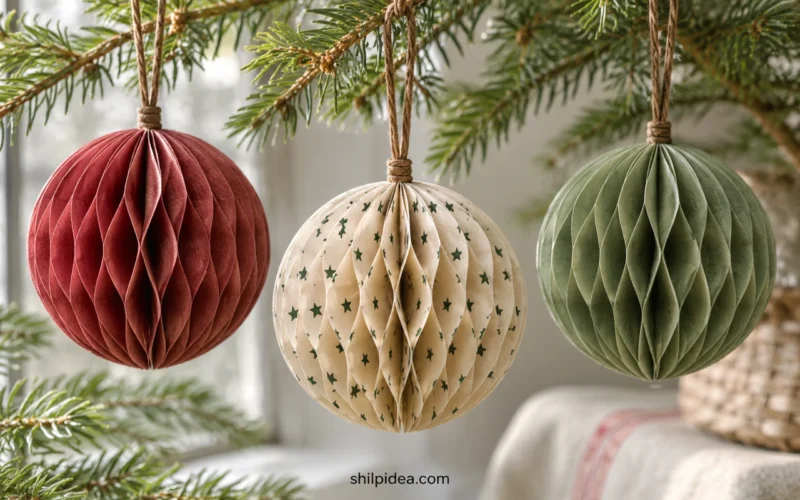
These ideas use loops, coils, and twists to make different outlines. Start with one simple shape, then use the same colors in paper honeycomb ornaments if you want a second craft for the display.
1. Thread Beads onto a Rainbow

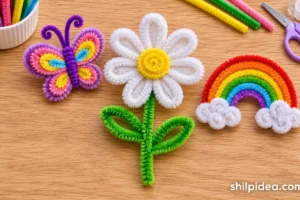
Choose a few colors and thread each set onto its own stem before bending the arcs. Make the outer pieces a little longer than the inner ones so they can sit side by side. The beads make the colors easy to separate. Leave the ends free until you’ve checked the shape, then tuck them into the cloud base.
2. Make a Small Flower Bouquet

Shape several blossoms in different colors and keep the green stems roughly the same height. A short bouquet is easier to stand in a lightweight cup. Start with one flower shape you can repeat, then add a taller one as the center. Spread the finished blooms out before tying the stems so the petals are easy to see.
3. Bend a Dragonfly with Wide Wings

Make the two sides of the wings similar in width before winding the body around the center. A contrasting stem makes it easier to tell the body from the wing loops. Set the finished shape on a bright sheet of paper to check the outline. Adjust the loops by hand until the two sides feel balanced.
4. Add a Heart to a Pencil

Make the heart first and use the extra stem below it as a short coil around the pencil. Press the center of the heart down gently so it has a clear dip. Try the pencil in your hand before tightening the coil, leaving enough space around the grip and keeping the tip of the wire tucked away.
5. Shape a Bunny with Long Ears

Start with the ears and keep the two loops open so the rabbit silhouette is recognizable. Use a short piece to make a smaller body and put the face on after checking the proportions. Try it in a single color, then make a second one with contrasting ears so the pair looks different on a shelf.
6. Give a Spider Bendable Legs

Lay the stems out in pairs before fastening them under the body. Bend the legs at different angles, then adjust the ends so the spider stands on a flat surface. Bright stems make it playful for a seasonal display. Keep the body a single dark color if you want the shape to read from farther away.
7. Make a Beaded Snowflake Ornament
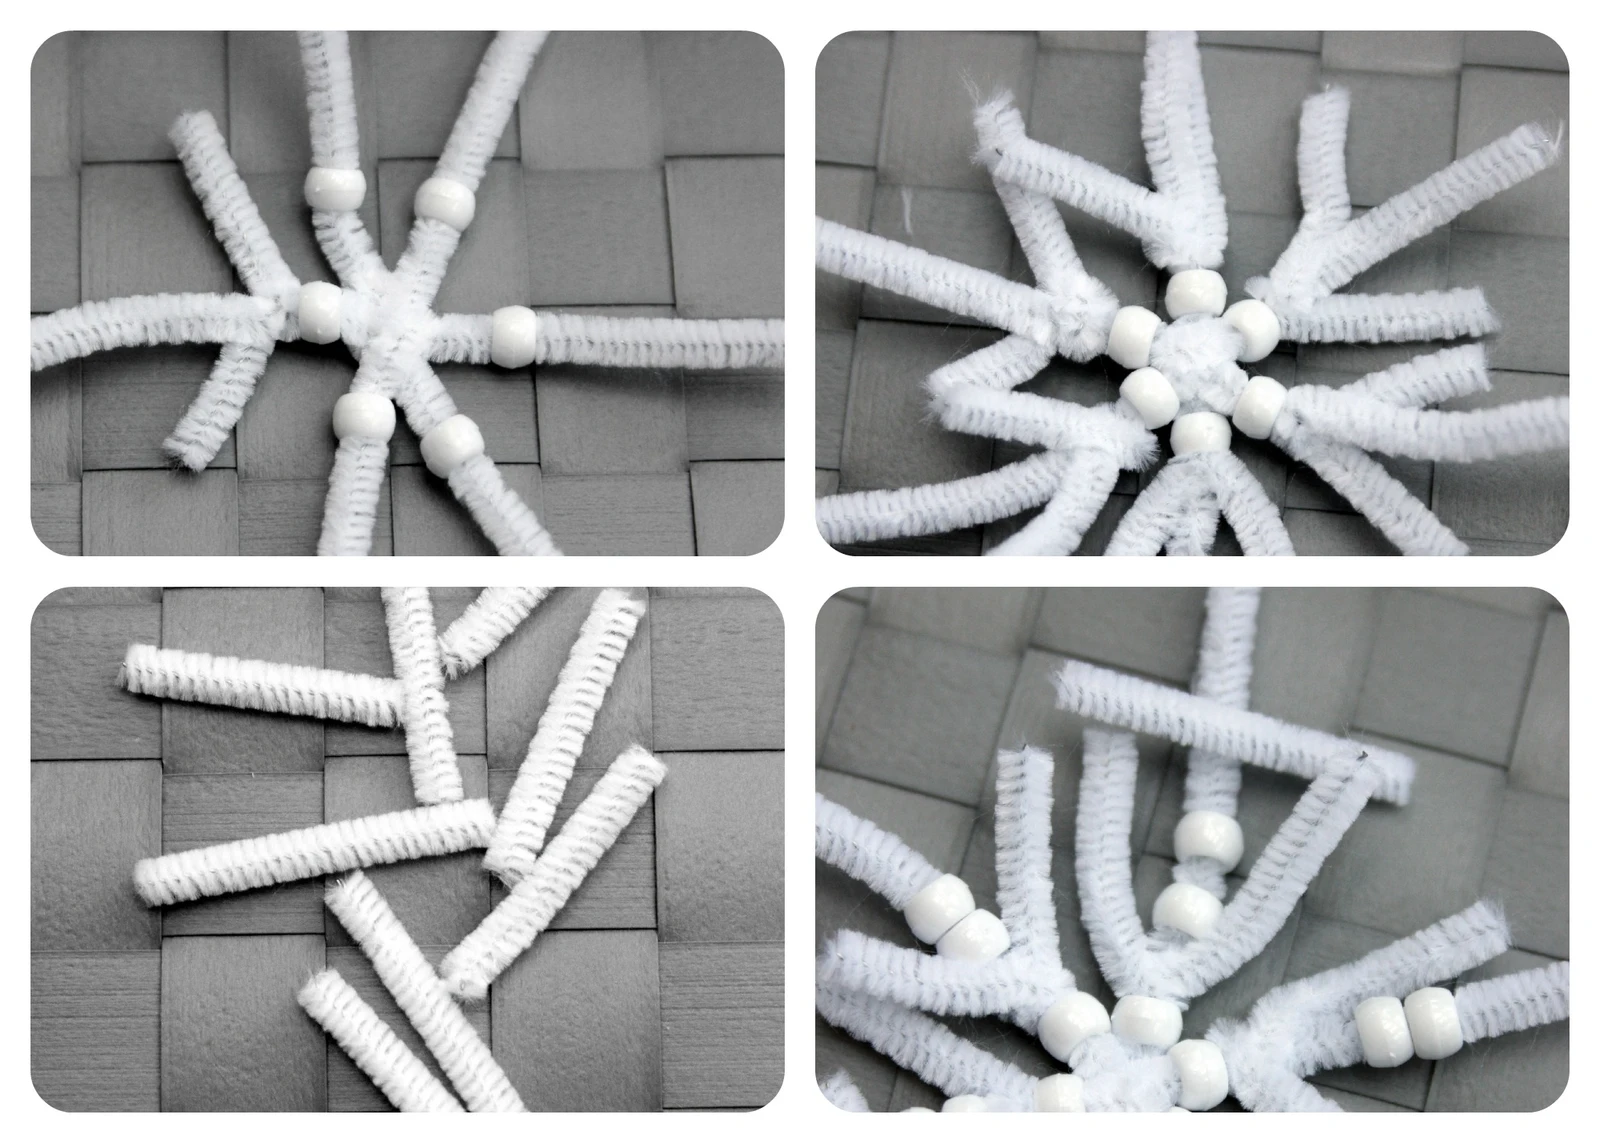
Start with evenly spaced arms and choose one bead pattern to repeat on each. Leave a little stem bare at the outside so you can bend the ends back to hold the beads. A pale thread or ribbon can turn it into a hanging decoration. Keep the arms short if the finished piece needs to fit between other ornaments. For another small winter ornament, try paper bag snowflakes.
8. Add Chenille Details to a Pom-Pom Caterpillar

Let the round pom-poms make the body, then add a short piece of chenille stem where the face needs detail. Line up the colors before fastening anything so the head is easy to distinguish. A leaf-shaped backing makes the finished craft easier to move. Keep the fuzzy accents short so they don’t hide the little body segments.
9. Build an Octopus with Curled Ends

Shape the legs before you attach them, so there’s room to see each curve. Change the direction of a few curls to give the figure movement. Set the body in the center and fan the legs out on a flat surface. If it tips, loosen the tightest curl and adjust the legs that are touching the table.
10. Make a Little Pumpkin Pencil Topper

A short orange coil gives the pumpkin some volume without making the pencil top-heavy. Add the green detail after the coil fits so you can turn it toward the front. Use it as a place marker beside a notebook or as part of a seasonal pencil set. Keep the coil above the area you hold when writing.
11. Make a Butterfly with Matching Wing Loops

Bend each wing loop around your fingers and check the two sides against each other. A second color in the center helps the wings stand apart from the body. Let the upper loops be a little larger than the lower ones, then adjust the ends at the top so the antennae don’t get lost against the wings.
12. Bend Pretend Glasses into Bright Shapes

Make both rims before joining them so you can keep the openings similar in size. A short bridge gives the two sides a connection, and the ends can bend outward to suggest arms. Try stars or circles for a paper display or photo prop. Keep the wire ends folded back and use them for decoration rather than regular wear.
13. Twist Simple Shapes for Christmas Ornaments

Pick a shape with a recognizable outline and use the stem to trace its edges. A star or small tree can be colorful without needing much detail. Leave an extra bend at the top for a loop. Hang it separately from larger decorations so the small outline is still visible against the tree or gift wrap. You can pair them with paper honeycomb ornaments in the same colors.
14. Put a Bright Shape on a Fairy Wand

Make a small topper first and hold it against the wand before wrapping the stem around it. Use a light shape so the piece is easy to display in a jar of finished crafts. A little contrast at the center makes the outline clearer. Leave the handle plain to give the brighter colors room to stand out.
15. Turn a Butterfly into a Display Magnet

Make the butterfly light and fairly flat so it can rest against a magnetic display board. Spread the wings before attaching the backing and leave a little space around the body so it can be lifted easily. Test whether it sits evenly. Display it with a photo or note rather than using it to hold several sheets. For a child-friendly display, an adult can use a fixed backing or skip the magnet. The CPSC magnet safety guidance covers ingestion hazards.
16. Shape a Shamrock with Green Beads

Thread the beads onto the stem while it is straight. Bend the stem into three rounded lobes, leaving a short section below them for the stalk. One bead color makes the outline easy to read, while alternating shades adds interest. Check that the beads can’t slip off when you lift the shape, then tuck the end back.
17. Give Spring Pencils Their Own Shapes

Choose a couple of spring shapes and give each its own color combination. Keep the topper short so the pencil is still comfortable to use. Shape it beside the pencil first, then wrap the attachment around the top. A small set of these is easy to display in a cup with the decorations facing different directions.
18. Add Spring Shapes to a Display Board

Make a small group of spring figures with one accent color running through them. Arrange them on the board before settling on the order. Leaving some space between the pieces makes the fuzzy outlines easier to see. Use the display as a place to show off the finished crafts beside seasonal cards or photos. For a larger display, see these family photo wall ideas.
More Small Craft Projects to Try
Once you’ve found a shape you like, make a few variations and see how they look together. A second material can give the finished display more texture. Try one of these paper or fabric projects when you want to make a different kind of small piece for the same corner.
- Paper Bag Snowflakes for Christmas
- Recycled Paper Honeycomb Christmas Ornaments
- Framed Wall Art from Fabric Samples
- Staircase Photo Walls for Family Memories
Which shape would you make first? Tell us in the comments what colors you’d use and whether you’d hang it up or put it on a display board.

















0 Comments