26 Garden Stone Arrangement Ideas for Natural Texture
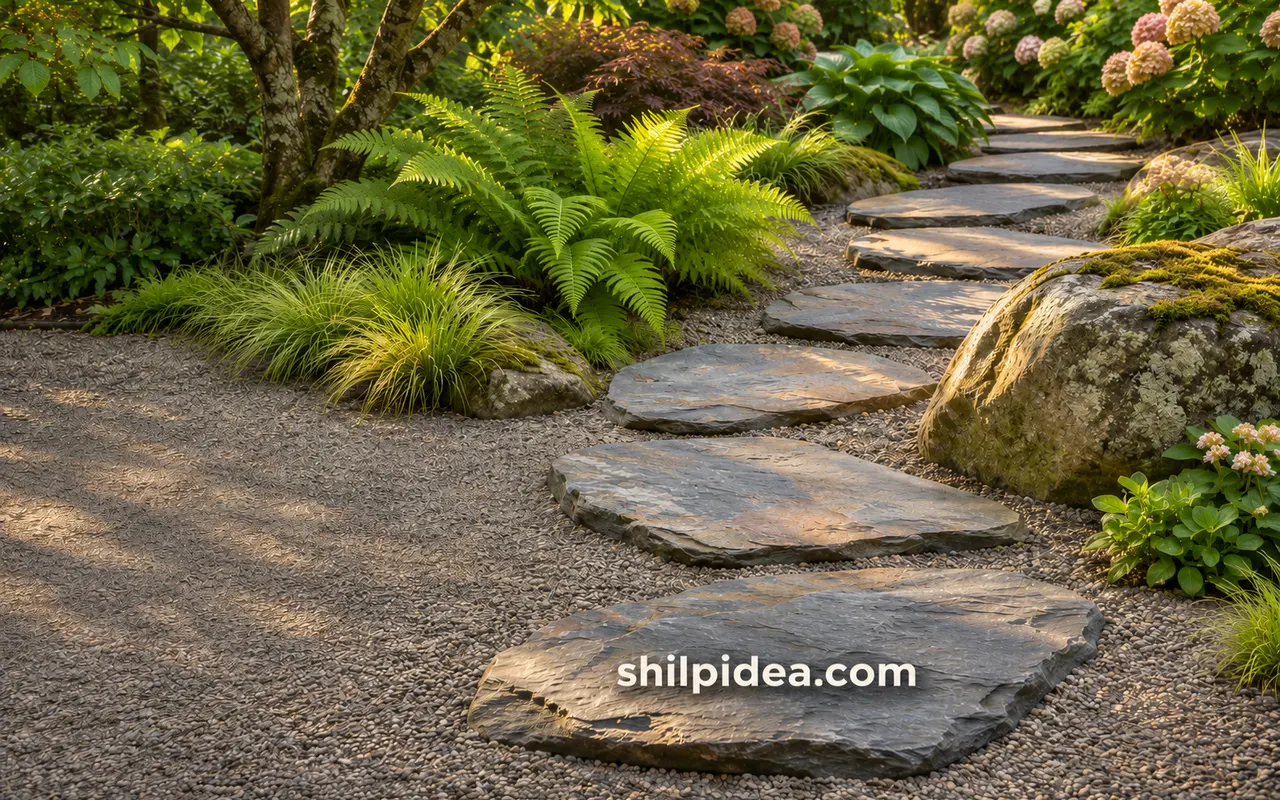
A garden stone arrangement can give a path direction or bring out the shape of a plant. Start with one spot where texture will make a difference.
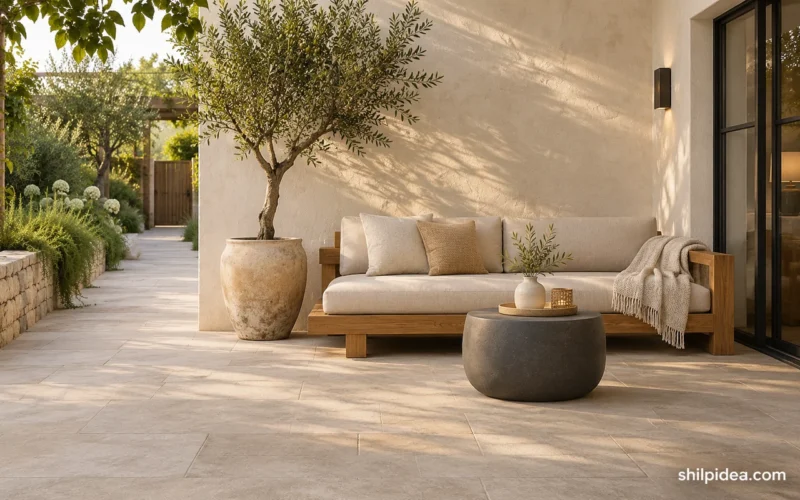
Flat stone suits a route, while rougher pieces look at home in a planting bed. These small patio layouts can help you plan the edges around a seating area.
The examples range from narrow pebble strips to loose groups of boulders. Use these garden decor ideas to pick a planter or another detail that works with the stone.
1. Carry a Flat Stone Line Past the Pond

Borrow the clear line in this Japanese garden and run broad stones along the planted side of a pond. Keep the walking surface on firm ground, above the splash zone, and leave space for low foliage on the water side. Mark the route with sticks first so you can see where it meets a patio or another path.
2. Space Stepping Stones Through Gravel

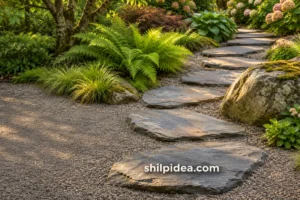
Try one row of broad slabs through a gravel bed. Set the stones out first and walk the route at your usual pace to find comfortable spacing. Seat the slabs firmly and keep their tops even with the surrounding surface. Let the gravel show at the sides where it can contrast with the paving without drifting underfoot.
3. Run a Pebble Border Below a Planted Wall

Use a narrow strip of rounded pebbles where a planted wall meets the ground. The strip gives small leaves and trailing stems a simple background. Keep it outside the walking line and define the outside edge so pebbles stay put. Choose a color already present in the wall to tie the two surfaces together.
4. Give a Group of Boulders Room to Breathe

Use an open patch of gravel to give a group of rocks a readable shape. Put the largest stone where it can be seen from the path and tuck one or two smaller stones beside it. Leave visible gaps between them. Lay out the group with cardboard first if you are ordering stones that need professional placement.
5. Set Broad Rocks Around a Pond View

Use the pond photo as a guide for grouping a few substantial rocks at the points you see from a seat or window. Set the stones on firm ground and leave gaps for plants to droop over the edge. Repeat a similar gray tone farther back in the bed so the pond feels connected to the rest of the garden.
6. Repeat Rough Stone Around a Small Fountain

Pick out one rough stone color from the fountain wall and repeat it at the foot of the planter nearby. Two or three low stones can carry the same texture into the planting without crowding the water. Keep space around the basin for cleaning. Use the photograph as a styling reference and get help for changes to the fountain or pond structure.
7. Let Three Boulders Break Up an Open Bed

Arrange an uneven group of boulders beside an open planting bed. Choose one dominant stone, one lower neighbor, and a third small piece partly tucked into planting. Offset the group so it has a clear front from the path. Use a cardboard outline before ordering large stone to see how much ground the whole group will occupy.
8. Repeat Flat Stone Around a Small Water Feature

Pick one stone shape and repeat it in the dry area beside a pond or basin. A few flat pieces give the garden a link to the water feature without surrounding it in a uniform ring. Use a stable path across solid ground; take the bridge photo as a material reference when planning a small garden.
9. Leave Green Seams Between Rough Cobbles

Spare gaps between cobbles look at home beside a bed or an occasional garden route. Reserve green seams for areas away from a heavily used path and keep cobble tops steady and even. Let low growth soften the outer rows. For the main route, choose firm level paving that suits everyone who uses the garden.
10. Use Open Gravel Space Around a Stone Group

Borrow the relationship between open gravel and a few large stones in this dry garden. Place a small group off-center in a defined bed and leave the rest simple. A low plant at one edge can soften the outline. See the grouping from a window or bench before adding anything to the open area.
11. Frame a Broad Stone Landing With Foliage

Borrow the clear patch of paving framed by foliage in the photo. Set one broad, level stone landing where a path changes direction or reaches a quiet seat. Let foliage soften the edges while keeping the main surface clear underfoot. Choose a few low plants so the lines of the stone remain easy to see from the path.
12. Set a Stone Lantern Just off a Gravel Path

Set a small stone ornament on a stable base just beyond the gravel path. Try it near a turn where it will come into view as you walk. Keep the path itself clear and check the surrounding edges after rain. A small patch of lower foliage will soften the base while leaving the ornament easy to see.
13. Frame Succulents With a Narrow Stone Border

Pick a small range of stones for a border around a sunny succulent bed. Put the largest pieces near the corners where they give the outline shape. Leave gravel between the border and the plants so the leaves still stand out. Choose plants suited to your rainfall, and keep their crowns above any gravel you add.
14. Set Round Pavers Among Spiky Plants

Repeat a few round pads through a gravel bed to contrast with pointed leaves. Keep the pads large enough for a full foot and set each one steady before adding gravel. Leave a generous gap between the route and any plant with stiff or sharp tips. A curved path can give the plants room to fill out.
15. Space Succulent Rosettes Between Stones

Use the openings between the stones to give each rosette its own patch. Place the largest stones first and keep taller plants toward the back, where they will cast less shade over the small ones. Choose succulent varieties suited to your weather and drainage. Leave bare stone visible between the plants so their shapes remain distinct as they grow.
16. Use a Low Rock Pocket for Small Succulents

Make a shallow planting pocket between two flat rocks, leaving the front edge open so the leaves can spill forward. Choose small succulents suited to the site and use a freely draining planting mix. Keep gravel clear of the plant crowns. Repeat the idea in just one or two places so the stone remains visible through the bed.
17. Set Green Planting Back From Stone Steps

The foliage beside these stone steps makes the level change feel part of the garden. Use low plants to soften the outside edge while keeping the treads uncovered and easy to see. Look at the route from below as well as above. If the slope needs new steps, have a qualified installer plan stable footing and consistent rises.
18. Repeat a Pond Wall Color in the Border

Pull a muted color from an existing pond wall into one border or pot stand nearby. A small echo of the same stone can connect the planted and paved parts of the garden. Use the wall as a visual reference and keep changes out of the waterline. Have a qualified installer assess any wall that holds back soil or water.
19. Let Flowers Soften the Top of a Low Wall

Let a few flowers spill over a stone garden wall while keeping others upright behind them. Choose a spreading plant that suits the exposure and leave a few clear stretches of stone between flowers. This makes each cluster easier to see. Trim back growth that reaches the walkway and leave plenty of access for weeding or watering.
20. Give Raked Gravel a Backdrop of Autumn Leaves

Use a small gravel patch beside a bed with autumn color. Keep a portion open and rake simple lines across it so the foliage and quiet stone texture can both stand out. Put the raked section outside your walking route. Try one short strip first to see how the gravel responds to a rake and how often leaves collect.
21. Curve a Line of Flat Stones Across Lawn

Borrow the sweep of flat stones in the photo for a lawn with room for a gentle turn. Test the curve with a hose or rope before placing stones, then check where you naturally step. Seat each piece firmly and keep the surface even. A clear route makes the curve read as part of the garden instead of scattered decoration.
22. Widen the Stone Landing at the Foot of Steps

Use two or three broad stones to create an open landing where a garden path meets steps. Aim for a level, stable spot with room to pause or turn. Keep plants and ornaments beyond the edges. Repeat the same stone tone at the top of the steps so the two areas look connected even where the stone sizes vary.
23. Frame a Narrow Garden Route With Matching Stone

Repeat the same stone texture along both sides of a narrow garden route. Let taller greenery sit back from the walls and keep the walkway broad enough for everyday traffic. For a small garden, low stone edging gives a similar rhythm. Set the borders out temporarily first so you can check the width at bends and entry points.
24. Lead Flat Stones Toward a Doorway

Give a stone path a clear destination, such as a garden door or a seat. Begin the line where you naturally enter the garden and adjust the spacing before fixing the slabs. Wider pieces make useful places to pause near the destination. Keep the route visible among plants and use a stretch of low planting to signal the turn.
25. Vary the Heights of Upright Feature Stones

Choose three stones with different visible heights for a gravel bed. Leave a clear gap between each one so the shapes stay distinct against the open surface. Use a cardboard model to check the proportions before buying stone. Keep larger upright pieces away from the walking line and have them placed on secure footings by a qualified installer.
26. Set a Flowerpot Against Weathered Stone

Place a pot near a weathered wall where the texture can give its blooms a simple background. Keep the pot level on a broad, stable base and leave access behind it for watering. Try one pot first and add a second only if there is enough space to walk past or move a watering can comfortably.
Check the Garden After a Rain
Look for pooling water, shifting gravel, and any stone that rocks underfoot. Keep the main route clear of loose pebbles and choose plants that suit the light and drainage at the site. Work with a qualified installer for structural walls, major changes in grade, or heavy stones you cannot move safely. See the RHS guidance on rock gardens for more on matching alpines and drainage to a site.
Try One Stone Arrangement Before Extending It
Start where you can see the result from a window or a path you use every day. Set out a few pieces and see how they look beside your plants when the stone is dry and after rain. If the scale and color feel right, repeat one part of the arrangement in another corner of the garden.
- Make a mini succulent garden
- Explore garden water fountain ideas
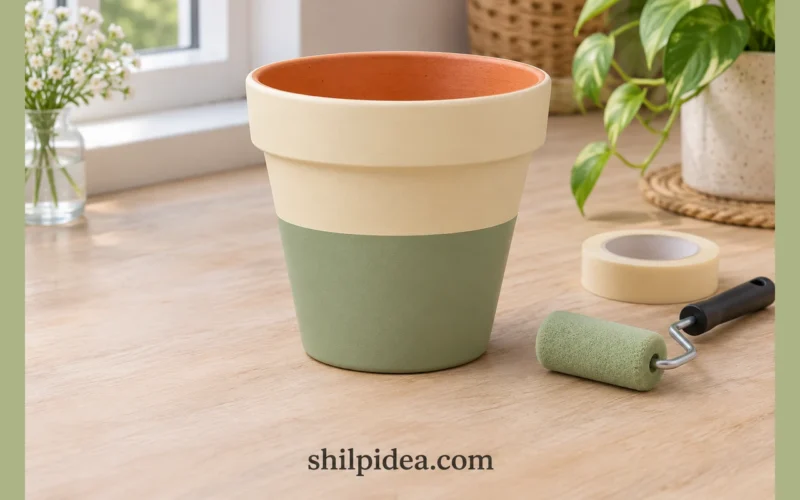
- Paint rocks for garden pots
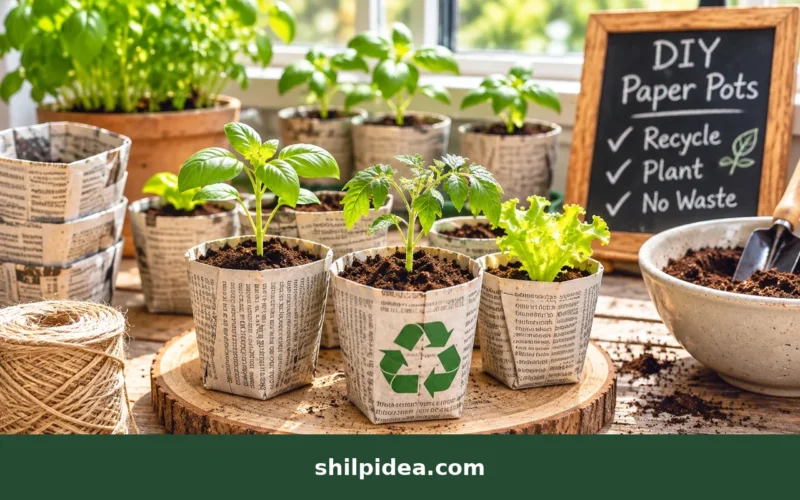
- Decorate with upcycled garden planters
- Make a recycled bird feeder
- Plan a calm patio layout
Which spot would you try first? Share the stone and plants you would pair in the comments, and save your favorite arrangement for your next garden project.

























0 Comments