28 Mushroom Craft Ideas for a Woodland Shelf Display
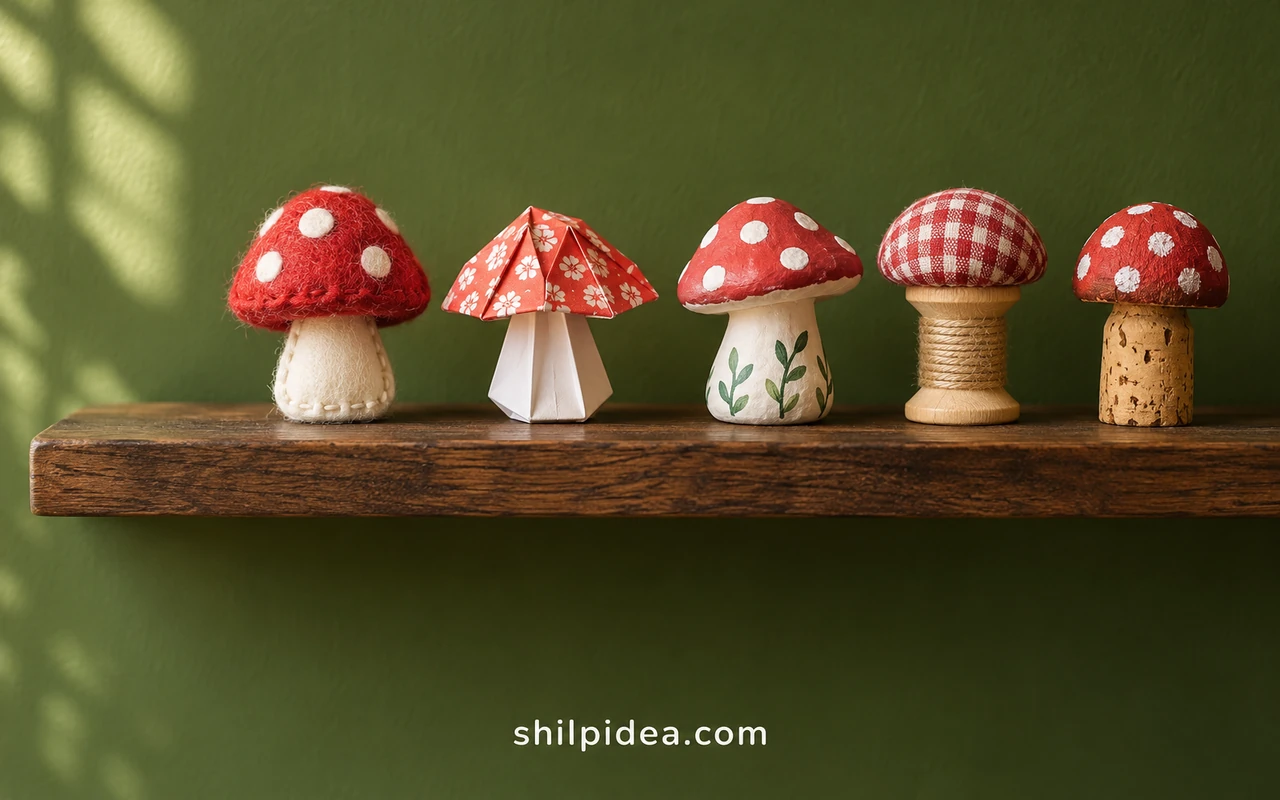
A few little mushrooms can turn one shelf into a woodland display. These craft ideas use materials that hold very different textures, even when the shapes are simple.
Start with something you already have, such as scrap wood, leftover card, or felt scraps from a small felt craft. Then choose a base that will let your project sit steady.
The photographed ideas range from little clay cottages to stitched and felted mushrooms. Borrow shapes from these small clay projects or group two different materials on a single shelf.
1. Shape a Pointed Toadstool for a Book Stack

A tall, pointed cap gives a tiny mushroom enough height to show up against a stack of books. Shape it from air-dry clay and make the foot broad enough to stand on its own. After the clay dries, paint the cap ochre and add small pale dots. Use a lightweight notebook as a riser if the piece gets lost among taller objects.
2. Needle-Felt the Cap and Stem Separately

Build a red wool cap and an ivory stem as separate pieces. Leave loose fibres at the top of the stem so you can needle-felt them into the underside of the cap. The maker’s photos show the parts and the finished mushroom, which makes it easier to see where to join them. Keep the foot a little wider if you want the piece to stand.
3. Paint a Row of Wooden Peg Mushrooms

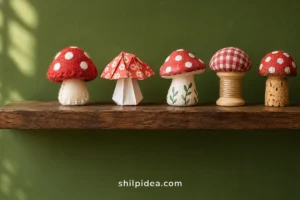
Start with mushroom-shaped wooden blanks or simple peg dolls with a rounded top. Sand any rough edges, then paint the caps a warm red and leave the stems bare. Keeping the same colour across the row makes small differences in height stand out. If the blanks are all the same size, set two on a narrow wood offcut at the back.
4. Model a Spotted Clay Toadstool

The vintage clay model in the photo gives you a good view of the flared cap, pale stem and small collar. Recreate the silhouette with air-dry clay, using a shallow cap and a foot wide enough to hold it. Follow the drying instructions for your clay, and see these small polymer clay projects for more shapes. Paint the stem and cap separately before giving the cap its white speckles.
5. Embroider a Small Mushroom Scene

Trace a small cap and stem onto cotton with a washable fabric marker. Use short stitches to fill the cap and an outline stitch for the stem. Tuck two leaves or tiny flowers beside the mushroom if the space looks empty, or borrow a leaf shape from this felt holly craft. Keep the hoop on a plate stand or lean it against the wall so the stitching can be seen from the front.
6. Paint a Mushroom on Dark Card

A piece of dark card makes an ivory stem and muted pink cap easy to see from across the room. Try opaque gouache or acrylic and paint the stem first so you can overlap it with the cap. Add tiny dots or moon shapes above the mushroom if you have space. Stand the card in a wood holder or float it inside a small frame.
7. Make a Stone-Look Mushroom

Use the mottled garden ornament as a reference for a much smaller shelf version. Shape a flat-bottomed stem and a broad, shallow cap from lightweight air-dry clay. Once they’re dry, dab on two shades of grey with a torn sponge to break up the surface. A few pale dabs along the rim help the cap read as stone from a distance.
8. Knit a Pair of Squat Mushrooms
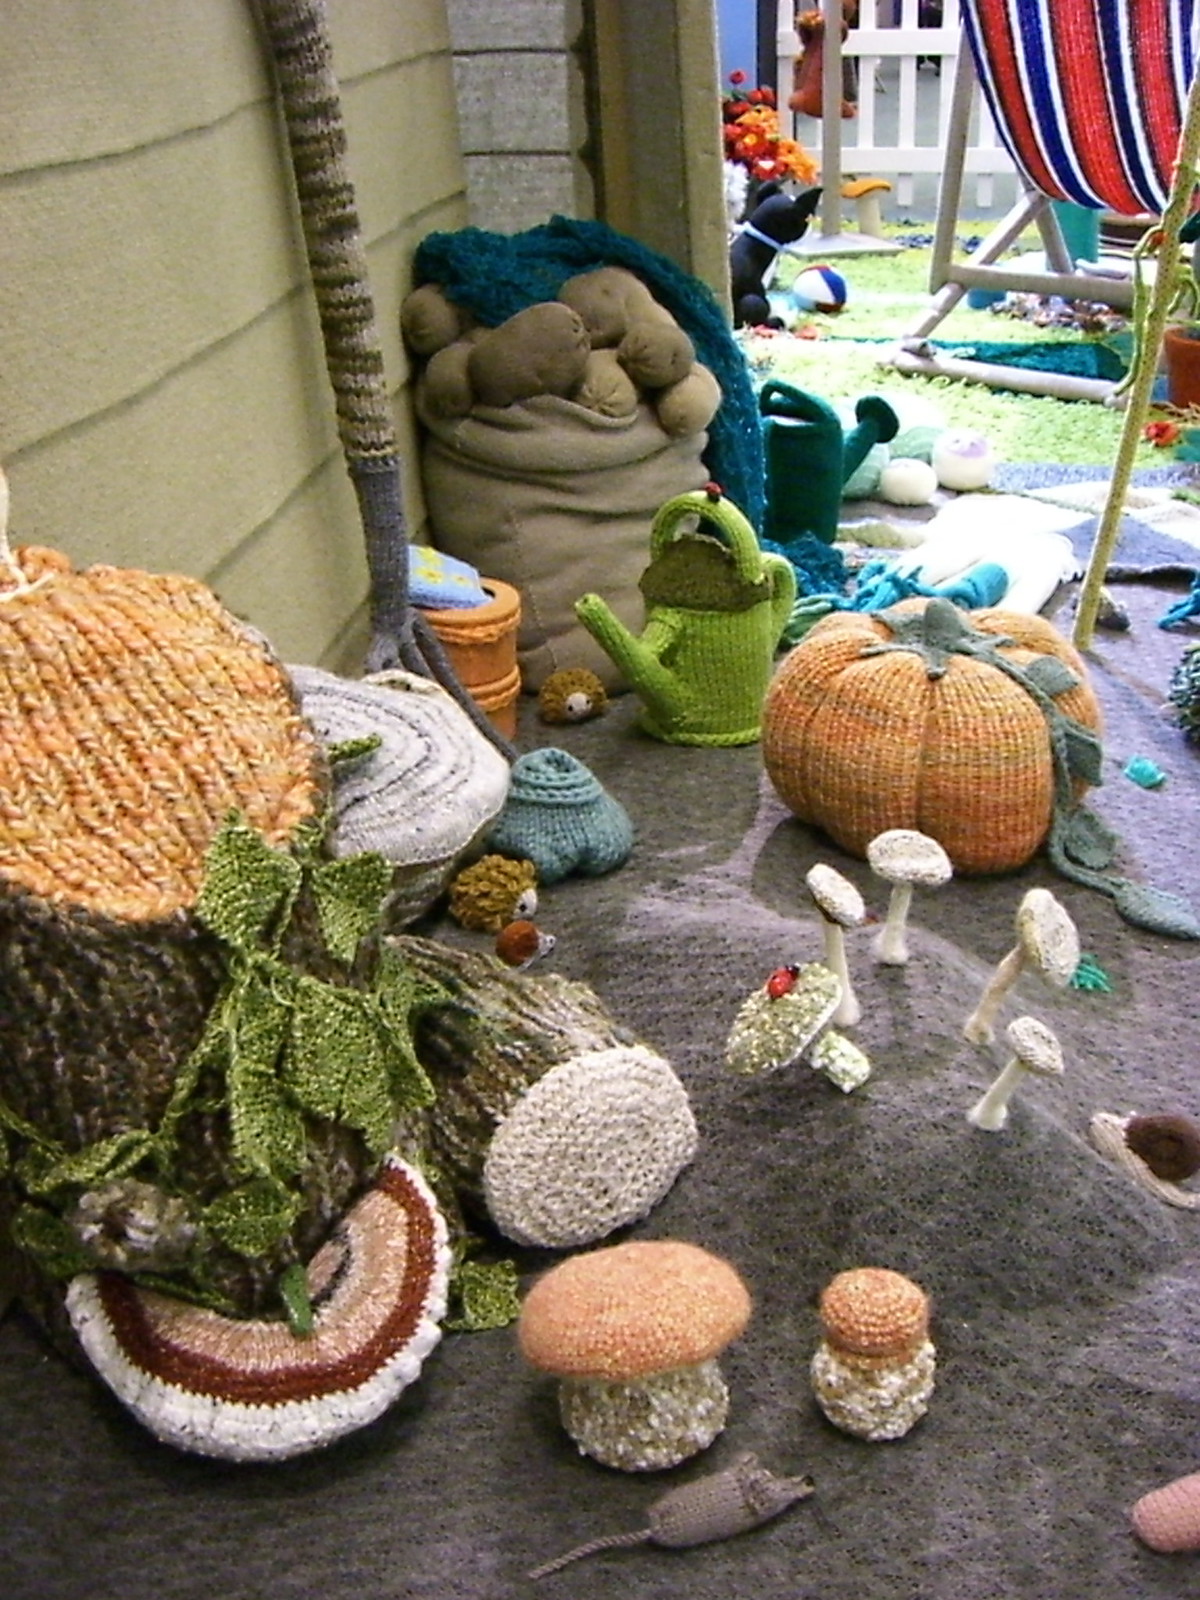
Knit a short stem and a low, rounded cap in different yarns so the mushroom shape is clear. A tighter fabric keeps the stuffing from showing through. Make a second one with a wider cap and a slightly shorter stem. Set the pair on a felt mat or in a shallow dish to keep the soft pieces together.
9. Arrange Felt Toadstools on Bark

Set a few felt toadstools on a clean, dry piece of bark to make a miniature woodland scene. Leave space between the mushrooms so the caps stay distinct. One little tuft of preserved moss gives the group a soft edge. You can fix everything with craft glue or leave the pieces loose so it’s easy to rearrange them as the seasons change.
10. Paint Polka-Dot Mushroom Caps

Give a set of plain mushroom ornaments two or three cap colours, then carry the same white dots across the whole group. Use the handle end of a small paintbrush for regular dots or change tools for a mix of sizes. Let the caps dry fully before touching up the stems. Group the pieces close enough for the repeated pattern to show.
11. Group Turned Mushrooms by Wood Grain

Let the grain do the decorating on a group of wooden mushrooms. Start with turned blanks in two or three sizes and decide which face of each cap to show. A clear finish brings out the grain without covering the softer colour of the stems. Use the widest cap as the anchor and keep one smaller mushroom close to the front.
12. Build a Tiny Mushroom Cottage

Make a small cottage with a mushroom cap for a roof and a simple arched door cut into the base. Try polymer clay if you want the door and windows to hold crisp little edges. Keep the roof slightly wider than the walls so the silhouette reads at shelf height. One window and a shallow door recess are enough for a cottage this small.
13. Make a Tray of Mini Mushroom Charms

Make a batch of thumbnail-sized mushroom charms from polymer clay and paint the caps in a range of bright colours. You can add an eye pin before baking if you’d like to hang them later, following the clay instructions. For a shelf display, arrange the loose mushrooms in a shallow tray and put a few taller ones at the back.
14. Build a Mossy Mushroom Diorama

Use a shallow round base, preserved moss and short mushroom stems to make a small patch of woodland floor. The photographed resin model shows how little groups of different heights can look natural. For a simpler shelf version, make the pink caps from polymer clay and place dried leaves around the edge. Keep the materials dry so the display stays tidy.
15. Group Glazed Mushrooms in a Wooden Box

Pick three or four ceramic mushrooms in different heights and set them in a low wooden box. Add a piece of corrugated card beneath the tallest stem if the cap disappears behind the others. Try keeping the stems in a related earthy tone even if the glazes vary. The box gives the shiny cluster a defined edge on a crowded shelf.
16. Repurpose a Wooden Darning Mushroom

A vintage darning mushroom already has the outline of a small toadstool. Choose one with a wide wooden cap and set the handle in a snug hole in a scrap-wood base, without glue if you still use the tool. Leave the grain visible or slide a removable felt collar around the stem to add a little colour.
17. Sculpt Ruffled Chanterelle Caps

Give a golden mushroom a shallow funnel shape by thinning the rim and pinching in two or three soft waves. Use the photographed resin models for shape reference and make a smaller version with clay. Score a few ridges down the underside while the clay is workable. Put a low cap beside a taller one so both outlines are visible.
18. Give a Round Cottage an Overlapping Roof

Borrow the oversized roof and little side mushrooms from this garden ornament for a compact shelf cottage. Build a squat clay base with a flat underside and make the roof a little wider on one side. Add a tiny mushroom by the door to show scale. A dark arched doorway and a ring of small stones are enough to make the shape read as a house.
19. Shape a Mushroom Trinket Holder

The antique match holder suggests a way to give a mushroom a practical role on the shelf. Make a wide, weighted base and shape a shallow well into the top of a clay cap for a ring or a few beads. Smooth the inner rim and allow the clay to dry as directed. A muted pink finish echoes the photographed quartzite.
20. Stage a Mushroom Beside a Tiny Woodland Hideout

Put one tall mushroom beside a small rounded hideout and tuck preserved moss between their bases. The pale purple cap is visible against the warmer tones of the hideout. For a handmade version, cut an opening into a clay shell and build the mushroom separately. Keep the low opening clear when you arrange both pieces on the same flat base.
21. Weave a Small Twig Mushroom

The photographed willow sculptures suggest a lightweight shelf version made with thin basketry reed. Bend one loop for the cap and weave short lengths across it, then wrap a small bundle for the stem. Let a little light pass through the weave to show the structure. Fasten the stem to a flat wood slice so the mushroom stays upright.
22. Stack Oyster-Shaped Caps

Use the overlapping caps in the model as a guide for a compact clay cluster. Make three or five flattened caps and draw thin lines underneath to suggest gills. Join them at their narrow ends and stagger them by height so each rim stays visible. A low slab of bark-coloured clay can hold the group together on a shelf.
23. Pair a Bright Toadstool With a Rabbit

Pair a red-topped mushroom with a small rabbit and use just one other object to tell the scene. A miniature basket or wheelbarrow works well because it stays low. Try painting a plain clay mushroom to pick up a colour on the rabbit. Keep both figures close enough to read as a group without letting the cap hide the rabbit’s face.
24. Texture a Pair of Morel Caps

Shape a pair of tall, sponge-like caps from clay and press irregular hollows into them with a blunt tool. The photographed resin morels show why a mix of deep and shallow recesses feels more natural than a grid. After the clay dries, use a darker colour in the hollows and brush a little tan over the high points.
25. Tuck an Owl Beside a Bark-Slice Mushroom
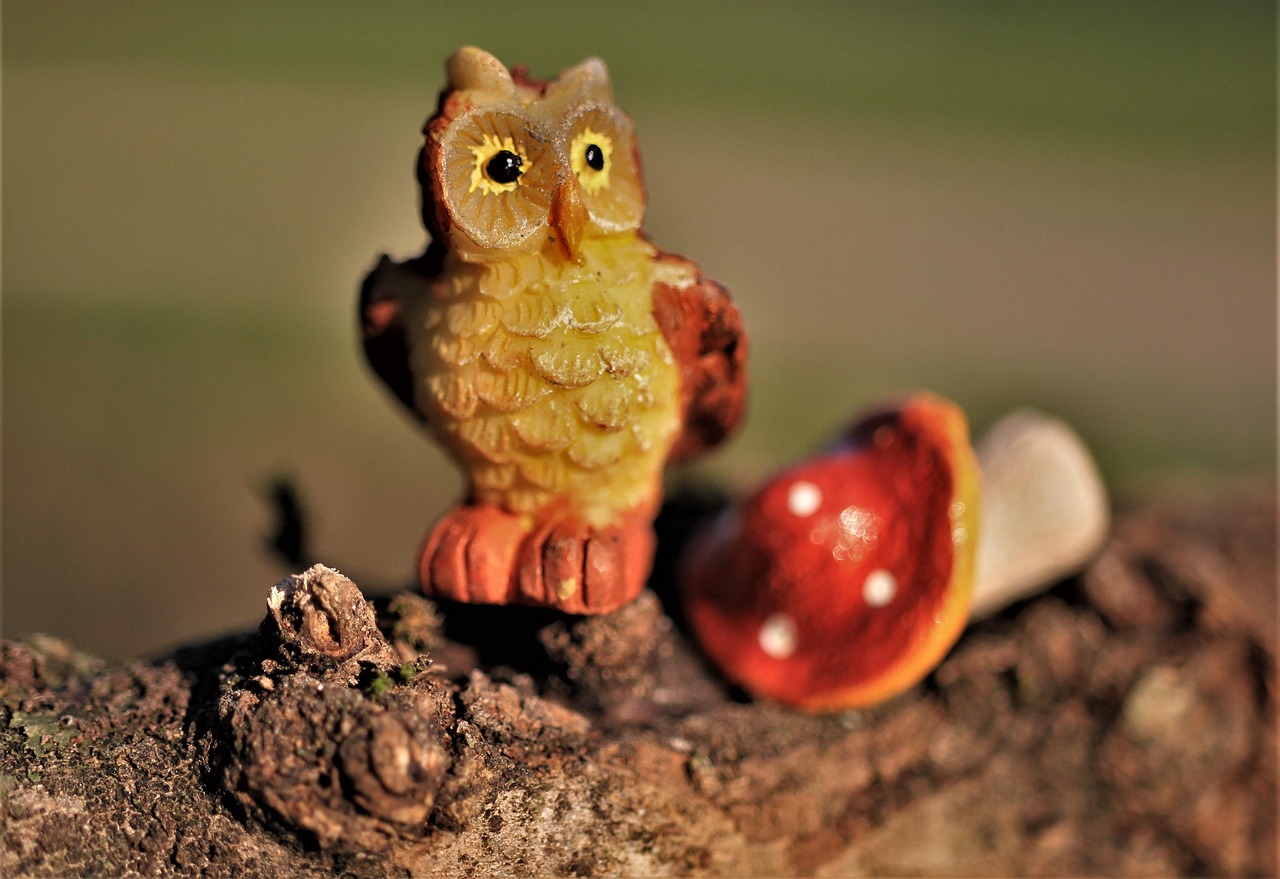
A miniature owl and a single red cap are enough to make a piece of clean bark look like a woodland vignette. Face both pieces forward and leave a narrow gap so their outlines stay separate. Add a dot of removable mounting putty underneath if the bark is uneven. This makes a compact display for the space between two larger shelf objects.
26. Pair Two Glazed Toadstools

Use one glaze colour on two ceramic mushrooms and vary the cap shape and stem height. Notice how the lower cap sits just to the side of the taller stem in the photo. If you’re working with a classroom or studio kiln, ask which glaze will pool safely around a flared edge. Set the finished pair on a dry patch of faux moss.
27. Paint a Mushroom Display Plate

Paint one large mushroom in the centre of a plain plate and add a loose border of smaller caps and leaves. Repeat two or three colours around the rim to tie it together. Use a plate stand or a deep picture ledge so the motif is visible from the front. Treat the plate as décor unless your paint is explicitly rated for food contact.
28. Plant a Make-Believe Mushroom in a Mug

Turn an unused ceramic mug into a miniature mushroom display by lining it with dry preserved moss and adding one tall clay mushroom on a short stake. Tuck the stem low enough to keep the moss visible beneath the cap. Match the cap to one colour in the mug, especially if the glaze already has a pattern of its own.
Put Your Woodland Shelf Together
Pick one taller piece and set a shorter one beside it so their outlines stay clear. Use one or two colors across the display if you are mixing paper, clay, and fabric. A shallow bowl or small stack of books is enough to bring the group together. Leave a little space to add another piece after your next craft session.
- Make crafts from egg cartons
- Try small polymer clay crafts
- Quill paper gift tags for beginners
- Paint rocks for plants and patios
- Sew a felt holly ring
- Make woodland Christmas tree ornaments
Which mushroom would you make first? Tell us the material you’d use in the comments, and save the collection for your next woodland craft.






















0 Comments