20 Paper Flower Craft Ideas for Handmade Decorations
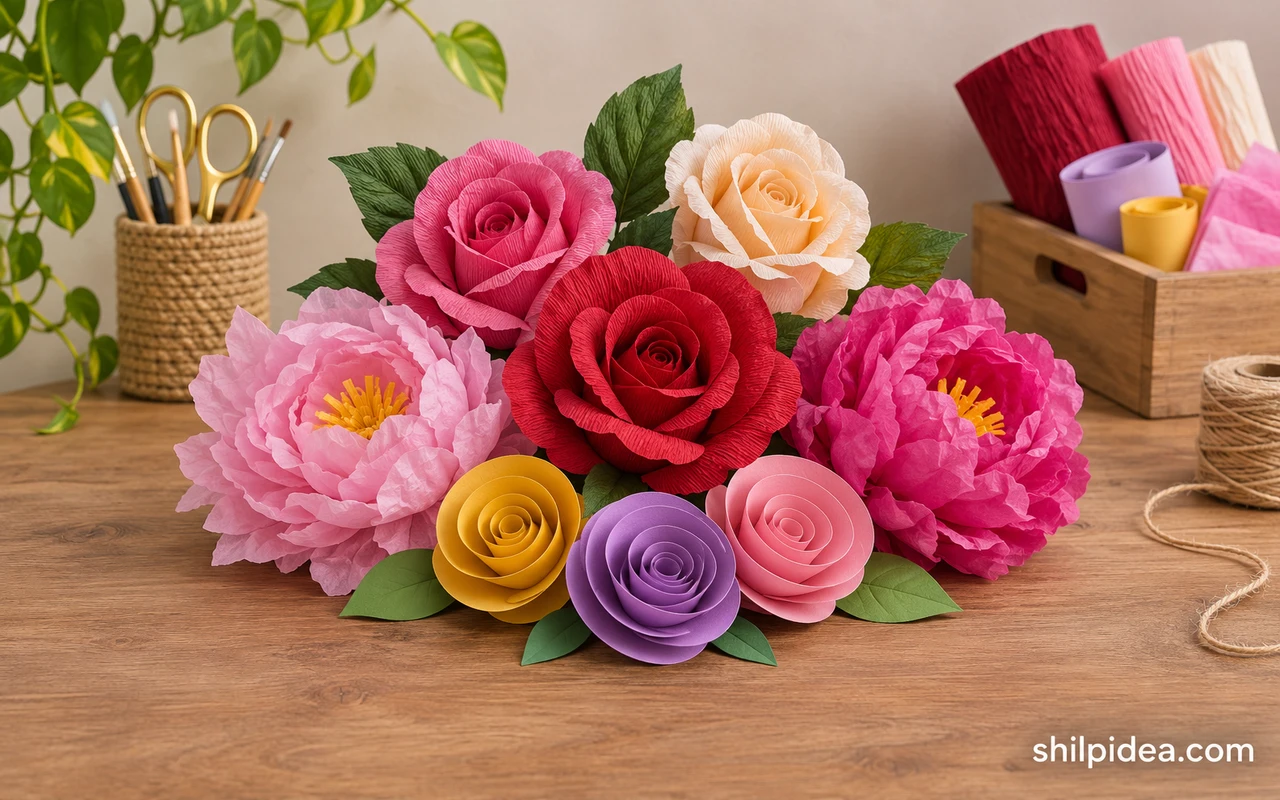
Choose the paper first. Card stock holds a firm outline, while crepe and tissue make it easier to curve or gather petals.
Make one sample petal before cutting the rest. Check what size it becomes once you curl or fold the edge. Compare handmade paper flowers to see how widely different papers open after folding or gathering.
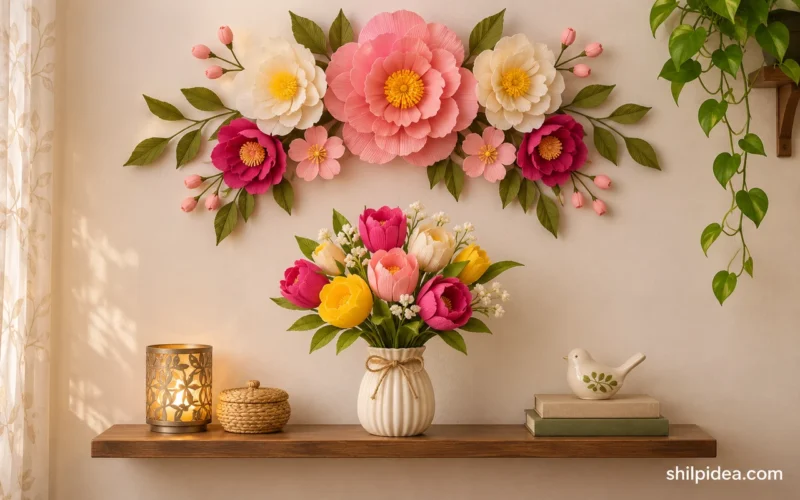
Look through paper flower displays before deciding whether to put the finished bloom on a wall or a shelf.
1. Folded Coral Petals With Pointed Tips

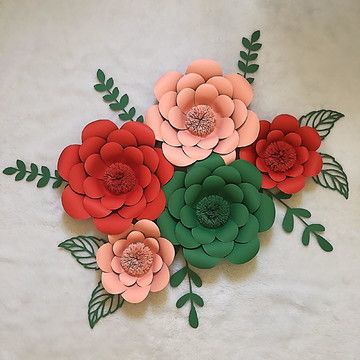
Turn each broad petal inward at its base before placing it in the circle. Keep the upper edges open so the folded points show. Make one bloom and set it where you want to use it. Check the shadows between the rows and adjust the backing if the head leans away from the display.
2. Yellow Bloom With a Layered White Center

Build the outer petals in yellow and let the fine white strips stand at the center. Tilt the petals until the two shapes stay distinct. Test the shape on spare paper before cutting every petal. A small change at the base lets the upper edge spread or sit closer to the center without recutting the whole flower.
3. Pink Petals With an Embellished Center

Layer the petals around a round center and offset the upper pieces. Keep the strongest pink near the outer parts of the bloom. Make one bloom and set it where you want to use it. Check the shadows between the rows and adjust the backing if the head leans away from the display.
4. White and Purple Pointed Layers

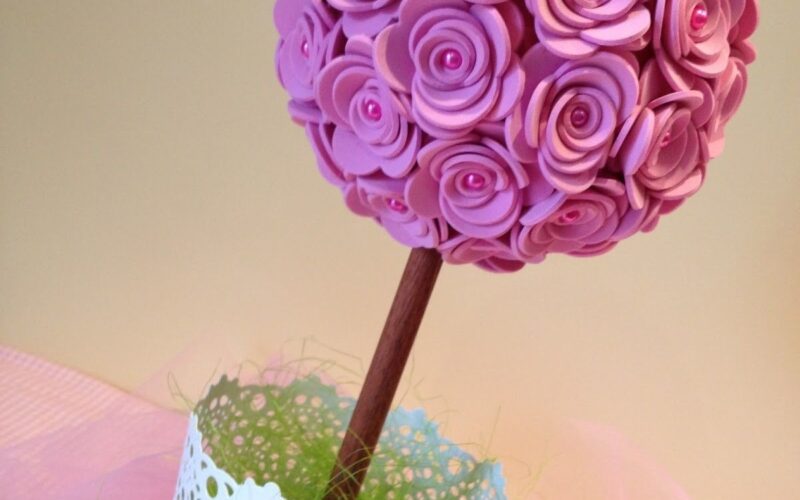
Use broad pale petals under narrower purple ones. Turn the inner points so the tips sit in the spaces between the lower layer. Test the shape on spare paper before cutting every petal. A small change at the base lets the upper edge spread or sit closer to the center without recutting the whole flower. These flower ball centerpieces show how small blooms can work together when their edges are not identical.
5. Small Flowers in Mixed Pastels

Make small flowers from lengths of paper you already have and vary the way the edges curl. Group them where the shadows reveal their depth. Make one bloom and set it where you want to use it. Check the shadows between the rows and adjust the backing if the head leans away from the display.
6. Lime Green Flower With Overlapping Petals

Use two layers of pointed leaves or petals and let the lower shapes show between the ones above. Put the lightest green near the center. Test the shape on spare paper before cutting every petal. A small change at the base lets the upper edge spread or sit closer to the center without recutting the whole flower.
7. Rose-Pink Flower With Many Narrow Petals

Make a small center and build toward the edge using progressively longer strips. Curl the outer petals far enough that the inner shapes remain visible. Make one bloom and set it where you want to use it. Check the shadows between the rows and adjust the backing if the head leans away from the display.
8. White Daisy With a Gold Center

Place the white petals around a yellow or gold disk and make their tips curve slightly. Keep the center wide enough to anchor the design. Test the shape on spare paper before cutting every petal. A small change at the base lets the upper edge spread or sit closer to the center without recutting the whole flower.
9. Blue Spring Flowers on Stems

Make the leaves tall and narrow under the blue blooms. Keep the flowers high enough above the leaves to show off their different shapes. Make one bloom and set it where you want to use it. Check the shadows between the rows and adjust the backing if the head leans away from the display.
10. Small Pale Flowers on Branches

Space the little white flowers unevenly along thin stems. Group several tightly toward one end and leave an open length between the clusters. Test the shape on spare paper before cutting every petal. A small change at the base lets the upper edge spread or sit closer to the center without recutting the whole flower. Keep one end of each stem free if you are making decorative flower wreaths with movable details.
11. Soft Paper Pompom Flowers on Long Stems

Gather thin paper at the middle and pull the layers outward. Turn a few heads at angles to create a light arrangement. Make one bloom and set it where you want to use it. Check the shadows between the rows and adjust the backing if the head leans away from the display.
12. Pink Layered Bloom With Round Petals

Round the outer tips and attach the rows one at a time. Use lighter paper on the upper layer so the rings are easy to see. Test the shape on spare paper before cutting every petal. A small change at the base lets the upper edge spread or sit closer to the center without recutting the whole flower.
13. White Petals With Dark Anemone Centers

Make the darkest circles first and size petals around them. Keep the white layers separate so the silhouette looks clear under a side light. Make one bloom and set it where you want to use it. Check the shadows between the rows and adjust the backing if the head leans away from the display.
14. Small Flower Samples in Cream and Pink
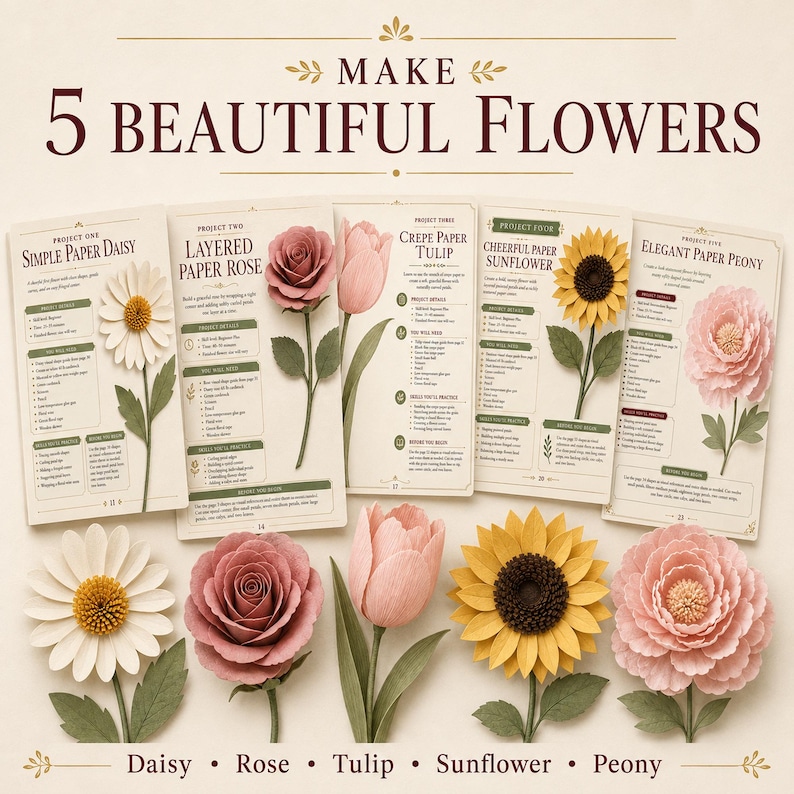
Try the shapes one at a time before choosing a whole bouquet. Keep samples in different sizes so you can compare how the finished edges look. Test the shape on spare paper before cutting every petal. A small change at the base lets the upper edge spread or sit closer to the center without recutting the whole flower.
15. Roses Rolled From a Continuous Strip

Wrap a small starting curl first and ease the outer petals away from the middle as you go. Keep the base firm enough to sit on a stem. Make one bloom and set it where you want to use it. Check the shadows between the rows and adjust the backing if the head leans away from the display.
16. A Cluster of Slender Purple Flowers

Trim several light petals for each stem and place them at small intervals. Leave a little of the stem visible below each bloom. Test the shape on spare paper before cutting every petal. A small change at the base lets the upper edge spread or sit closer to the center without recutting the whole flower.
17. Bright Orange Paper Blossoms

Keep the warmest orange near the petal edges and use slightly darker tones close to the center. Give the center room to show. Make one bloom and set it where you want to use it. Check the shadows between the rows and adjust the backing if the head leans away from the display. Use these felt flower projects if you want a softer version of the same petal shape.
18. Pale Pink Flowers on Branchlike Stems
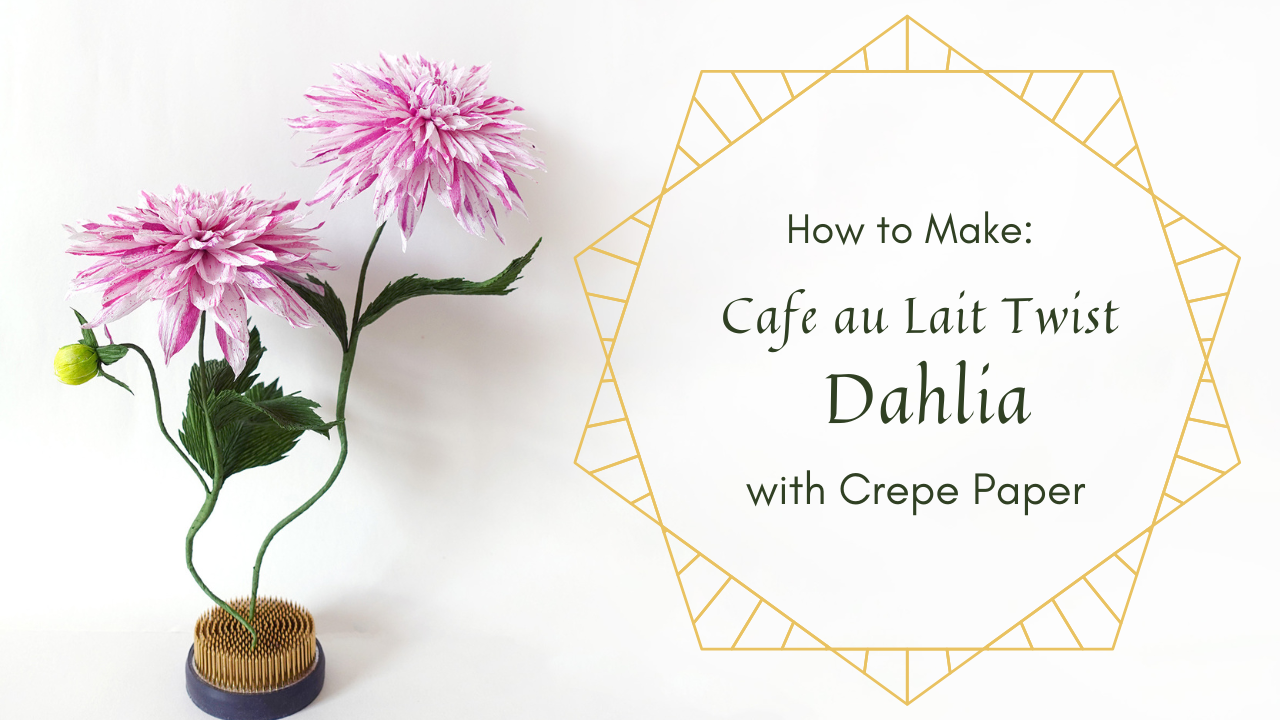
Place the blossoms in short clusters before you fix them to the stems. Leave open areas so the branching line remains visible. Test the shape on spare paper before cutting every petal. A small change at the base lets the upper edge spread or sit closer to the center without recutting the whole flower.
19. Daisy Shapes With Bright Round Centers

Choose a small yellow circle for each flower and make the petals a little irregular. Keep the light stems clear of their neighbors. Make one bloom and set it where you want to use it. Check the shadows between the rows and adjust the backing if the head leans away from the display.
20. Pink Paper Flowers Set Beside a Book
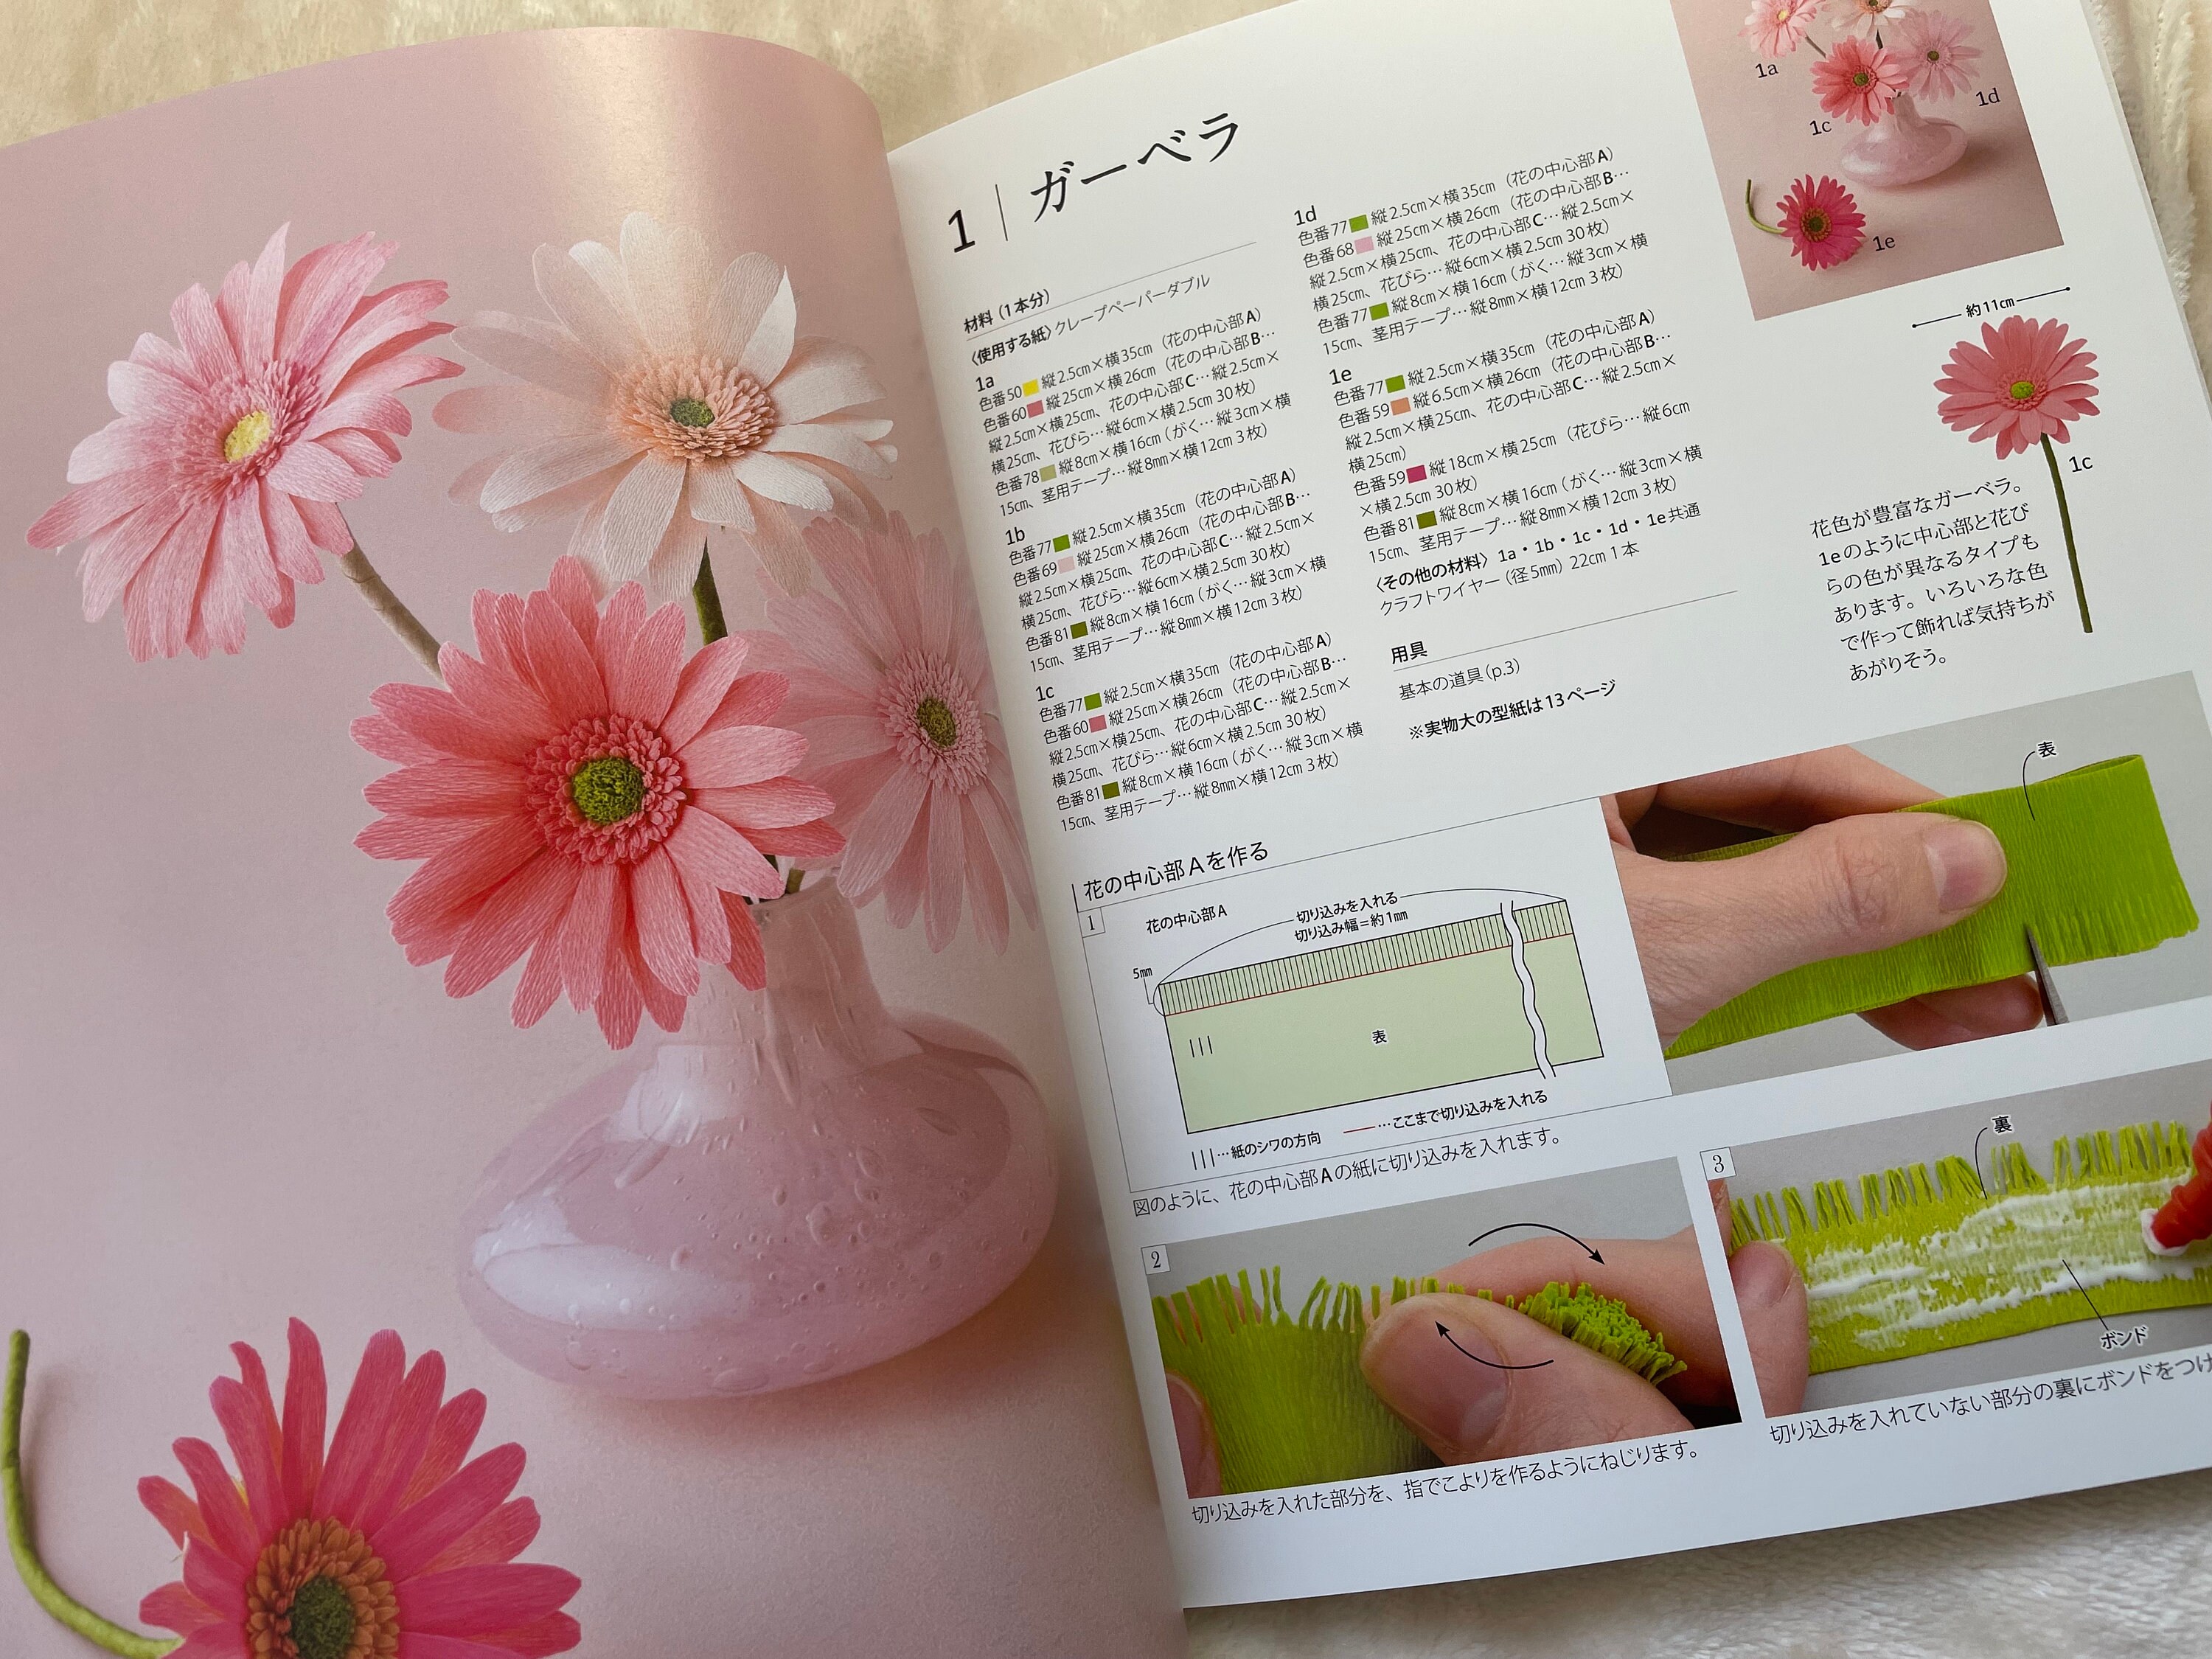
Make the petals curved and broad enough to show their layers. Position the finished flower with an open side facing the viewer so the cut edges stay visible. Test the shape on spare paper before cutting every petal. A small change at the base lets the upper edge spread or sit closer to the center without recutting the whole flower.
Build a Flower That Fits Its Display
Test the finished bloom where it will be used. A wall flower needs a flat backing, while a vase arrangement benefits from light heads and firm stems. Make one middle size before cutting the smallest or largest petals. Try another paper project with any strips or sheets left over once the arrangement fits.
- Decorate Your Home With Paper Flowers
- Explore More Handmade Paper Flowers
- Make a Flower Ball Centerpiece
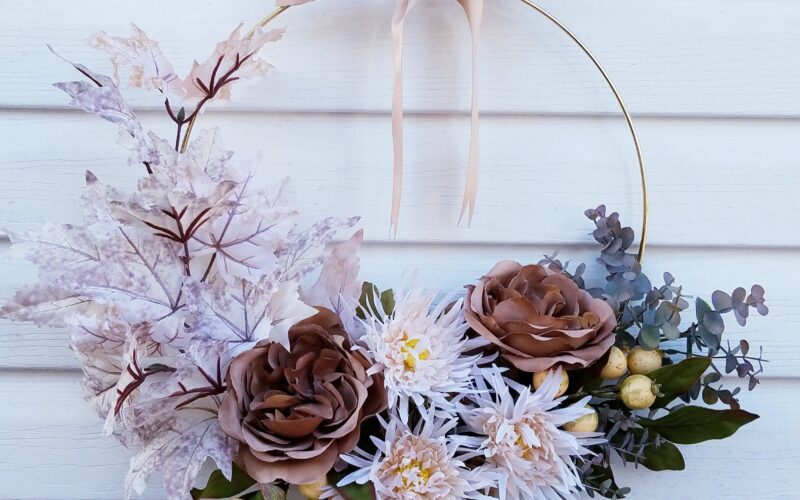
- Try a Decorative Flower Wreath
- Make Flowers From Felt
Which paper flower would you make first? Tell us in the comments where you would display it and whether you would choose bold colors or keep the petals close to one shade.















0 Comments