How to Sew a Reusable Drawstring Fabric Gift Bag
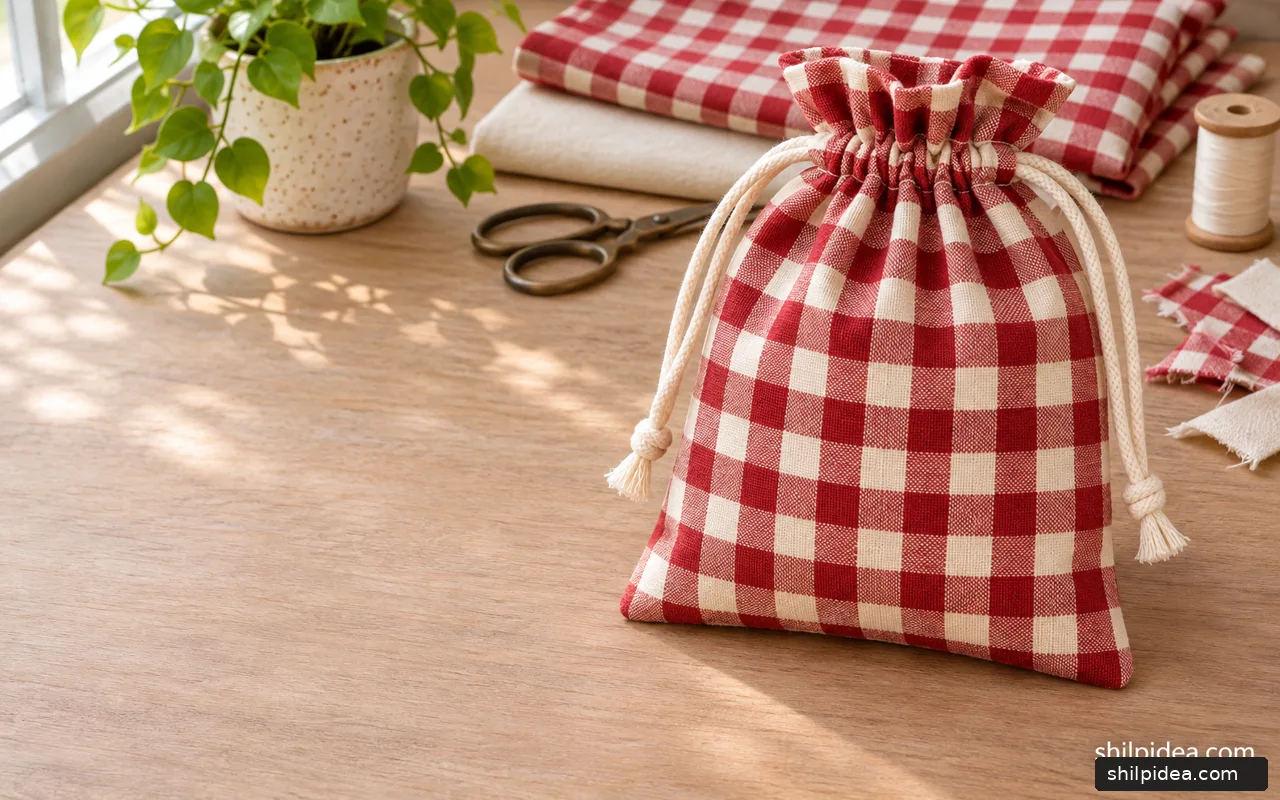
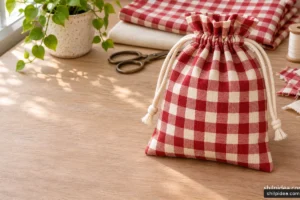
A reusable drawstring gift bag lets you wrap a small gift with cloth you can use again. This four-sided cotton pouch has a simple folded casing and works for little items such as a book or a pair of socks.
Choose a stable woven cotton, as you would for framed fabric art, and use a cord that slides easily through two layers of cloth.
This version adds a stitched channel and two pull loops. If you need an unsewn option for another gift, make decorated paper bags with leftover tags.
Materials and Tools
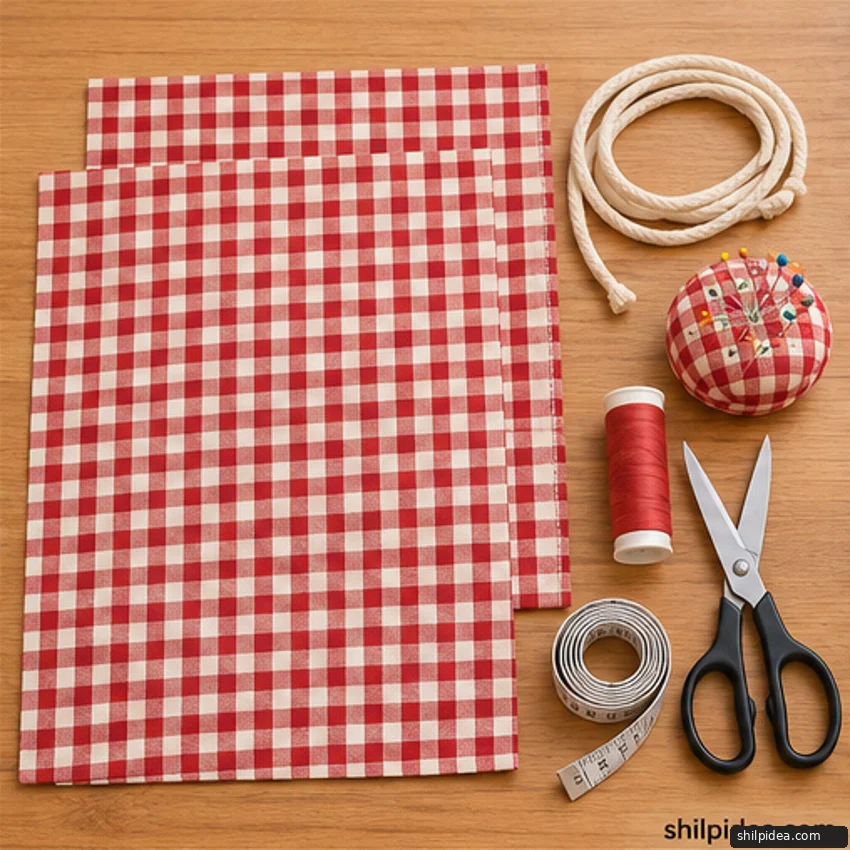
Lay out the fabric and tools before you start cutting.
- Two pieces of woven cotton – Cut both to 9 × 12 inches for a small bag.
- Cotton cord – Cut two lengths about 24 inches each and check they slide through the casing.
- Matching thread and sewing machine – Fit a needle suited to the fabric.
- Ruler, marking tool, scissors and clips – Use these to measure, cut and hold the cotton.
- Iron and a large safety pin – Press folds and guide the cord through the casing.
Precautions Before You Begin
Check these points before sewing or using the finished project.
- Preshrink and press washable cotton before measuring.
- Check your machine manual and test the stitch on a scrap before sewing the bag.
- Keep long cords and loose bags away from babies and young children.
1. Measure and Cut the Cotton
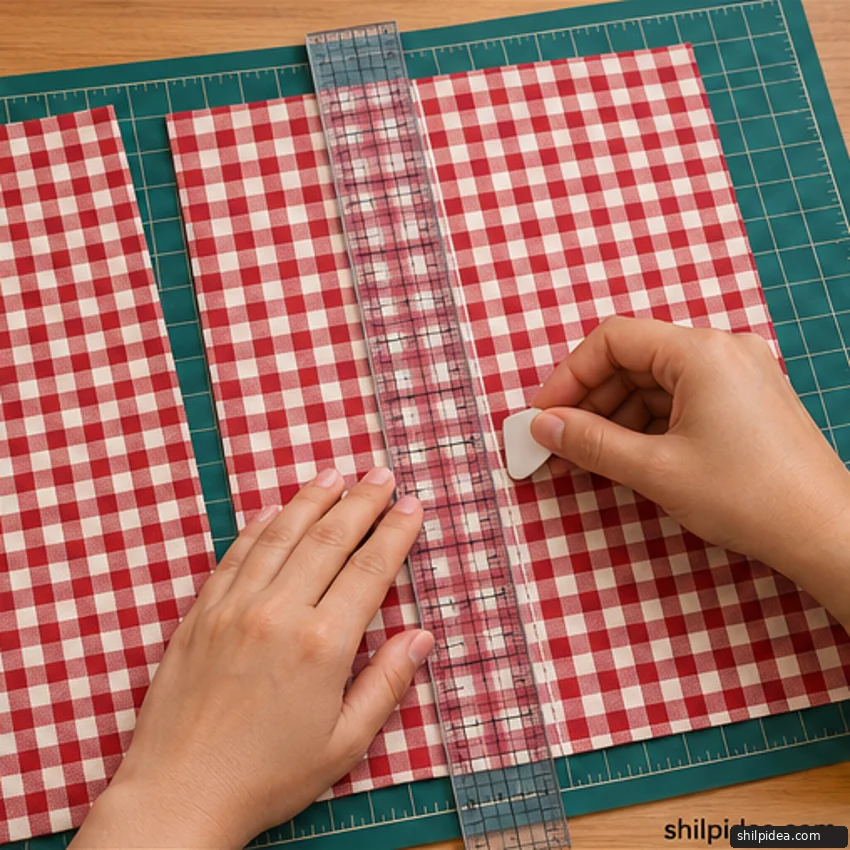
- Cut both – Cut both panels with the grain running the same way. Put the right sides together and mark a line 1½ inches below the top along both side edges.
2. Sew the Bottom and Sides
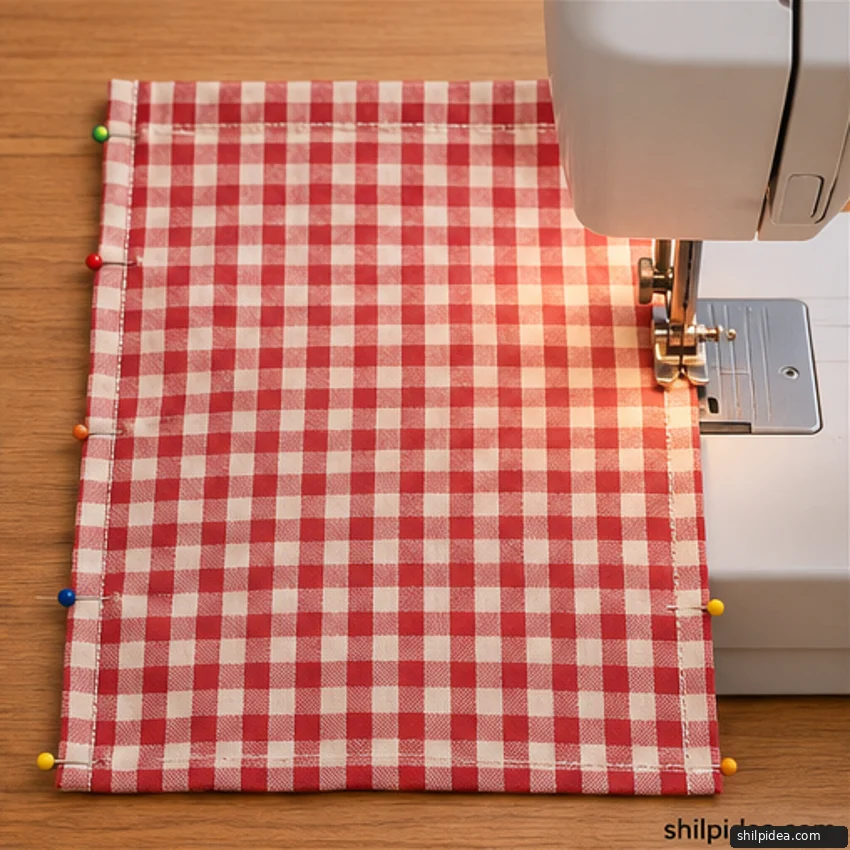
- Stitch the – Stitch the bottom and both sides with a ¼-inch seam allowance, stopping at the two marks. Backstitch at each stopping point and finish the lower seam edges to reduce fraying.
- Press the – Press the side allowances open above each stopping point. Fold their raw edges under and stitch them in place to create two clean openings for the cord.
3. Fold the Top into Casings
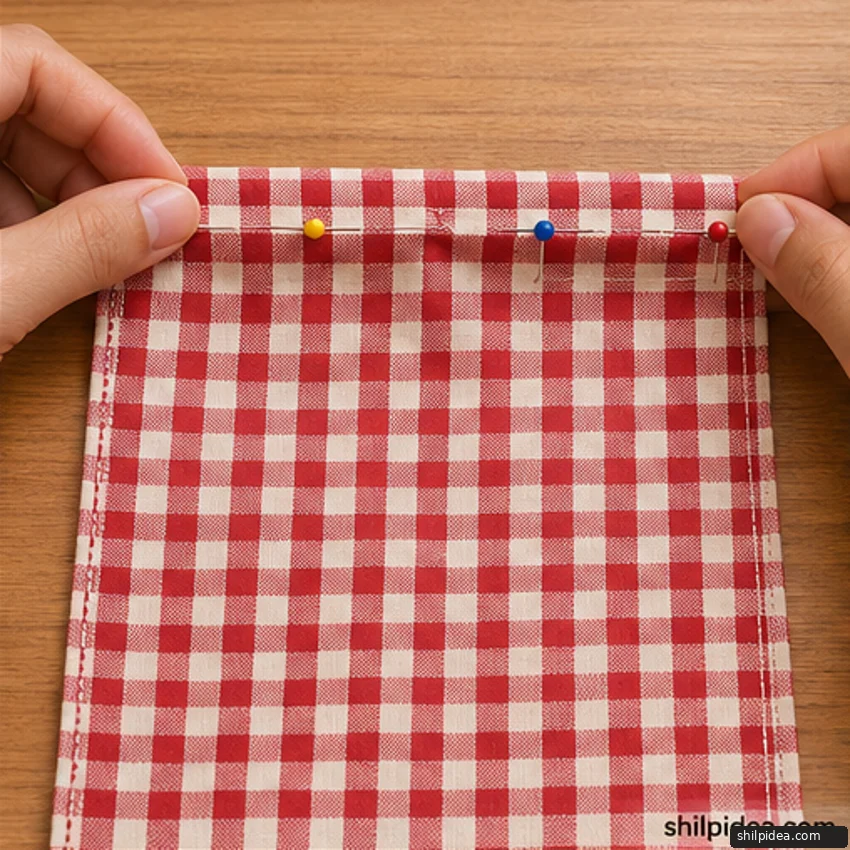
- With the – With the bag still wrong side out, fold the top edge of each panel down ¼ inch and press. Fold down again by ¾ inch so the first raw edge is enclosed.
4. Stitch and Thread the Channels
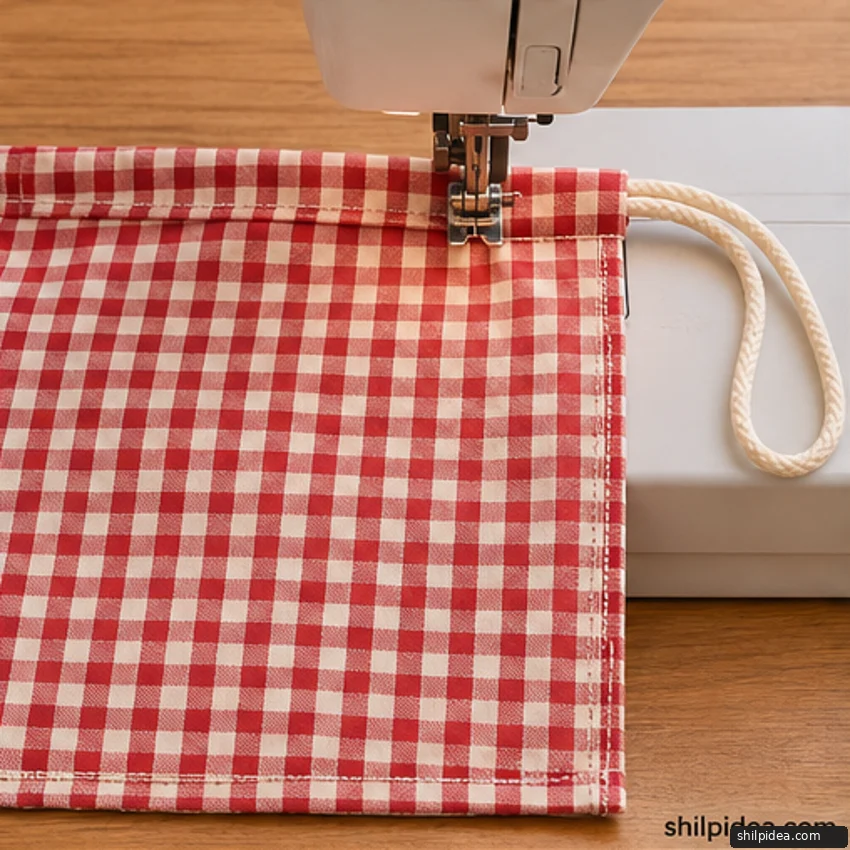
- Stitch near – Stitch near the lower folded edge of each casing, leaving both ends open. Turn the bag right side out and check each casing with the safety pin before feeding the cord.
- Feed one – Feed one cord through both channels starting from the left opening and tie those ends together. Feed the second cord through both channels starting from the right and tie its ends.
5. Test the Finished Gift Bag
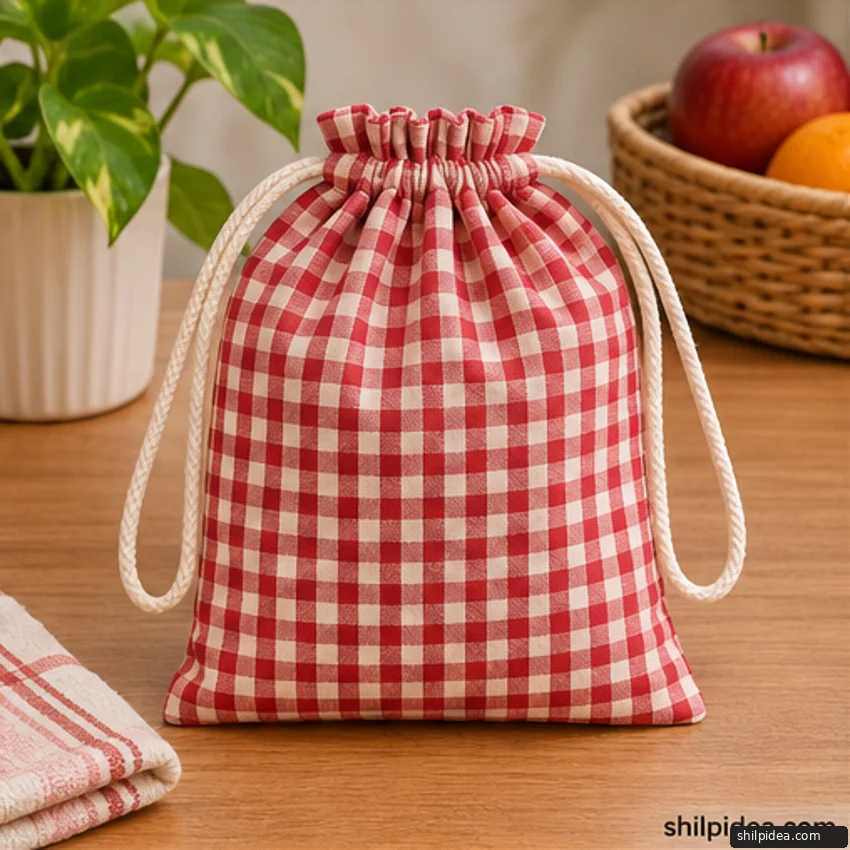
- Pull both – Pull both loops gently to check that the top closes evenly. Open it again, insert the gift, and leave enough empty height at the top for the fabric to gather.
Check the Cord Before Wrapping
If the loops drag, check the casing for a stitch crossing the channel or the cord twisting inside it. A wider casing can suit a thicker cord, but check the dry fabric and cord together before starting another bag. For a heavy gift, use a sturdier bag with a reinforced base.
Make More Wrapping from Supplies You Have
Pair the finished bag with a simple paper tag or a scrap of ribbon already in your sewing box. An opaque cotton bag can also hold loose packaging between holidays. The projects below show ways to reuse fabric or add a handmade gift detail when you have pieces left over from cutting the bag.
- Make and Decorate Paper Bags
- Framed Wall Art from Fabric Samples
- Homemade Christmas Gifts for Cozy Evenings
- Reversible Fleece Hand-Warmer Pocket
- Decorative Projects for Old Jeans
What would you wrap in a bag this size? Share the gift and fabric you’d choose in the comments. If your cord snagged during threading, tell us what helped it slide through.






























0 Comments