19 Christmas Gift Tags You Can Make from Recycled Cards
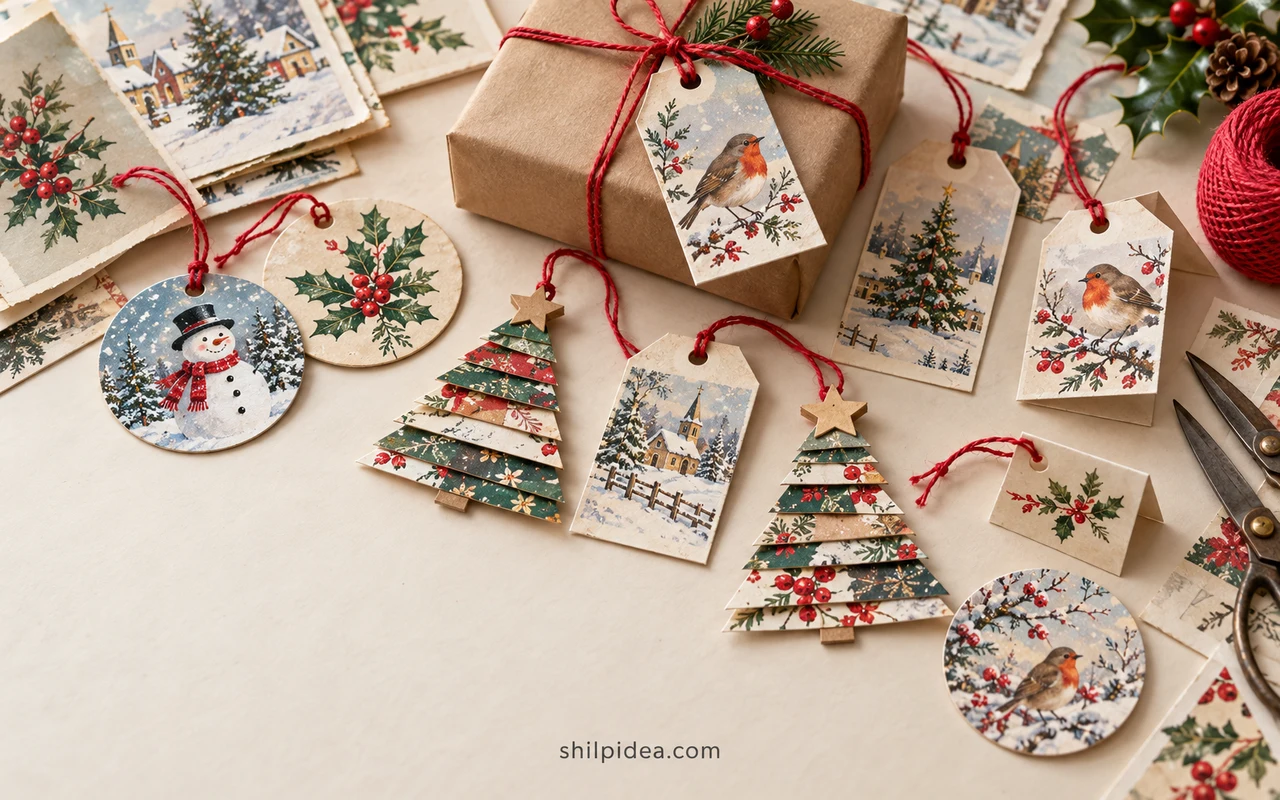
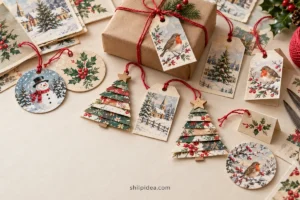
Last year’s Christmas cards can hold the prettiest details for this year’s gifts: a little bird, a winter scene or just a strip of patterned paper. A thoughtful crop often does more than adding another decoration.
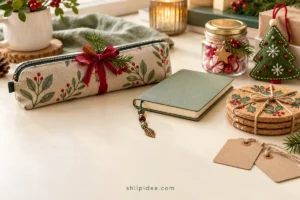
Use a finished tag with simple wrapping and a detail from these velvet bow ideas for a coordinated package.
These 19 creator examples show different ways to reuse card fronts. Save any handwritten messages you want to keep, then choose the images and shapes that suit your gifts.
1. Vintage Card Pictures for Small Gift Tags

Vintage-style cards often hold several little pictures that can work on separate tags. Look for a clear subject rather than trying to fit an entire scene into a tiny shape. The printed colors can guide your ribbon choice. Keep the handwritten message if it matters to you, and use only the decorative section you are happy to cut.
Get the tutorial: Vintage Card Pictures for Small Gift Tags by Thistle Key Lane.
2. Little Trees Built from Patterned Strips

Narrow scraps can become a decoration in their own right. Stacked strips form a small Christmas tree, letting several card patterns work together on one tag. Choose colors that share a similar feel so the layers look intentional. This is a useful direction for leftovers that are too small to hold a whole picture.
Get the tutorial: Little Trees Built from Patterned Strips by Little Family Fun.
3. Classic Tags with Clean Clipped Corners

A familiar tag silhouette gives mixed card illustrations a consistent outline. The same clean shape can make a batch look coordinated even when every picture is different. Match the string to one repeated color, or use plain twine throughout. Check the reverse before cutting so there is a clear place to write the recipient’s name.
Get the tutorial: Classic Tags with Clean Clipped Corners by Lathe and Quill.
4. A Reusable Tag from a Favorite Card Front
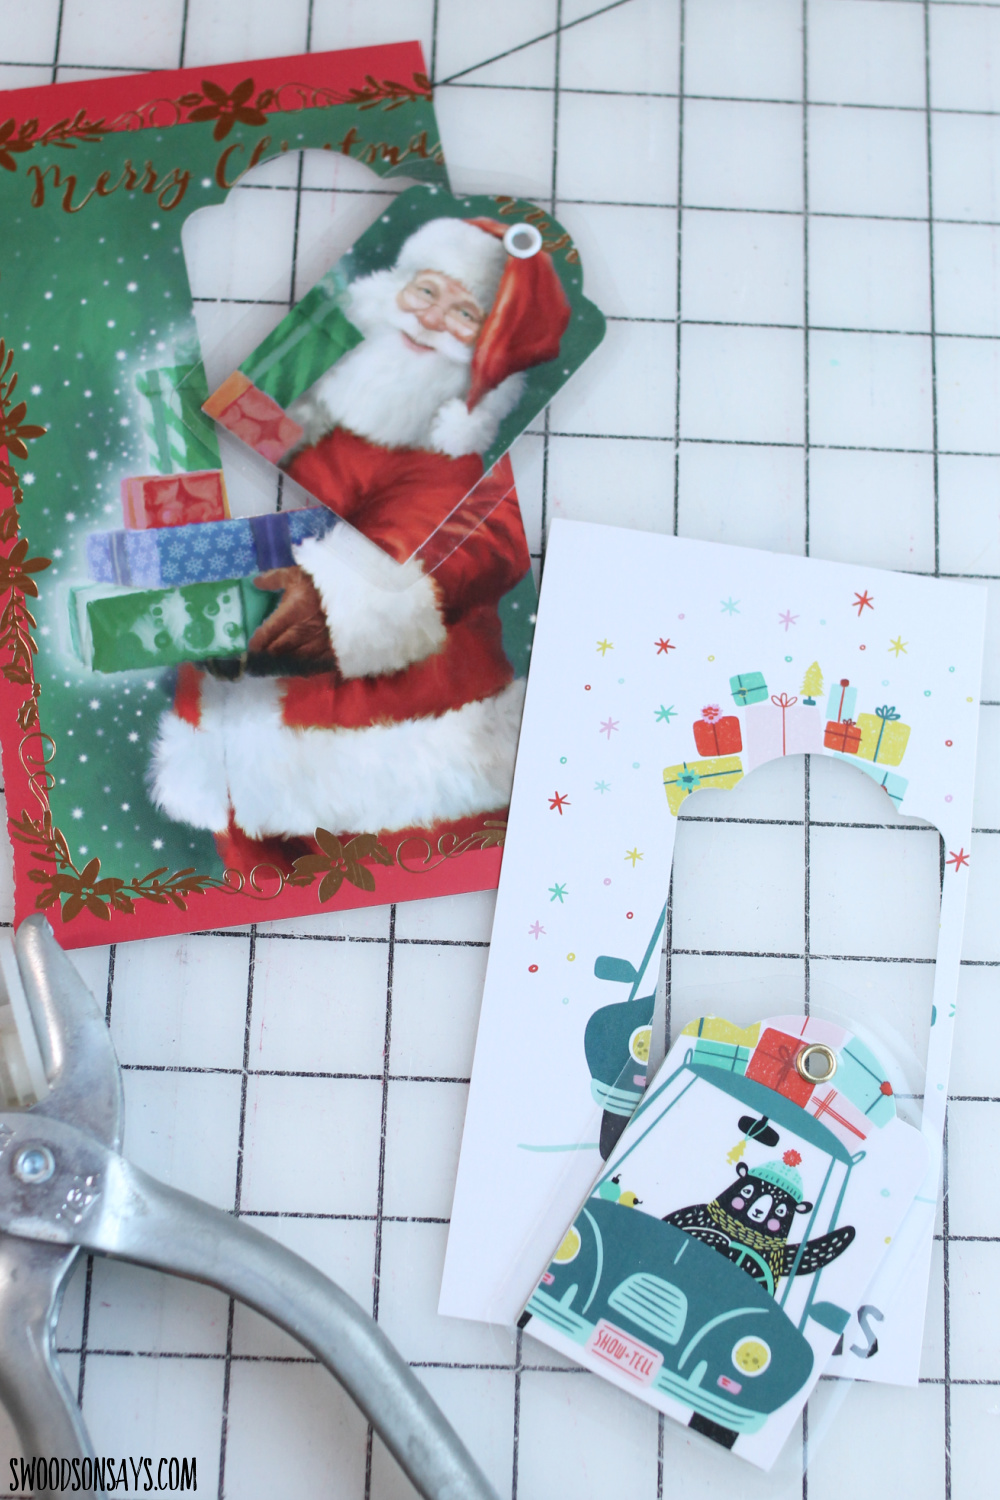
A particularly appealing card image can deserve more than one outing. This creator explores durable upcycled tags, giving the picture a second life beyond a single package. Keep the shape simple so the original artwork stays central. If you plan to reuse the tag, choose a removable way to add the recipient’s name.
Get the tutorial: A Reusable Tag from a Favorite Card Front by Swoodson Says.
5. Bright Picture Tags with a Metallic Edge

A narrow metallic outline can make a cut card image feel deliberately finished. Keep the edge small enough that it frames rather than competes with the printed illustration. This works well when you want a few colorful tags to stand out on plain wrapping. Leave any added finish fully dry before stacking the pieces together.
Get the tutorial: Bright Picture Tags with a Metallic Edge by Baker Ross.
6. All-Over Patterns Cut into Matching Tags

A repeating card pattern gives you more freedom than a single large picture. You can cut several similarly sized tags without worrying about losing a face or a tiny building. Keep the shapes consistent and let the changing pattern make each piece different. A plain ribbon helps the small printed details remain the focus.
Get the tutorial: All-Over Patterns Cut into Matching Tags by Sum of Their Stories.
7. Mini Folded Cards with a Message Inside

A folded tag gives you a little private space for a name or a short note. It is especially useful when the card front has a scene you do not want to crop too tightly. Keep the fold crisp and the size modest. Test how it opens once tied so the message remains easy to read. A soft felt star can be a separate little keepsake on the same package.
Get the tutorial: Mini Folded Cards with a Message Inside by Crafty Journal.
8. Vintage Pictures with Colorful String

A short length of colored string can draw out a small detail in a vintage-style card illustration. The tag stays simple, but the tie makes it feel chosen for the package. This works well on clear treat bags as well as wrapped boxes. Choose a readable area on the back and write the name before attaching it.
Get the tutorial: Vintage Pictures with Colorful String by Thistle Key Lane.
9. A Tag Cut Around an Individual Motif
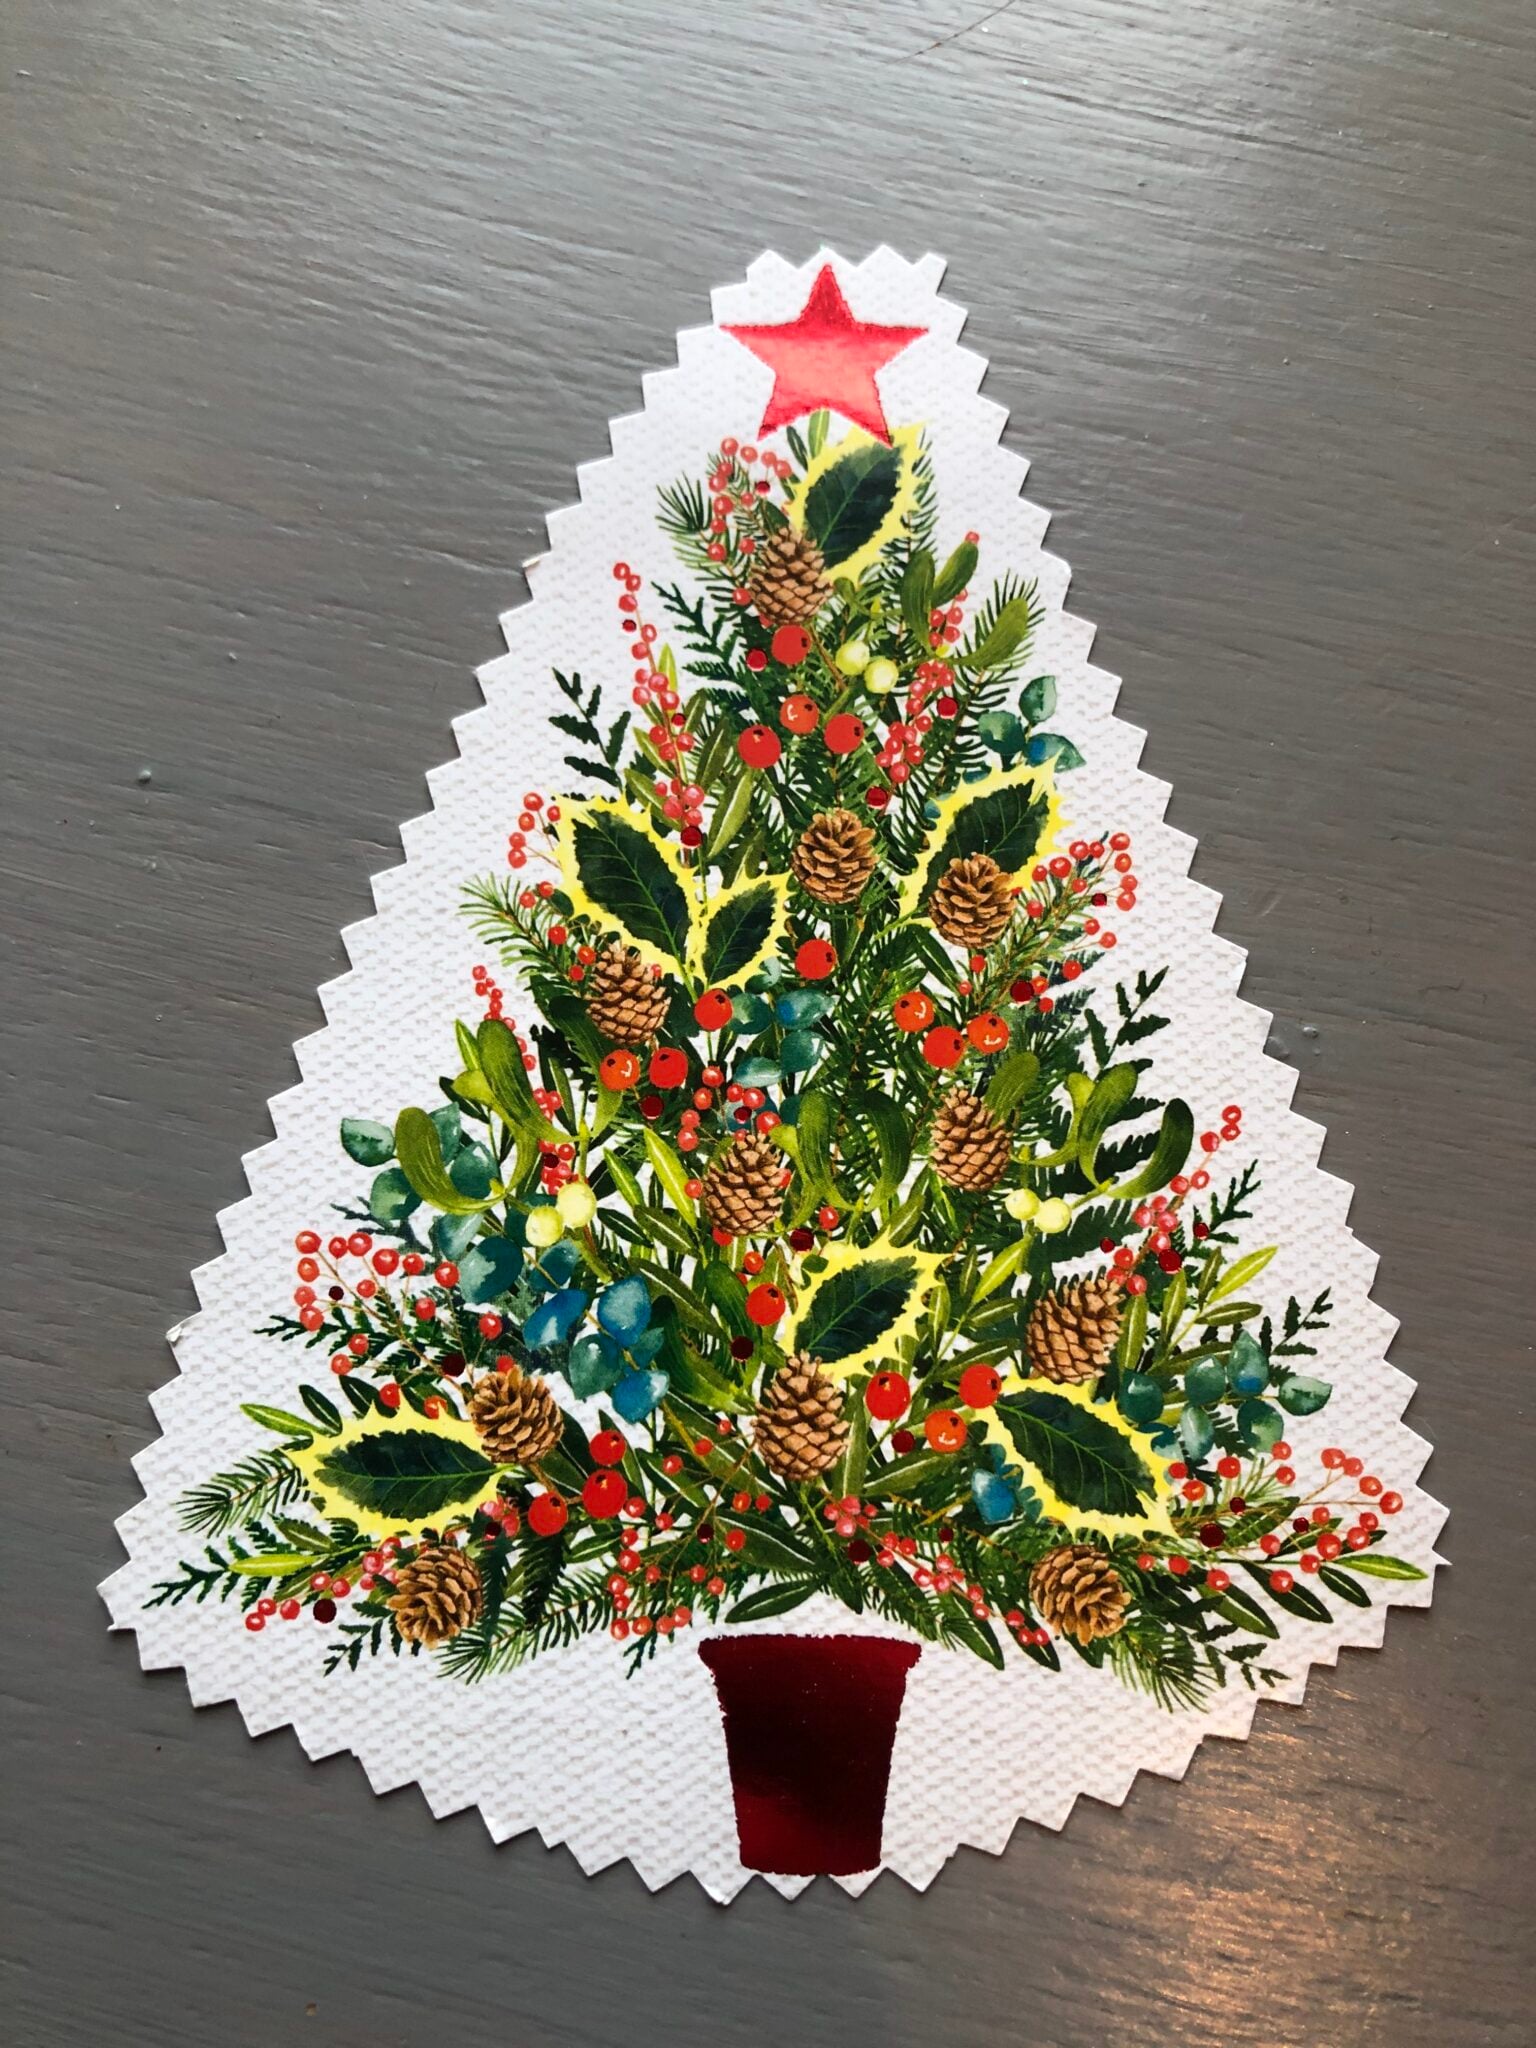
Some card designs work best when the picture itself becomes the outline. A cut-around shape feels more playful than a standard rectangle and uses an image that might otherwise be lost. Keep narrow edges sturdy enough to handle tying. If the back is printed, add a plain writing area before the tag goes onto the gift.
Get the tutorial: A Tag Cut Around an Individual Motif by Upcycle My Stuff.
10. A Mixed Set of Circles and Tag Shapes

You do not need every piece in a batch to match. A mixture of circles and traditional tags lets the shape suit each card image instead of forcing every design into one template. Repeat the same string to connect the set. This is a practical approach when your saved cards have very different layouts.
Get the tutorial: A Mixed Set of Circles and Tag Shapes by This West Coast Mommy.
11. Compact Punched Tags for Smaller Presents
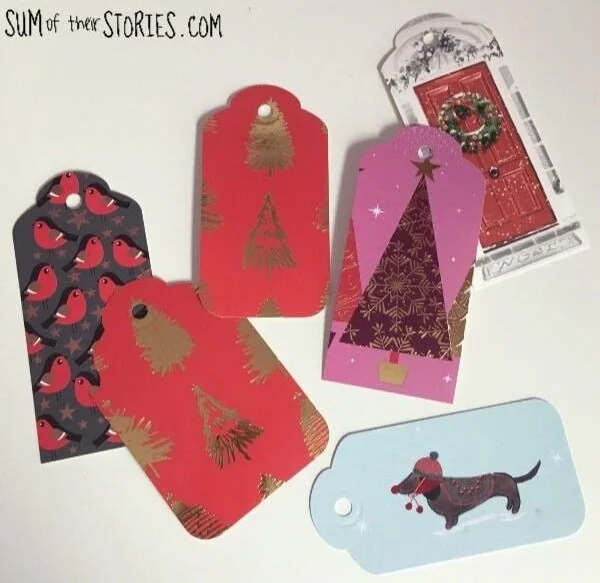
A small punch gives a group of mixed card designs a consistent shape. This is useful on modest packages, where a large label could hide most of the wrapping. Choose a clear detail and leave room for the tie. Keep the reverse readable, adding a plain backing where the original card has writing or a dark print.
Get the tutorial: Compact Punched Tags for Smaller Presents by Sum of Their Stories.
12. Soft Rounded Corners on a Tall Design
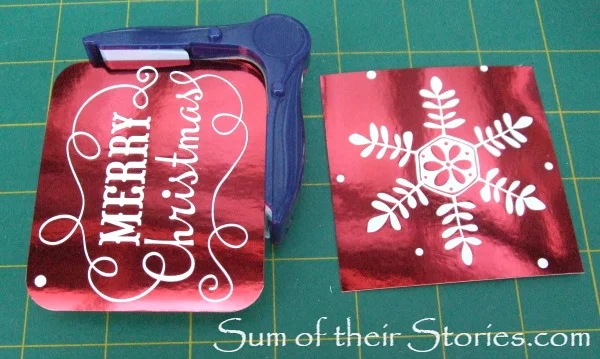
Rounding the corners changes the mood of a simple rectangle without adding another material. It can make a tall illustration feel more finished while preserving most of the original scene. Keep the curves small and consistent. Choose a tie point that does not cut through the main picture, especially when the card has a narrow border.
Get the tutorial: Soft Rounded Corners on a Tall Design by Sum of Their Stories.
13. Reinforced Holes for a Tidy Finish

A small reinforcement ring adds both a visual detail and extra support around the tie point. It is useful when a card is thinner than the other pieces in your batch. Choose a ring that suits the illustration, or keep it plain. Leave enough room between the hole and the edge for the tag to hang securely.
Get the tutorial: Reinforced Holes for a Tidy Finish by A Spoonful of Sugar.
14. Simple Picture Crops with Clear Writing Space

A good tag does not need a complicated outline. A carefully chosen picture and a clean place to write can do all the work. This approach is helpful when you are making several tags from a varied pile of cards. Turn each piece over before finishing it so names will be readable against the backing.
Get the tutorial: Simple Picture Crops with Clear Writing Space by Simply Living Green.
15. A Nostalgic Card Image as the Main Decoration
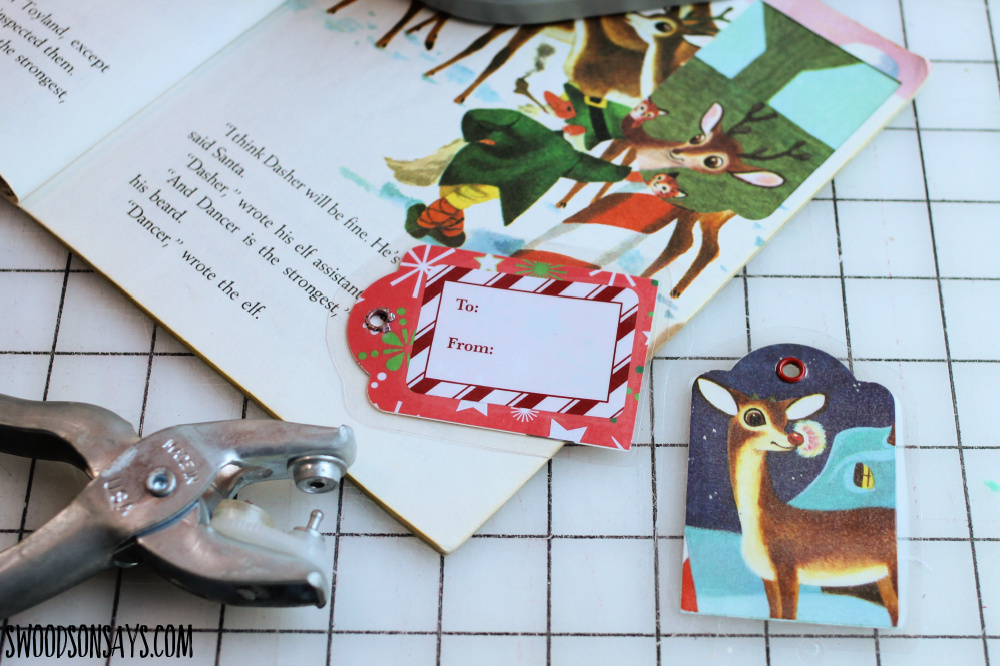
An older-style illustration can be the decorative highlight of a package. Keep the surrounding wrapping quiet and avoid covering the image with a large bow. A simple shape lets the printed color and detail feel intentional. If the card is one you treasure, consider saving a scan or photograph before cutting it into a tag.
Get the tutorial: A Nostalgic Card Image as the Main Decoration by Swoodson Says.
16. Small Scrap Designs for Treat Tags

Little card scraps can be arranged into tiny festive pictures rather than discarded after the bigger cuts. These smaller designs suit treat bags or modest gifts where a large tag would feel awkward. Keep each arrangement easy to recognize. A plain backing can bring different printed scraps together and leave a useful place for a short name.
Get the tutorial: Small Scrap Designs for Treat Tags by Little Family Fun.
17. Layered Recycled Paper for Extra Texture
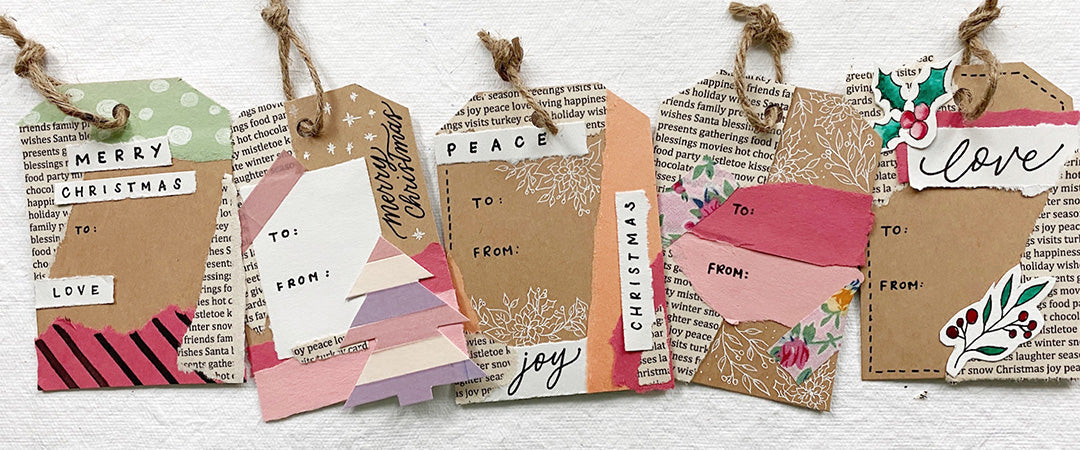
Layering recycled paper adds a handmade surface to a simple tag. Combine a small decorative piece with a quieter backing so the design remains readable. This approach is useful when a card image is attractive but too small to stand alone. Keep the layers flat and fully attached before punching a hole and adding string.
Get the tutorial: Layered Recycled Paper for Extra Texture by DeSerres.
18. A Larger Card Picture on a Plain Package
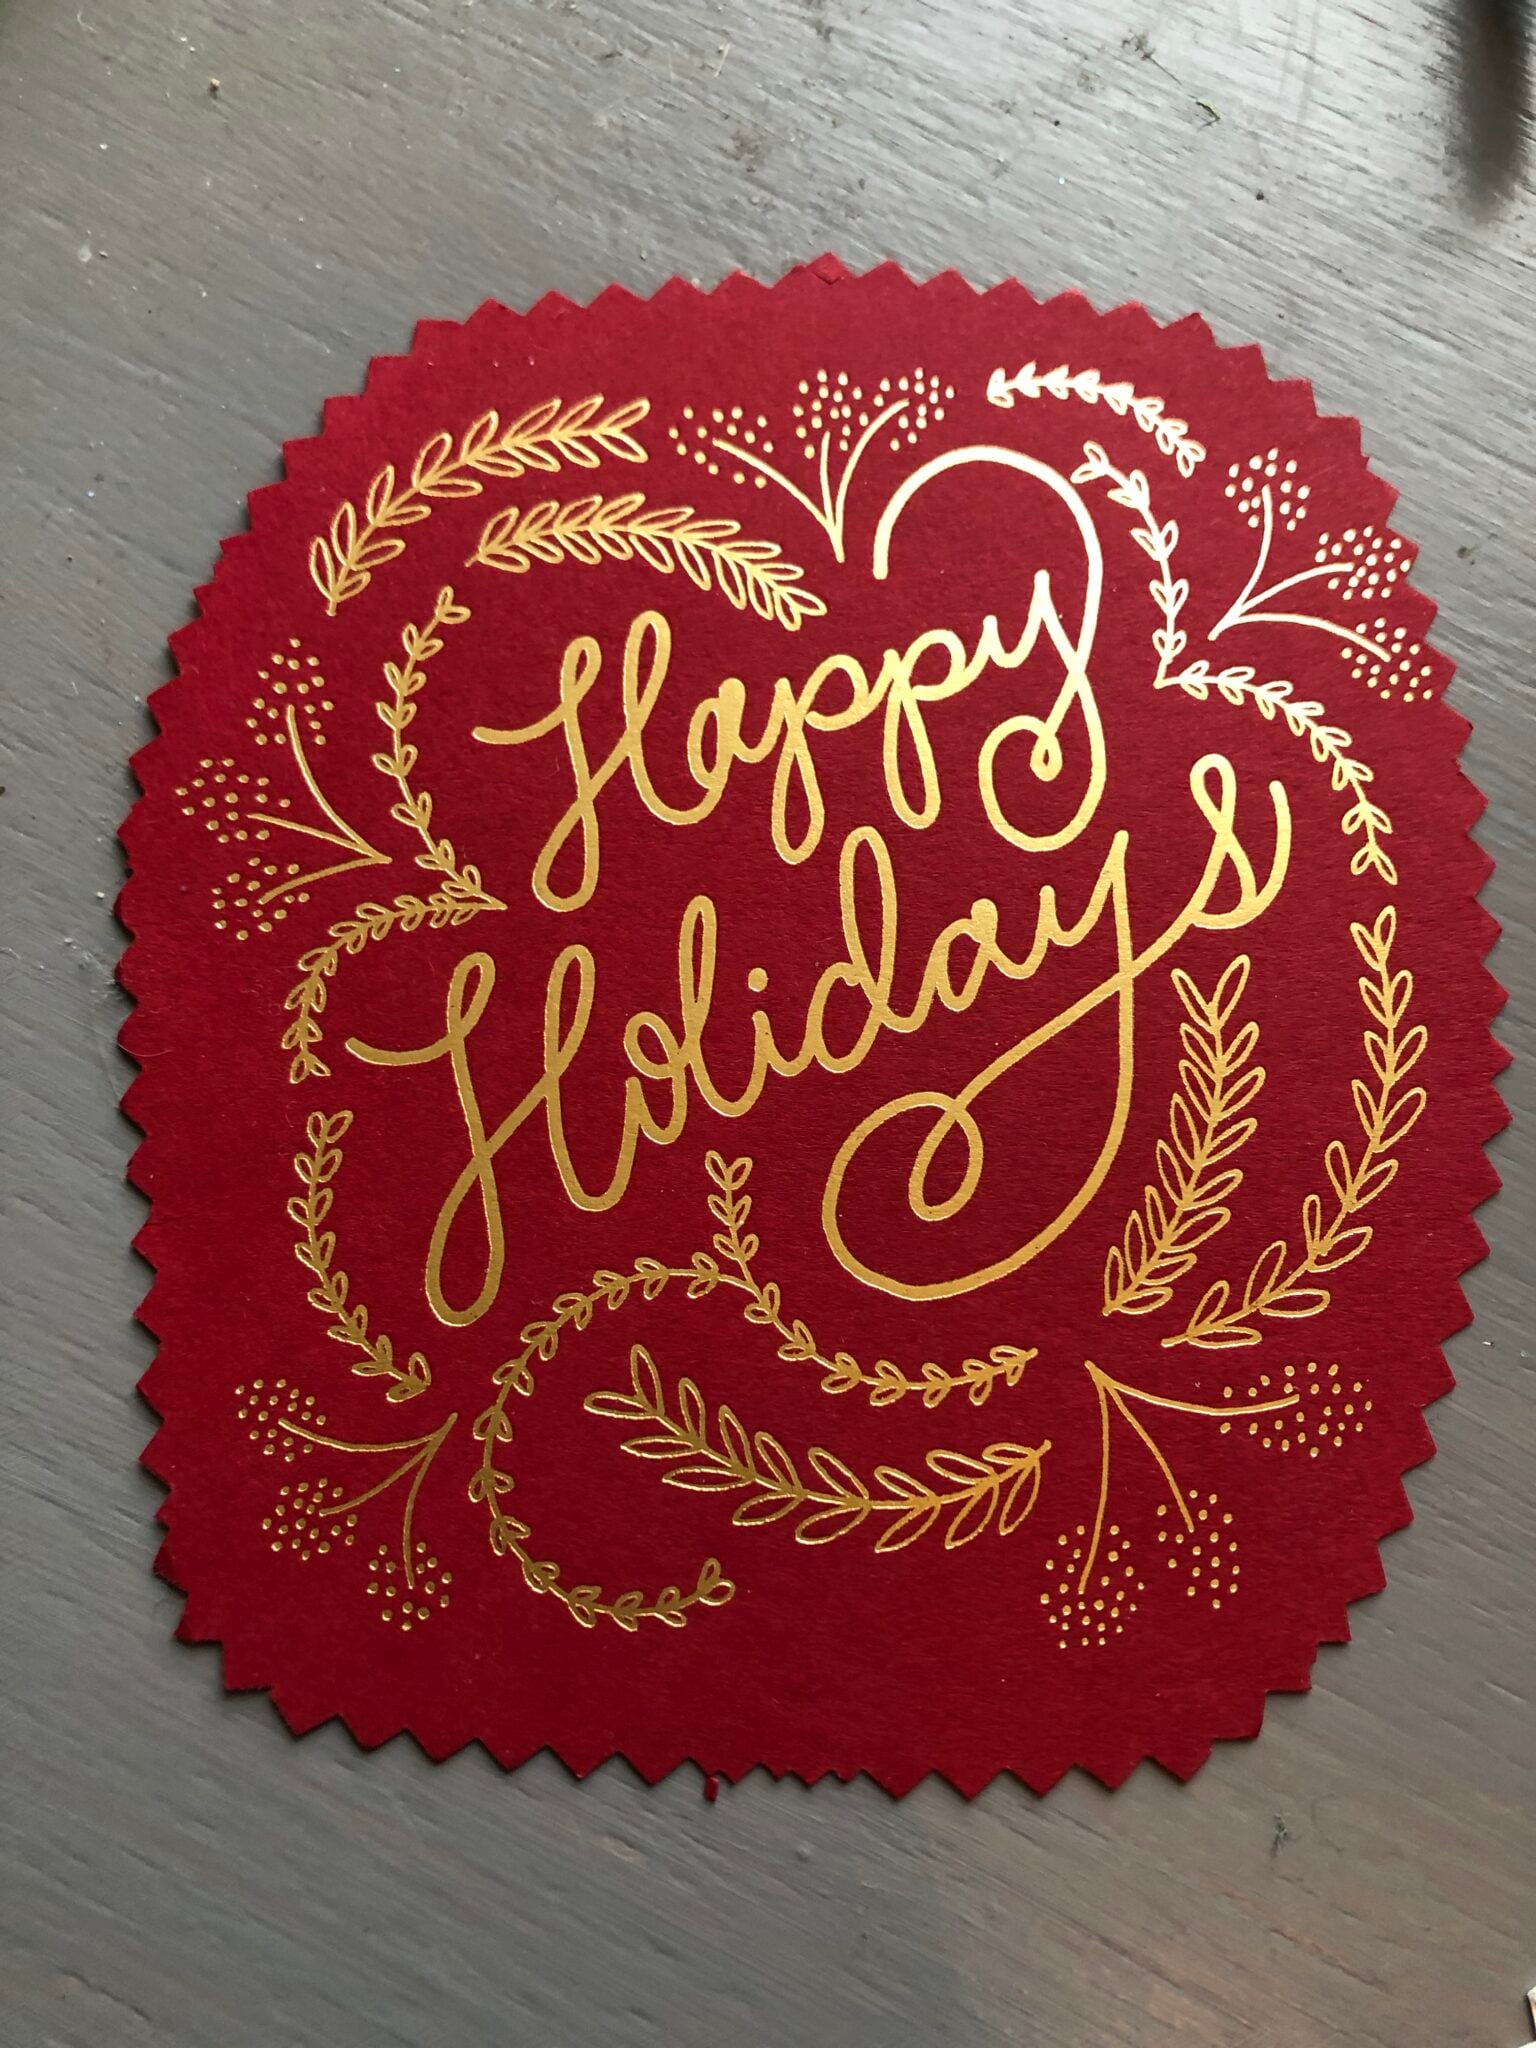
A larger image can work as a generous gift label rather than being cut into several tiny pieces. It looks especially good on plain paper where the picture has room to stand out. Match its size to the box so it does not hang over the edges. Keep the tie or attachment away from the main subject.
Get the tutorial: A Larger Card Picture on a Plain Package by Upcycle My Stuff.
19. A Small Illustration Chosen for Its Placement

The position of a picture matters as much as the shape you cut around it. Leave a little open space so the illustration does not feel crowded against the edge. A small detail can become the focus of a whole tag when cropped thoughtfully. Try the shape over the card first, then check that the tie will sit comfortably.
Get the tutorial: A Small Illustration Chosen for Its Placement by Sum of Their Stories.
Let One Reused Detail Finish the Gift
A tag is often enough to make plain wrapping feel personal. Repeat one color in the string or ribbon, and leave the rest of the package simple.
- Velvet bows for holiday gifts
- Beaded ornaments to use as gift toppers
- Hand-painted Christmas ornament ideas
Which tag idea would you try with the cards you already have? Tell us your favorite in the comments—or share a clever way you’ve reused a special card. We’d love to hear what you saved and how you made it your own.



















0 Comments