How to Make Christmas Angels from Disposable Face Masks
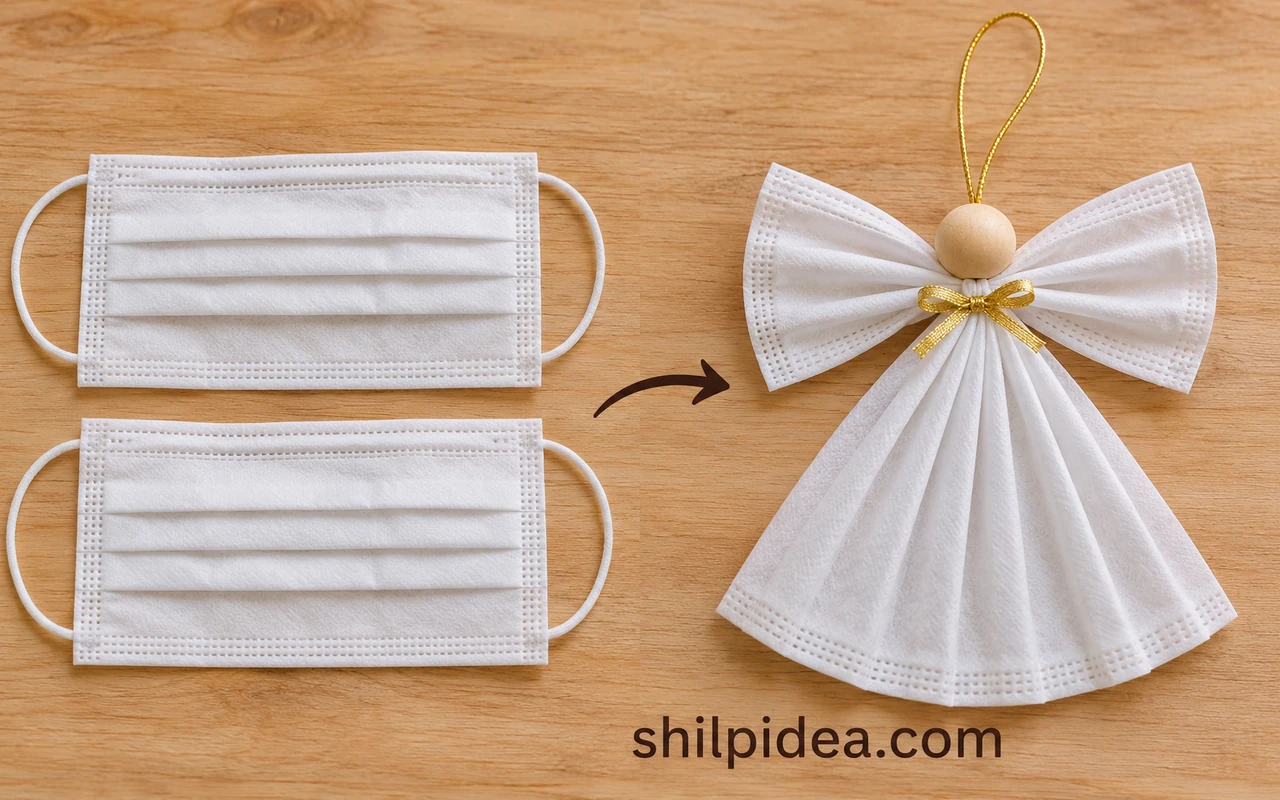
Turn two spare, unused face masks into a small Christmas angel with a pleated dress, soft wings and a wooden-bead head. A few tied joins hold this lightweight ornament together without hot glue or spray paint.
This version uses cotton thread and a separate hanging cord. For a different angel shape, explore our cardboard roll angels.
Below, you will prepare the masks, form each part and check the hanger. Pair the finished angel with our felt star ornaments for a handmade tree.
Materials and Tools
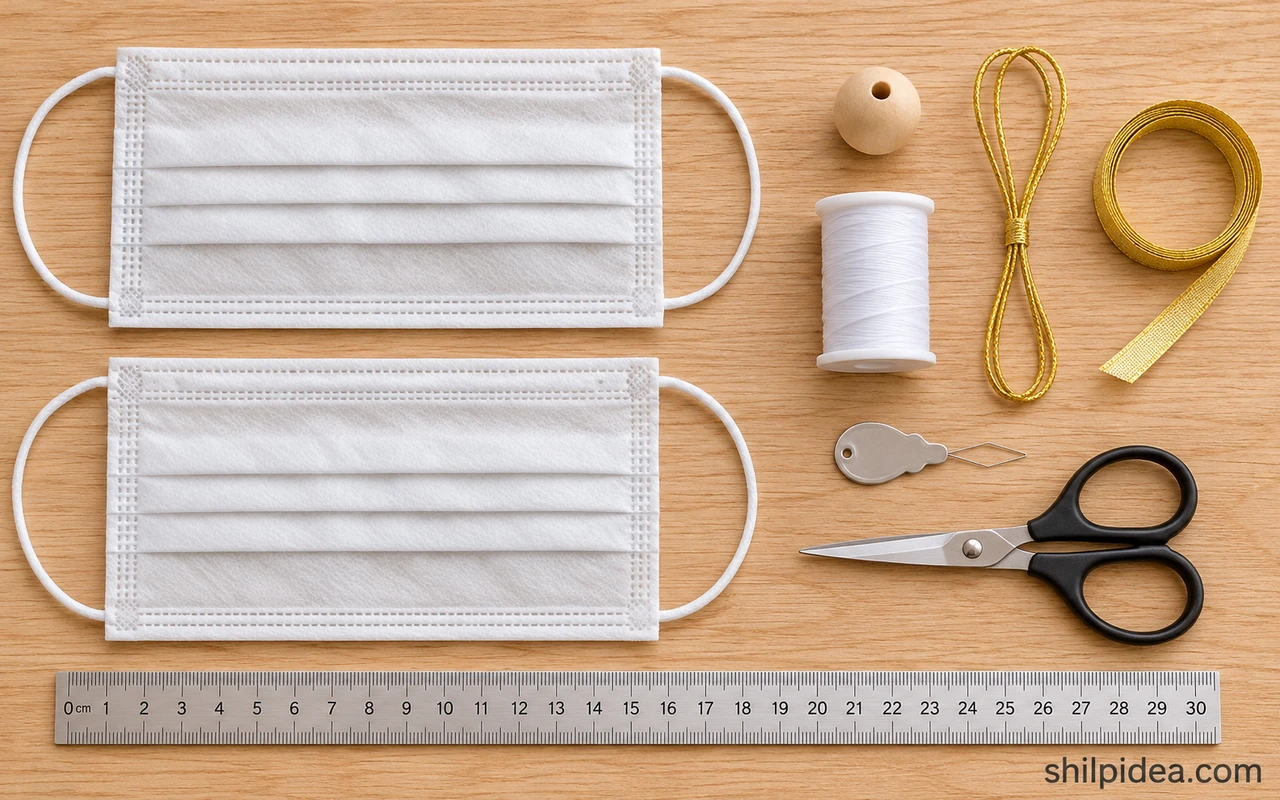
Set out the supplies and check that the doubled cord fits through the bead.
- Unused pleated masks – Two clean, unused white or blue disposable masks; do not use worn masks, even if washed or sprayed.
- Wooden bead – One plain bead about 3/4 inch (20 mm) wide, with a hole large enough for a doubled length of your hanging cord.
- Cotton thread – Several short lengths for tying the neckline, wing center and joining knot.
- Hanging cord – About 16 inches (40 cm) of thin gold or neutral cord, checked against the bead hole before cutting.
- Scissors – Small scissors for an adult to remove ear loops, open the nose-wire channel and trim thread.
- Loop threader – Optional, to pull the folded cord through the bead without forcing it.
- Narrow ribbon – Optional, for a tiny neckline bow; keep the decoration light.
Precautions Before You Begin
Keep this a supervised craft and use only clean, unused materials.
- Do not use worn masks or try to prepare them for this project by washing, spraying or disinfecting them.
- An adult should remove ear loops and nose wires with scissors; collect the wire and small offcuts immediately.
- Keep beads, thread and hanging loops away from young children and pets. This is a decoration, not a toy.
- Do not iron, melt or heat the mask material. Keep the finished angel away from candles and heaters.
- Check the joins before hanging and retire the decoration if the material tears or the head becomes loose.
1. Prepare Two Unused Masks
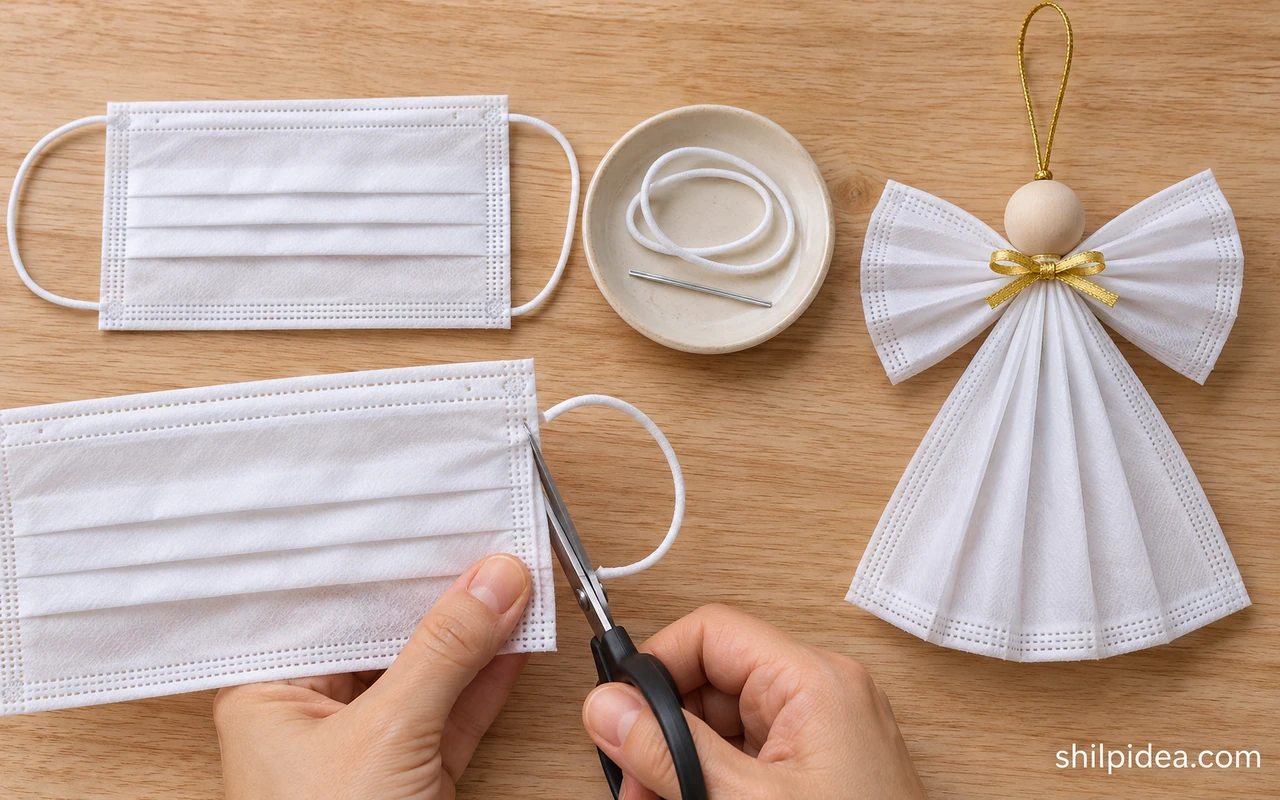
- Choose the masks – Use two new, unused pleated masks from clean storage. Set aside anything worn, dirty, damaged or damp. The altered pieces will be decorations and must never be worn as masks.
- Remove the loops and wire – An adult should snip off the ear loops at their attachment points. If there is a nose wire, open one end of its edge channel with a small slit and slide the wire out carefully; collect all offcuts.
2. Fold and Tie the Angel’s Dress
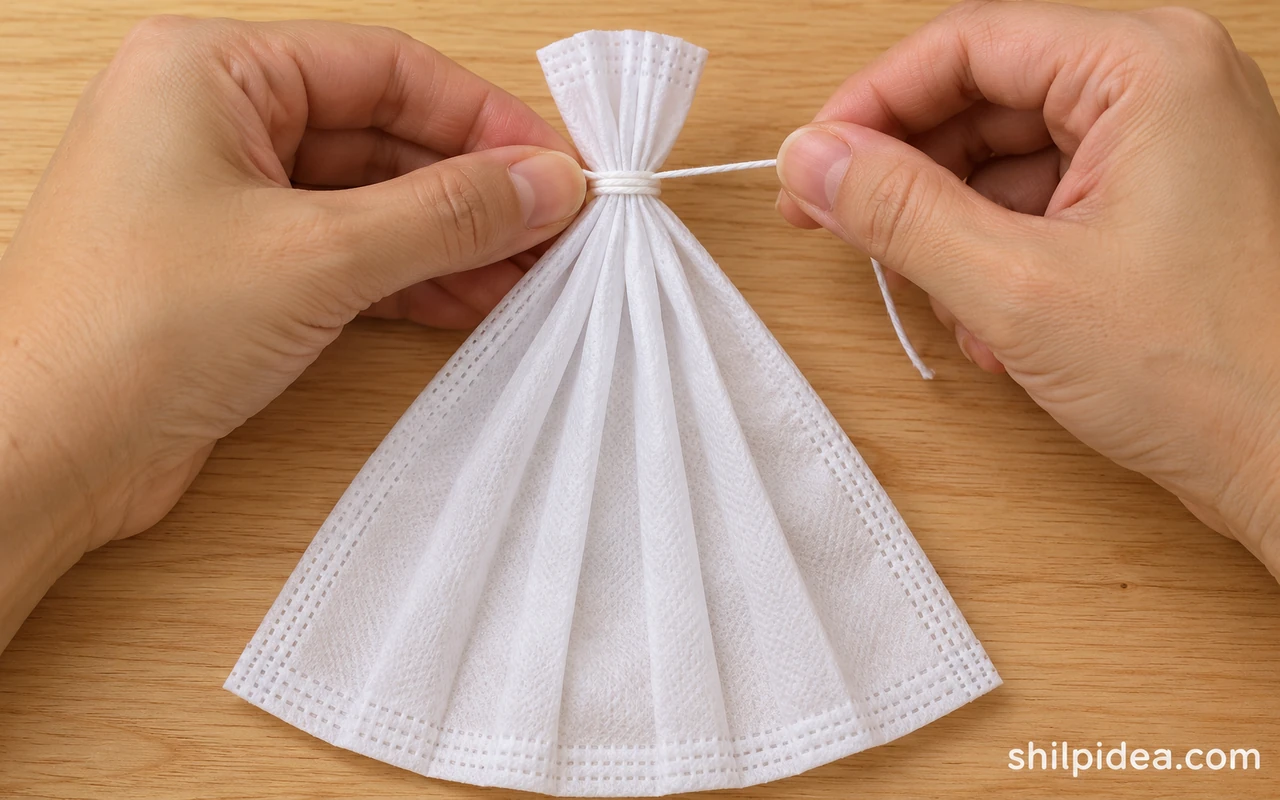
- Turn one mask upright – Place the first mask with a short edge at the top. Close its existing pleats into a narrow lengthwise stack, keeping the layers together rather than cutting them into strips.
- Gather the neckline – Tie white cotton thread around the stack about 3/8 inch (1 cm) below its top edge. Knot firmly enough to hold the folds without tearing the material, then leave the thread tails for joining.
- Open the skirt – Ease the lower end outward into a fan while keeping the tied neckline narrow. Work gently along the folds; if the mask resists opening, loosen and rearrange it instead of pulling hard.
3. Shape a Separate Pair of Wings
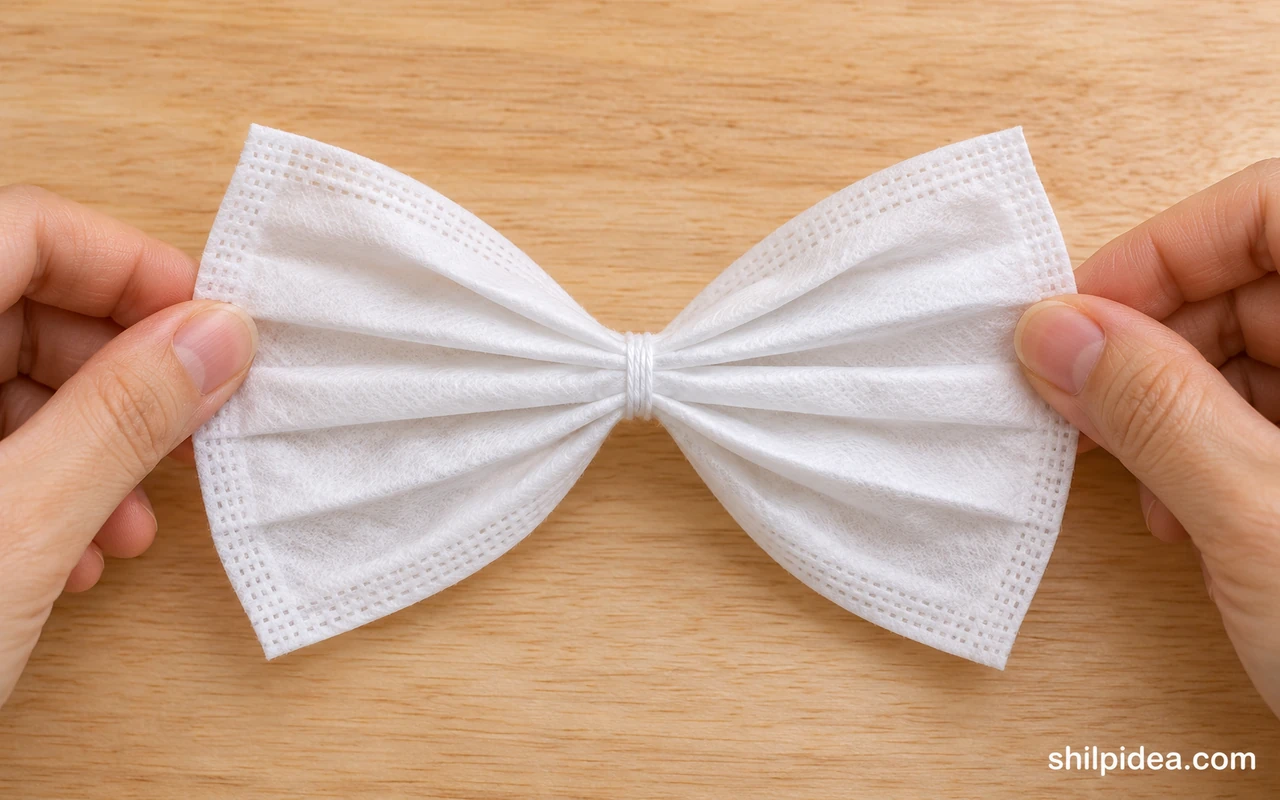
- Fold the second mask – Keep the second mask horizontal, with its long edges left to right. Close the pleats into a long narrow strip, then find the middle by folding the strip lightly in half.
- Tie the center – Bind that midpoint with a separate piece of white thread. Open both ends into matching fans to make bow-tie wings. Leave the middle narrow and retain the thread tails.
4. Join the Wings and Add the Bead Head
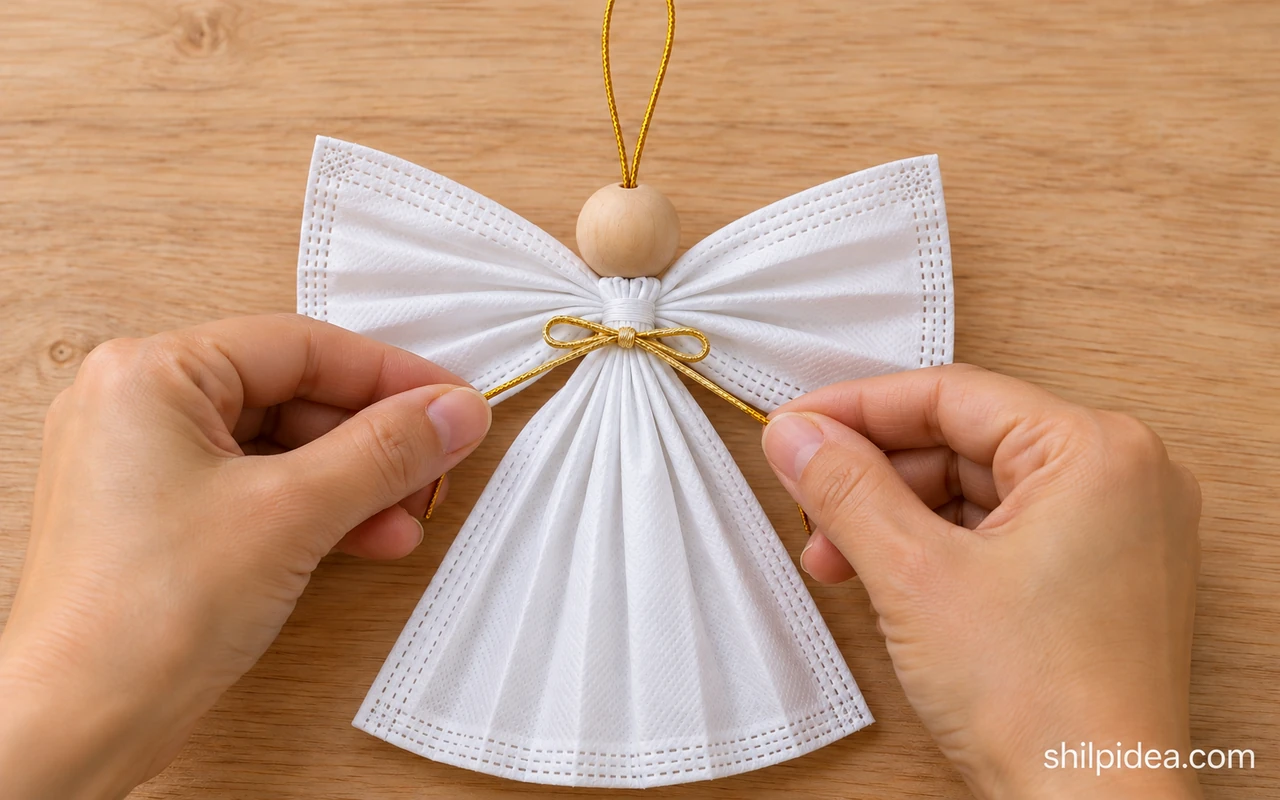
- Connect the two parts – Lay the dress face up and place the wing center behind its tied neckline. Use the retained thread tails to bind the two centers together with secure knots; check that neither piece slides out.
- Thread the hanging cord – Fold about 16 inches (40 cm) of thin gold cord in half. Pass the folded loop upward through the wooden bead, using a loop threader if needed. Keep both free ends below the bead.
- Anchor the bead and loop – Tie those two free ends securely around the joined neckline, then slide the bead down to sit above it. Adjust the upper loop and tighten the knot behind the angel; the cord must hold the body, not just the bead.
5. Finish the Shape and Test the Hanger
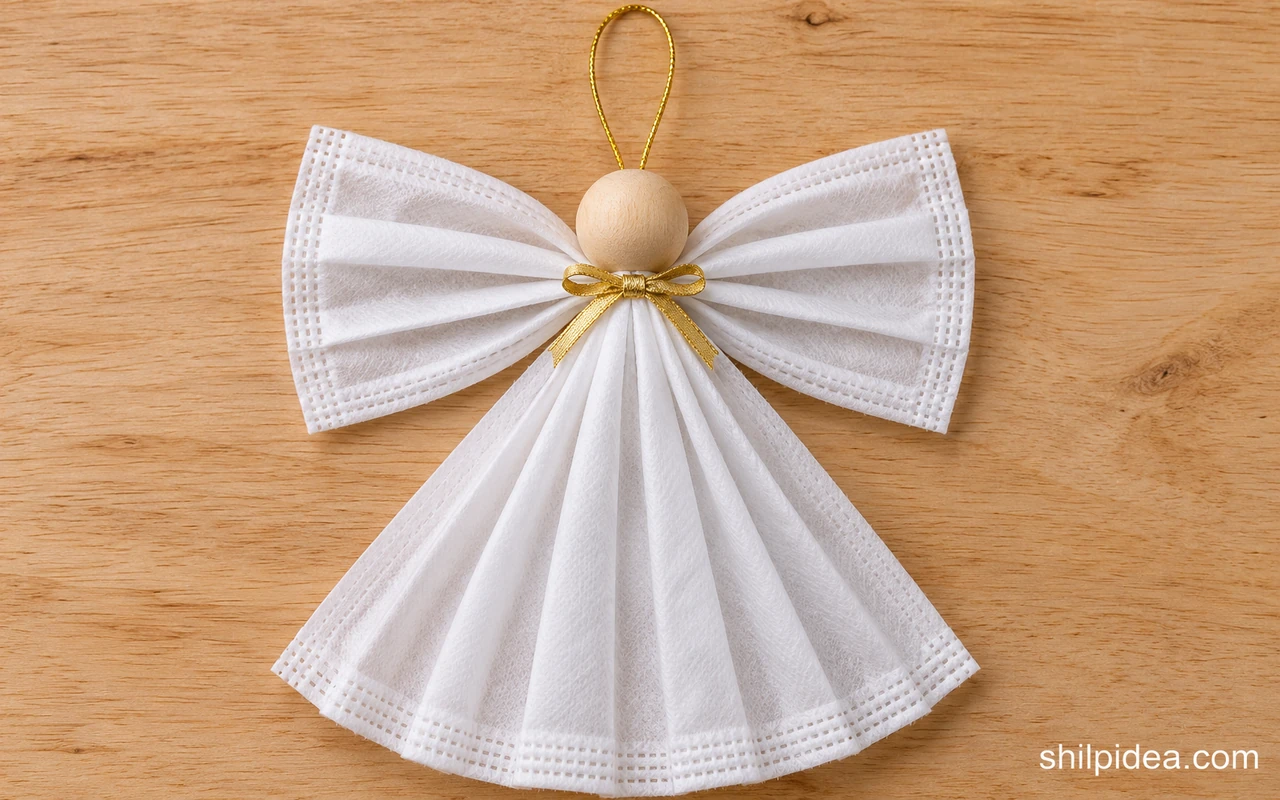
- Tidy the thread ends – Trim loose tails only after the joins feel secure, leaving short ends at the knots. Add a narrow ribbon bow around the neckline if you want to cover the binding.
- Balance the wings – Fan the skirt and wings into a balanced shape without stretching the mask layers. Keep the bead upright and check the back for slipping knots or stray wire.
- Check over the table – Lift the ornament by its cord a few inches above the table and give it a gentle pull. If anything shifts, retie it before hanging. Keep this lightweight decoration away from flames and out of young children’s reach.
Small Adjustments That Help
If the wings droop, tighten their center binding before joining them to the dress. If the skirt twists, undo the neck knot and align the folds again rather than adding more decoration. Keep both pieces centered so the head sits over the dress.
A bead with a narrow hole can make threading frustrating. Try a thinner cord or a bead with a larger hole instead of forcing a sharp tool through it. Make sure the hanging cord is tied around the joined neckline; slipping a bead onto a loose loop alone will not support the angel’s body.
For another two-mask folding arrangement, Quergedacht’s illustrated mask-angel project shows a different way to join the body and folded wings. This guide uses separate thread bindings and a bead head, so follow one assembly method consistently.
Display and Store Your Mask Angel
These two display examples show where finished mask angels can go. Their folded heads and hanging loops differ from the wooden-bead version above; use them as styling inspiration.
Hang an Angel on a Tree Branch

Choose a branch that can carry the ornament without bending and secure the hanging loop before letting go. This photo shows an alternative folded-head design; use the bead-head angel from the guide in the same way for an indoor Christmas tree.
Make a Window Angel Garland

Tie several angels at intervals along a separate support string, then fasten both ends securely across a dry indoor window. Leave space so the wings stay open. Keep the garland beyond children’s reach and clear of curtain cords, heaters and light bulbs.
Hang it on a lightweight ornament branch, tie it to the outside of a wrapped gift or suspend it in a dry indoor display. Keep the fabric clear of hot bulbs and flames. If you make several, vary the ribbon color rather than adding heavy decorations that pull on the neck.
Use surplus unused masks you already have rather than treating the project as a reason to buy new masks. If you have no suitable supplies, try a different paper or fabric angel pattern with its own measurements. Store the finished ornament flat in a dry box, with the hanging cord tucked beside it so the wings are not crushed.
More Handmade Christmas Ornaments to Try
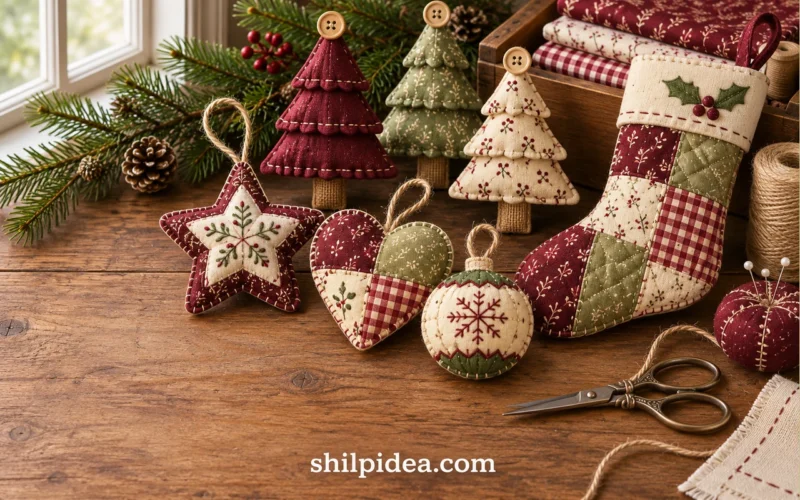
Continue with a project that brings another texture to your holiday display. Paper, felt, yarn and craft wire can sit comfortably together when you repeat a ribbon color or keep the decorations similar in scale. Choose a small ornament for the tree, or make a miniature scene to display beside it on a shelf or mantel.
- Cardboard Roll Angel Craft Ideas
- Pipe Cleaner Christmas Ornaments
- Make Wire Stars for Christmas
- Hand-Stitched Felt Star Ornaments
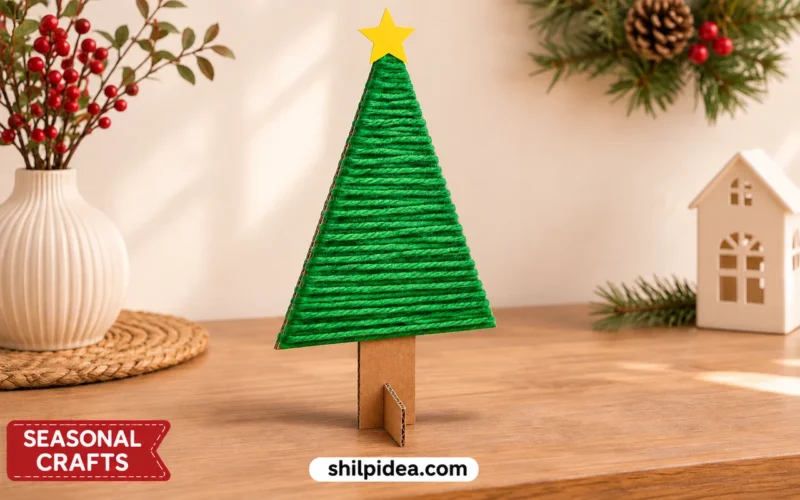
- Mini Christmas Trees with Yarn and Cardboard
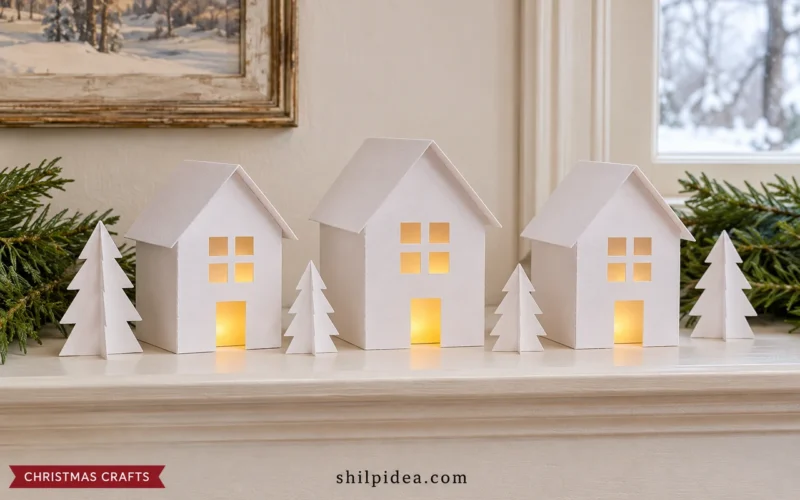
- Paper Christmas Villages for Mantel Displays
Would you keep your angel all white or use blue masks with a contrasting ribbon? Share your idea in the comments. If you try the project, tell us how the folds and hanging join worked with your materials.






















0 Comments