25 Easy Pumpkin Carving Faces for First-Time Carvers
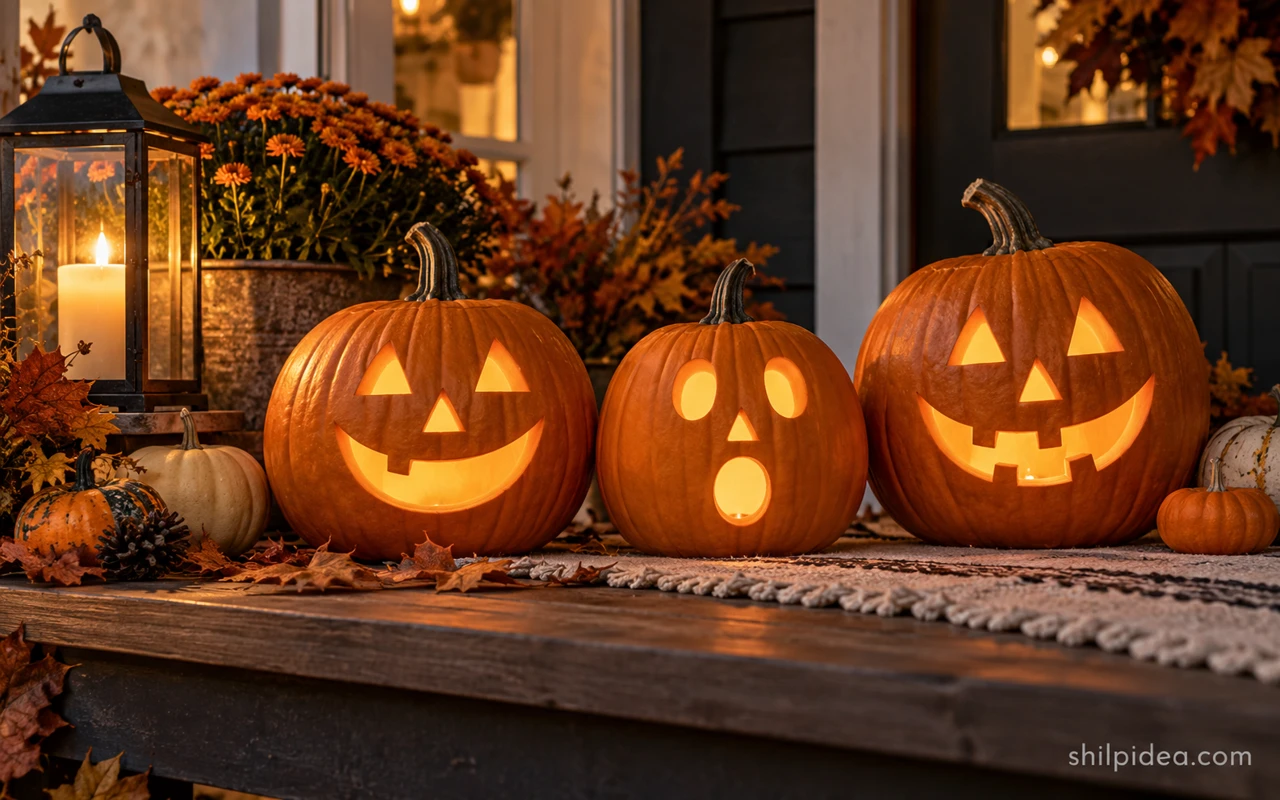
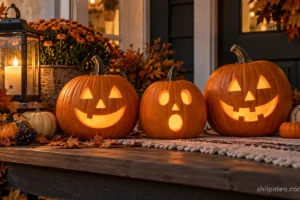
Easy pumpkin carving faces start with a few shapes you can recognize from across the porch. Big eyes, a wide mouth, and generous spaces between the cuts usually make a better first project than lots of tiny details.
This collection features 25 original pattern previews from The Pumpkin Lady. They show different expressions you can use as inspiration, from cheerful smiles to grumpy brows and surprised round mouths.
The images are the creator’s design previews, rather than photographs of our own finished pumpkins. Adults should handle carving tools; children can choose expressions, sketch ideas, and help with scooping. Use battery lights for the finished display.
1. A Minimal Face with Tiny Fangs — Blink

Two round eyes and a small fanged mouth make Blink one of the quietest expressions here. The simple arrangement is a good alternative to a huge grin. Position the eyes first and leave room to make the mouth readable. Small designs still need enough space around each cut, so do not shrink the entire face just because it has fewer features.
2. A Small Surprised Face — Bart

An open oval mouth gives Bart a startled look without a large amount of carving. The higher eyes leave a quiet area through the middle of the face, which keeps the expression uncluttered. Use the pattern as a reminder that empty pumpkin surface is part of the design. There is no need to fill every space with extra cutouts or decoration.
3. Tiny Features Above a Giant Smile — Barlow

Barlow makes the mouth the star of the face. Small eyes and a little triangle nose leave room for a huge curved grin below. The contrast is what gives the design its charm. Try it on a broad pumpkin and position the features before cutting, since a mouth drawn too low can end up close to the uneven base.
4. A Lopsided Laughing Face — Alvin

The uneven mouth and paired rounded eyes give Alvin an easygoing, laughing expression. Its asymmetry is the appeal, so there is no need to make every side match perfectly. Choose a broad area of the pumpkin for the mouth and keep the little eye details proportionate. This is a friendly option for an entrance where young trick-or-treaters will see it close up.
5. A Broad Friendly Grin — Abner

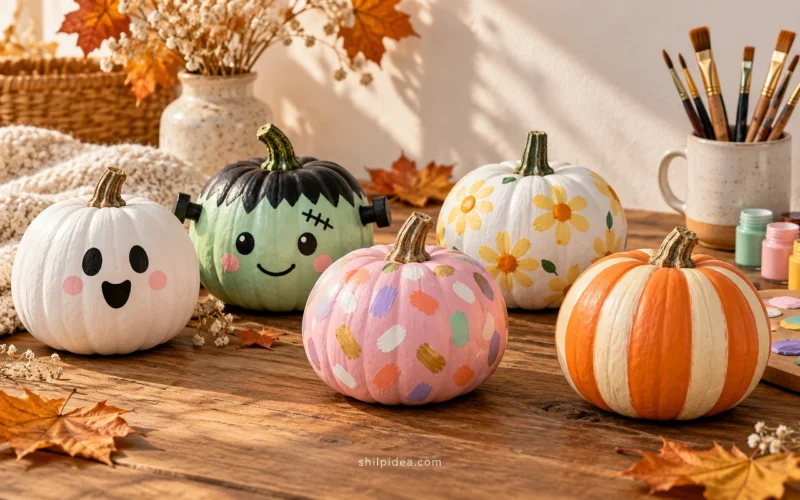
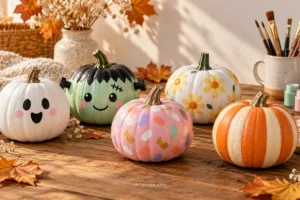
Abner has large rounded eyes and a broad smile that feels welcoming rather than frightening. The low, wide mouth is the feature to notice first. On a real pumpkin, give that curve plenty of room instead of squeezing it beneath the nose. A squat pumpkin would emphasize the cheerful expression, while a taller one leaves extra space above the eyes. Mix in painted pumpkin designs if you want another decorating option without more cutting.
6. Wide Eyes and a Little O Mouth — Baxter

Baxter uses uneven eye shapes, a pointed nose, and a little open mouth to create an inquisitive expression. The small number of separate features makes the layout easy to understand before carving begins. Keep the mouth visible from a few steps away when sizing the pattern. On a large pumpkin, an overly tiny opening can lose the surprised effect after dark.
7. A Lopsided Startled Expression — Bill

One large round eye, a smaller eye, and an uneven open mouth give Bill a comical startled look. The face does not rely on symmetry, which makes it forgiving as a sketch. Keep the eyes distinct enough that the difference looks intentional. A slightly irregular pumpkin can suit this expression better than a perfectly round one because the whole character feels offbeat.
8. One Big Eye and a Diagonal Grin — Bing

The oversized eye and sloping grin make Bing feel like it is looking across at another pumpkin. That is useful when arranging a small group: angle the faces toward each other rather than pointing every pumpkin straight ahead. Keep the large eye opening away from the stem area, and leave a strong band of pumpkin above the mouth for support.
9. A Sideways Toothy Smile — Benny

The large sideways mouth gives Benny a cheeky expression while the eyes stay small and simple. One or two broad teeth make the grin interesting without turning it into a complicated row. Sketch the mouth as one clear shape before deciding where the teeth belong. The result is especially useful for a pumpkin that has a naturally tilted stem or uneven outline.
10. Drooping Eyes and a Scalloped Grin — Barry

Barry combines soft drooping eyes with a scalloped mouth, giving the design a slightly worried but friendly personality. The rounded shapes are a useful change from triangular jack-o-lantern features. Keep the scallops generous instead of adding lots of little bumps. A smooth front surface will make it easier to compare both eyes and keep the expression balanced on the pumpkin.
11. A Mischievous Sideways Smile — Attila

Slanted eyes and a long sideways grin make Attila feel mischievous rather than sweet. The broad mouth is especially useful for a nighttime display because it creates one clear band of light. Let the eye angle do the expressive work instead of adding extra scars or small shapes. Leave enough pumpkin between the features to support the design after cutting.
12. A Frowning Face with Raised Eyes — Brian

Brian reverses the usual jack-o-lantern smile with a deep downward mouth. The eyes sit close together above it, making the expression look dramatically unhappy. That change in mouth direction is enough to distinguish it from the cheerful faces. Leave plenty of pumpkin around the lowest part of the frown and keep the whole design above the pumpkin’s uneven bottom edge.
13. Angry Eyes with a Zigzag Mouth — Baron

The downward-slanting eyes and zigzag mouth create a classic spooky expression. A few broad teeth are easier to read than a crowded row of tiny ones. The important choice is spacing: keep the nose, eyes, and mouth far enough apart that their edges do not nearly meet. This face works well as the grumpier member of a mixed pumpkin group.
14. A Grumpy Face with a Curled Mouth — Alistair

Angled eyes and a curled lower mouth make this face look wonderfully unimpressed. The raised curves at the mouth edges add personality without requiring an entire character scene. Leave a generous band of pumpkin between the nose and mouth. A simple grumpy face can stand alone on the step, especially beside a cheerful pumpkin with a completely different expression.
15. A Tall Smile with Pointed Eyes — Andy

Andy pairs long, pointed eyes with an oversized upward-curving smile. The exaggerated mouth creates a clear expression even when viewed from a distance. Use a taller pumpkin if you want to keep the design stretched vertically. The eye tips need care, so avoid making them thinner than the original pattern suggests and let the larger smile carry the overall effect.
16. A Friendly Face with a Pointed Nose — Arrow

A pointed nose sits between tall eyes and a broad friendly mouth in this design. The simple center shape gives the face a clear focus. Keep its size balanced with the eyes so the expression does not become crowded. This is a useful starting point for exploring how an ordinary triangle can look warmer when the surrounding mouth curves upward.
17. A Bow-Tie Pumpkin Character — Barney

A small bow tie gives this smiling face a dressed-up character. The face itself remains the main attraction, with large eyes and a wide curved mouth. You can use the complete pattern or take inspiration from the expression and add a separate paper bow tie to the display. Keep any paper accessory outside the pumpkin and use a battery light inside.
18. A Face with a Crooked Nose — Abraham

This design uses a long crooked center shape to create a more characterful face. The large surrounding openings keep the expression readable even though the nose has extra personality. Treat it as a choice for someone comfortable with a few turns in the cutting line. Keep the center connected, and follow the creator’s pattern rather than guessing which narrow areas should remain.
19. A Sleepy Open-Mouthed Expression — Ahem

Half-closed eyes and a little open mouth give Ahem a sleepy, slightly exasperated look. The expression is useful when you want something funny instead of scary. Narrow eyelid openings are the delicate part, so a beginner can draw them a little thicker on a practice sketch. Keep the eyes aligned before transferring the design to the curved pumpkin surface.
20. A Goofy Face with Uneven Teeth — Arlo

Arlo’s round eyes and uneven toothy mouth create a funny, slightly startled character. The pattern shows how a few retained pieces can suggest teeth without carving dozens of separate holes. Follow the original connections carefully when using this design. If a first attempt feels too intricate, simplify the mouth sketch while keeping the uneven expression that makes the idea appealing.
21. A Curl Beneath the Smile — Bernie

Bernie adds a playful curl below a broad smiling mouth. That extra curve creates personality, but it also introduces a narrower cutting area than a plain grin. Keep it generous if you adapt the expression for your first pumpkin. Choose the simpler face above it if you would rather avoid delicate details, or draw the curl on instead of cutting it.
22. Round Eyes with Playful Eyelashes — Annie

Circular eyes and little lashes give Annie a cheerful cartoon quality. The mouth has more detail than a basic crescent, making this a good design to compare with the simpler faces before choosing. A beginner can concentrate on the big eyes and broad mouth shape first. The small decorative marks should never crowd the main openings or leave fragile strips between them.
23. A Goofy Grin with Blocky Teeth — Bo

A star-like nose and blocky lower teeth make Bo look playful rather than polished. The mouth has clear larger sections, which helps the expression stand out from a distance. Keep the teeth broad when adapting the idea, and avoid adding a long row of extra points. The face suits a single prominent pumpkin beside a doorway or candy table.
24. A Big Grin with Several Teeth — Bling

Bling is the more detailed toothy option in this collection. Its broad smile is easy to recognize, but the many narrow tooth divisions need more care than a basic crescent. First-time carvers can borrow the overall expression and keep fewer, wider teeth. Choose the full creator pattern only if you are comfortable working patiently around small retained sections. Nearby, small Halloween roll crafts can add a handmade finishing detail.
25. A Sparkly-Eyed Smiling Character — Buddy

Buddy uses little curved eye accents and a light smile for a softer character. The fine details make the full design a more patient carving choice, even though the overall expression is simple. A beginner can draw the eye accents and carve only the larger openings. Keep the warm, friendly look as the goal rather than feeling obliged to reproduce every tiny mark.
Give Your Pumpkin Faces a Welcoming Place to Glow
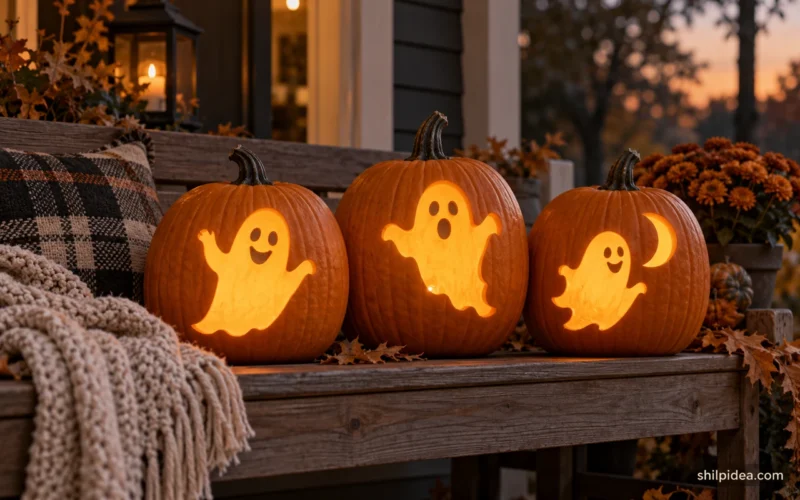
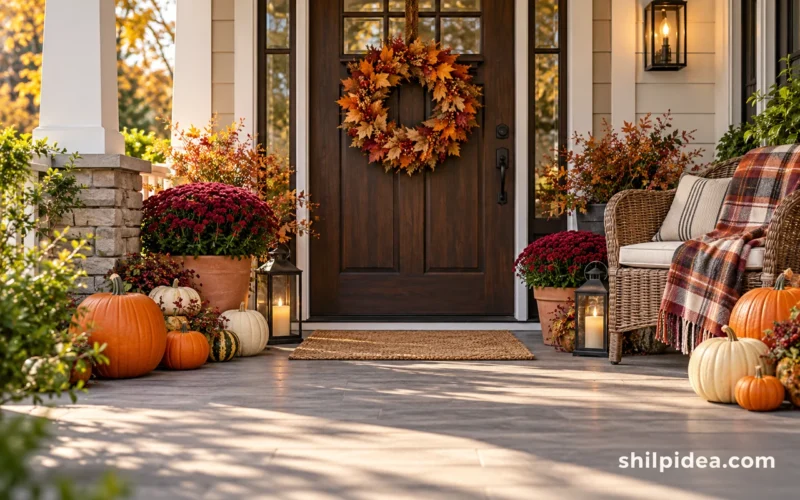
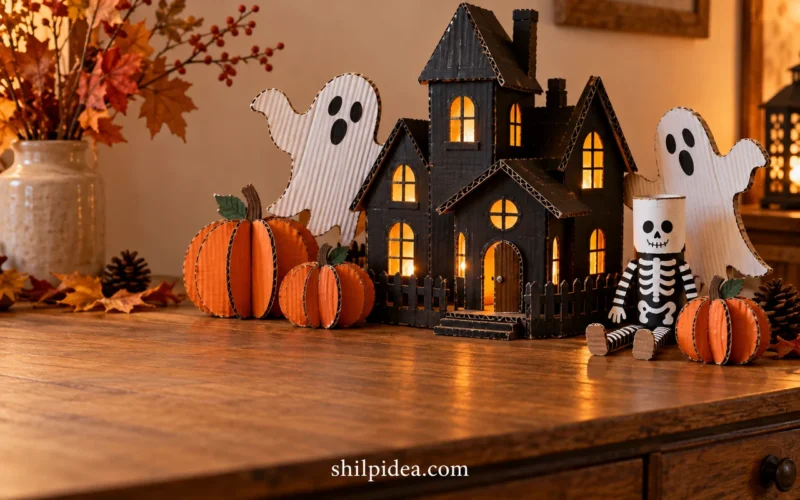
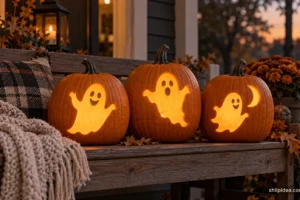
A good expression is easier to enjoy when the rest of the display stays simple. Put one pumpkin near the door, group different faces at varied heights, or mix a carved pumpkin with a painted one for contrast. Lightweight ghosts and cardboard decorations can extend the scene without adding more carving. These related collections help you choose the finishing details.
- 18 Cute Simple Pumpkin Painting Ideas for Beginners
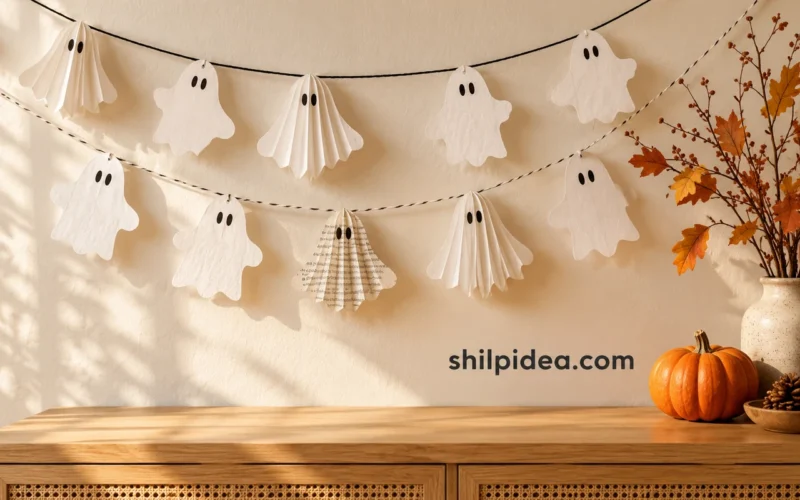
- 15 Paper Ghost Garland Ideas for Last-Minute Halloween Decor
- 20 Cardboard Halloween Decoration Ideas to Make from Boxes
- 10 Toilet Paper Roll Halloween Craft Ideas





0 Comments