18 Halloween Window Silhouettes You Can Cut from Black Paper
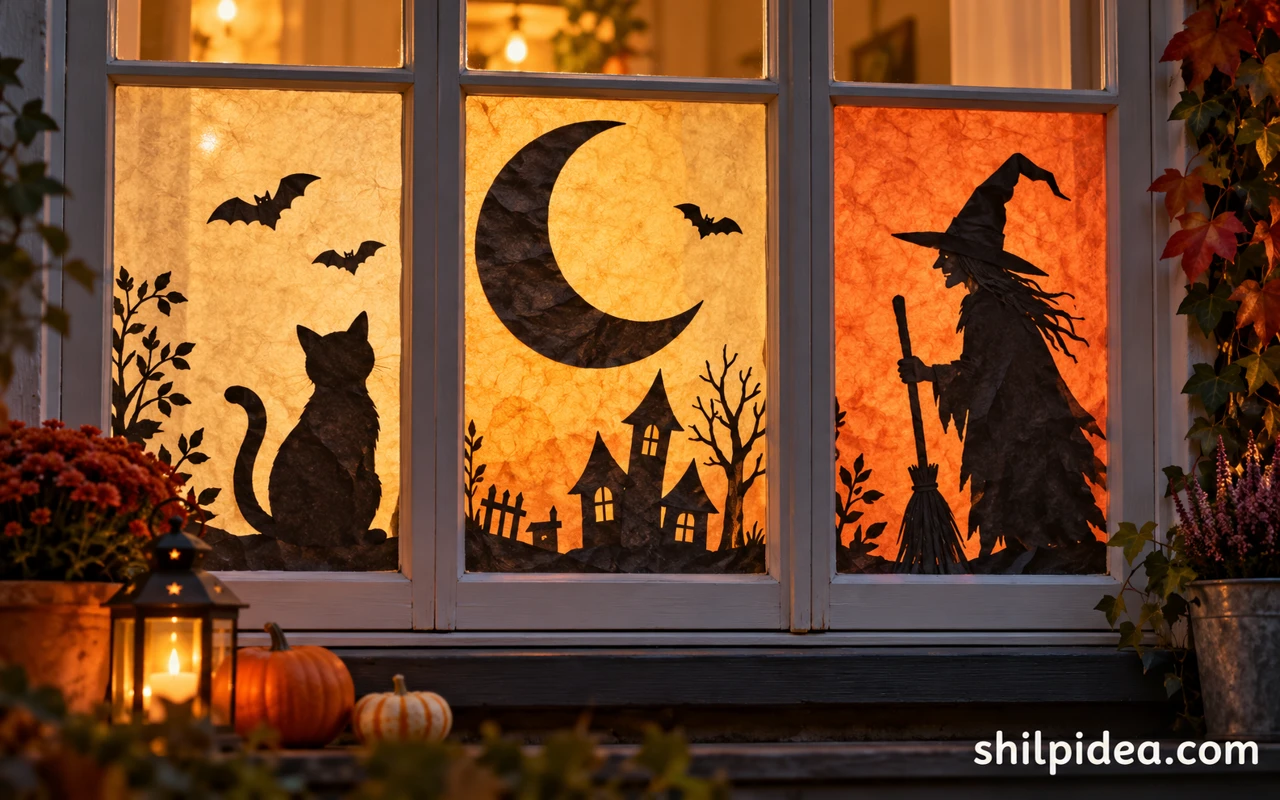
Halloween window silhouettes make a strong impression with a few dark shapes and a clear background. Black paper can turn an ordinary pane into a scene that feels spooky, playful, or somewhere in between.
These 18 visual references mix finished displays with silhouette artwork to help you choose a theme. Borrow the broad shapes, then simplify small details to suit your window and cutting confidence.
Keep openings and handles accessible, test removable fixings on your surface, and use cool battery lighting when you want a glow behind paper.
1. A Black Cat with a Raised Tail

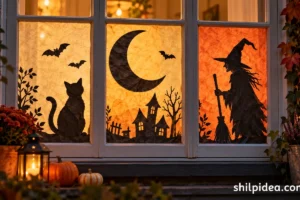
An arched back and upright tail make a cat silhouette recognizable without any interior detail. The strong outline suits a lower corner where the cat can appear to stand on the sill. Keep the legs and tail broad when adapting the shape in paper. A single large cat often reads more clearly from outside than several tiny animals scattered around the pane.
2. A Witch Flying Across the Glass

A pointed hat, a long skirt, and a broom create a familiar Halloween outline. The diagonal direction gives the window a sense of movement. Choose one sweeping silhouette and leave enough clear glass around it for the broom to stand out. Fine facial details are less useful than a clean outer profile, especially when the window will be viewed from the sidewalk.
3. A Twisted Haunted Tree

Crooked branches can turn the sides of a window into a spooky frame. The reference shows several tree shapes, so you can choose a single trunk or build a small woodland arrangement. Use broad branches that stay connected to the main shape. A few irregular forks are enough to suggest an old tree without cutting every tiny twig.
4. A Group of Floating Ghosts

Different ghost heights give the window a loose, floating rhythm. Rounded bodies and a few trailing points make the shapes readable even without faces. Keep the group concentrated in one area instead of covering every pane. If you add eyes or mouths, leave generous paper connections so the figures do not become fragile when you lift them into position. Continue the floating shapes indoors with a paper ghost garland.
5. Hands Reaching Up from the Sill

A row of reaching hands makes the lower edge of a window feel like a scene rather than a border. Different finger positions add variety while the shared direction keeps the arrangement connected. Broad palms and thicker fingers are easier to manage in paper. Leave the upper part of the pane clear so the hand shapes stay easy to recognize from outside.
6. Bats Hanging from a Branch

Upside-down bats create a quieter scene than a flying flock. A simple branch across the upper pane gives the shapes somewhere to hang. Keep the branch sturdy and the gaps between bats visible. The idea works especially well in a wide window where the repeated shapes can stretch across the top without covering the view through the center.
7. A Howling Werewolf Profile

A tilted head, lifted hands, and an uneven furry outline make this werewolf silhouette dramatic. The broad body is the main shape to preserve if you simplify the reference for paper. Choose a tall pane so the figure can stand upright without squeezing its head or feet. One large character needs very little extra decoration around it to feel complete.
8. A Tower of Jack-o-Lantern Faces

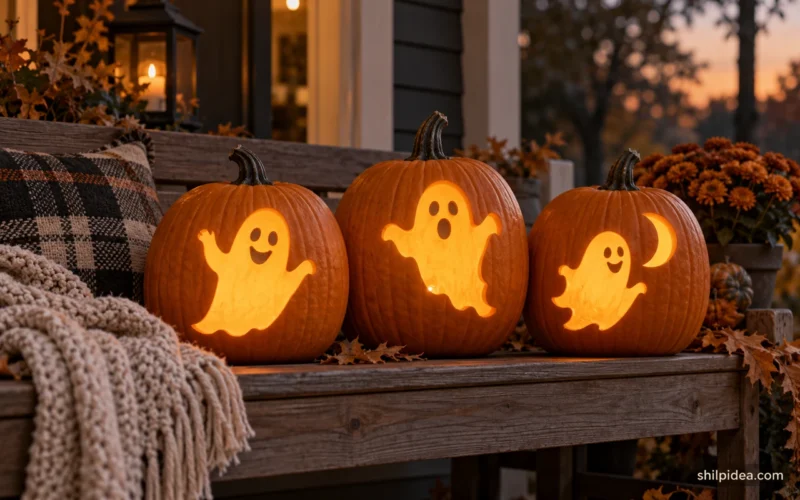
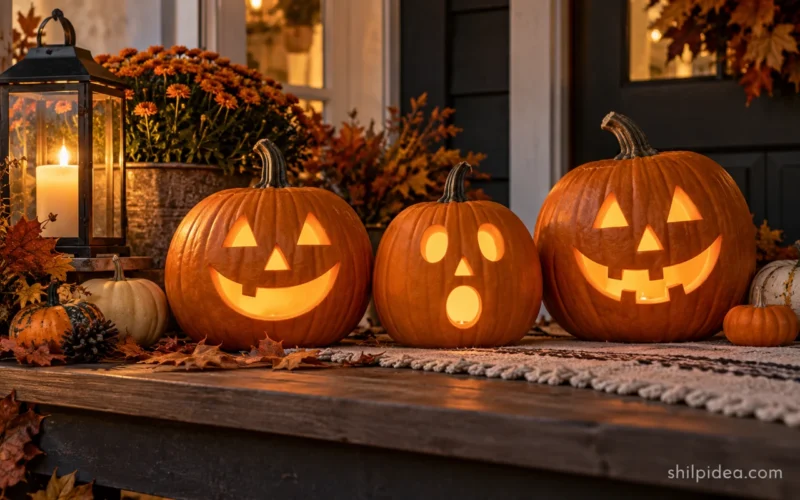
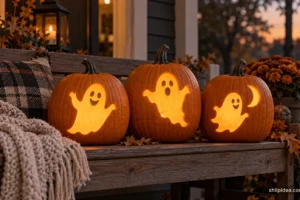
Stacked pumpkin shapes make a tall, compact window feature. Their different expressions give the design personality, while the repeated rounded outline connects the group. Use broad eye and mouth openings if you want a backlit effect. A plain stacked outline is another option when you would rather avoid detailed cutting and let the pumpkin shapes carry the theme. A ghost-carved pumpkin can add a related shape on a nearby table.
9. Witches Gathered Around a Cauldron

This finished window reference uses several witch figures to create a scene across the panes. The shared cauldron gives the arrangement a clear center. Choose just two broad figures and one pot for a simpler paper version. Keep the background quiet and place small extras, such as bats or hanging details, where they will not hide the main outlines.
10. A Giant Tentacle at the Window Edge

A curling tentacle can suggest a large creature without showing its entire body. The reference uses scale to make ordinary people look small beside the shape. For a window, let one broad tentacle rise from the sill or curl around a side pane. Keep the curve simple and use only a few large notches if you want a suckered edge.
11. A Cloaked Reaper with a Scythe

The long robe and curved scythe make this figure recognizable at a glance. A tall window gives the design room to stretch without needing many extra pieces. Keep the handle and robe connected through sturdy paper sections when adapting the composition. The face can stay as one small dark opening or be left out entirely for a simpler outline.
12. A Bigfoot-Style Shadow

A broad walking figure with a shaggy outline brings a playful monster theme to the window. Its slightly hunched pose makes the silhouette feel active rather than static. Simplify the furry edge into a few larger points instead of many tiny cuts. This is a useful choice when you want something less familiar than a witch or ghost but still easy to recognize.
13. A Headless Horseman Scene

A horse, rider, and raised pumpkin create a dramatic silhouette with plenty of movement. The reference is more detailed than a simple window cutout, so borrow the large outer shapes first. A broad window or two neighboring panes will give the horse room to read. Leave tiny reins and narrow leg details out of a beginner-friendly paper interpretation.
14. A Pumpkin-Headed Creature Peeking In

A large jack-o-lantern head and reaching arms make this figure feel as if it is leaning into the window. The oversized head is the feature to emphasize. Position it near one edge instead of centering every part of the body. Keeping one side partly hidden by the window frame can make the scene feel more convincing while reducing the amount of paper needed.
15. A Curled Little Dragon

A rounded dragon shape adds a storybook note to a Halloween window. The curled body keeps the design compact, which is useful for a small pane. Preserve the main head, wing, and tail shapes when simplifying the reference. A few larger points along the back are easier to cut and handle than a complicated fringe of tiny spikes.
16. A Hissing Cat in the Corner

The finished window reference uses a cat with an exaggerated furry outline and a curled tail. Placing it close to the frame makes the silhouette feel grounded. Choose this pose when you want a stronger expression than the simpler standing cat. Keep the whiskers and fur points broad enough that they will not bend or tear while the paper is being positioned.
17. A Witch in a Layered Woodland Frame

Branches, a witch profile, and a few small seasonal shapes give this reference the feeling of a paper-cut scene. The surrounding tree shapes act like a frame around the character. For a simpler window version, keep one witch and two broad branches, leaving the center open. The main effect comes from overlapping silhouettes rather than filling every space with detail.
18. A Night-Sky Townscape

A clock tower, flying figures, and large clouds create a storybook nighttime scene. The tall building gives the window a strong vertical anchor. Borrow a simple skyline and a few broad sky shapes instead of copying every small architectural detail. A larger window is useful here, because the tower and flying figures need clear gaps between them to remain readable.
Repeat a Few Silhouette Shapes Around the Room
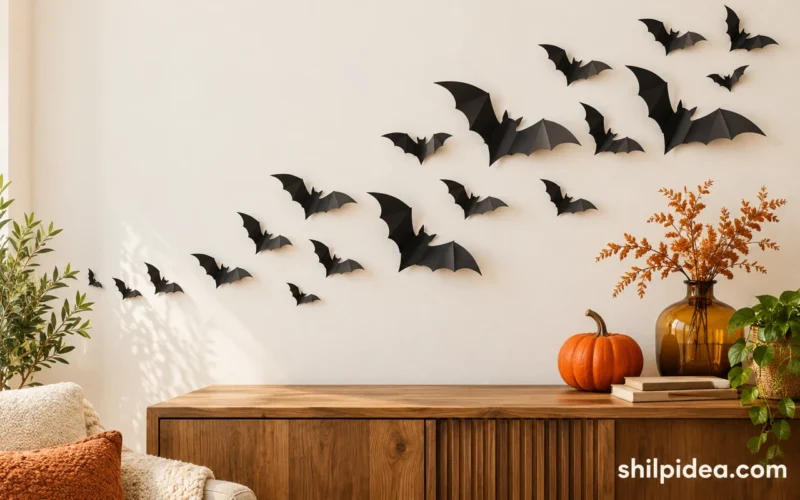
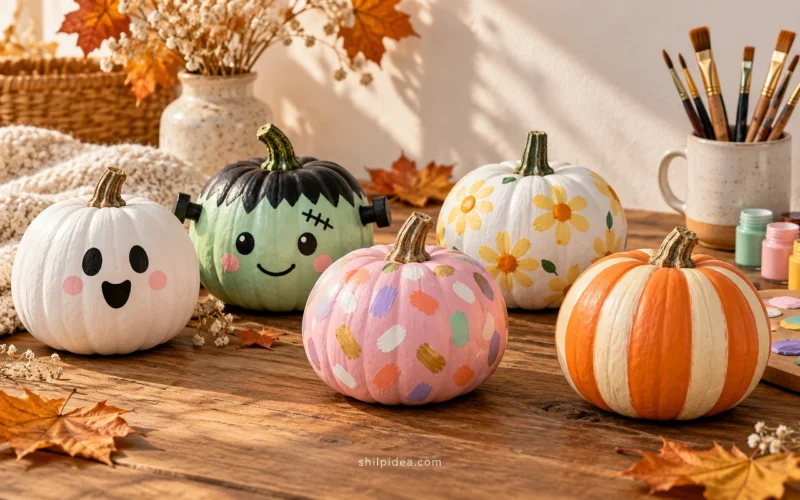
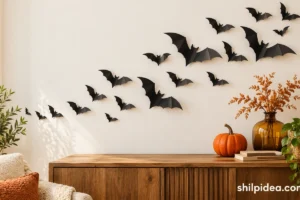
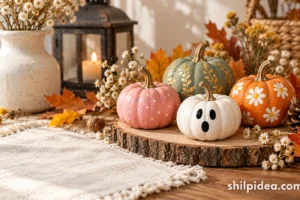
Choose one or two shapes from your window and repeat them nearby. A small paper bat flock can carry the scene onto the wall, while painted pumpkins add color below the glass. Keep the sill itself easy to use and leave room around blinds or curtains. These related collections offer decorations that can share the same simple Halloween theme.
- 15 Paper Ghost Garland Ideas for Last-Minute Halloween Decor
- 18 Ghost Pumpkin Carving Ideas with Simple Shapes
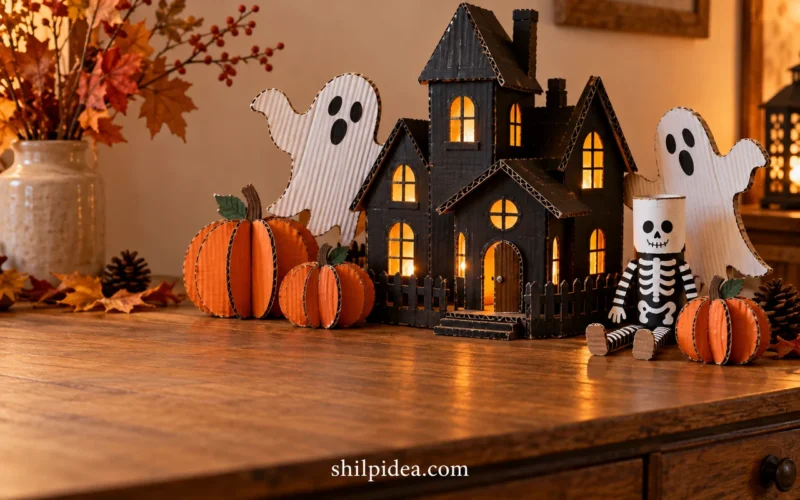
- 20 Cardboard Halloween Decoration Ideas to Make from Boxes
- 18 Cute Simple Pumpkin Painting Ideas for Beginners










0 Comments