30 Halloween Table Centerpieces with LED Lights
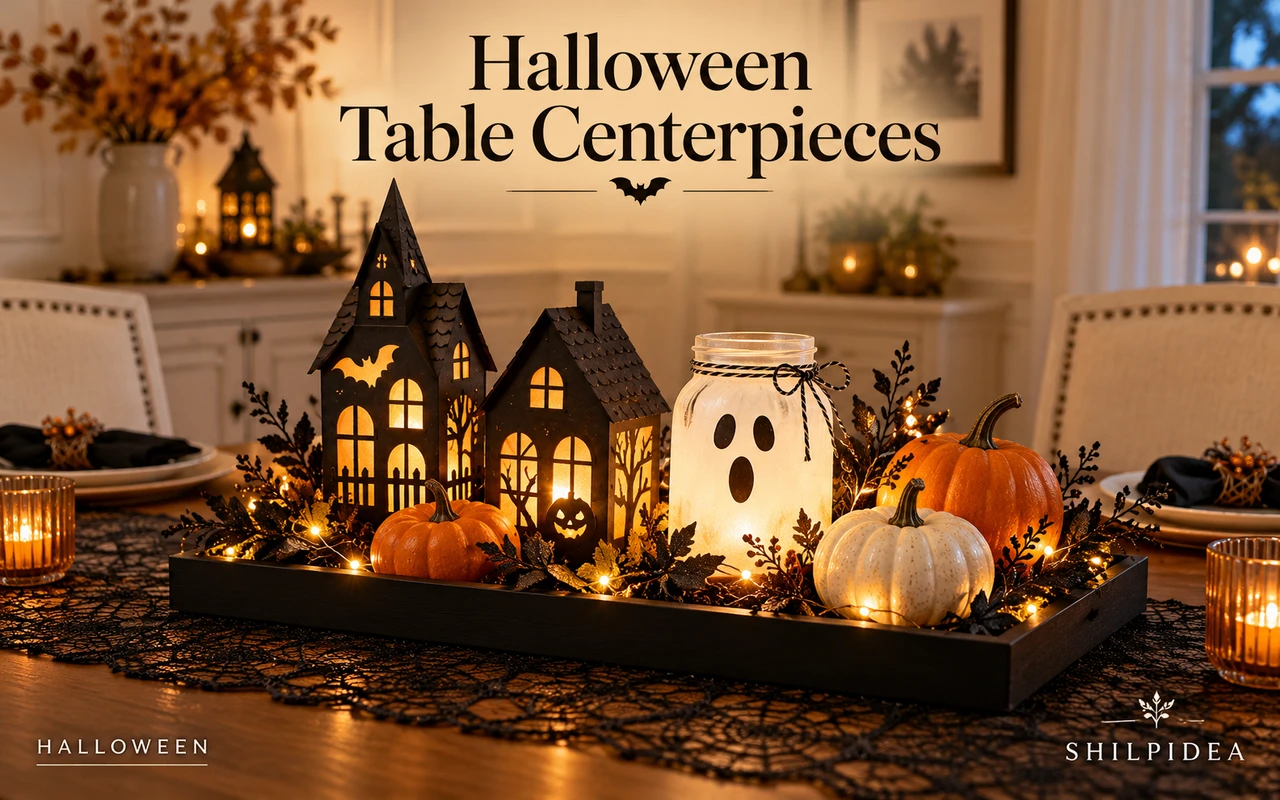
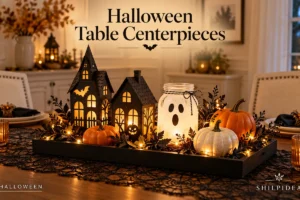
Halloween table centerpieces can feel atmospheric without crowding the plates. Small lanterns, glowing houses, and friendly ghost lights give the center of the table a clear focus.
These 30 ideas include creator projects and styling variations. Some reference photos show unlit pieces or conventional candles; the accompanying suggestions explain how to adapt those compositions with battery-powered LED lighting.
Choose a low arrangement for dinner or save taller scenes for a buffet. Use LEDs only around paper, fabric, moss, and decorative coatings, and keep batteries and controls accessible.
1. A Little Cardboard House with Glowing Windows

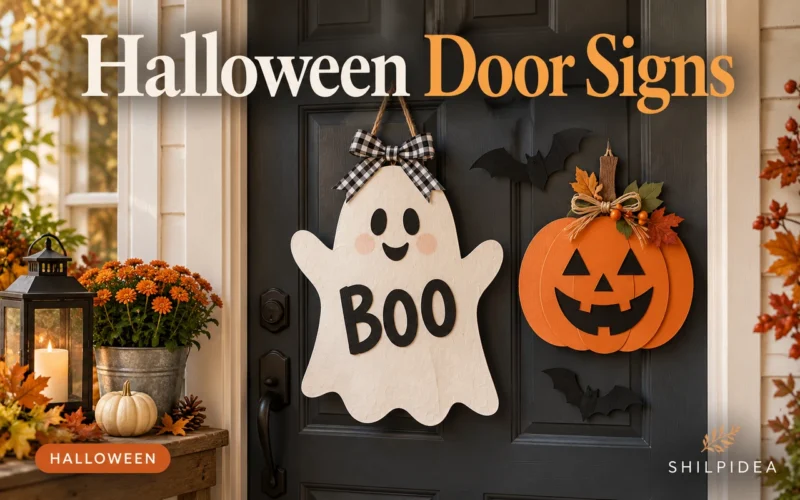
A small cardboard house can become a centerpiece without filling the whole table. Non-Toy Gifts uses dark walls and bright windows to make the building readable after sunset. Place a finished house on a low tray with a couple of pumpkins, keeping its light source accessible. Use battery-powered LEDs only, and let the architecture supply the detail rather than surrounding it with too many small props. Pair the scene with a paper Halloween door sign nearby.
2. Floral Clay Ghosts with a Soft Glow

Floral details give these clay ghosts a cottage-style character that feels different from black-and-orange decor. Their rounded heads and draped sides stay recognizable even when the lights are off. A short row can work on a dining table or console. Choose a few favorite patterns and leave space between the figures so each face remains visible. Follow the maker’s materials guidance and use the battery tea lights specified in the project.
See The Rural Legend’s tutorial.
3. A Pastel Haunted-House Street

A row of paper houses creates a miniature street with changing rooflines. The pale colors soften the Halloween theme, while the windows provide a place for LED light to shine. Keep the buildings on a shallow tray for easy moving. Small paper trees can link the scene without making the arrangement taller.
4. Spiderweb Lanterns Above Dark Plates

A stack of dark dishes gives a small lantern a little height. The pale web panel then stands out against the setting below it. Use a stable, broad base rather than a precarious stack. For dinner, keep the centerpiece low enough that the people opposite one another can still see comfortably.
5. A Friendly Ghost in a Star-Punched Cylinder
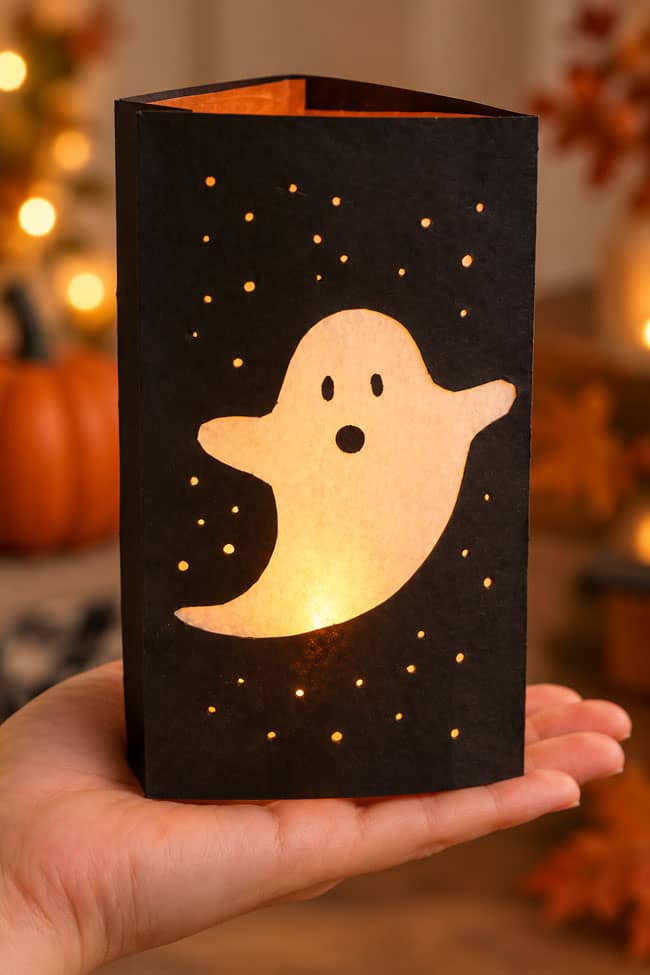
A pale ghost and tiny star openings turn a plain black cylinder into a compact glowing feature. The small format is useful when a dining table has limited room. Place it on a clear patch of runner, away from spills. Use an LED tea light inside and leave the top opening unobstructed.
6. A Cheerful Trio of Character Jars

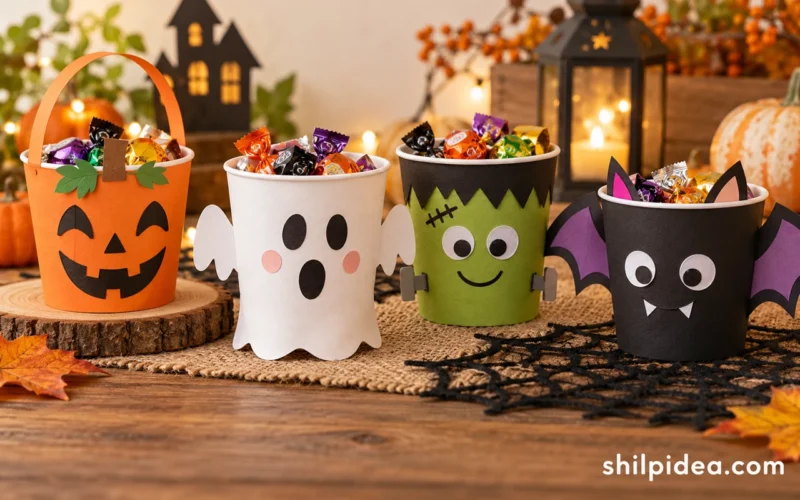
Different face shapes can give a simple jar group a playful rhythm. The yellow and pink examples use dark paper details against translucent color, making them readable in dim light. Keep a table version in a short row or triangle rather than scattering them between plates. Recreate the glow with battery tea lights; do not use an open flame around the decorative paper or coatings. Keep matching paper-cup candy holders on a separate serving area.
7. Witch Faces with Glowing LED Noses

A battery tea light can become part of the character rather than a hidden light source. Smart School House gives these little witches pointed hats and playful faces, using the illuminated plastic tip as a nose. For a tabletop arrangement, group a few securely in a shallow display instead of leaving them to roll between dishes. Keep the switch and battery cover accessible, and keep small batteries away from children.
8. A Paper Haunted House Inside a Dome
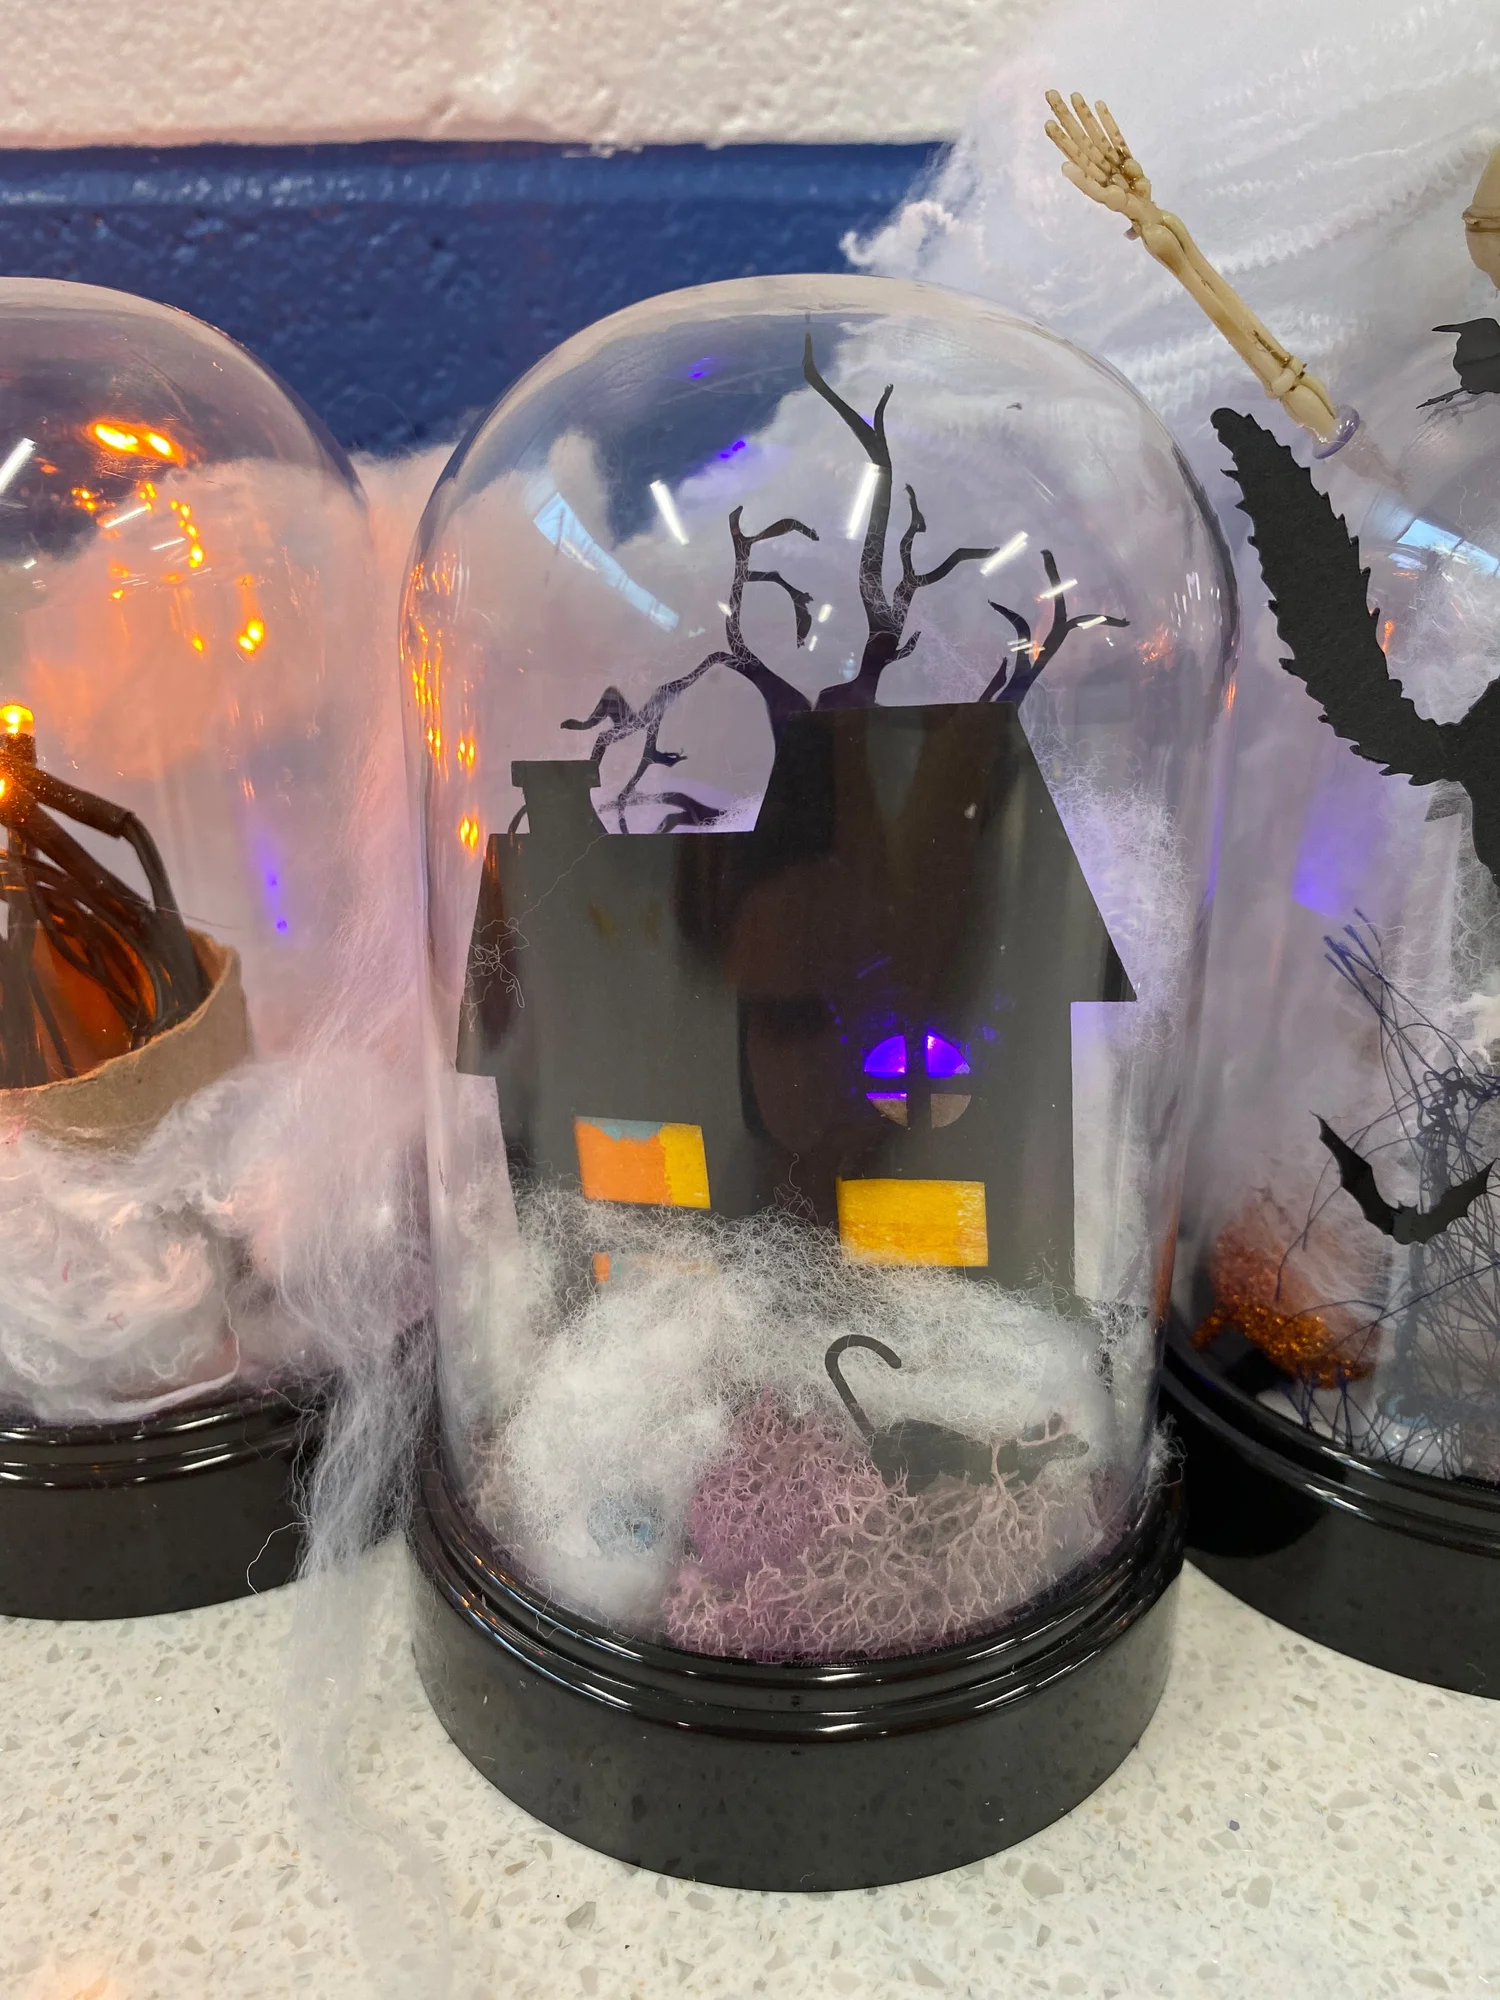
A glass or plastic dome gives a miniature house a defined boundary on the table. Art Beat Box adds small scenery pieces and battery lights around the building, making the arrangement feel like a tiny world. Keep the house as the tallest element and use low details around it. Leave the battery pack reachable so switching the display off does not mean pulling the scene apart.
9. Bright Jack-o-Lantern Jars with Bold Faces
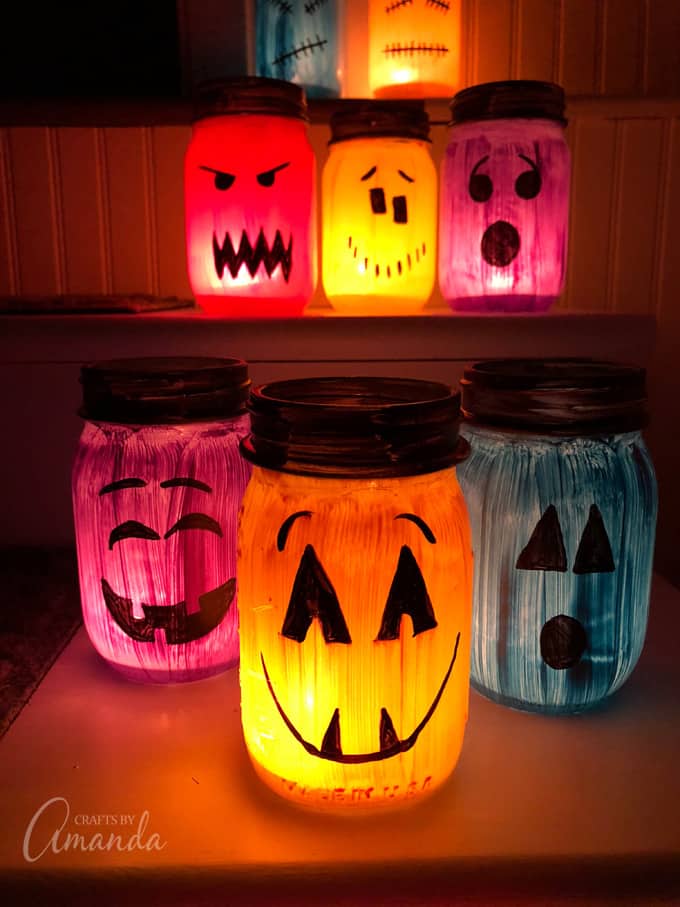
An orange jar makes a familiar jack-o-lantern shape without needing a pumpkin. The large dark features are the part worth borrowing from this painted-jar project. A single jar can sit in a low tray with a few unlit pumpkins. For our table version, choose a battery LED tea light and keep the jar steady on a dry surface. The photograph is a design reference, not a claim about its original light source.
10. A Tall Gabled Paper Mansion

A pointed roof gives this paper house its height and storybook mood. The cut windows add detail without requiring extra decorations around the base. A tall piece suits a side table better than the middle of a crowded dinner table. Keep the surrounding accents low, and light the paper structure with LEDs only.
11. A Miniature Skeleton Scene with Fairy Lights
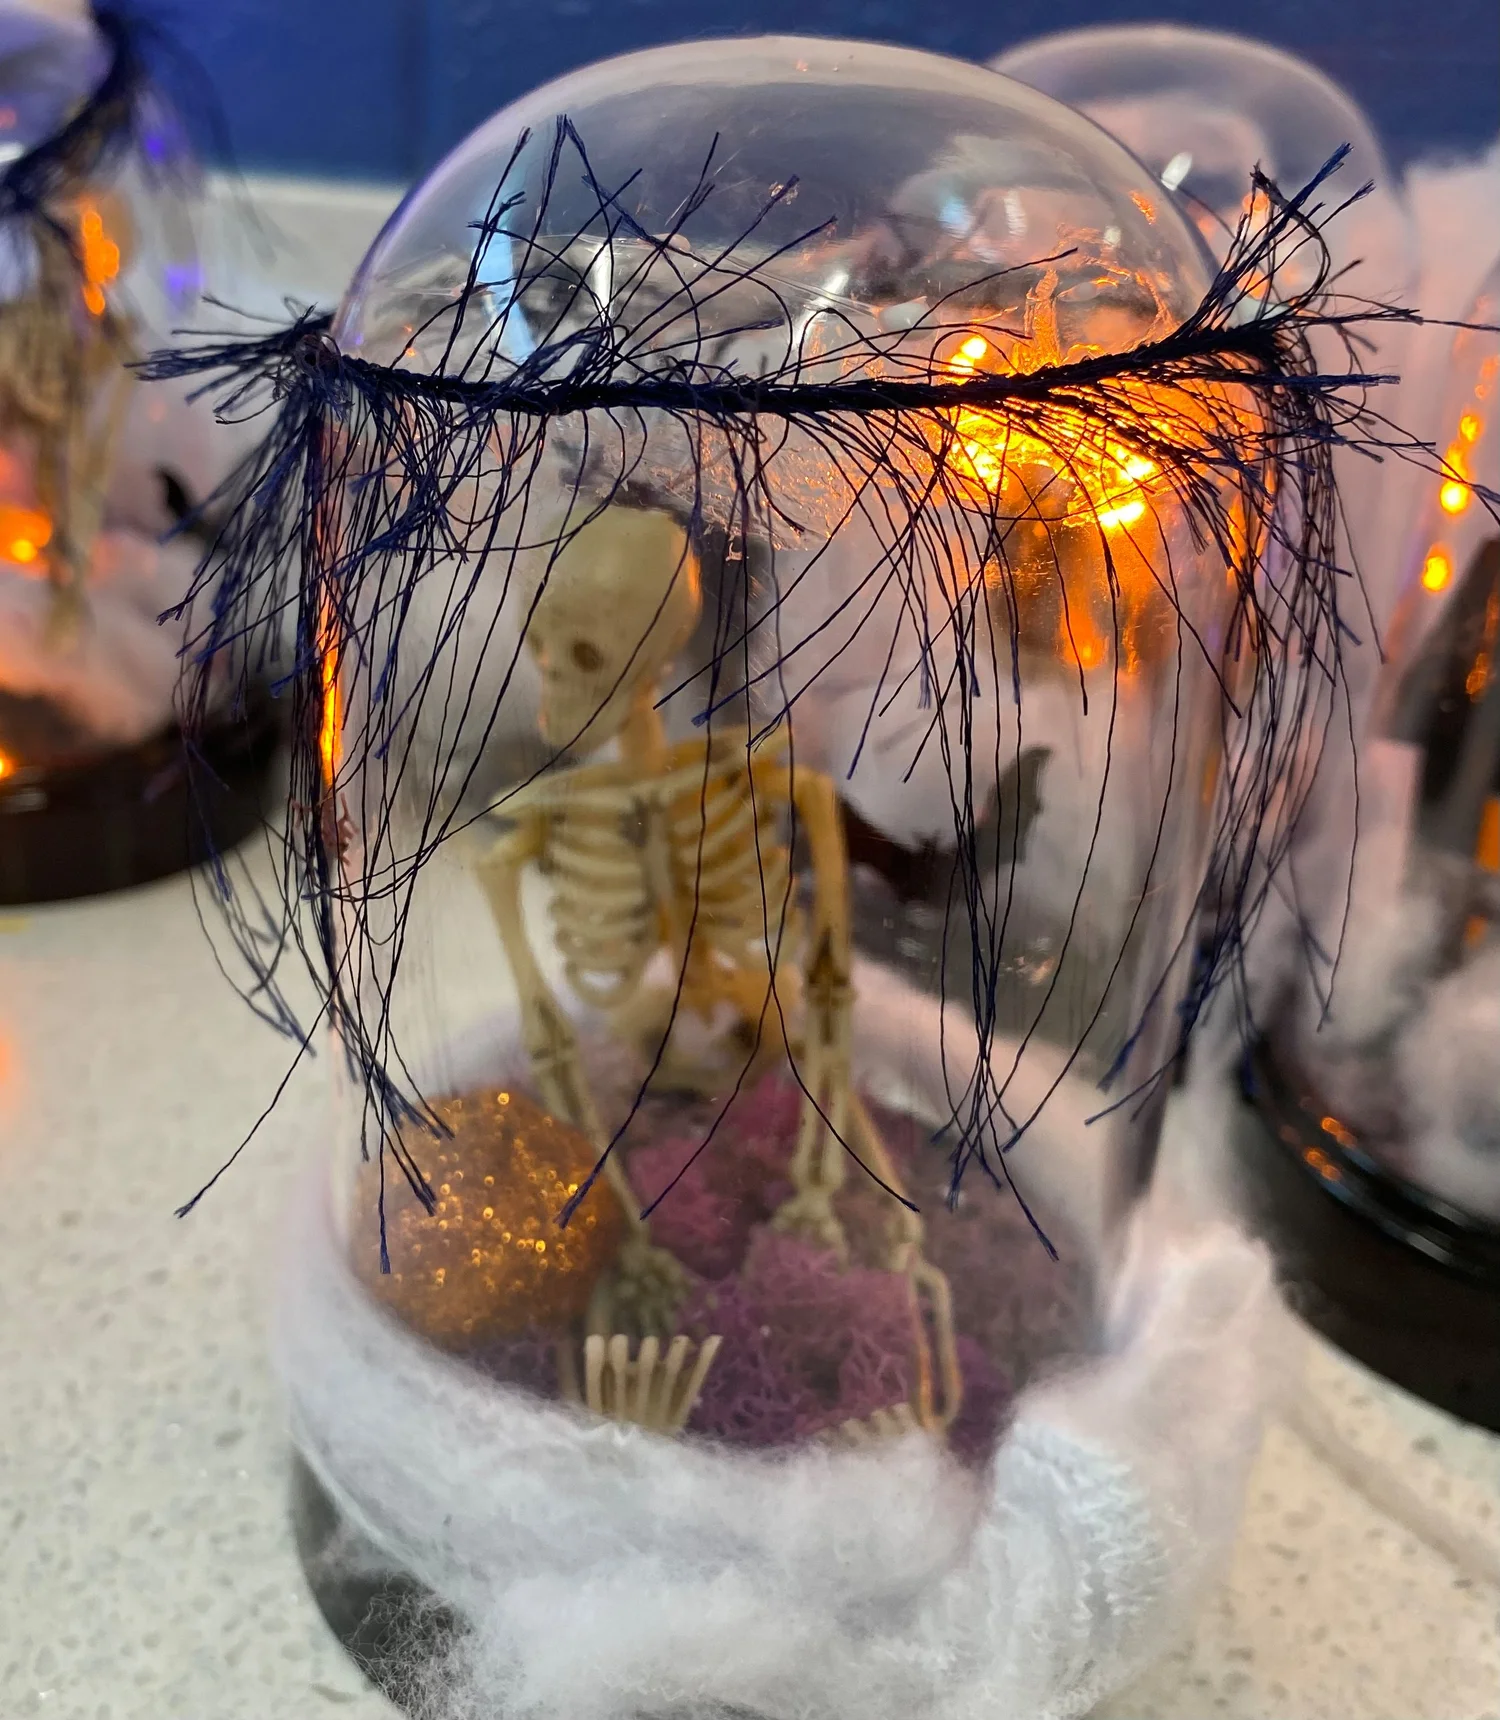
A tiny skeleton gives a cloche scene a different character from a house-only display. The enclosed space helps keep the scene together, while fairy lights outline the small figures. Use enough empty space to distinguish the main shape. This is a useful direction for a buffet or entry table where visitors can lean in and notice the details without needing to reach across dinner plates.
12. A Pumpkin Lantern with Stacked Faces
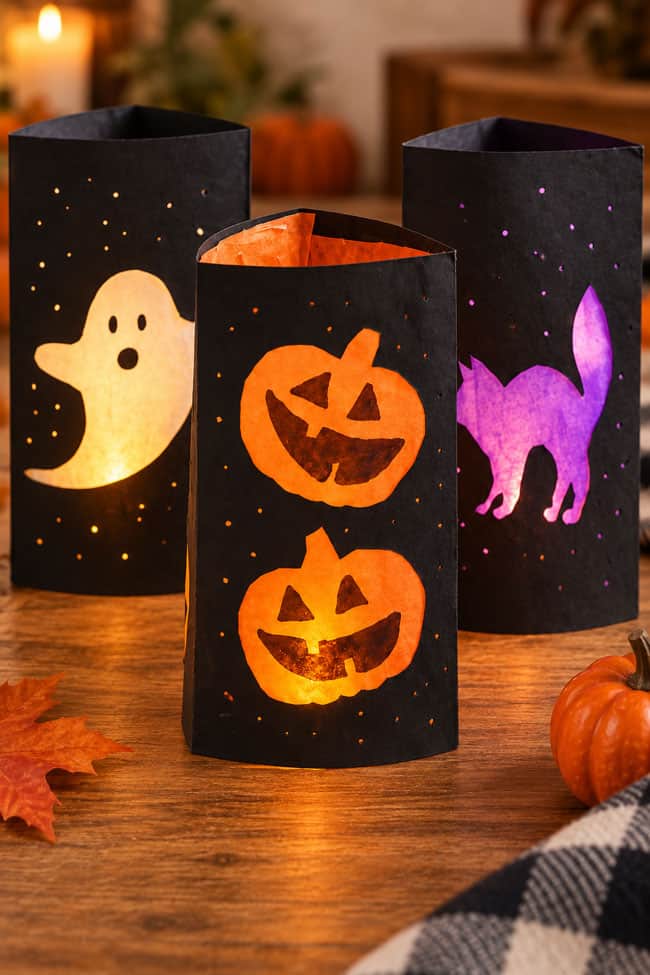
Stacked pumpkin faces make a narrow paper lantern feel taller. The warm openings contrast clearly against the dark cylinder, so the decoration needs little extra trim. Pair one with a plain pumpkin or a folded napkin rather than another busy pattern. A flameless light lets the cutouts supply the glow without a real candle.
13. A Small Ghost Display Under Glass

A pale ghost inside a cloche creates a gentle Halloween scene with a tidy footprint. The Rural Legend’s styling shows how the dome can make a modest figure feel like the focus of a display. On a table, choose a low base and leave room around it. A battery light can add evening atmosphere; keep controls reachable and use a light suitable for the enclosed space.
14. Decoupage Jars with Coordinated Ribbon
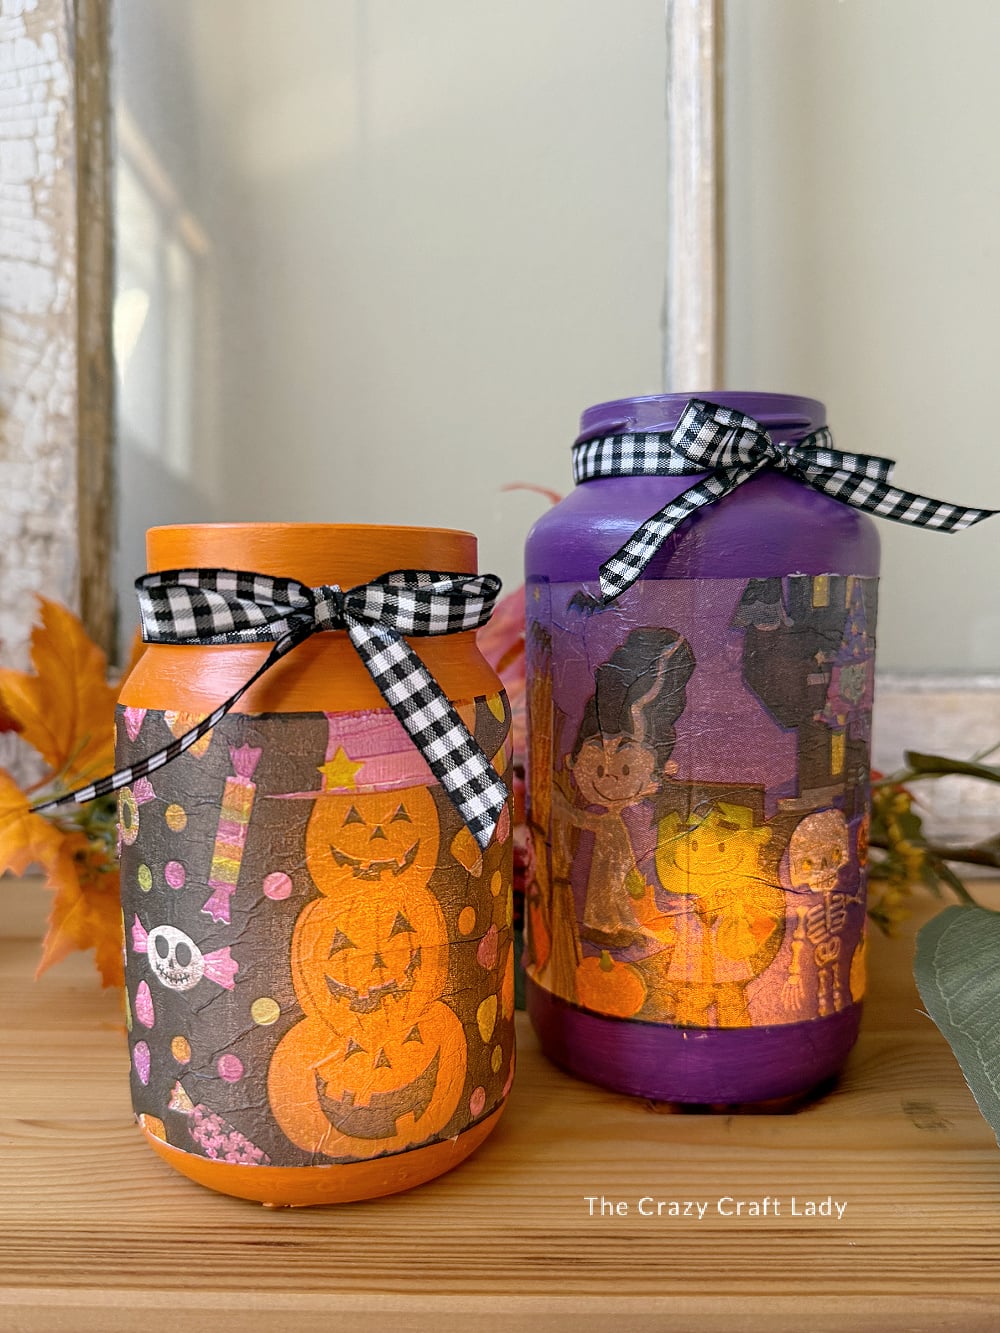
A pair of decorated jars can connect different Halloween motifs through one repeated ribbon. The Crazy Craft Lady uses painted glass and patterned paper for an autumn display that still looks finished in daylight. Arrange two heights beside one another, with a small empty space between them. Battery candles make the intended glow practical for paper-decorated jars. Let the printed motif stay visible instead of winding lights over its entire surface.
15. Lanterns Along a Gray Table Runner

Several small web lanterns can mark the center of a long table without forming one bulky object. Vary the spacing slightly while repeating the same dark frame and pale panel. The runner links the pieces and keeps the arrangement readable. Leave clear areas for serving bowls, and use LED lights inside the paper lanterns.
16. Tie-Dye Coffee-Filter Ghost Lights

Colorful coffee filters give these little ghosts a soft, translucent surface. With a battery tea light underneath, the shades become part of the glow rather than disappearing after dark. Group a few on a tray for a cheerful party table. Choose neighboring colors for a quieter look or stronger contrasts for a playful one. Let the paper dry completely before display, and keep the lightweight figures away from drinks and drafts.
See One Little Project’s tutorial.
17. A Dark Cardboard House with Orange Moss

Orange moss adds a rough, autumn texture around this dark cardboard house. The contrast between the angular building and the soft trim is the main design idea. A tabletop adaptation can place a completed house beside a small pumpkin and a separate LED light string. Keep the battery pack outside decorative moss and easy to reach. The photo is a material-and-color reference; it does not show a verified internal lighting installation.
18. Tiny Pumpkin Lights on a Party Tray

Orange tea lights can become little pumpkin characters with dark facial details. Their small size makes them useful as accents around a larger centerpiece rather than the sole focus of a dinner table. Group them in a stable tray with room to reach the switches. These are battery-operated crafts; keep the battery compartments secure and avoid loose decorations near food. Visit the maker’s project for the original construction details.
19. A Printed Jar with a Haunted-House Scene
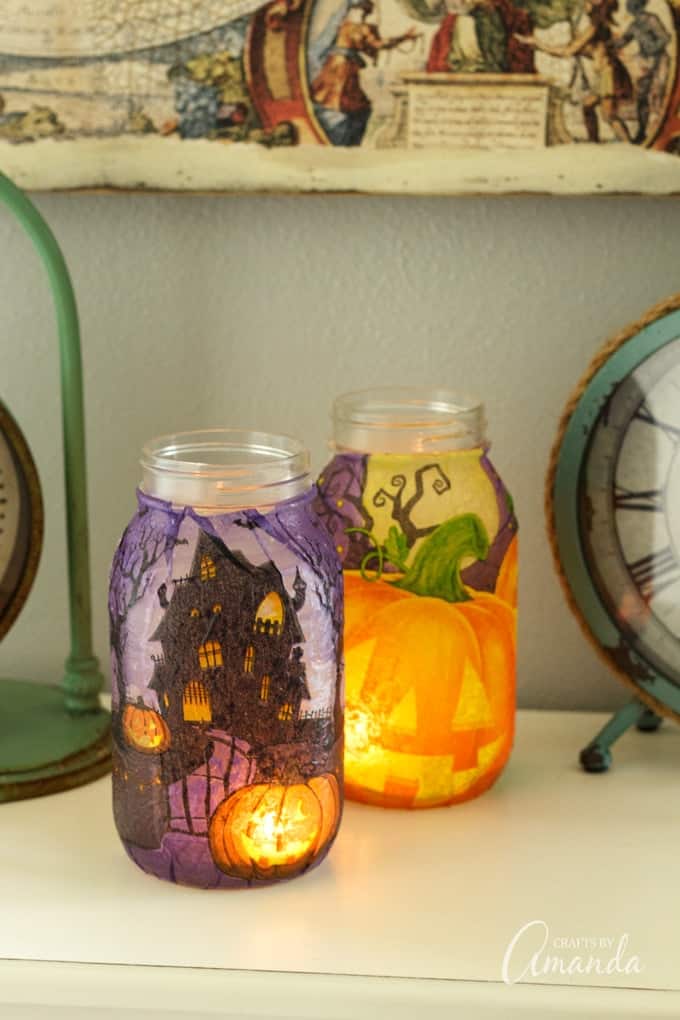
A patterned napkin can give a glass jar a detailed scene without painting every window or branch. The haunted-house motif makes a strong focal point when the rest of the table stays simple. Use this image for its surface treatment and recreate the arrangement with battery LED tea lights. Paper and decoupage coatings are not a reason to use a real flame. Leave the jar rim and controls practical to handle.
20. A Wide-Arched House with Pale Windows

Broad arched windows make a paper house feel less narrow and tower-like. They also create larger light areas, which can help a single building read clearly in a dim room. Keep its base simple so the facade remains the focus. Use a battery LED inside and choose a stable spot away from spills.
21. Two Character Jars with Colored Light Strings

A ghost and a witch become little display figures when enclosed in clear jars. Horror Made combines them with colored LED strings, giving each jar its own mood. The transparent sides leave the character visible from several angles. This is a useful reference for a side table or buffet. Keep the battery pack outside the jar, and avoid pulling the wire tightly across a sharp rim or under a heavy decoration.
22. A Pair of Intricate Paper Lanterns

Detailed cut panels can make a paper lantern feel more elaborate than its size suggests. JenniferMaker’s project shows dark and orange versions with decorative framing around the windows. A pair can anchor the ends of a short runner, leaving the center available for food. Use LED tea lights or a suitable battery light string inside. Follow the creator’s file and assembly details rather than assuming every delicate panel can be cut comfortably by hand.
23. Glowing Clay Ghosts Beside a Dark Accent

This evening view shows how light changes the same clay-ghost family. The faces become small bright openings while the darker surroundings recede. Use it as a placement idea: keep the ghosts close together and let a dark accent behind them strengthen the contrast. A lower centerpiece suits a dining table; taller flowers belong on a nearby console. The underlying craft is the same floral-clay project, so this is a styling variation rather than a separate tutorial.
24. A Skull Arrangement Beside Lit Branches

A low dark dish gives a skull arrangement a clear boundary, while branches carry small points of light upward. The contrast between the compact base and the open branches keeps the scene from feeling solid and heavy. This taller treatment is better suited to a buffet or console than a table where guests need to see across it. Keep the battery pack accessible and leave the base stable.
25. A Single Web Lantern as the Focal Point

One lantern can be enough when the table already has patterned napkins or dramatic glassware. The pale web panel supplies detail without needing a whole village of props. Leave a little open space around its base to make the outline readable. The same lantern project can be styled alone or in a group.
26. A Glowing Doll-Head Cloche for a Spookier Table
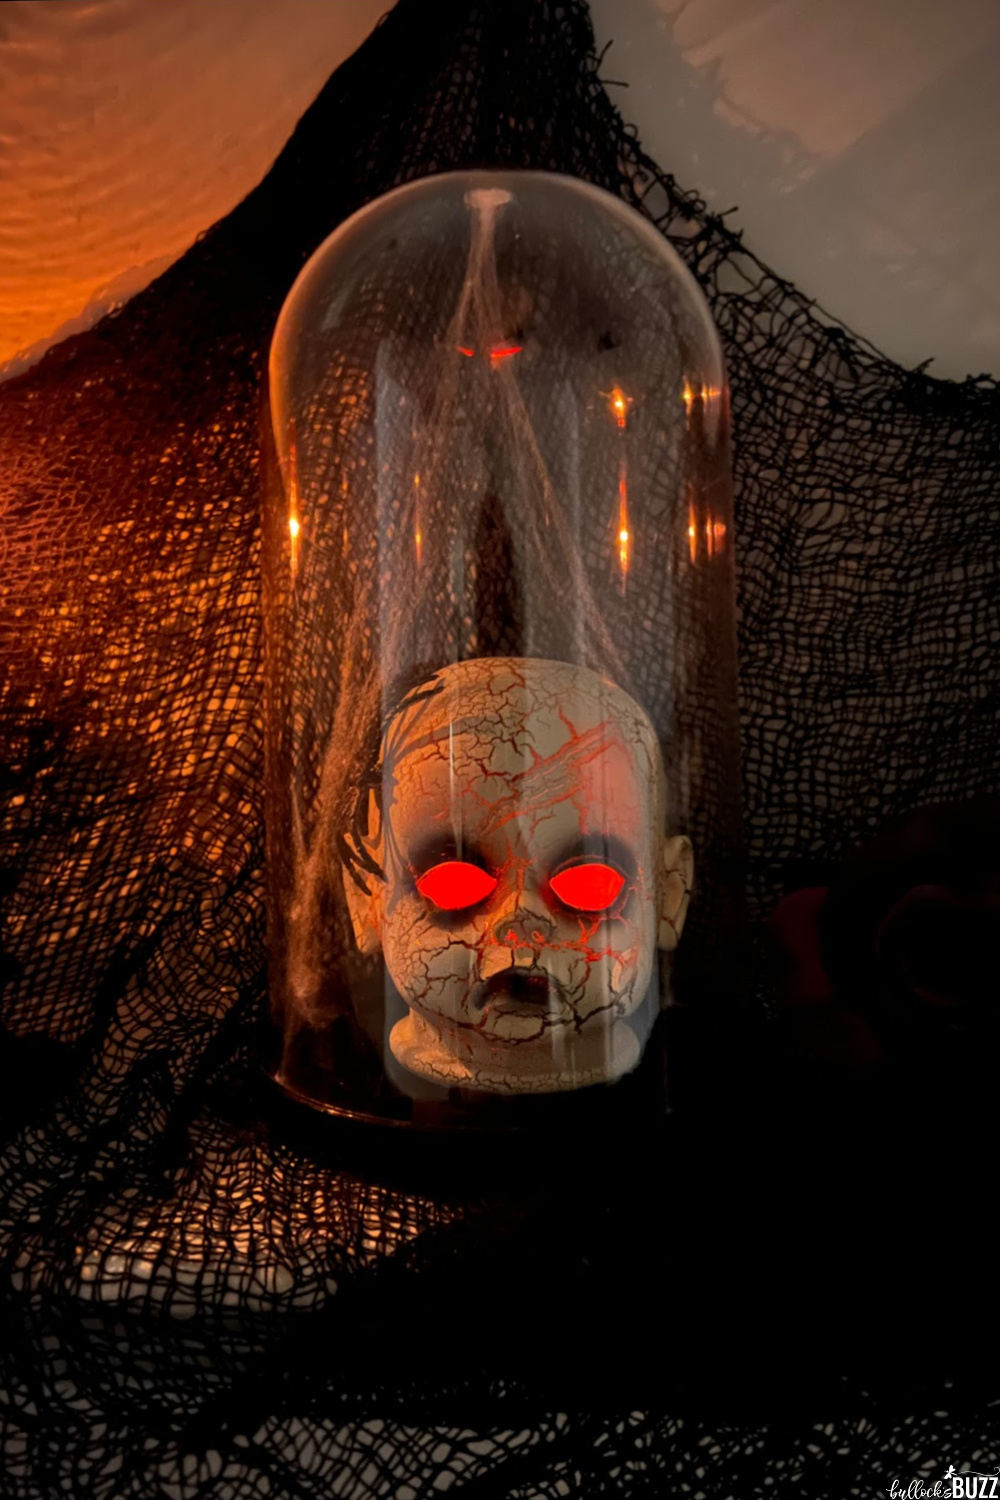
This cloche moves toward a deliberately eerie style, with a glowing doll head and web details. It suits an adult Halloween display more than a gentle family table. Keep the surrounding surface plain so the face remains the clear focus. Bullock’s Buzz uses a battery tea light for the effect. Follow the original project when selecting and arranging the materials, and keep the whole display away from food preparation.
27. A Cat Lantern to Break Up the Pumpkin Theme
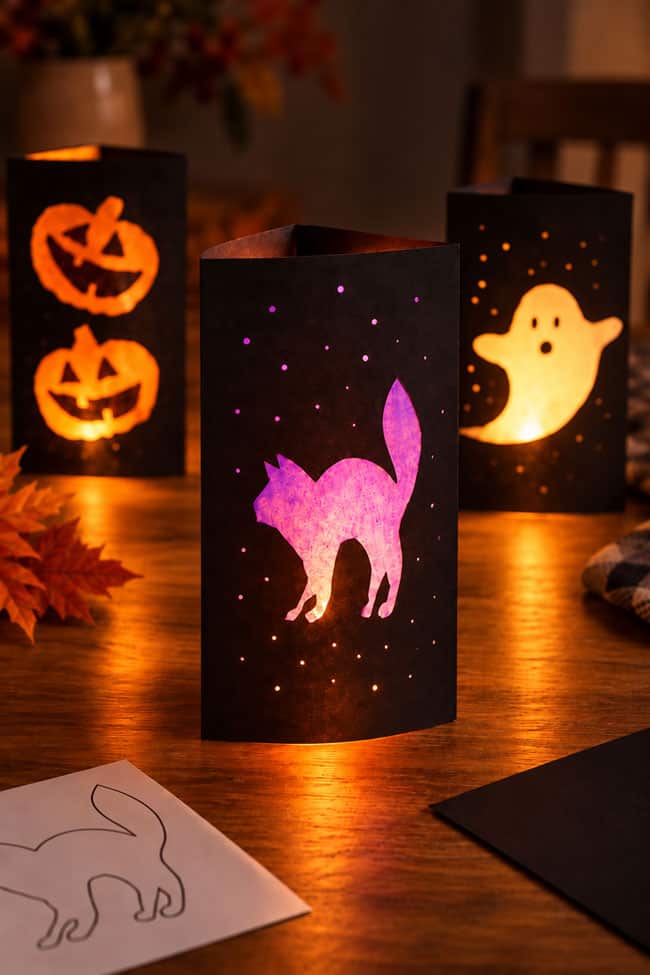
A curved cat silhouette gives a paper-lantern group a different outline from round pumpkins. The purple detail in this collection adds a cooler color beside the warm lights. Use the cat as the accent piece instead of repeating every motif at once. Keep the same cylinder size for a coordinated group of lanterns.
28. A Patterned Paper Lantern with a Pale Roof
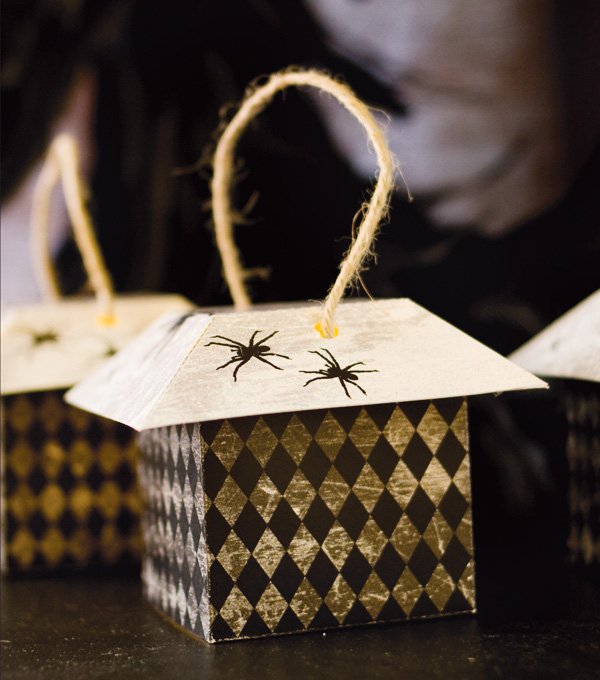
A contrasting roof gives a small paper lantern a neat, architectural finish. Abigail Barnes of Paper & Cake created this project, shared by Hostess with the Mostess. The patterned sides and light top make it decorative even before the LED is switched on. A pair can sit on a side table, while one lantern suits a small centerpiece tray. Follow the linked tutorial for the original template and use a plastic flameless tea light only.
See Abigail Barnes / Paper & Cake, via Hostess with the Mostess’s tutorial.
29. A Row of Colorful Monster Jars
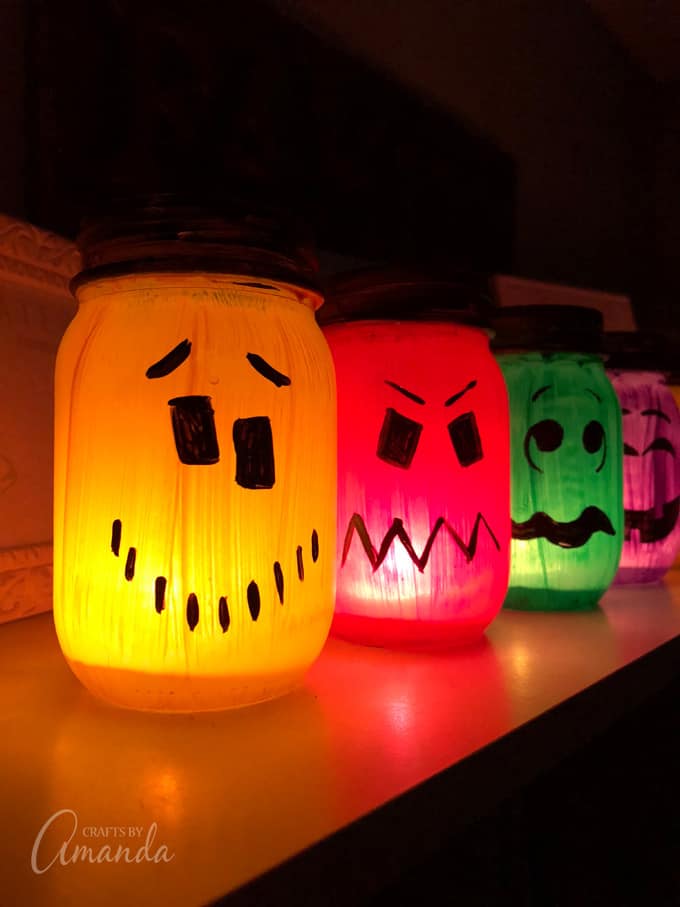
A line of painted jars turns several small faces into one longer centerpiece. Varying their heights and expressions keeps the arrangement lively, while the repeated dark rims connect the pieces. Leave enough gaps for the faces to stay distinct. For a tabletop adaptation, use battery LEDs in each jar and keep the row short enough to leave room for serving dishes. This is a grouping variation of the painted-jar project, not a separate craft method.
30. A Glass Lantern with Glowing Silhouette Panels
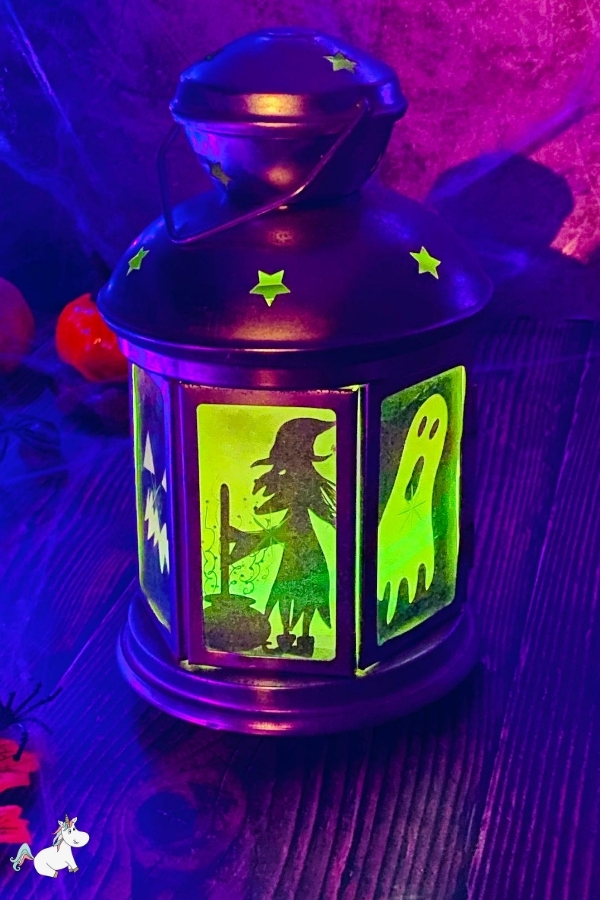
A framed lantern gives flat Halloween silhouettes a little structure. The older project photograph from The Mummy Front shows a colorful, illuminated example with clear dark shapes around the glass. For a table version, use battery LED tea lights or fairy lights and let the frame remain the main outline. Keep the handle folded out of the way if possible, and place the lantern where it cannot be knocked while serving food.
Let the Glow Connect the Rest of the Party
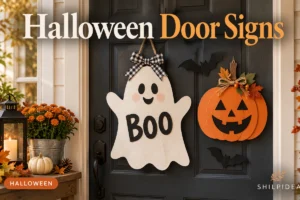
Try the centerpiece with the room lights at the level you plan to use for dinner. Check that faces, glasses, and serving dishes remain easy to see. A coordinated doorway sign or a few paper bats can repeat the same shapes nearby, while a separate treat station keeps the dining table from becoming overcrowded. These collections can help connect those smaller details.
- 25 Halloween Door Signs Made with Paper and Foam Board
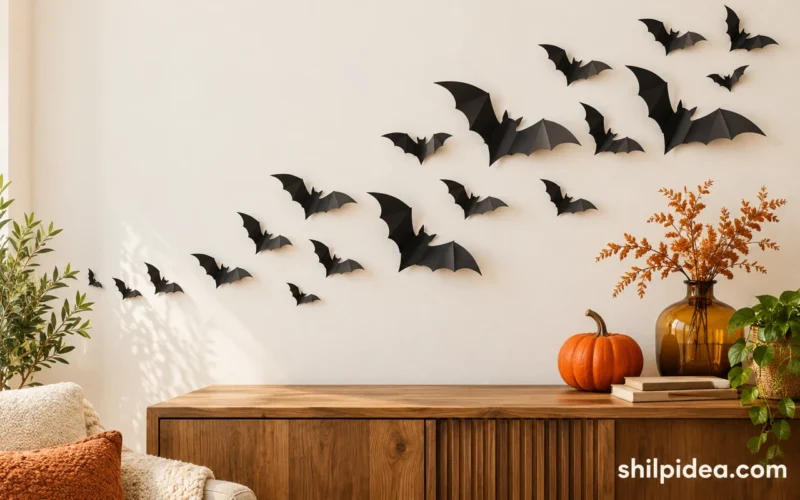
- 18 Paper Bat Wall Decorations for a Last-Minute Halloween Party
- 15 Paper Ghost Garland Ideas for Last-Minute Halloween Decor
- 18 Halloween Candy Holder Ideas Made from Paper Cups
Which would you choose for your table—a glowing ghost, a miniature haunted house, or a lantern arrangement? Tell us in the comments.






0 Comments