21 Christmas Craft Night Projects for a Small Group
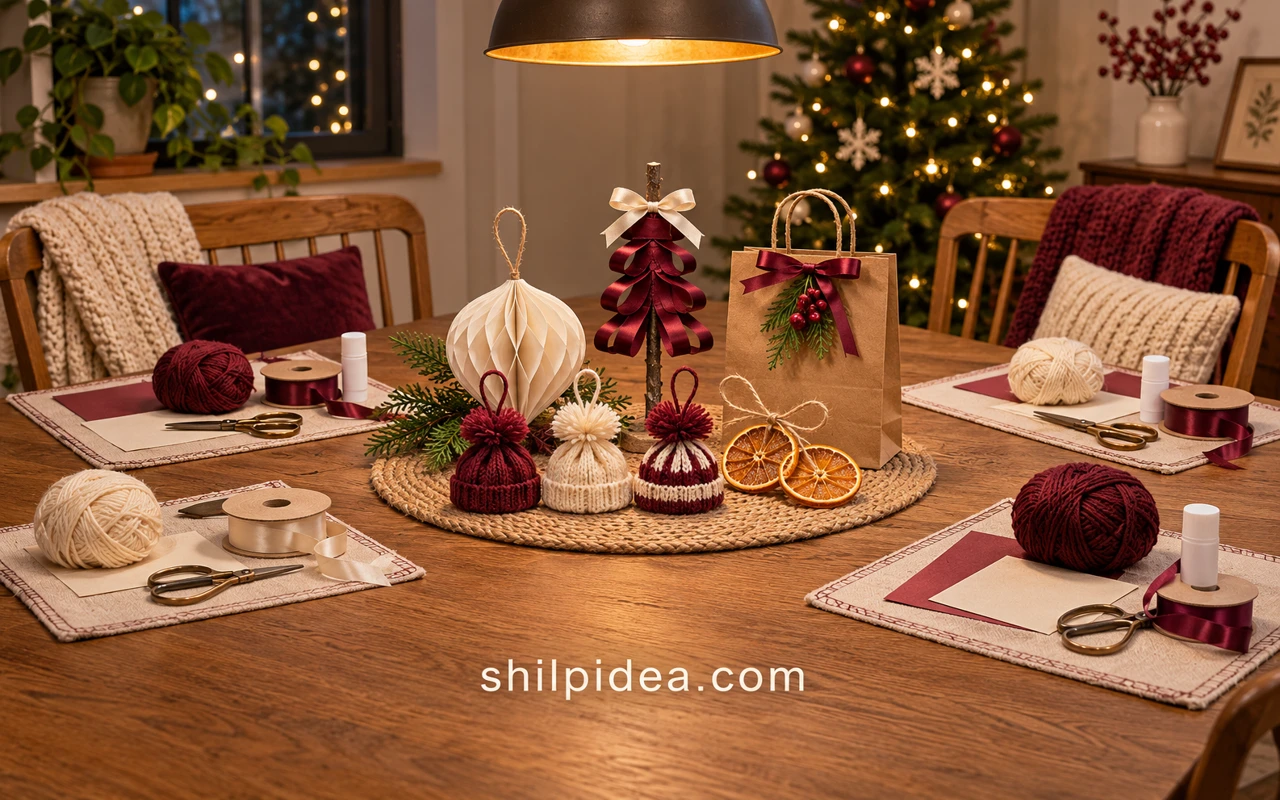
Christmas craft night ideas work best when friends can settle in, share supplies, and choose a project they will enjoy making. A small group does not need a complicated menu: a few well-prepared options can make the evening feel relaxed.
Borrow the tidy setup from our craft corner ideas, with tools grouped by material and a place for drying pieces.
Explore ornaments, tabletop decorations, and packaging projects that also pair well with our craft gift baskets.
1. Tiny Yarn Hats for a Shared Yarn Basket

Miniature yarn hats make an inviting table project because everyone can choose a color from the same basket. Cut the yarn lengths before guests arrive if you want more time for conversation. The little pom-pom gives each hat a cheerful finish, and the results can become tree ornaments or gift toppers. Keep a small tray at each place to collect loose fibers and short offcuts.
Get the tutorial: Yarn Hat Ornaments
2. Clay-Pot Gnomes with Soft Yarn Beards

These gnomes use tiny terracotta pots as hats, with soft yarn beards providing the contrast. That simple material pairing gives everyone room to choose a beard color without changing the project. Put the small pieces into individual supply cups and share the larger yarn bundles. If your chosen adhesive needs setting time, provide a flat resting area so the finished ornaments can travel home without being squeezed together.
Get the tutorial: Gnome Ornaments
3. Honeycomb Paper Baubles in Favorite Colors

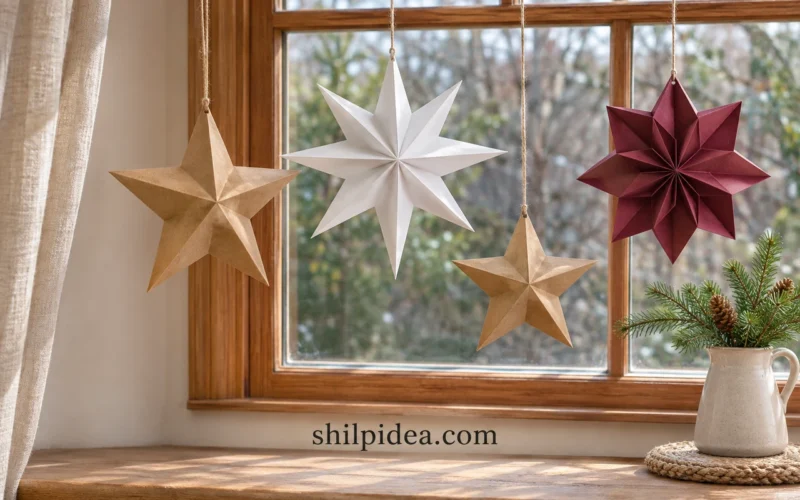
Honeycomb ornaments offer a satisfying paper project for friends who enjoy careful folding and repeated shapes. Prepare a sample so guests can see the intended result before starting. The open paper structure looks especially attractive against tree lights, but the glue needs time to hold before the ornament is expanded. This is a good companion to our origami star ideas when planning a paper-focused evening.
Get the tutorial: DIY Honeycomb Ornament
4. Personalized Christmas Table Crackers

A cracker-making station combines gift wrapping with a small surprise for each place setting. Let friends choose paper, ribbon, and a short note before wrapping their own. Decide in advance whether your version will contain cracker snaps; simple pull-apart paper favors are an alternative when noise is unwelcome. Keep the fillings small enough for the tube, and leave space at both ends for the gathered paper and ties.
Get the tutorial: DIY Christmas Crackers
5. Folded Paper Balls with Graphic Color Blocks

Folded paper balls create a crisp, sculptural look that differs from a honeycomb ornament’s many fine layers. Two or three coordinated paper colors help the folded sections remain visible. Pre-cutting the shapes can make this a more relaxed group activity, especially if only one person has a cutting machine. Set out a completed example and keep the paper pieces for each ornament together until assembly begins.
Get the tutorial: Folded Paper Ball Ornament – 3D DIY Christmas Craft
6. Ribbon Spiral Trees for a Compact Work Spot

A slender spiral of ribbon gives this little tree an airy silhouette. It is an appealing option when guests have limited table space and want a small hanging decoration rather than a large centerpiece. Check the original instructions for the ribbon support and shaping method before buying supplies. Keep star toppers and hanging loops in separate dishes so the smallest finishing pieces are easy for everyone to find.
Get the tutorial: Ribbon Christmas Tree Ornament – Easy DIY Holiday Craft
7. Cinnamon-Stick Stars with a Natural Finish

Cinnamon sticks give a star ornament visible texture without needing a complicated paint palette. Arrange a sample at the table so guests can compare the points before joining their pieces. Natural sticks vary in width and straightness, so have a few extras available. Add only a small finishing accent if you want the star outline to remain clear; the warm brown material already provides plenty of character.
Get the tutorial: Cinnamon Stick Star Ornaments – Cute & Easy Christmas DIY
8. Painted Snowman Pebbles with Individual Faces

Smooth stones provide a compact surface for a little winter character. Friends can share paint colors while giving each snowman a different expression or hat pattern. Wash and dry the stones beforehand, and allow the base coat to dry before adding details. A lined tray makes it easier to carry the pieces home. This suits a group that enjoys painting and does not need every project to hang on a tree.
Get the tutorial: Snowman Painted Rocks
9. Folded Paper Garlands for a Mantel or Window
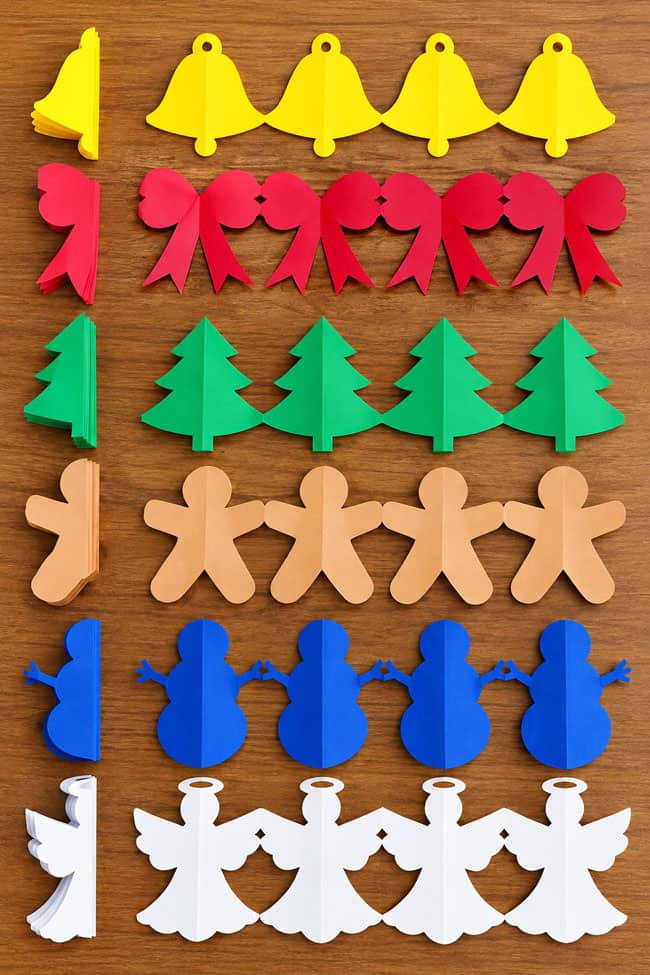
Paper garlands give a group something larger to display while keeping the supplies simple. Choose one motif per person, or let friends work together on a coordinated set for the host. The repeated shapes make careful folding worthwhile, so provide a sample and a clear cutting area. Our stamped wrapping ideas offer another paper project if guests would rather make useful gift packaging.
Get the tutorial: Christmas Paper Garland
10. Waterless Snow Globes with Tiny Winter Scenes

A dry snow globe lets each guest arrange a small scene without handling a water-filled jar. Set out miniature trees, simple figures, and a modest amount of faux snow so the contents remain visible. Check that the chosen decorations fit inside the container before the evening begins. Keep loose snow in a shallow tray during assembly, and make sure any glued pieces are secure before turning or transporting the finished globe.
Get the tutorial: Waterless Snow Globes
11. Decoupage Wood Slices for a Keepsake Ornament

Wood slices make a sturdy-looking base for a printed motif, decorative paper, or a small holiday message. The natural edge gives the finished ornament a different character from a polished bauble. Select smooth, prepared slices and follow the adhesive’s drying guidance before adding the hanger. If guests bring their own paper, check the print and coating first; some inks or delicate layers can react differently to a wet decoupage medium.
Get the tutorial: Decoupage Wood Slice Ornaments
12. Letter-Tile Ornaments with a Short Message
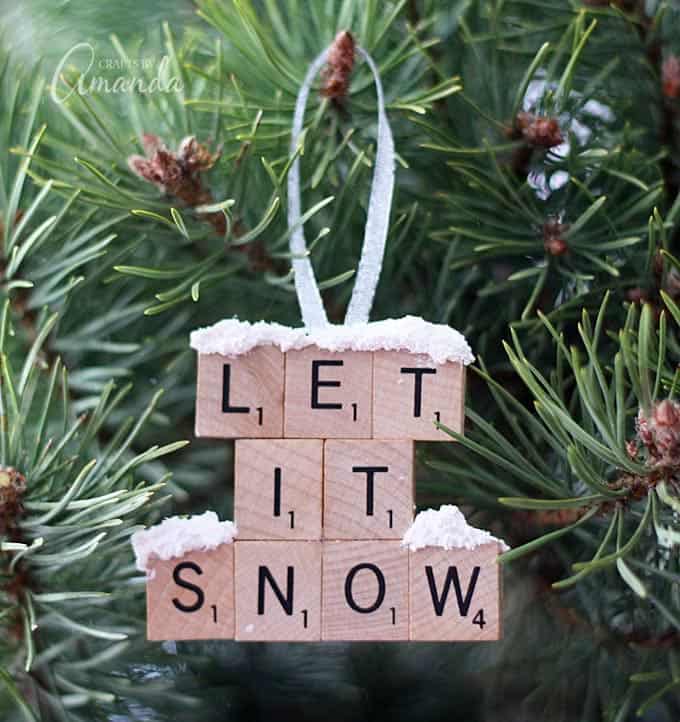
Letter tiles turn a familiar holiday phrase into a small graphic ornament. Sort the letters before guests arrive so everyone has a complete set rather than competing for the same vowels. A short phrase keeps the piece manageable and the lettering easy to read. Lay out the full design before attaching the tiles, and use the original tutorial’s backing method so the separate rows have reliable support.
Get the tutorial: Let It Snow Scrabble Tile Ornament
13. Snowy Pinecone Jars for a Winter Shelf

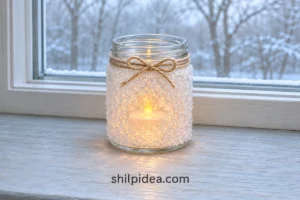
Pinecones, pale texture, and clear glass create an attractive winter display with a small supply list. Prepare the cones and jars in advance, then let friends choose their finishing ties. The source photograph uses candlelight; for a relaxed shared craft table, choose battery-operated tea lights and keep natural decorations away from heat. Allow any applied finish to dry before the jars are packed for the trip home.
Get the tutorial: Winter Luminaries: Snowy Pinecone Candle Jars for Winter
14. Twig Trees with a Rustic Upright Shape

Twig trees suit friends who enjoy natural materials and a slightly irregular finish. The visible branches create the pattern, so exact color matching is unnecessary. Prepare clean, dry twigs and any drilled bases before the gathering; that keeps the shared table focused on arranging and decorating. If the group likes this rustic direction, our Scandinavian Christmas ideas provide related ways to display simple handmade pieces.
Get the tutorial: Twig Christmas Tree: Easy to Make and Basically Free
15. Dried Citrus Stacks Tied with Raffia
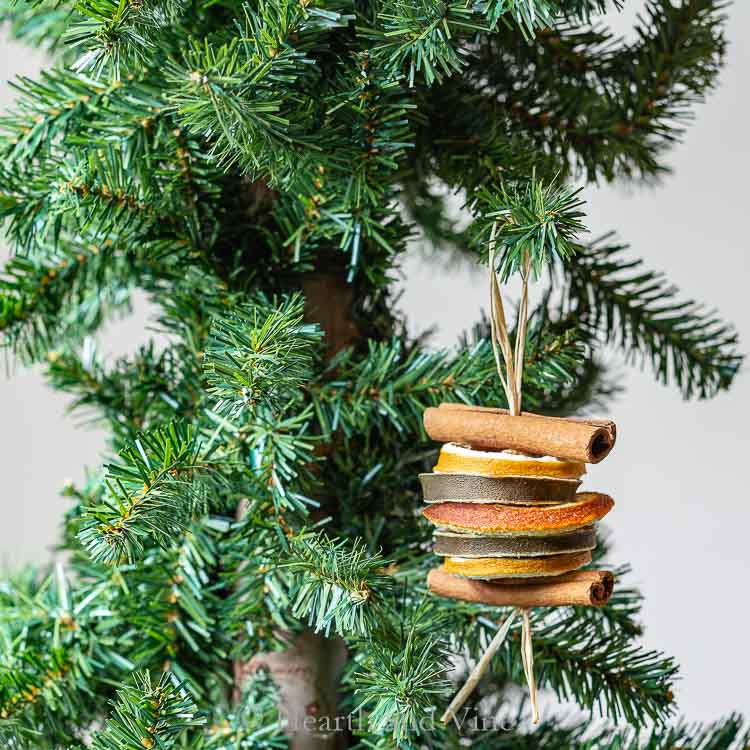
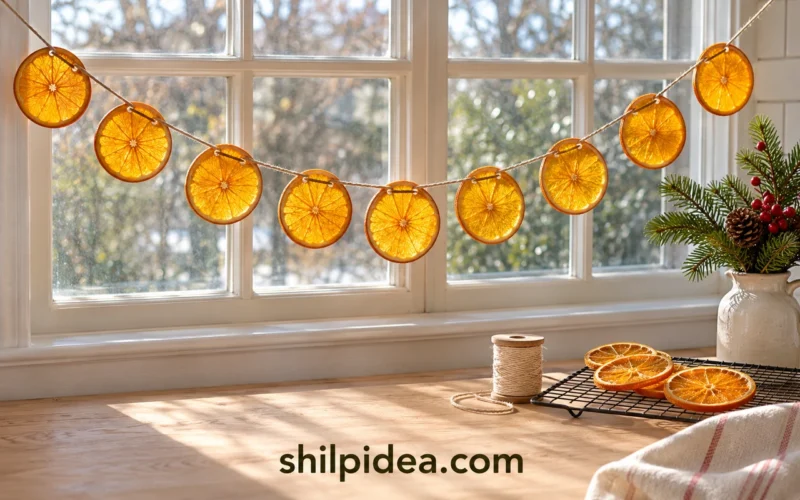
Stacked citrus slices create an ornament with a different profile from a single flat orange slice. The layers and natural ties give each piece a warm, handmade look. Dry the fruit completely before craft night, then set out ready-to-use slices for assembly. Our orange garland guide is a useful next stop for guests who want a longer botanical decoration after the gathering.
Get the tutorial: Dried Fruit Ornaments Beautiful Natural Christmas Decorations
16. Stamped Clay Rounds for a Two-Stage Project

A simple round shape gives a stamped holiday message plenty of room. This works best when the host explains that air-dry clay needs additional drying time after the gathering. Guests can shape their pieces during the evening and take them home on a flat support, or decorate pre-dried blanks instead. Keep the hanging holes clear and follow the clay maker’s instructions before adding paint, sealant, or twine.
Get the tutorial: Air Dry Clay Christmas Ornaments Handmade Holiday Gift Idea
17. Open Twine Balls with a Dedicated Drying Area
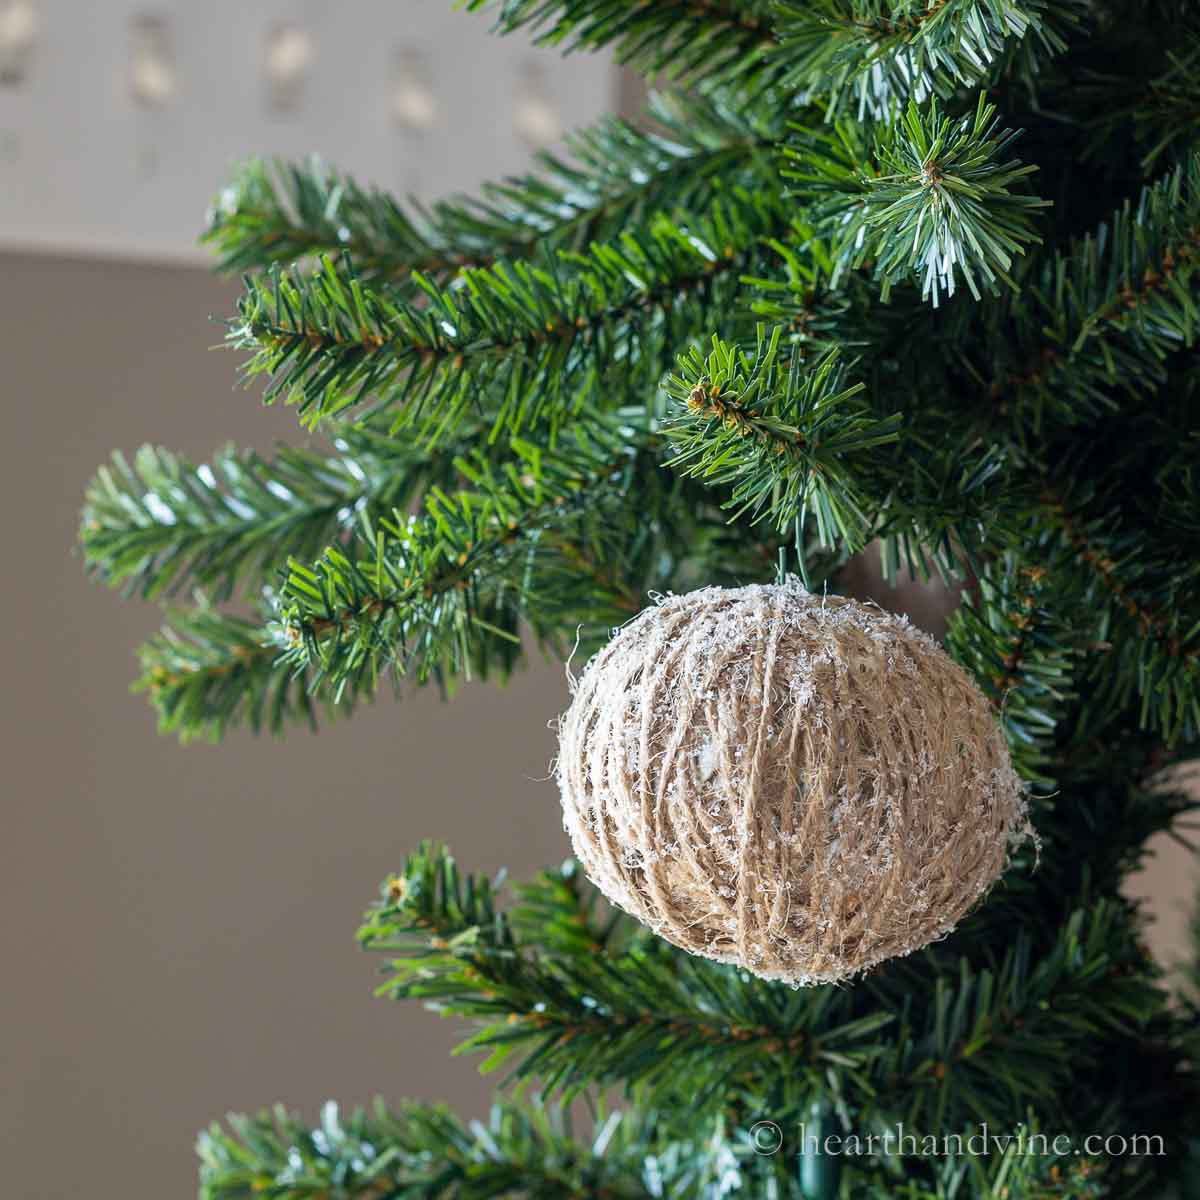
Twine balls bring a lighter, open texture to the project menu. Because this method uses adhesive and a temporary form, it needs more planning than a simple tie-on ornament. Cover the work surface, provide a separate place for wet pieces, and explain when the form can be removed according to the tutorial. This is a good choice for guests who are happy to finish a small final stage later.
Get the tutorial: DIY Twine Ornament Balls with Glitter
18. Botanical Baubles with Dried Flower Crowns

A small dried-flower cluster can transform the top of a plain ornament. Keep the botanical pieces compact so the bauble’s shape still reads clearly, and choose sturdy stems that can tolerate careful handling. Individual shallow trays help guests arrange their selection before attaching it. This is a decorative option for friends who enjoy floral styling, with the finished pieces needing protective packaging so the delicate accents are not crushed.
Get the tutorial: Dried Flower Ornaments To Trim The Tree
19. Felt Gift Pouches with Contrasting Stitches

A small felt pouch adds a useful packaging project to a table full of decorations. Contrasting thread makes the stitching part of the design, so each guest can choose a different combination from the same supplies. Set aside enough time for the sewing rather than treating it as an instant favor. Pair it with ideas from our cozy gift collection when deciding what to place inside.
Get the tutorial: DIY Gift Bags from Felt for an Added Special Touch
20. Photo-Based Christmas Cards to Share
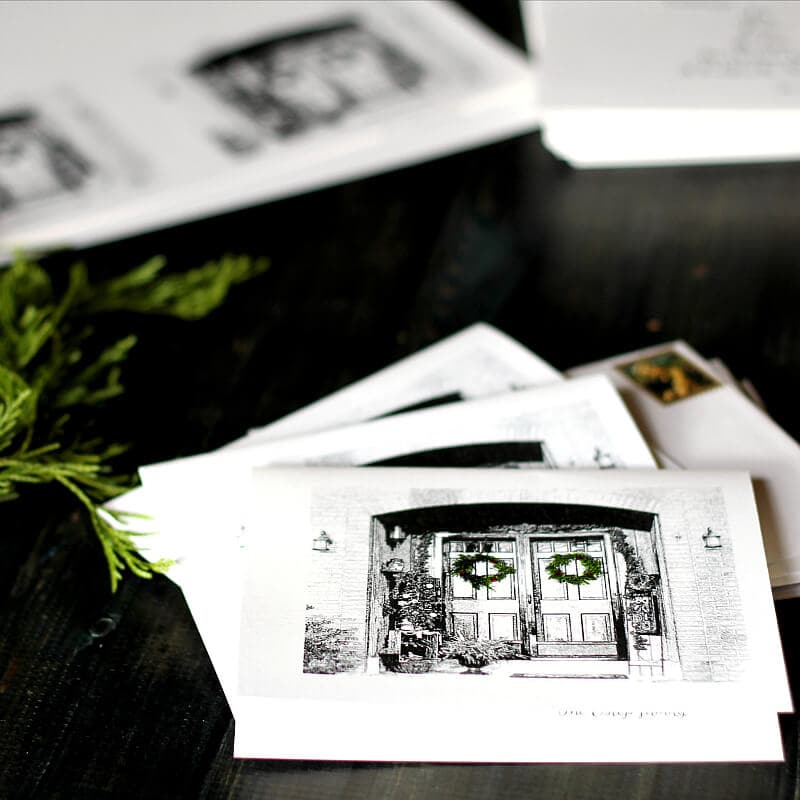
Personal photographs give a card-making station a more individual starting point. Ask friends to choose an image before the gathering, and prepare any digital sketch treatment or printing in advance. The table work can then focus on folding, trimming, and adding a handwritten message. Keep one spare printed sheet for checking alignment before cutting the final cards, especially when several designs share the same paper size.
Get the tutorial: How to Make a Christmas Card with a Photo
21. Layered Felt Trees for a Longer Craft Session
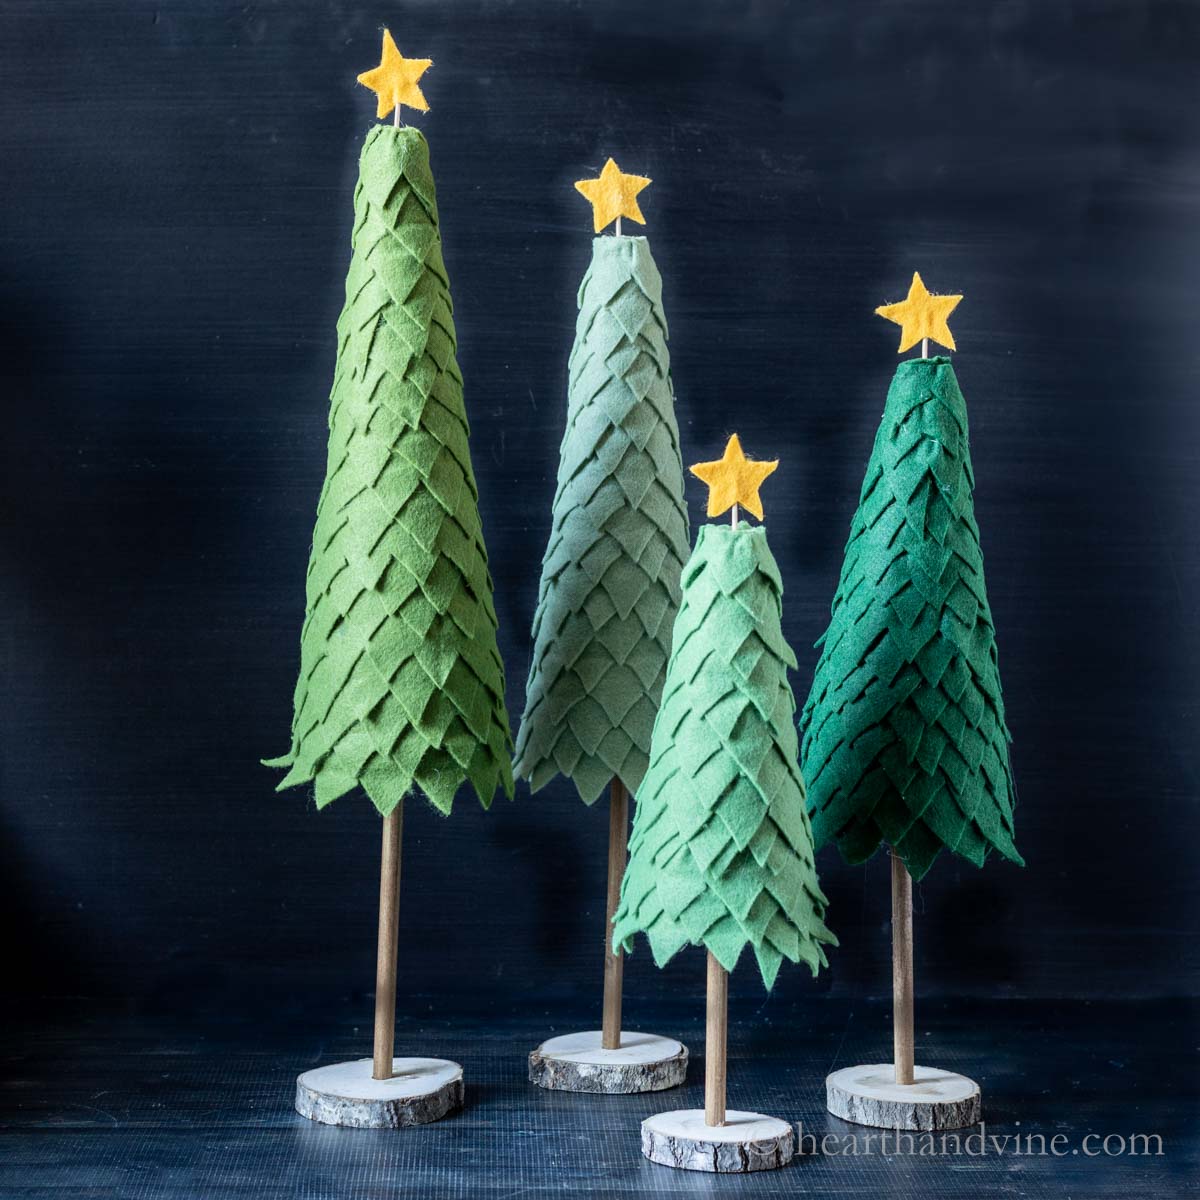
Layered felt gives these tabletop trees a soft, textured surface with a clear repeating pattern. They suit a group that wants one more substantial project rather than several tiny ornaments. Prepare the structural bases and review the original method before the evening starts. Let guests choose felt shades from one coordinated palette, then leave enough working space around each tree so scissors, loose pieces, and hot tools do not become crowded.
Get the tutorial: Deck the Mantel with Handmade Christmas Trees in Shades of Green
Choose a Few Projects and Make the Evening Your Own
Pick a manageable mix rather than setting out every option at once. One paper project, one textile craft, and one gift-packaging choice can give friends plenty of variety. Share the supply list ahead of time, prepare any lengthy drying stages, and leave room for finished work. These related projects can help you build a gathering around the materials your group already enjoys.
- Mini Yarn Trees with Cardboard Bases
- Popsicle Stick Ornaments for Family Crafting
- Pipe Cleaner Ornaments with Simple Shapes
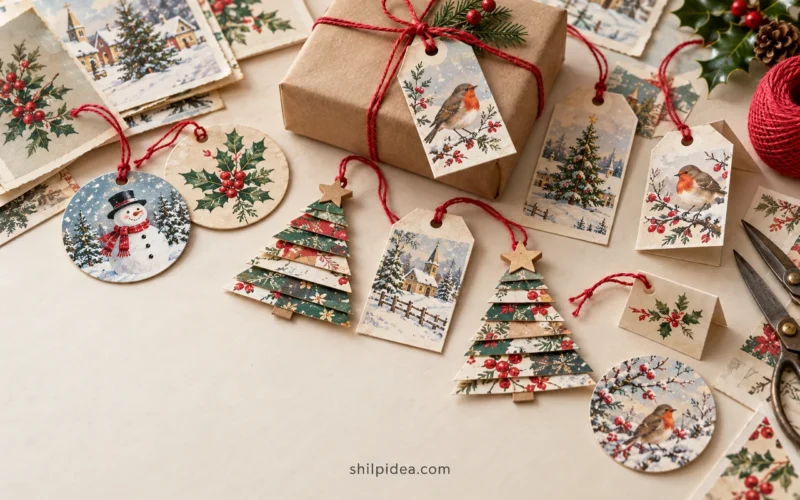
- Christmas Gift Tags from Recycled Cards
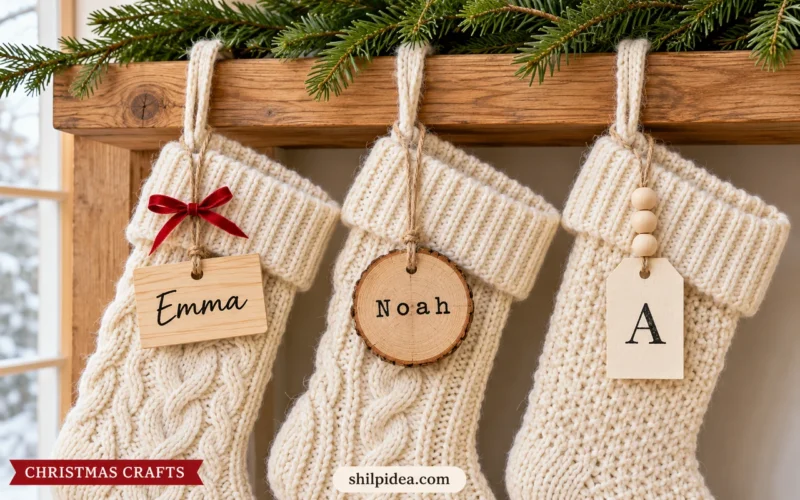
- Handmade Stocking Tags with Personal Details
- Homemade Gifts for Cozy Winter Evenings
What would your friends most enjoy making together? Share your craft-night plans or a favorite group project in the comments. If you have hosted one before, your practical setup tips are welcome too.


















0 Comments