How to Cut a Layered Cardstock Christmas Window Scene
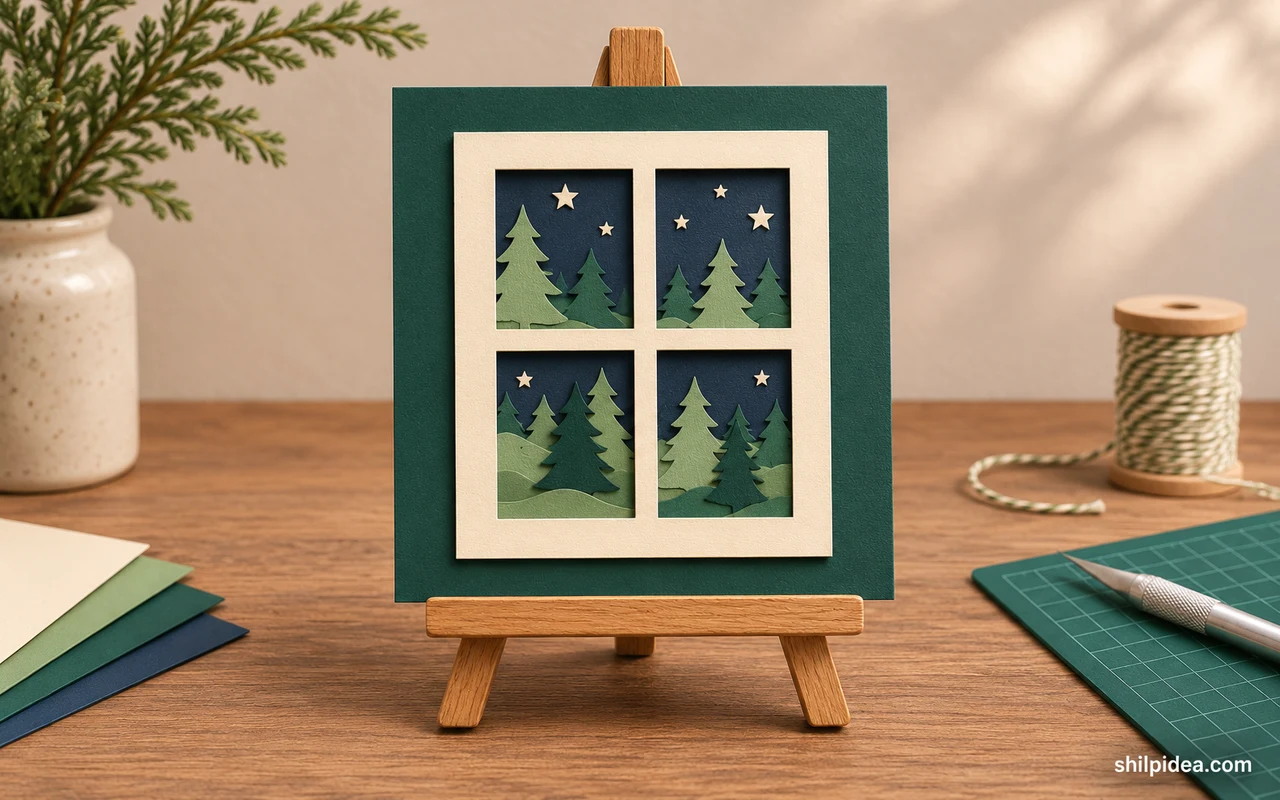
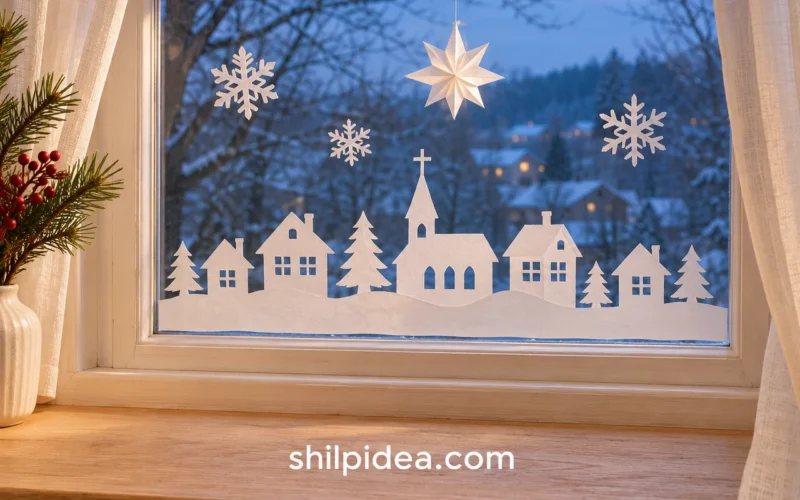
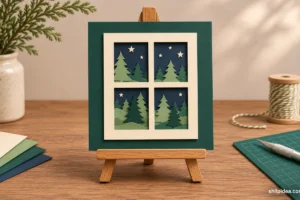
A layered cardstock Christmas window scene fits on a shelf or a little display easel. The cream frame, green trees and navy sky give the scene depth in a compact space.
Choose two or three paper colors you already use in your Christmas table setting. A thin sheet of vellum softens the view through the panes and lets the darker colors show.
The project starts with a simple four-pane frame, followed by a silhouette and a night-sky backing. Pair the finished scene with paper bag snowflakes if you want another folded-paper accent nearby.
Materials and Tools
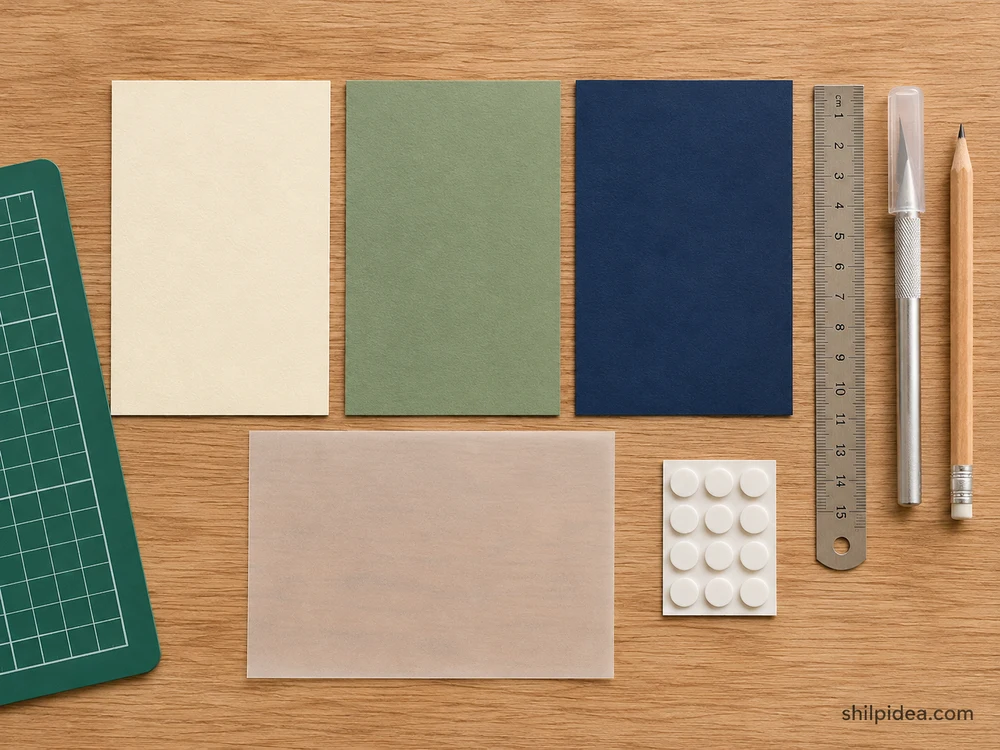
Gather the paper and tools before you start.
- Cream, sage and navy cardstock – Cut one 5 × 7-inch rectangle of each color.
- Translucent vellum – Cut one rectangle slightly smaller than the cream frame.
- Metal ruler, pencil and craft knife – Use them to mark and cut the four straight panes.
- Cutting mat – Protect the work surface beneath the cardstock.
- Thin foam adhesive dots and double-sided tape – Use the dots to separate layers and tape for the vellum.
- Small display easel – Choose one that supports a 5 × 7-inch card.
Precautions
Set up the workspace and check these points before you begin.
- Cut on a mat. Keep your free hand clear of the blade path and cap the knife between stages.
- Adults should handle knife cuts. Keep the blade, small offcuts and adhesive pieces away from children.
- Display the finished paper scene away from candles and other heat sources.
1. Mark a Four Pane Frame
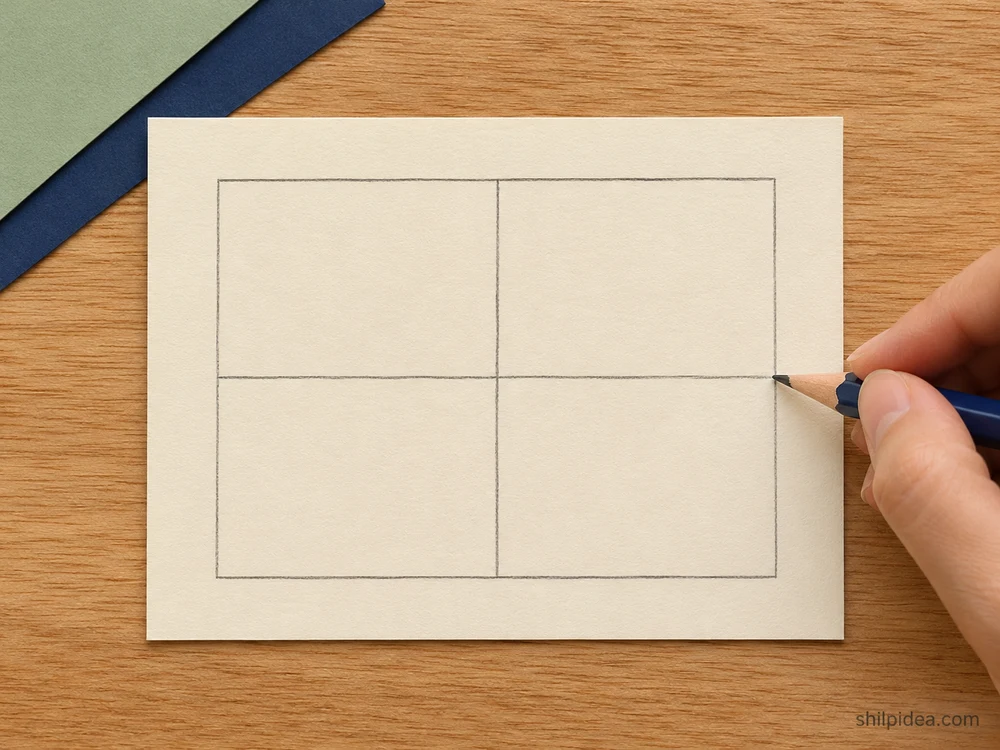
- Lay out the openings On the back of the cream sheet, mark a half-inch outer border. Draw a vertical and a horizontal center bar about a quarter-inch wide.
- Check the corners Use the ruler to square each opening. Mark the areas to remove so the center bars and outer border remain connected.
2. Cut Out the Panes
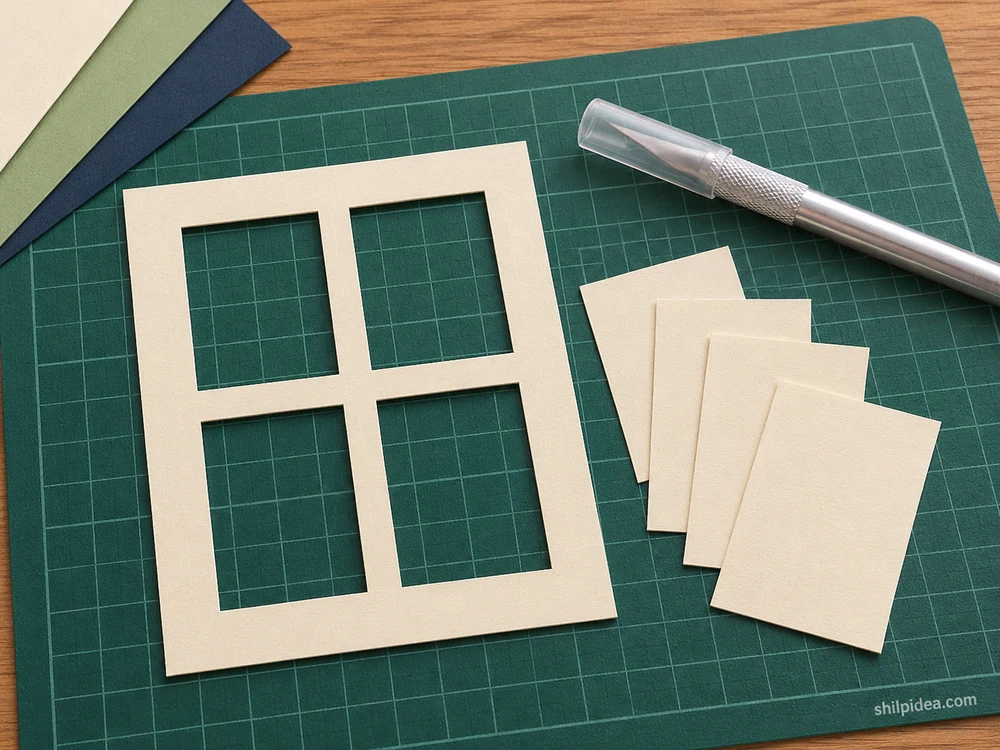
- Cut along the ruler On the cutting mat, make light passes along the four edges of each opening. Turn the sheet so you can keep your fingers clear of the blade.
- Lift each cutout Remove the paper rectangles and tidy any uncut corners. Flip the frame over and check that the visible side has clean edges.
3. Prepare the Trees and Winter Sky
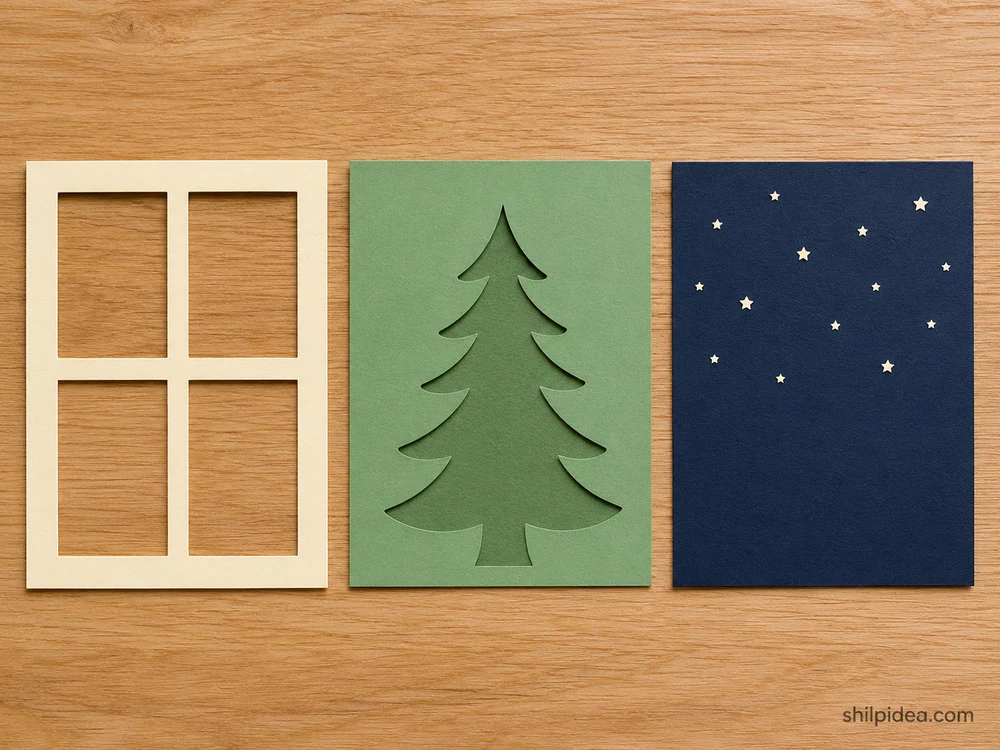
- Cut a tree silhouette Sketch a few overlapping evergreen outlines on the sage cardstock. Keep them attached to a strip along the bottom so they stay aligned as one layer.
- Arrange the night sky Place the silhouette over the navy sheet. Add a few tiny light paper stars where they will show through the top panes.
4. Stack and Align the Paper Layers
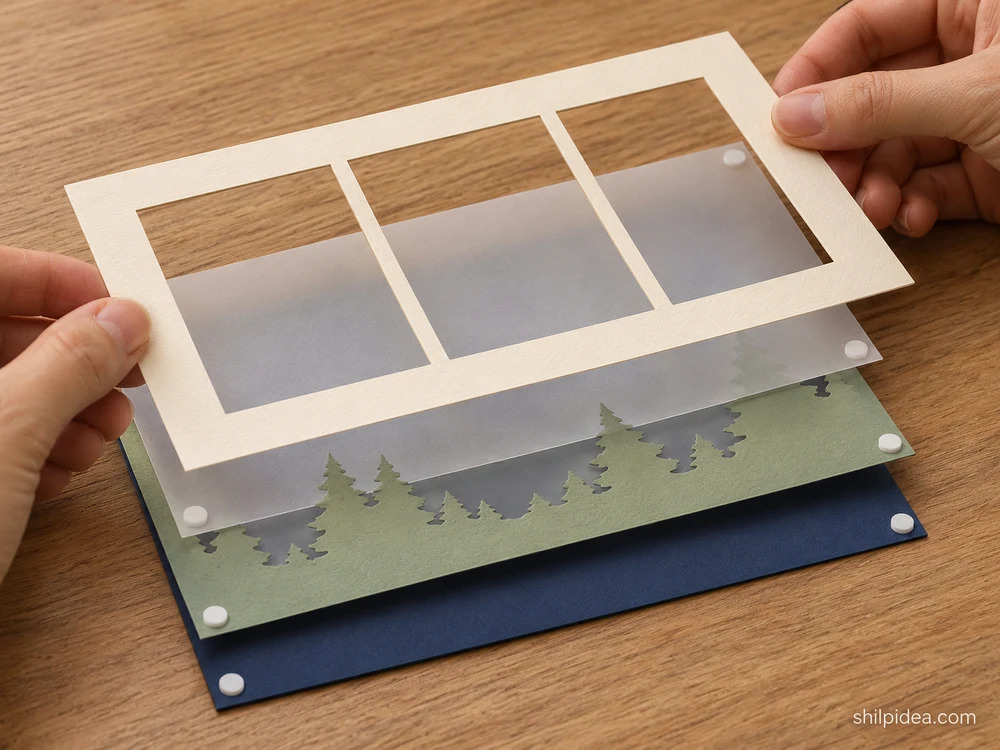
- Attach the vellum Tape the vellum to the back of the cream border. Keep adhesive outside the pane openings so it stays hidden from the front.
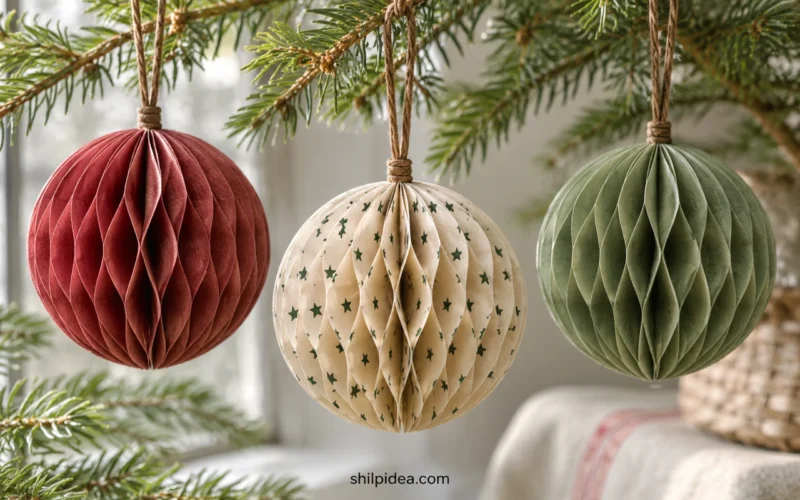
- Add the scene layers Place small foam dots on the outer edges and stack the cream frame over the sage trees and navy sky. Test the view through all four panes before pressing them down. The same colors can also work on paper honeycomb ornaments.
5. Finish and Display the Scene
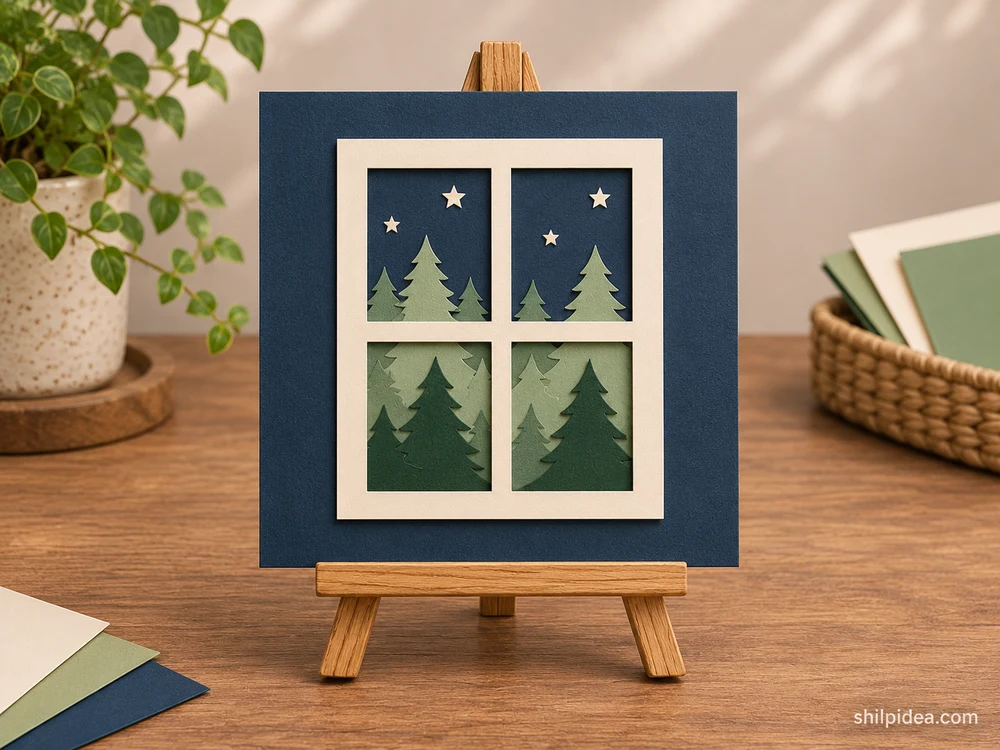
- Check the edges Lay the assembled window flat and check that the edges line up. Press each glued corner gently and tidy any stray fibers.
- Set it on the easel Place the finished card on a small easel and check that it stands without slipping. Turn it slightly if you want the paper depth to show from the front.
More Christmas Paper Crafts to Try
The window scene can sit by itself on a shelf or join a few other paper decorations. Repeat one color from the cardstock to make the grouping feel connected. These projects give you options for another folded accent, a table detail, or a small decoration elsewhere in the dining room.
- Paper Bag Snowflakes for Christmas
- Recycled Paper Honeycomb Christmas Ornaments
- Christmas Table Settings with Natural Details
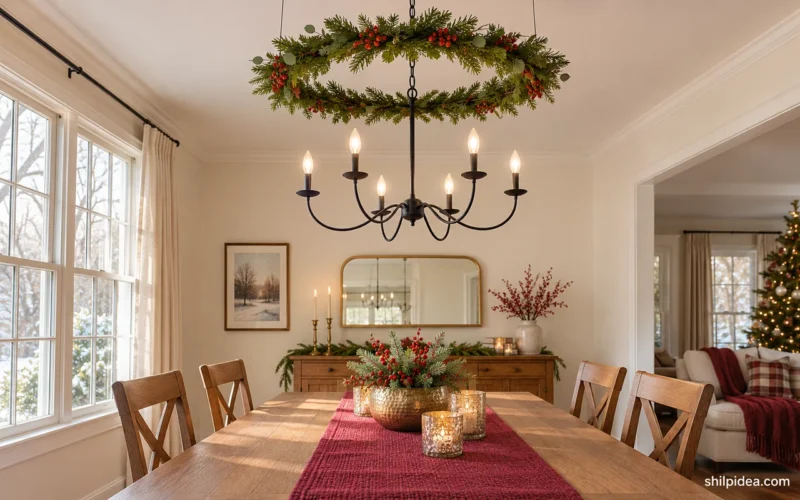
- Christmas Chandelier Decor for Dining Rooms
What would you put behind the window panes, a row of fir trees or another winter scene? Tell us in the comments which colors you’d choose.

























0 Comments