18 Handmade Christmas Card Ideas to Paint, Stamp, or Fold
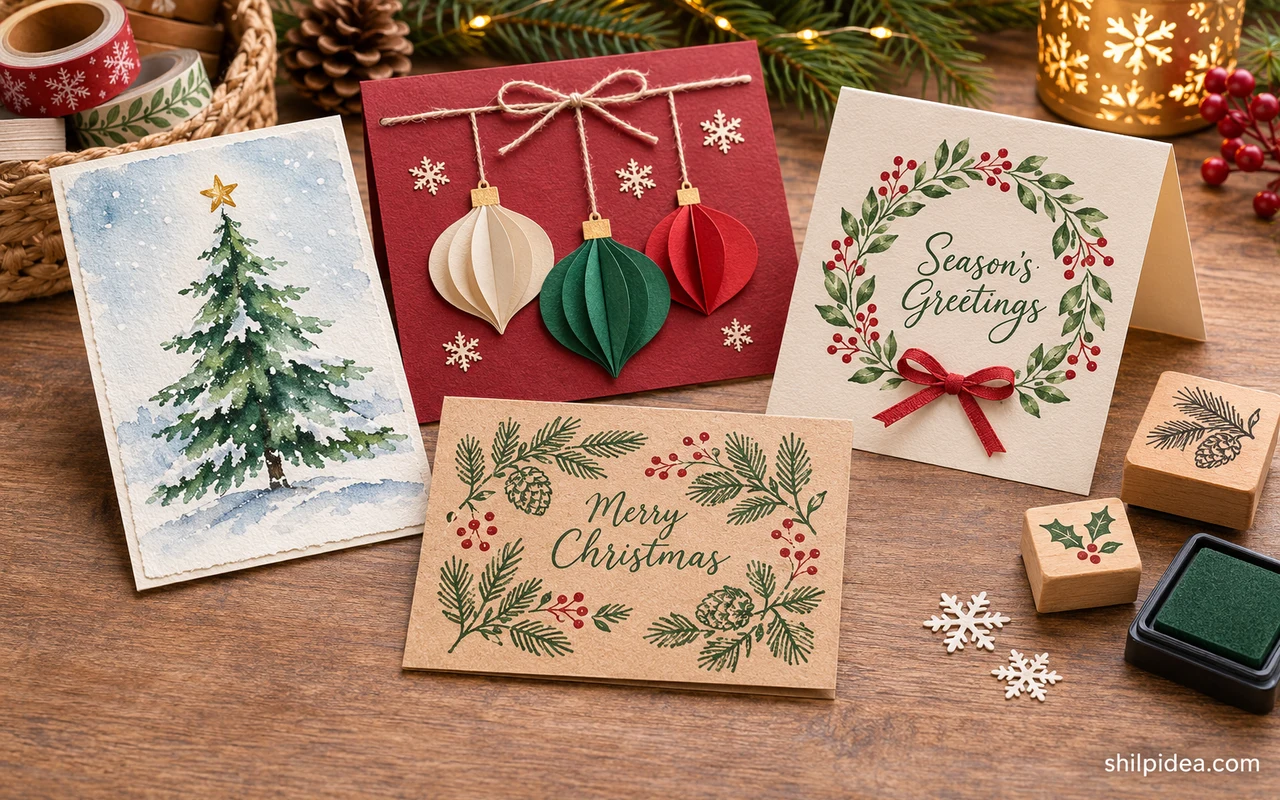
Handmade Christmas cards can be as simple as a few ink marks or as detailed as a small scene that stands up when it opens. Choose one technique that suits the time you have.
Use the paper you already like working with, and test a design on a scrap before starting a set. If you’ve made paper bag snowflakes, try repeating a similar motif on your card.
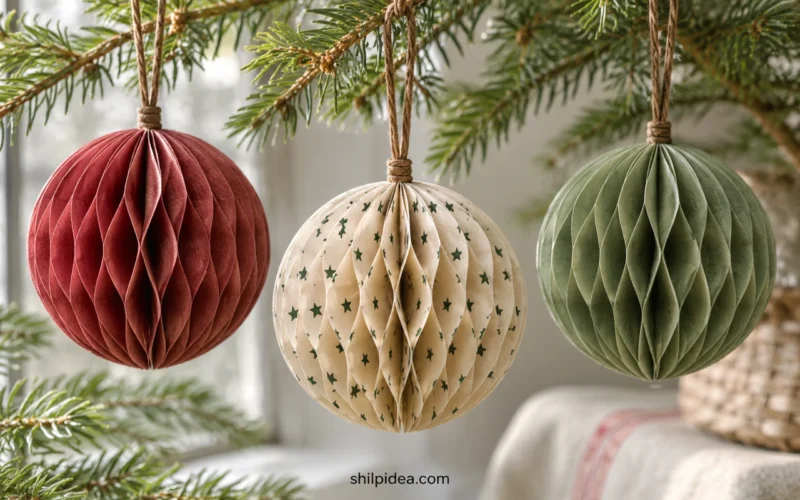
The ideas below include flat cards, pop-ups, stamped designs, and stitched details. Match the finished card with paper honeycomb ornaments if you want another handmade touch for the same gift.
1. Collage a Tree from Leftover Paper

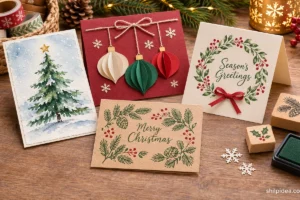
Small pieces of patterned paper make a tree without needing a perfect cutting template. Sort the scraps from widest to narrowest and try them on the card before gluing. Keep a narrow strip at the base for the trunk. Leave the paper edges visible so the mix still looks like a collage when you step back. If you like this use of scraps, try paper honeycomb ornaments with similar colors.
2. Paint a Border of Winter Leaves and Berries

A loose border leaves the middle of the card open for a greeting. Paint the greenery first, let it dry, then dot in the berries where the leaves change direction. Try one sheet of watercolor paper and cut it into several panels afterward. Leaving some spaces uneven keeps the border from looking like a printed frame.
3. Shape a Wreath from Baker’s Twine

Twine adds texture to a plain card without requiring much color. Shape the wreath on a scrap of paper first so you can see whether the ring will fit around the greeting. Fix a few points at a time rather than stretching the twine tight. A small bow can hide the place where the ends meet.
4. Fold a Printed Tree into a Pop-Up Card

A printed tree can become a small scene when it lifts as the card opens. Test the fold with plain paper before cutting the finished design. Leave enough room around the tree for the card to close without catching. Save the greeting for the opposite panel so it can be read while the tree is upright.
5. Paint Poinsettias on Small Square Cards

A square card makes a large poinsettia feel balanced without much background detail. Start with a few clear petal shapes and save the smallest marks for the center. Paint a second card using a slightly different red rather than trying to copy every line. Mount each panel on plain card so the flowers remain the focus.
6. Stamp a Reindeer Head with a Potato

A potato stamp makes the basic shape quickly, then a few pen marks give it antlers and a face. Test the paint on scrap before printing the card so the shape stays crisp. Leave the print to dry before drawing the details. If you’re making a set, use the same stamp and vary the expressions.
7. Heat Emboss a Gold Pattern on Dark Cardstock

Gold embossing stands out on a dark card even when the design is small. Try a swatch first to see whether the powder picks up the full pattern. Keep the greeting short and let the gold design do most of the work. Set the finished panel against a plain base so the edges stay easy to read.
8. Give a Fold-Out Card One Bold Motif

A fold-out card can carry a large poinsettia or a snowflake without needing several unrelated patterns. Repeat one color across the folds and place the greeting where it stays visible as the card opens. Test the fold before gluing on the final motif. Keep thick embellishments away from any area that needs to fold flat. A few paper bag snowflakes make an easy companion gift.
9. Stitch a Tree into a Linen Panel

A small linen panel can give a greeting card the feel of a keepsake. Stitch the tree first and check that the corners sit flat before attaching the fabric. Use one or two thread colors so the stitches remain readable. If the linen frays, secure its edges behind a cardstock window or leave an even border.
10. Paint a Northern Lights Skyline

Let the sky take up most of the card and keep the winter landscape low. Test two colors together on scrap watercolor paper so you know how they meet when wet. Add the darker trees or hills only after the background is dry. A plain white edge around the panel makes the sky feel brighter.
11. Stamp a Vintage Father Christmas

A detailed stamp gives a small card a clear focal point. Try it on warm white stock and keep any extra pattern away from the face. A faded red or green border can give the design the look of an older greeting card. Stamp on scrap first to check whether the tiny lines come through.
12. String Tiny Lights Across the Card Front

A row of little colored shapes can suggest a light strand across a white card. Start by choosing where the string should dip, then give the tiny bulbs enough space to be seen individually. Repeat three or four colors rather than using every scrap at once. A plain message underneath keeps the playful line easy to follow.
13. Build a Fireplace Scene Inside the Fold

A fireplace is easy to recognize from a mantel line, a hearth and a few small stockings. Start with the main shape and add details once you know how far the panel can open. Keep the front of the card simple so the fireplace is the surprise. Press the fold carefully before you test it in the envelope.
14. Draw a Small Set of Pen and Ink Cards

Give each card one little drawing, such as a tree, parcel or ornament, and repeat the same lettering style across the set. Make a faint pencil layout before going over it in ink. A short handwritten greeting can carry more personality than a dense border. Leave some space around it before you add the finishing details.
15. Build a Layered Front Door Card

Layer a frame, a door and one small wreath to make a simple entry scene. Use a shadow color just behind the door so the layers are easy to distinguish. Leave the lower part clear for a short greeting. Cut one extra wreath first so you can adjust its size before committing to the whole layout. Pair the card with one of these oversized Christmas bows on a larger package.
16. Add a Wash to an Embossed Poinsettia

A light wash can bring out the raised lines of an embossed poinsettia. Use a little color at the petal bases, then let it fade toward the tips. Test your paper so you know how much water it can take. Give the panel time to dry flat before attaching it to the card front.
17. Make a Tree with Fingerprint Branches

Small overlapping fingerprints can build up the outline of a tree. Start at the top and widen each row, leaving gaps for a few dots of another color. Keep a scrap nearby to test the amount of paint. When the green has dried, add a trunk and a short note beside the tree.
18. Make a Lantern Shape That Opens Flat

A lantern silhouette gives the card a useful central shape, with the inside panel showing through its windows. Use pale paper behind the openings to suggest light without adding electronics. Test the fold before attaching the cover panel. The card should close without forcing the corners, especially if you plan to put it in an envelope.
More Handmade Christmas Paper Ideas
After choosing a card, set aside a few of the same papers for a simple gift detail. Repeating one shape or color will connect the card and wrapping even if the techniques differ. These projects offer options for ornaments, bows, and a little decoration for the table.
- Paper Bag Snowflakes for Christmas
- Recycled Paper Honeycomb Christmas Ornaments
- Giant Christmas Bows for Holiday Decor
- Christmas Table Settings with Natural Details
Which card would you make first, a painted scene or a pop-up? Share your idea in the comments and tell us who you’d send it to.
























0 Comments