18 Wood Room Divider Ideas with Natural Texture
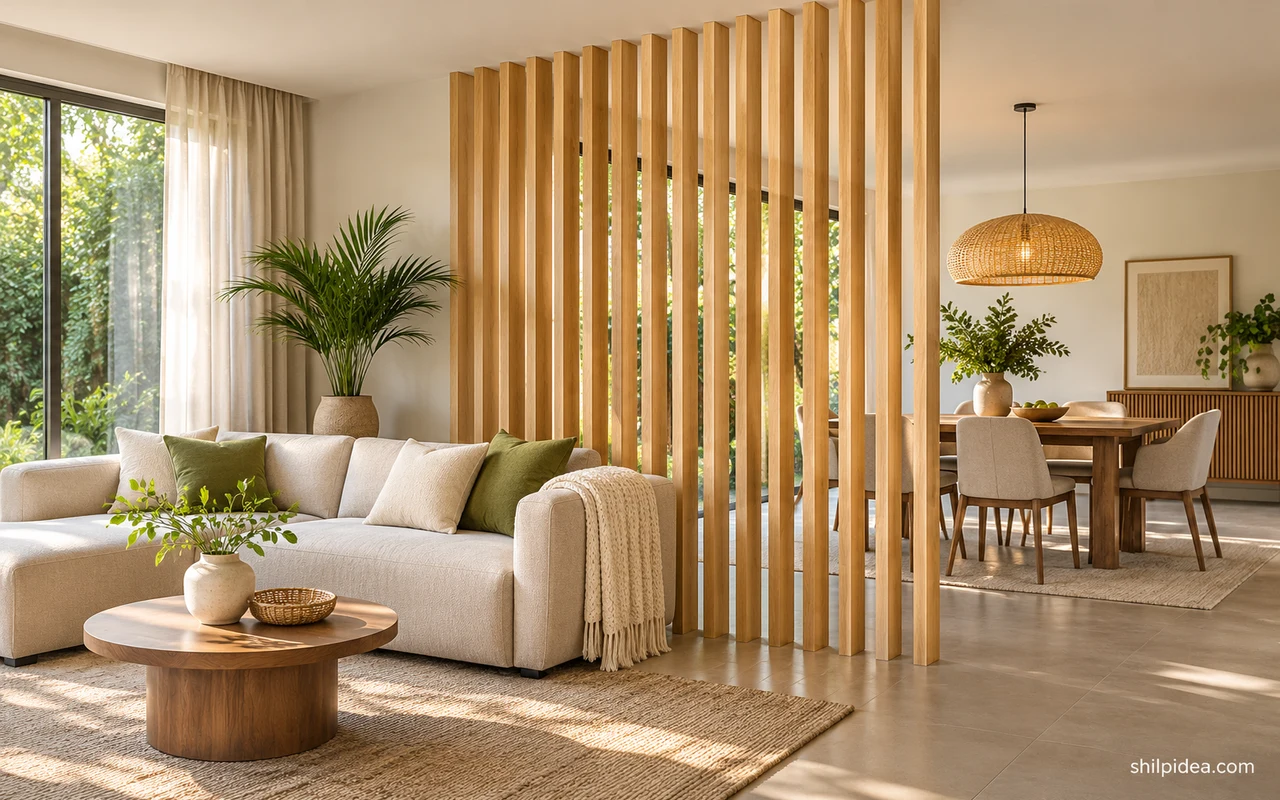
A wooden room divider can define a work area, hide part of a room, or steer the view toward a window. First decide how much light and privacy you want on each side.
Start with the room’s widest paths and mark the proposed boundary on a floor plan. Borrow cues from hygge living rooms if the divider will sit beside a sofa or reading spot.
These examples show what slats, shelves, branches and solid folding screens can do in different rooms. Consider the view from nearby family photo walls before choosing a height.
1. Frame a Corner with a Folding Wood Screen

Set a pale folding screen at an angle to mark the edge of a seating area. Test two positions while sitting in the room so you can see whether it hides the doorway or lets enough daylight through. The panels need enough footprint to stand securely without projecting into the passage.
2. Use Branches to Give a Kitchen Boundary Texture

A group of upright branches can separate the end of a counter while leaving the next room in view. Let the irregular trunks be the main detail and keep nearby finishes simple. This is best treated as an installed divider, with a secure frame and placement clear of cooking equipment and walking routes.
3. Divide a Stair Hall with Stacked Horizontal Slats

A slatted panel gives a landing a visual edge while revealing parts of the room beyond it. Look at the screen from farther back to see how the horizontal lines run against the stair. Where a panel borders a drop, follow the local rules for a stair guard and use a properly designed installation.
4. Curve a Divider Around a Reception Area

A curved run of horizontal wood can soften the line between an open room and a seating nook. Use the curve to show the direction of travel and leave the corners open enough for people to see where they are going. Repeat the timber color in one lower piece of furniture. Check the view from hygge living rooms.
5. Put a Round Display Shelf Between Two Zones

A circular wooden shelf creates a boundary and still gives the eye a way through. Leave several openings empty so its outline stays visible. Check whether things can be reached from both sides and how the unit is intended to be secured before using it as a freestanding piece in a busy room.
6. Give a Play Area a Low, Open Boundary

An open pale wood partition can define a spot for toys without closing off the rest of the room. Use the shelves for a few light items and keep the spaces between panels visible. Follow the divider’s anchoring instructions and leave enough space for children and adults to pass without brushing the frame.
7. Try a Dark Woven Folding Screen

A woven folding screen can soften the view of a home office when the desk is out of use. Choose the position from the entrance rather than only from the desk chair. A little light through the weave helps the panel feel connected to the rest of the room during the day.
8. Repeat Angled Shapes Across an Open Screen
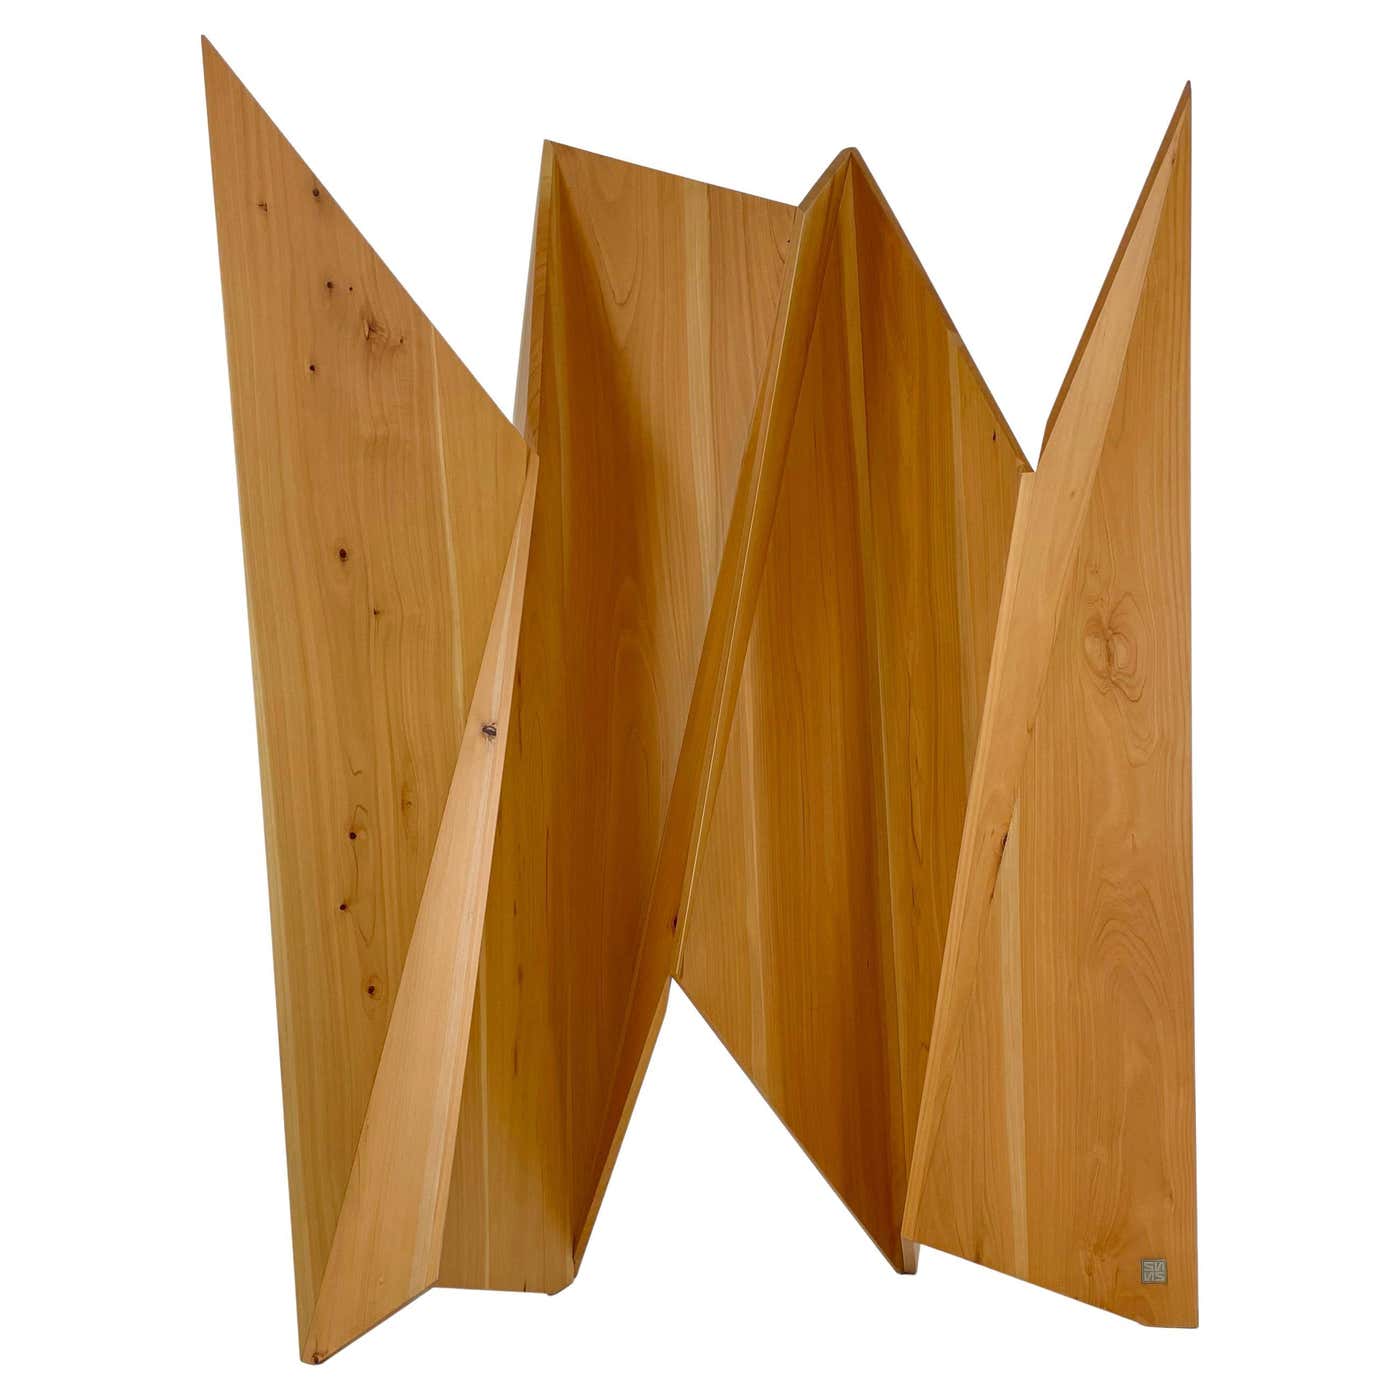
A divider with angled wood elements works well when the rest of the room has simple lines. Let the divider be the busiest surface and check that the pattern remains readable from both sides. Try echoing its wood tone in a small table or chair so it feels connected to the seating.
9. Use Carved Panels for a Decorative Boundary

Carving can give a screen enough detail to read without anything hanging on it. Set it against a quiet wall or leave a small gap so side light catches the relief. Check the back as well as the front if the screen will sit between two rooms rather than against a wall.
10. Arrange Slender Trunks Between Sitting Areas

A group of pale trunks can suggest a wall without closing the view from one area to the other. Vary the spacing slightly so the divider feels natural. Keep branches and rough ends away from seating, and have the whole grouping secured as part of the installation instead of balancing individual pieces.
11. Treat a Painted Wood Screen Like Artwork

Use a painted screen where the picture can be viewed from a few feet away. The panels can hide part of a wall or temporarily close off a side of a room. Pick the position before adding nearby art so the patterns don’t compete, and leave room for the panels to fold. Repeat a wood finish from family photo walls.
12. Use Staggered Pallet Slats to Divide an Open Plan

A pallet-style divider can mark a sitting area and leave narrow views through its staggered slats. Face the open sides toward a view worth keeping, and repeat the natural wood tone in a nearby shelf or chair. Use a divider with a stable base or one designed to be secured in a busy passage.
13. Keep Light Moving Through Open Wood Shapes
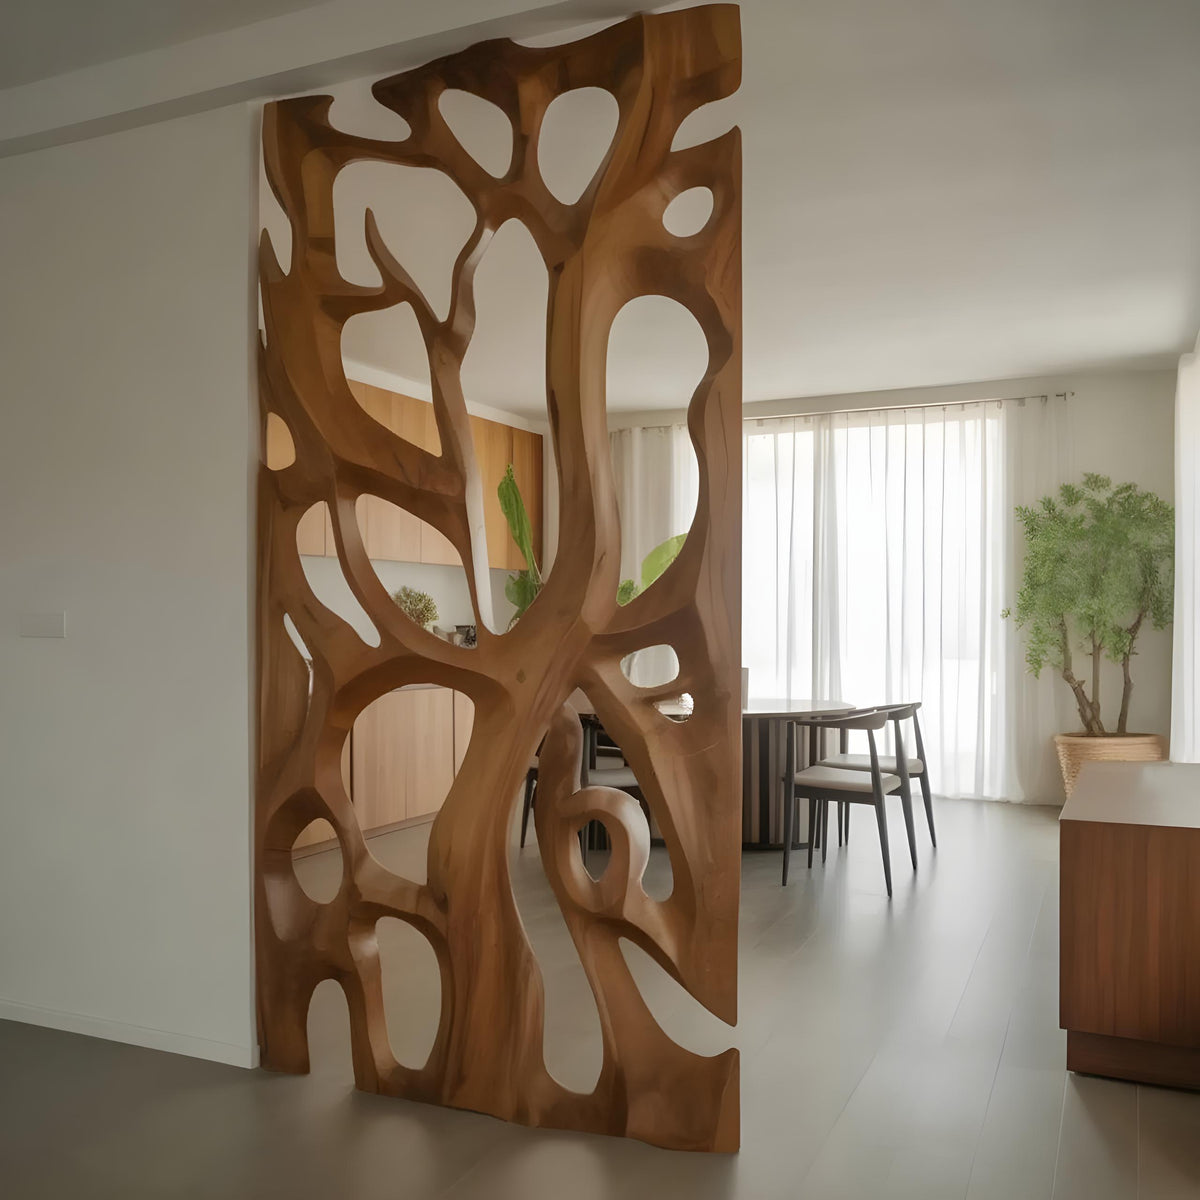
Cutout shapes help a divider work in a dining area where you want a boundary without blocking the neighboring window. View the pattern from the chairs and from the doorway before settling on one. A simple table and understated upholstery make room for the wood shapes to stand out on their own.
14. Use Closely Spaced Timber Slats for a Den
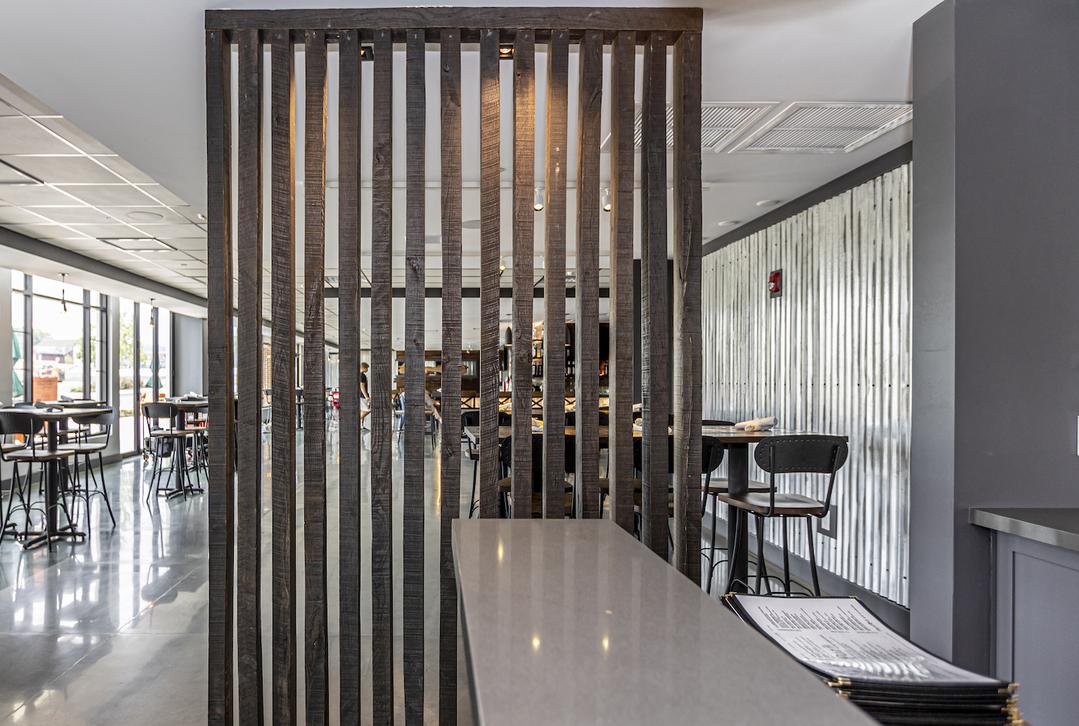
A dense timber divider can make a sitting area feel more sheltered while leaving a few deliberate gaps. Look through the gaps from your usual seat before planning where a light or picture will sit. Align the panel with a natural edge in the room, such as a sofa arm or floor transition.
15. Lighten a Room with a White Carved Screen
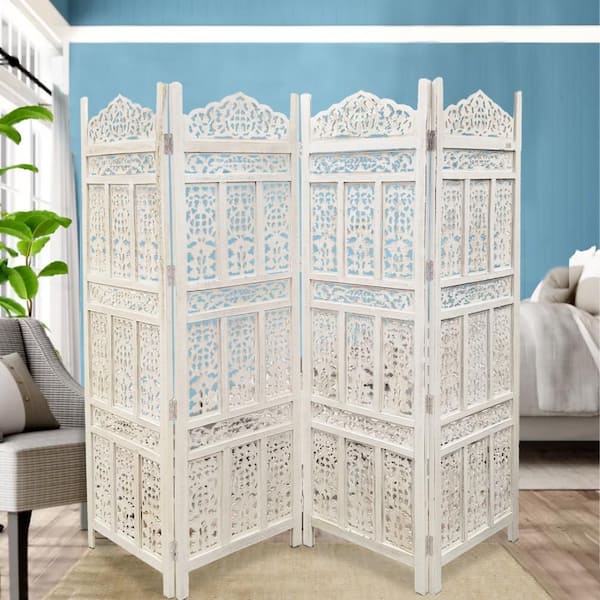
A white screen with cutouts can provide a little privacy and still pass borrowed light. Set it far enough from the window to keep the pattern visible. Compare it against your wall paint before buying so its frame and carved panels don’t disappear completely in the brightest part of the room.
16. Make an Open Grid Part of the View

A grid with offset square openings can provide a view from one room to the next without making them look like one unbroken space. Place a few low objects in selected openings and leave the rest clear. Use the line of the grid as a guide when arranging the nearest rug or seating. Use an accent from kitchen wall decor nearby.
17. Place Shelving Along a Dining Boundary

Open shelves can hold a few dishes and plants while marking where the eating area ends. Put the most-used pieces where you can reach them without walking around the entire divider. Leave openings at eye level and follow the manufacturer’s installation instructions so the unit is secure from either side.
18. Use a Wavy Wood Panel to Turn a Corner
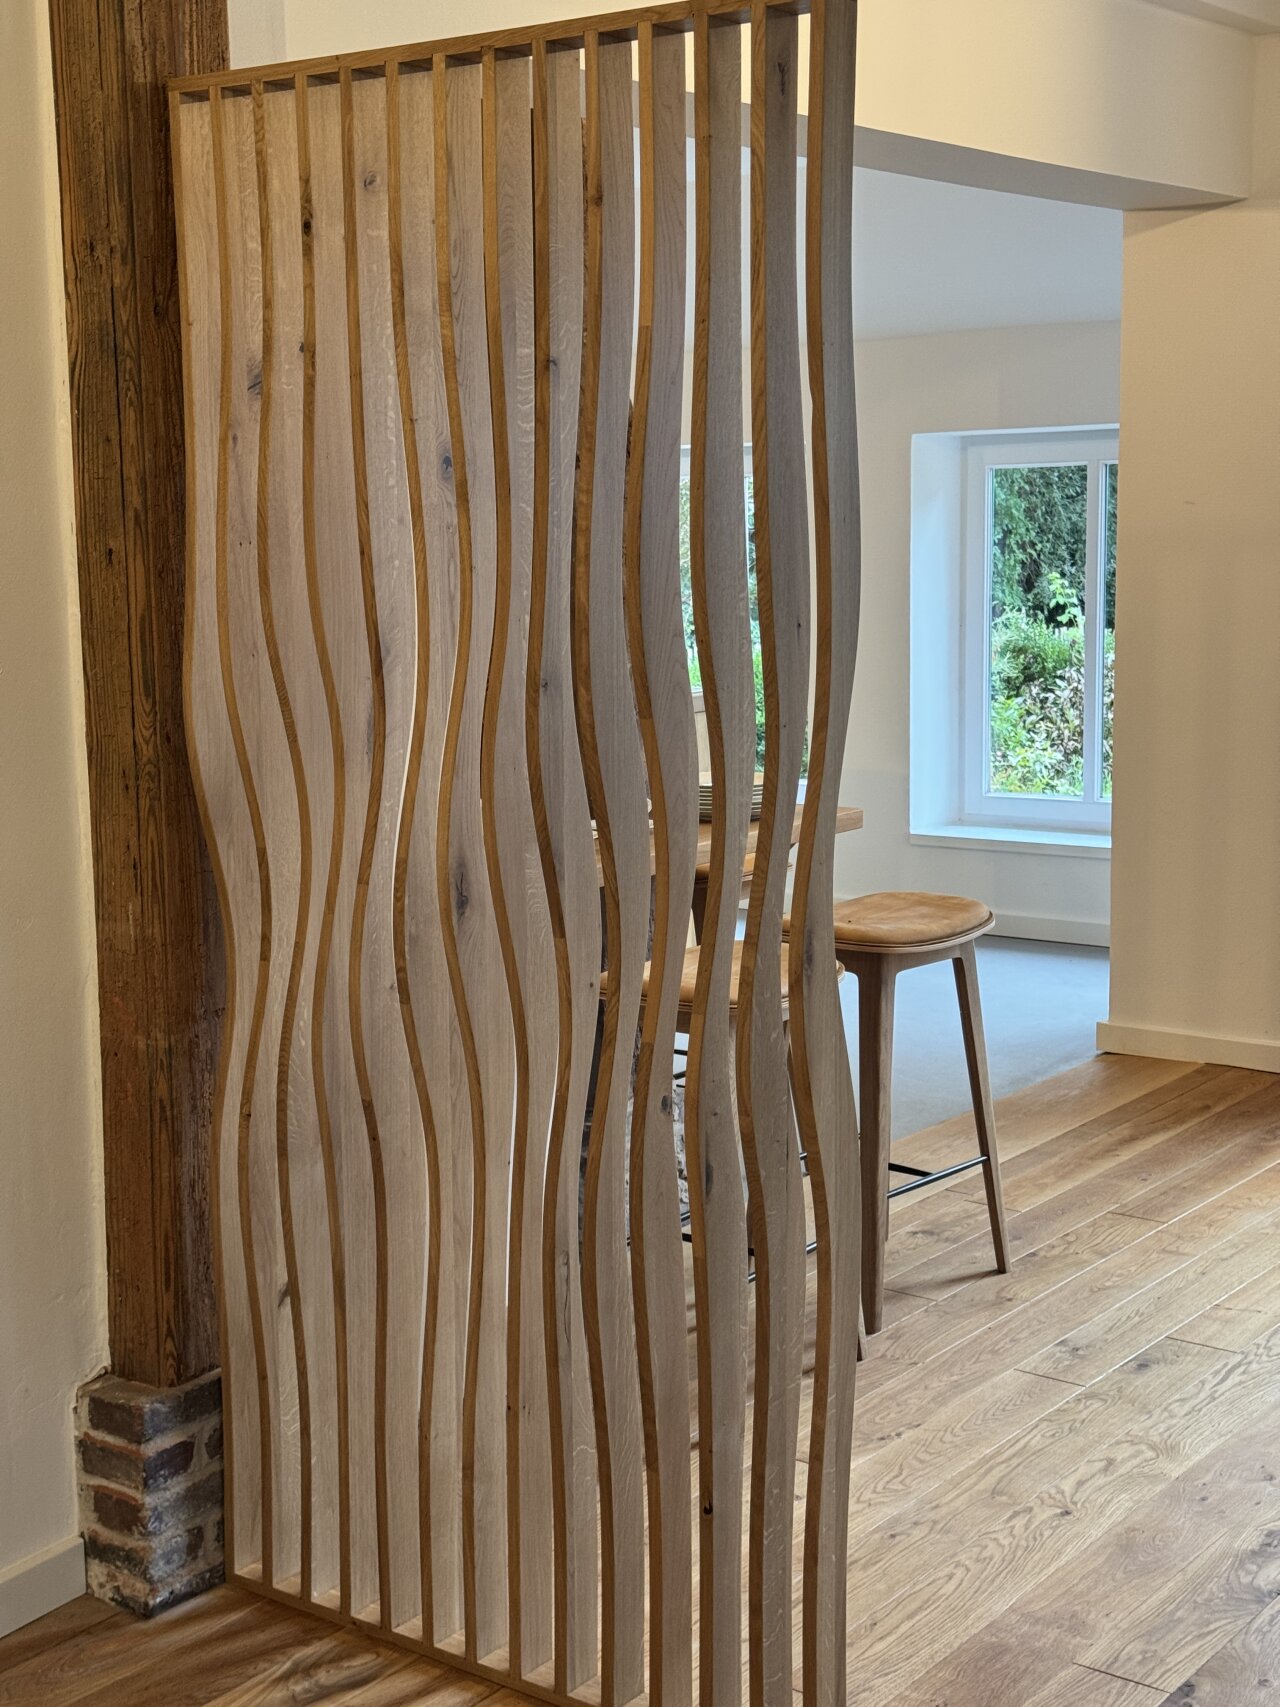
A screen with gently curved vertical boards softens the line between a passage and the adjoining room. Keep furnishings low nearby so the top of the divider remains visible. Look at the grain across several boards before choosing a finish, especially if warm daylight comes through the space in the afternoon.
Plan the Room Around the Divider
Stand where you usually enter the room and look at what the divider will frame on either side. The view might end at a chair, a photo wall, or the edge of a kitchen counter. Use the projects below to decide where to repeat the wood tone, where to soften it with fabric, and which sight lines to leave open.
- Hygge Living Rooms with Gentle Lighting
- Staircase Photo Walls for Family Memories
- Kitchen Wall Decor Beyond the Backsplash
- Framed Wall Art from Fabric Samples
Think of a spot where you’d like a clearer boundary between two activities. In the comments, describe what you want to screen and what you’d still like to see from the other side.






















0 Comments