How to Build a Small Pegboard Craft Station
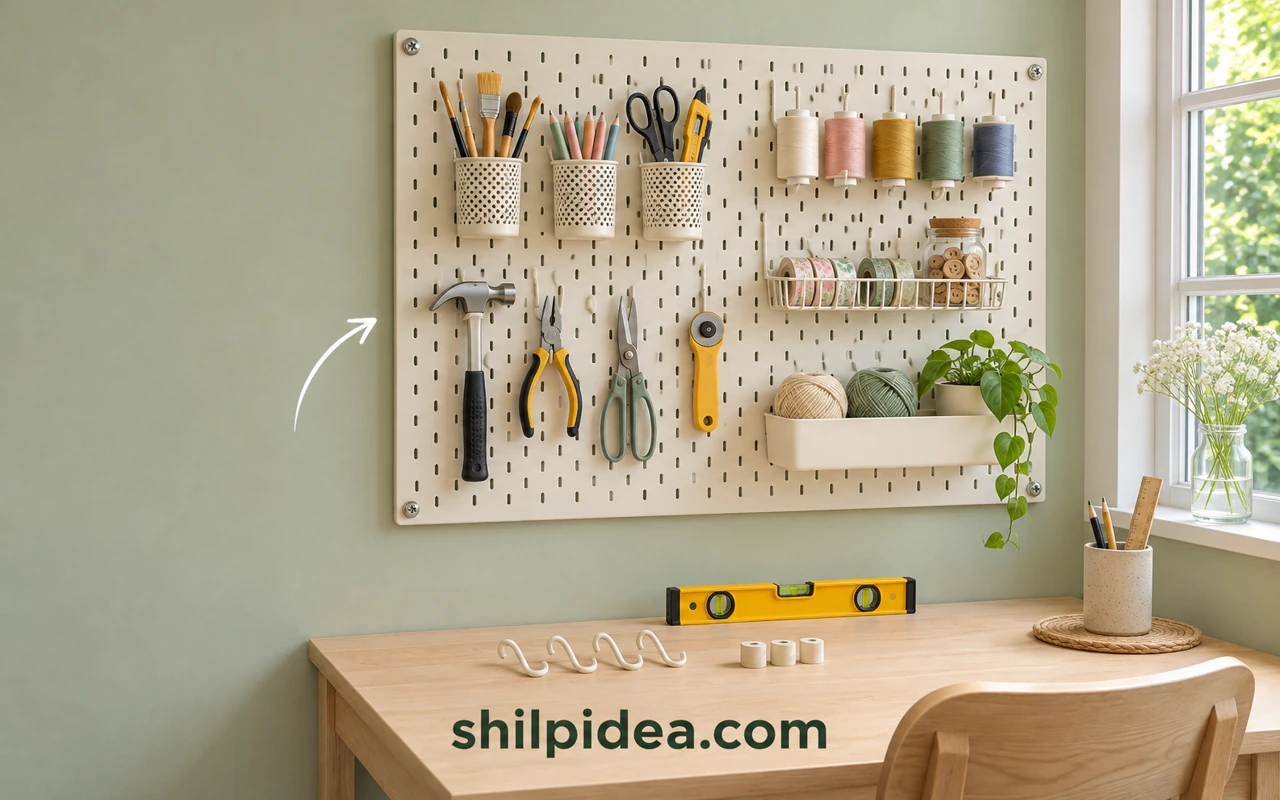
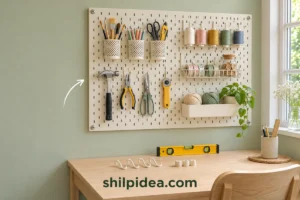
A small pegboard can give your most-used crafting supplies a place above the work surface. This setup pairs a short wall-mounted panel with a desk and room to spread out one project.
Measure around windows, trim, and the reach from your seat. The same clearances matter for other kitchen wall decor that shares space with a work area.
Group supplies by the project they belong to. If you make framed fabric art, for example, leave room for swatches, a ruler, and the frame you are working on.
Materials and Tools
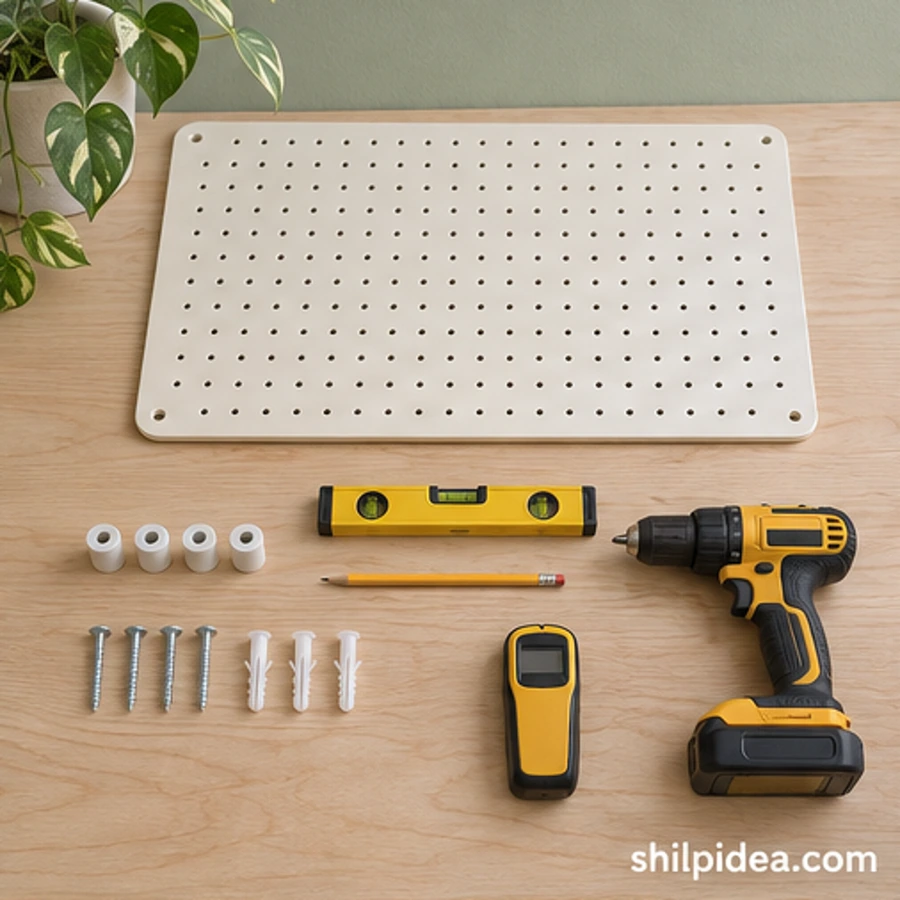
Set out the supplies before starting.
- Small pegboard – Choose a compatible panel about 24 inches wide and 18 inches high, with manufacturer instructions and load ratings.
- Mounting kit – Use the maker’s rails or spacers, fasteners and hardware specified for your wall.
- Level, tape measure and pencil – Check wall position, height and level.
- Wall scanner and drill – Use a tool suitable for your wall and a bit specified by the hardware maker.
- Compatible hooks and bins – Choose a few light accessories within the board and accessory load limits.
Precautions Before You Begin
Check these points before you begin working.
- Check for hidden wiring and plumbing before you drill. If you cannot establish a safe fastening location, stop and get qualified help.
- Mount into the structural supports or suitable wall substrate specified by the pegboard manufacturer. Do not guess which fasteners your wall can carry.
- Wear eye protection when drilling, and have a second person hold the panel.
1. Measure the Desk and Dry-Fit the Board
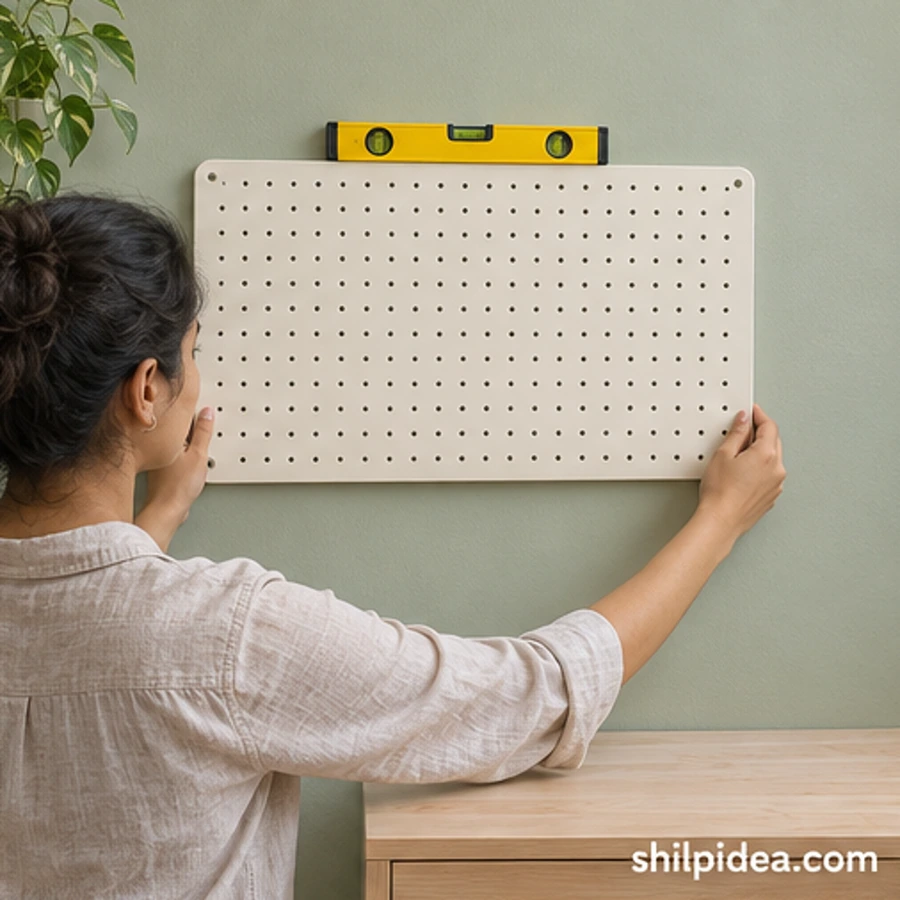
- Check your reach – Sit at the desk and check which rows you can reach without standing. Set the bottom edge far enough above the worktop to remove a bin without bumping the supplies beneath it.
- Mark the outline – Have a helper hold the board in the chosen position. Level the upper edge and mark the corners lightly in pencil.
2. Find the Mounting Points
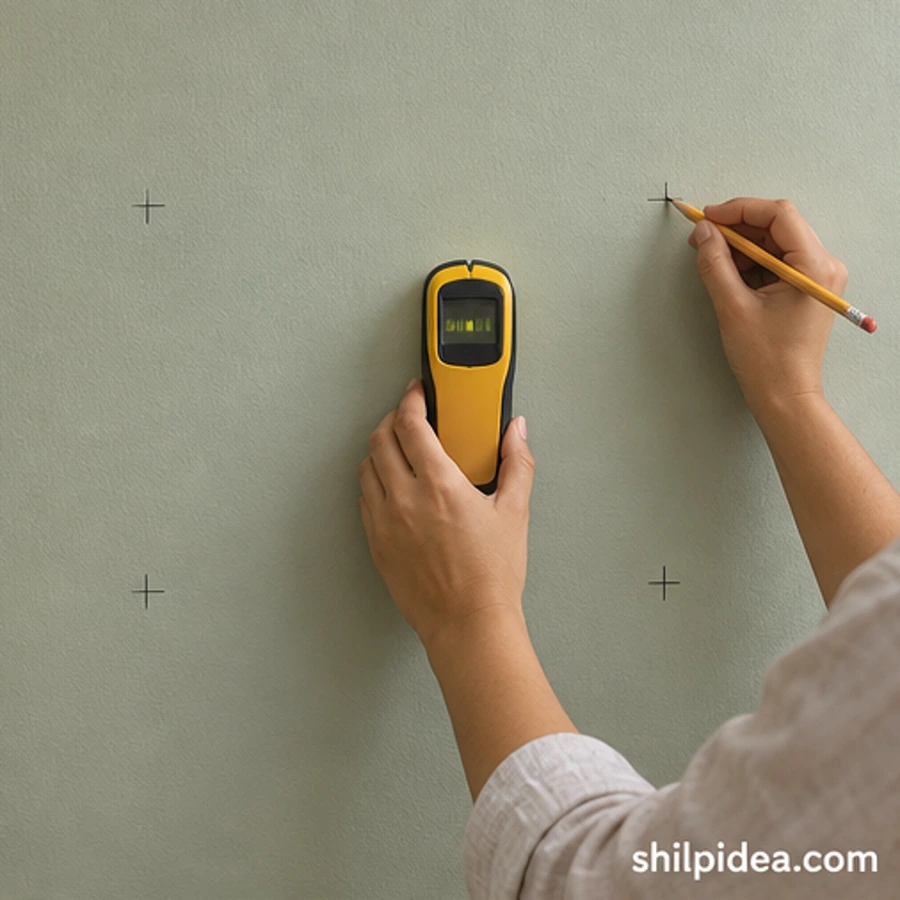
- Locate support – Use the mounting template and your wall scanner to identify permitted fastening points. Keep hardware clear of potential services, and move the layout when it conflicts with a safe mounting point.
3. Install the Board With Its Spacers
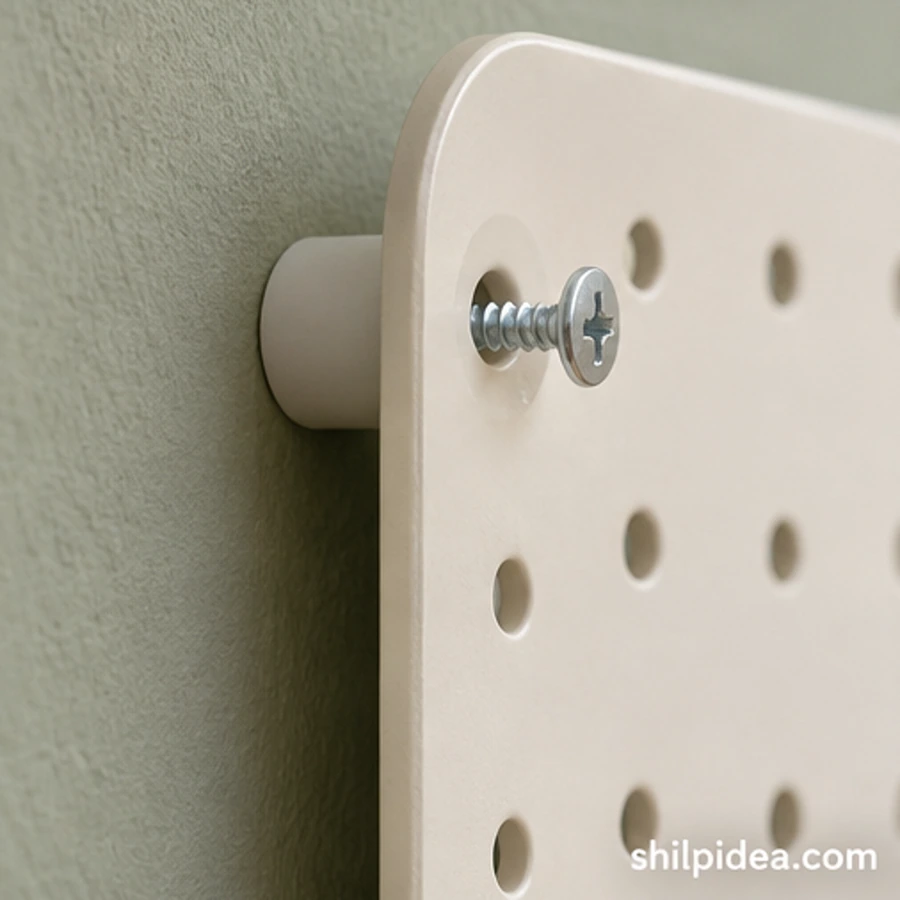
- Follow the kit – Fit the maker’s rails or spacers so the hooks have room to engage behind the board. Use the matching fasteners, bit size, hole pattern and sequence in the instructions for your model.
- Level and secure – Recheck level while installing the board with your helper. Complete each required mounting point and check that the board stays flat and still before fitting any bins.
4. Add Hooks for the Tools You Reach For
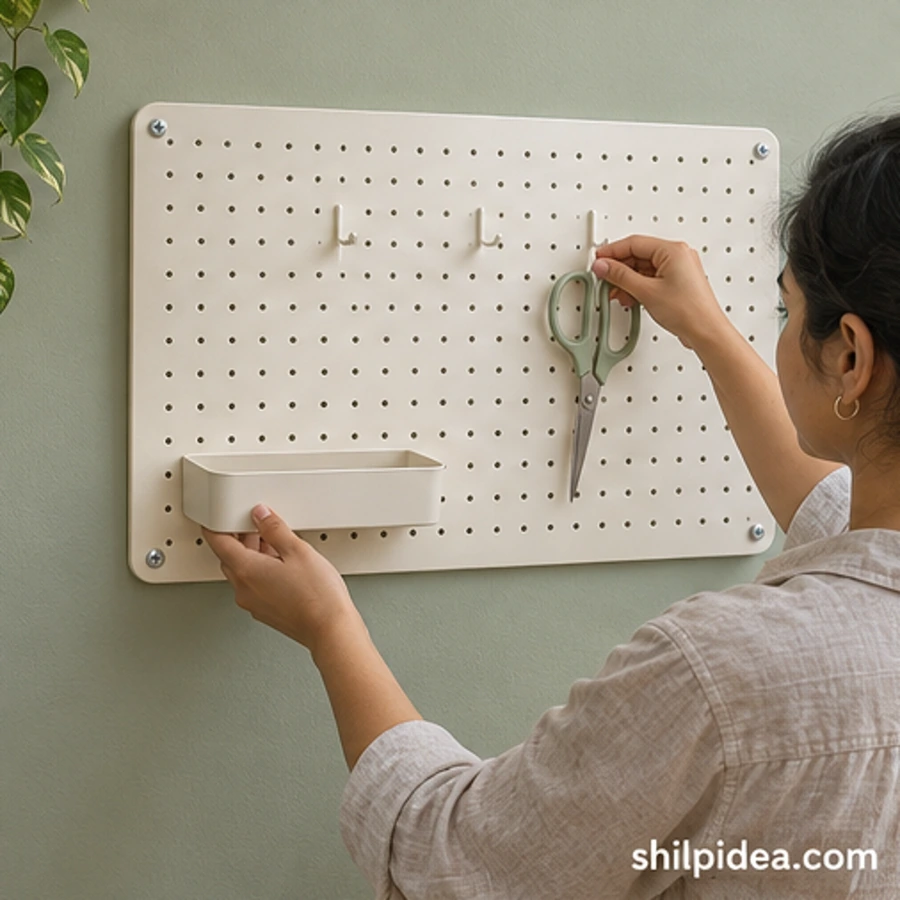
- Group the essentials – Keep tape, closed scissors and a pencil within easy reach. Fit only compatible hooks and bins, and check that each accessory locks or seats correctly before adding tools.
5. Load Lightly and Test the Work Surface
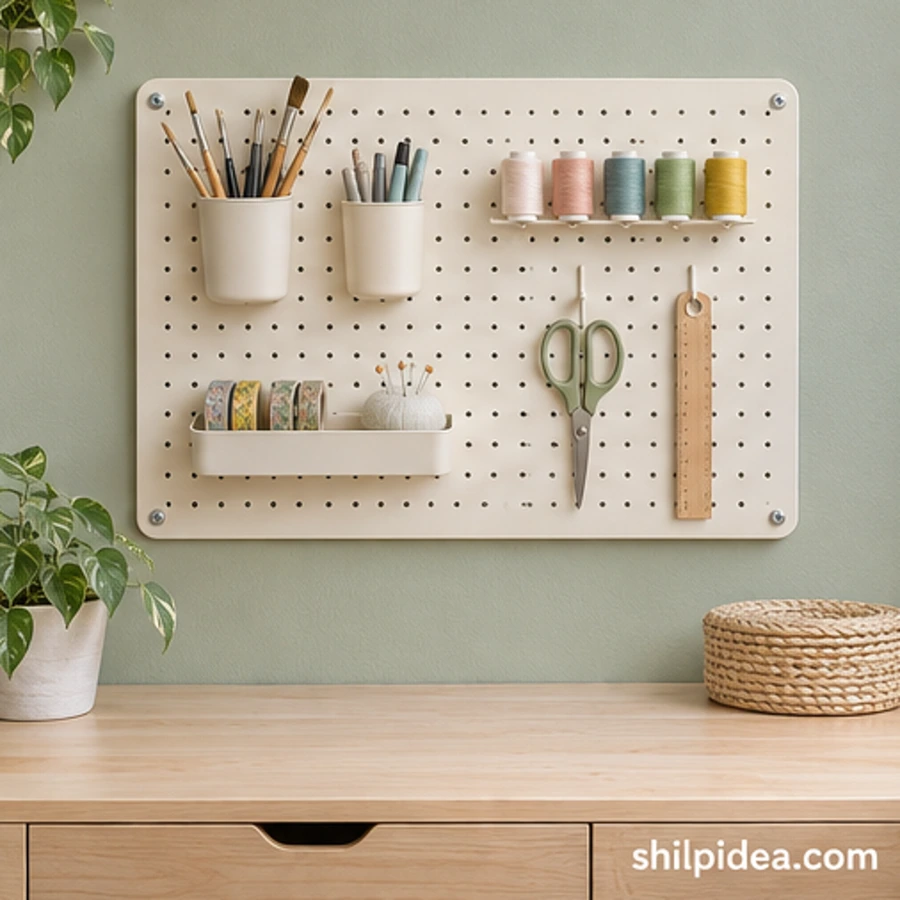
- Try a real project – Bring a small project to the desk and see whether you can set it down and pick up a tool comfortably. Keep heavy supplies in a drawer and stay within the board, hook and bin ratings.
Adjust Hooks That Lift or Shift
If a hook lifts with the tool, unload it and confirm that it matches your board’s hole pattern and thickness. Use a retaining clip if your system provides one. If the panel itself moves, unload the entire board and check the kit and installation instructions before putting anything back. If you are using the corresponding kit, compare your spacers and hole pattern with the manufacturer’s installation diagram. Keep the width of your current project in mind as you lay out the bins. Leave enough space to open a large sheet of decorative gift paper flat on the desk.
Make Space for the Project on Your Desk
After you choose the tools to hang, look at what is still on the worktop. The useful test is whether you can open a notebook, cut a small piece of fabric, or lay out several parts without moving everything first. These projects can help you decide which supplies earn a spot within reach.
- Kitchen Wall Decor Beyond the Backsplash
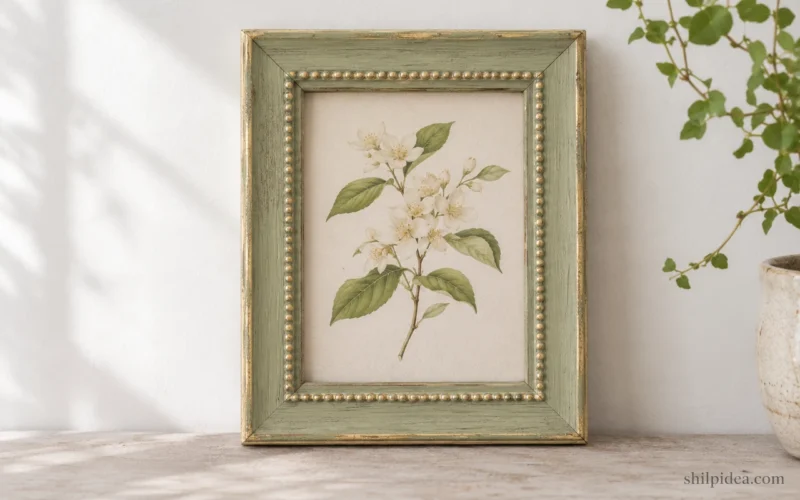
- Framed Wall Art from Fabric Samples
- Staircase Photo Walls for Family Memories
- Make and Decorate Paper Bags
- Decorative Projects for Old Jeans
What craft would you set this station up for first? Share the size of your corner and the tool you’re always looking for in the comments. If you’ve already moved a hook after trying the layout, tell us what you learned.
























0 Comments