How to Make a Rope-Wrapped Wall Hook from a Wood Offcut
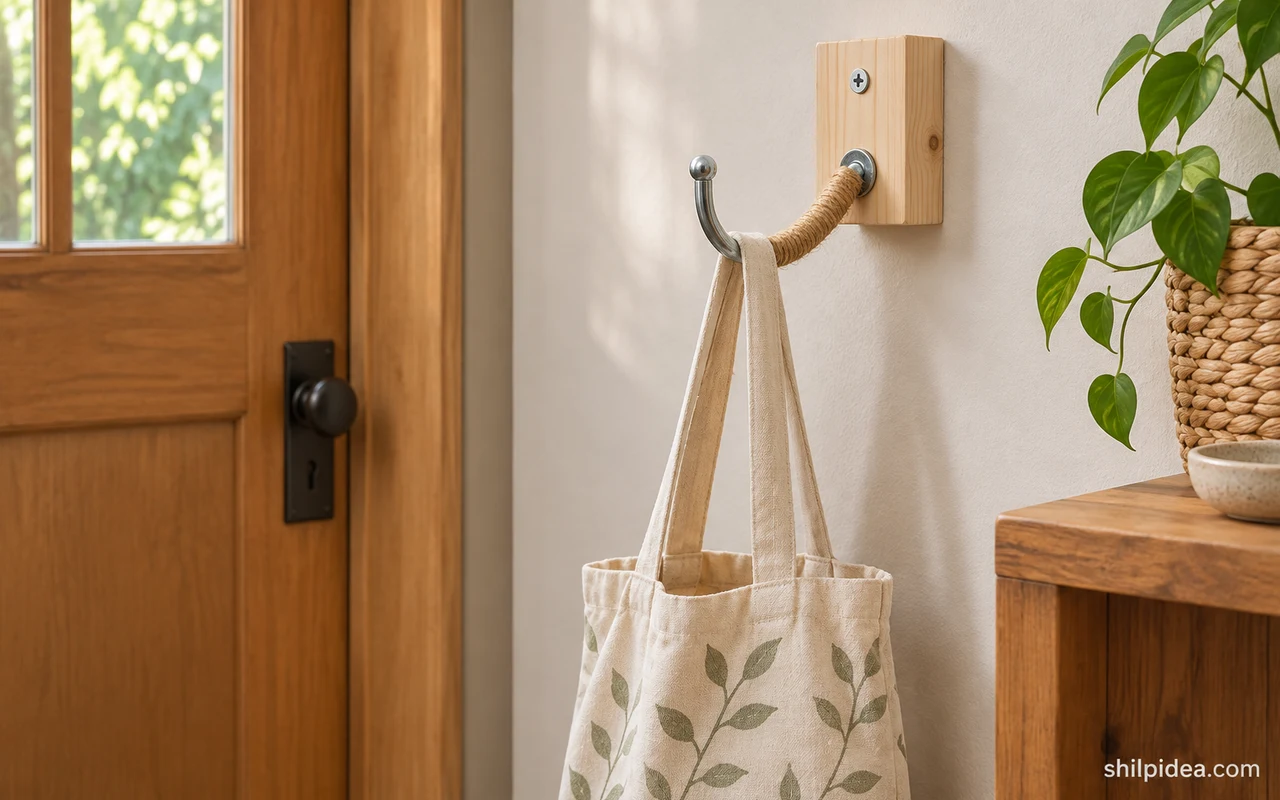
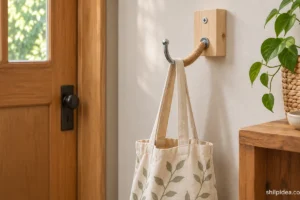
A rope-wrapped wall hook gives a light cloth tote or scarf a place to hang. The cord adds texture to the straight shank and leaves the working curve clear.
Use a sound wood offcut and choose a screw-in hook intended for timber. A plain pale block suits simple kitchen wall decor and bright entryways.
You’ll smooth the block, fit the hook and wrap it before mounting it. Repeat the wood tone in nearby family photo walls if the pieces share a wall.
Materials and Tools
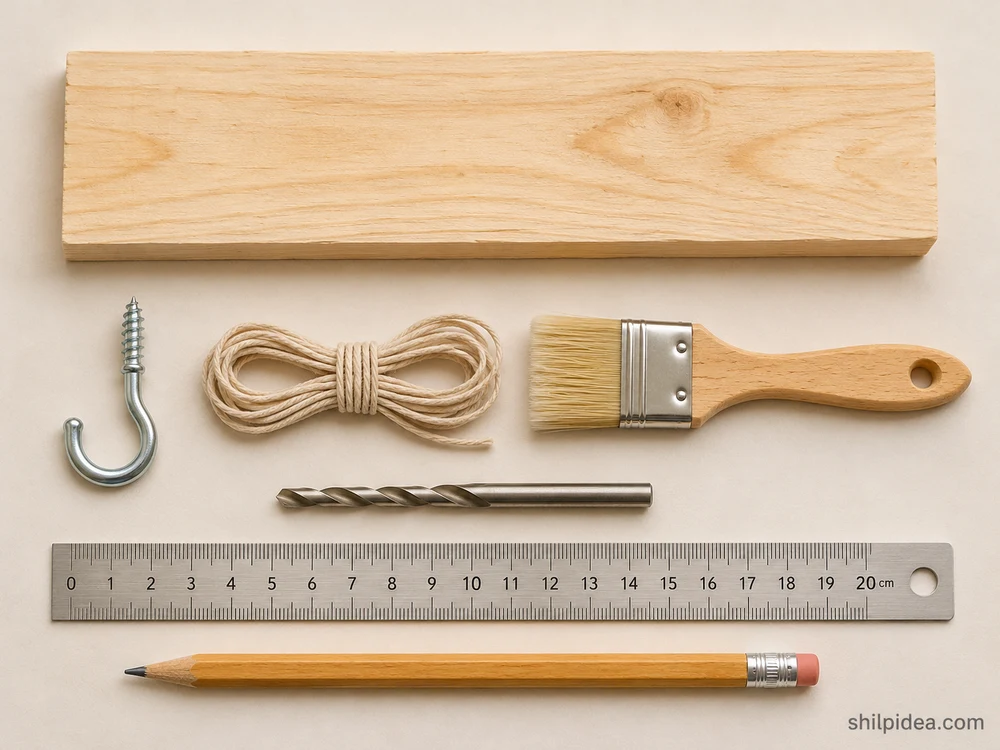
Lay out the offcut and check that it is thick enough for the hook.
- Sound wood offcut – Start with a piece about 5 × 2½ inches and thick enough to accept the full hook thread.
- Screw-in J hook – Choose one designed for solid wood with a short exposed straight shank.
- Thin cotton cord – Use enough for several close turns around the shank.
- Compatible adhesive – Check that it bonds cotton and the hook finish.
- Drill, bits and clamp – Follow the hook and mounting hardware instructions for pilot-hole sizing.
- Sandpaper, ruler and level – Use them to smooth the base and lay out the mounting marks.
- Mounting screws and fixings – Choose hardware suited to the wall material and the thickness of the wood.
Precautions Before You Begin
Check the tools and how the finished piece will be used before starting.
- Check for concealed wiring and plumbing before drilling. Follow the mounting hardware instructions for your wall.
- Wear eye protection and clamp the block before drilling. Check reclaimed wood for hidden fasteners.
- Follow the adhesive label for ventilation and curing. This decorative assembly has no verified load rating.
1. Smooth the Wood Block
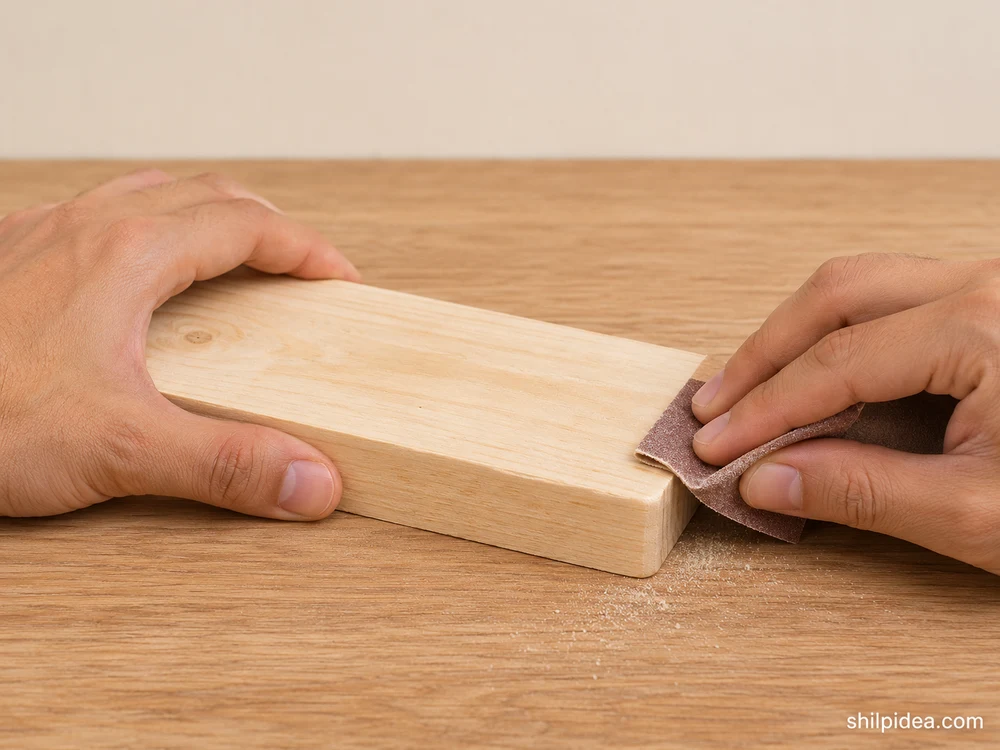
- Inspect the offcut. Reject pieces with splits, soft spots or loose knots near the planned holes. Check that the back rests flat.
- Sand the edges. Remove rough spots with a sanding block and ease the corners. Wipe away dust before marking the timber.
2. Mark the Hook and Fasteners
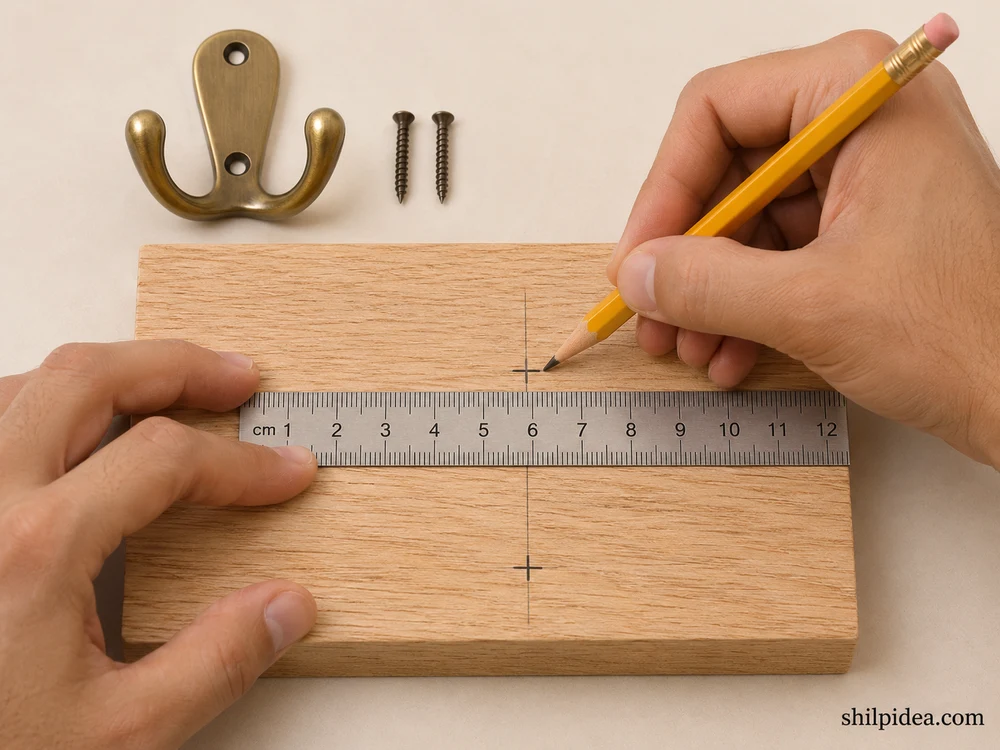
- Mark the hook position. Set the hook near the center and check the threaded length against the depth of the block so the tip stays inside the wood.
- Mark the mounting holes. Keep the two mounting points clear of the hook and away from weak grain. Check the position with a level.
3. Drill Pilot Holes and Fit the Hook
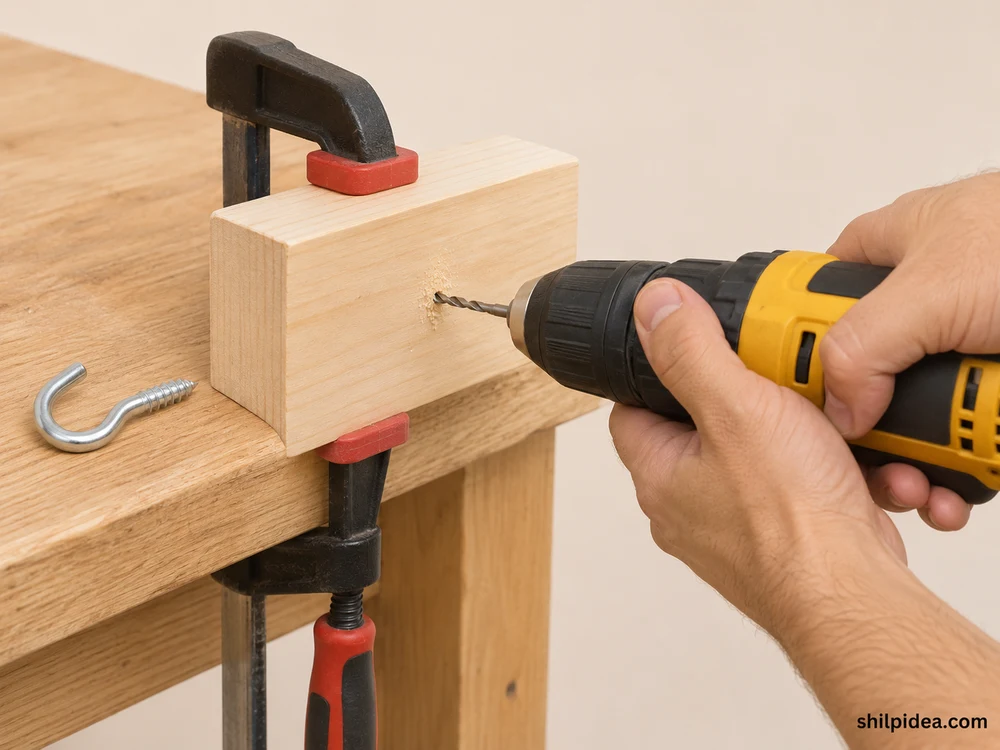
- Drill with the block clamped. Use the hook maker’s pilot-hole guidance. Drill the mounting holes separately using the bit appropriate to those fasteners.
- Seat the hook. Turn the hook into the pilot hole by hand until the curve faces up. Stop if the hook binds or the block begins to split.
4. Wrap the Straight Shank
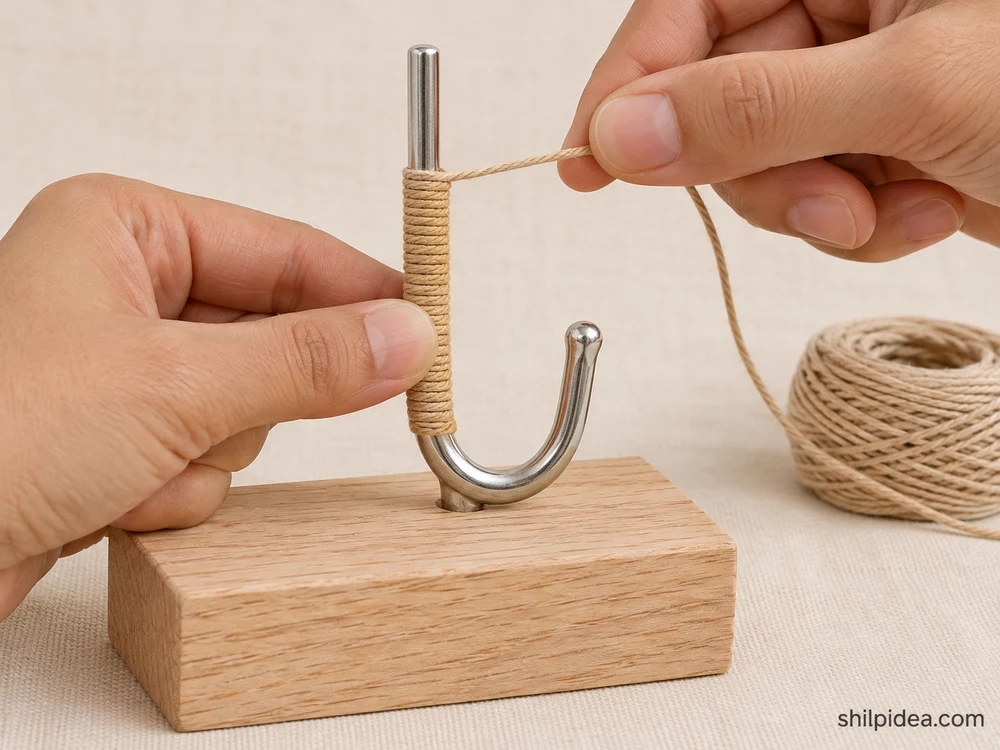
- Dry-fit the cord. Wrap several turns side by side on the straight section. Leave the opening, tip and working curve clear.
- Secure both ends. Use a small amount of suitable adhesive at the ends. Allow it to cure fully and trim fibers that could catch on a strap.
5. Mount the Block and Check It
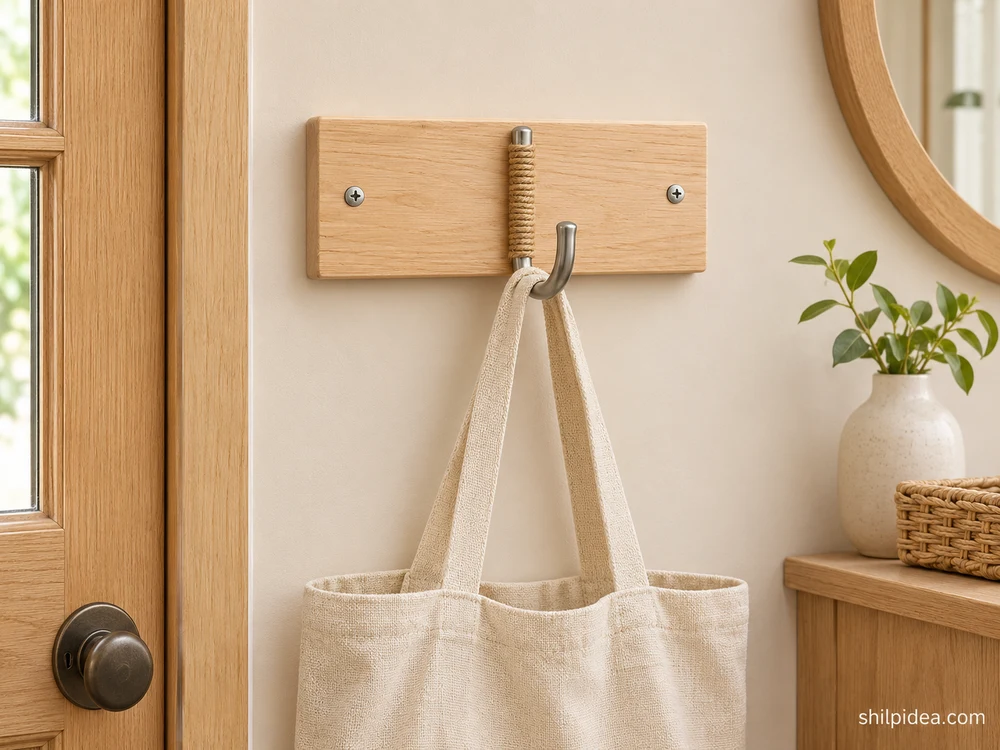
- Install the base. Hold the block level and mark the wall. Fit it flush using hardware suitable for the substrate and check that the screw heads seat firmly.
- Check for movement. Try the assembly by hand first. Use it for a very light item such as an empty fabric tote, and remove the item if any part moves.
How to Care for a Rope-Wrapped Hook
Dust the cord with a soft brush and wipe the timber with a dry cloth. Check the wraps for loose ends. If the cord wears through, remove it, wrap the straight section again and let the adhesive cure before using the hook.
Troubleshooting a Loose Hook or Block
If the hook turns, remove the item and inspect the pilot hole. Remake the block if the hole is enlarged or the wood is split. If the block shifts on the wall, unload it and check that the fasteners suit the wall material.
More Projects for the Entryway and Walls
Once the hook has a place, look at how the space around it gets used. A fabric picture up high can carry the cord color across the wall, while a row of family photos can make a narrow passage feel personal. The projects below can help you choose what to put beside the hook without crowding the spot where you reach for your things.
- Kitchen Wall Decor Beyond the Backsplash
- Staircase Photo Walls for Family Memories
- Hygge Living Rooms with Gentle Lighting
- Framed Wall Art from Fabric Samples
What small item tends to get left by your door? Tell us in the comments where you’d put a hook for it and whether you’d choose cord that blends into the wood or adds a contrasting stripe.


























0 Comments