19 Cricut Christmas Projects for Decor, Gifts and the Table
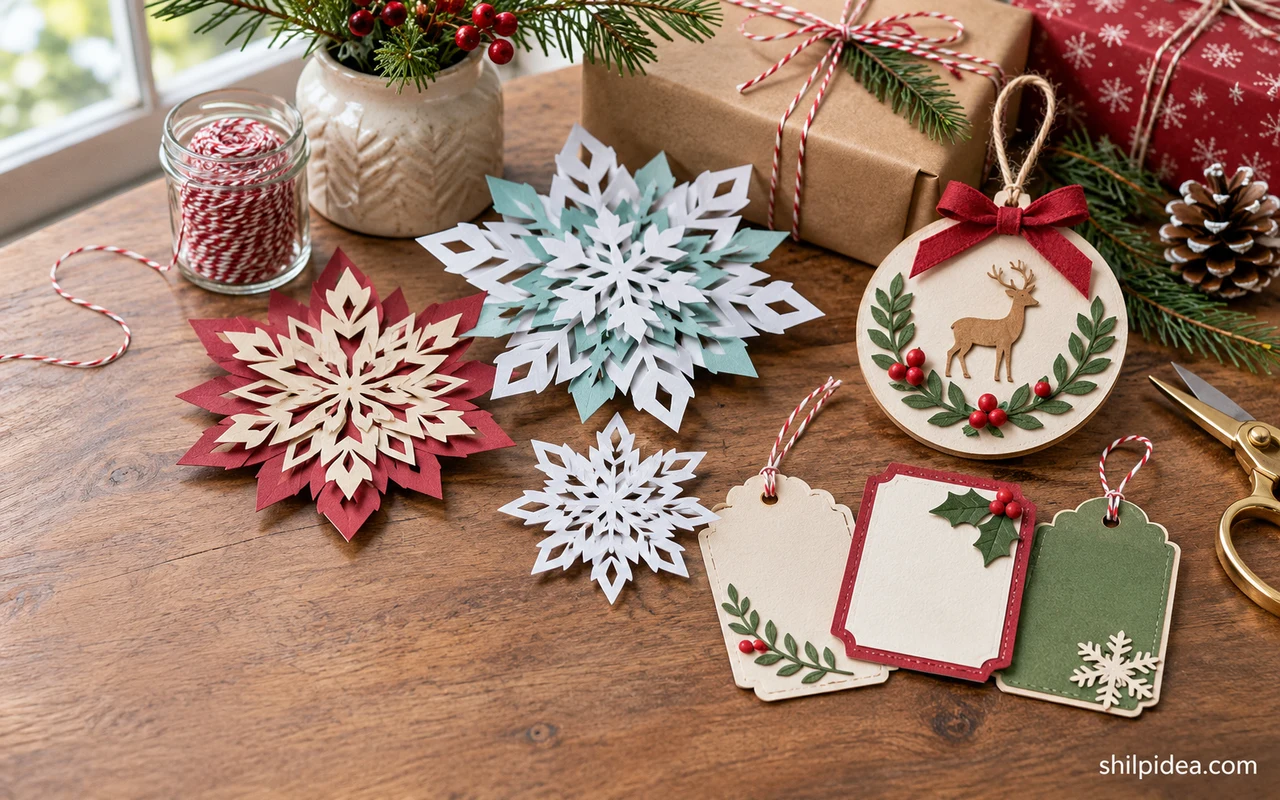
Cricut Christmas projects can be as small as a cut gift tag or as detailed as a layered paper village. Choose the finished piece first so the material and machine setup follow its purpose.
Start with a surface you know how to handle and make a small test cut. If you already make paper bag snowflakes, try carrying that color into a place card or table display.
These ideas include cardstock, vinyl, iron-on and thin wood projects. Pair a small cut decoration with Christmas table settings if you want to repeat its palette on a bigger scale.
1. Make Place Cards that Double as Ornaments

Cut a name and wreath motif for a clear acrylic blank. Use a paper guide underneath the acrylic to center the design before applying it. Add ribbons in one color so people can quickly read the names across the table. Set the ornament on the napkin or beside the plate for guests to take home.
2. Layer Cardstock for Gift Tags

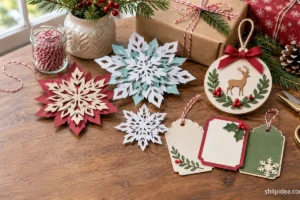
Use an open design on the top layer and a solid shade beneath it. Pick two colors with enough contrast that the tree or lettering stays clear against the wrapping paper. Leave room on the back for a handwritten message and keep the hole far enough from the edge to hold twine.
3. Assemble Folded Holiday Gift Boxes

Choose a box shape based on the item inside and make the first test in scrap cardstock. Check that the tabs close without pushing against the gift. A window cutout works well for a small wrapped present, while a flat design is easier to store until you need to assemble it.
4. Build a Village-Inspired Advent Calendar

Cut boxes in one or two sizes so you can arrange them in groups without crowding the display. Put the numbers somewhere easy to see and use a simple tree shape to tie the pieces together. Test a folded box with the small treat or note you plan to put inside.
5. Cut a Lighted Paper Village

Choose cardstock that will hold a crease while still cutting neatly. Test the smallest window openings before sending a full sheet to the machine. Set the houses in front of a dark backdrop to show their shape, and use only suitable battery LEDs if you want a glow inside the paper structures.
6. Stack Layered Paper Trees

Use one green for the outside silhouette and a second tone to emphasize the inner cuts. Lay out each layer in order before you glue so the smallest details stay visible. Set the finished trees at different heights on a shelf and leave a gap between their widest branches. Make a small sample before cutting. Pair this idea with paper bag snowflakes.
7. Make a Snowman Shaker Card

Keep the snowman and printed greeting large enough to read when the card stands open. Test the folds before closing the clear window and leave enough space for the shaker pieces to move. If the dimensional parts make the card thick, choose an envelope or box that won’t crush the layers.
8. Personalize Glitter Baubles with Names

Measure the part of the curved ornament where the letters will sit. Use a name design sized to fit that space and try one small transfer before cutting everything for the set. Choose a contrasting script so the letters remain readable when the ornament turns or catches the tree lights.
9. Add a Monogram to a Clear Ornament

A dark monogram stands out through clear glass if the ribbon inside is light or simple. Use the simplest letter shape that works for the initials and check how it looks from arm’s length. Place the ornament in an open section of branches so the hanging ribbon doesn’t cover the design.
10. Cut a Thin Wood Feather Gift Accent

Pair a narrow feather shape with plain wrapping so the cut edge is visible. Use thin wood only if your machine and blade support that specific material. Look for a design with enough width at the stem, then use a small metallic detail at the tip so the wood grain can still show. Carry the paper color into your Christmas table settings.
11. Add a Cut Layer to a Wood Star

Use a prepared star blank for a small layered ornament and keep the added motif clear of the hanging hole. Arrange contrasting pieces on the surface before attaching them, especially if you’re using more than one color. A little plain space around the details will help the star remain recognizable on a tree.
12. Cut Pieces for a Felt Holly Garland

Make leaf and berry shapes in matching sizes before arranging them along a cord. Compare the gaps between leaves from a distance and keep the berries small enough to read as accents. If the felt is too thick for your machine and blade, use the cut paper shapes as templates to trace by hand.
13. Make a Faux-Quilted Holiday Pillow

Plan the colored squares before cutting and keep one main image in the center. Test iron-on material on a scrap that matches the pillow cover and use the manufacturer’s heat and pressing guidance. Leave some room around the outer pattern so the design doesn’t disappear into the seams. Make a small sample before cutting.
14. Add an Initial Inside a Wreath

A single initial gives an iron-on wreath a clear center. Print or sketch the final dimensions and lay the pattern on the pillow to check the margins. If the material calls for mirroring, check the letter direction before cutting. Keep any extra detail small enough to preserve the open space around it.
15. Try a Vintage Truck on a Pillow

Use a plain red cover to let the cut truck shape and small tree stand out. Pick one patterned material for the vehicle and use solid colors for the smallest details. Compare the layers before pressing and follow the product instructions for material compatibility and heat. Make a small sample before cutting. Tie the package with large Christmas bows.
16. Letter a Framed Christmas Sign

Choose an easy-to-read script and check the design from across the room before cutting it. Leave space along the top and bottom for the frame so the lettering doesn’t feel crowded. A dark green board gives cream letters a clearer outline and works with a few simple evergreen sprigs nearby.
17. Personalize a Santa Shirt

Lay the shirt flat and compare the image and name with the width of the front before cutting. Use iron-on intended for the garment fabric and follow its pressing directions. Keep the name large enough for the letters to read but leave some open space between it and the hem.
18. Label Enamel Mugs with Vinyl

Use a short phrase with simple lettering that fits the mug’s straightest area. Keep decorative vinyl away from the rim and any surface that touches food or drink. Follow the material’s care directions and test the placement on one mug before making a group for a festive serving station. Make a small sample before cutting.
19. Etch a Design on the Underside of a Cookie Plate

Cut a stencil that fits the smooth base and leaves a clean margin. Follow the etching product’s directions for suitable glass, protective equipment, and cleanup. Keep the design on the underside so the serving surface stays smooth, and choose a simple motif you can see through the glass. Make a small sample before cutting.
Check the Material Before Cutting or Pressing
Use the instructions for your exact machine, blade and material. Cricut provides separate guidance for cutting balsa wood and applying everyday iron-on. Follow the product label for glass etching cream and use only approved glass surfaces.
Plan More Handmade Christmas Details
Group your next projects by what you already have on hand. A few cardstock scraps might cover place cards for the table, while a larger sheet could become a matching set of gift tags. The projects below help you carry one color or motif from the cutting mat to the room, even when some pieces are simpler to finish by hand.
- Paper Bag Snowflakes for Christmas
- Christmas Table Settings with Natural Details
- Oversized Christmas Bows for Holiday Decor
- Dried Flowers in a Reused Tin
Name the Christmas project you’d put on the cutting mat first, and tell us who it’s for in the comments. If you’ve already made a batch, share the adjustment that helped you get a cleaner cut or made assembly easier.






























0 Comments