How to Make a Thanksgiving Recipe-Card Stand from a Wood Block and Clip
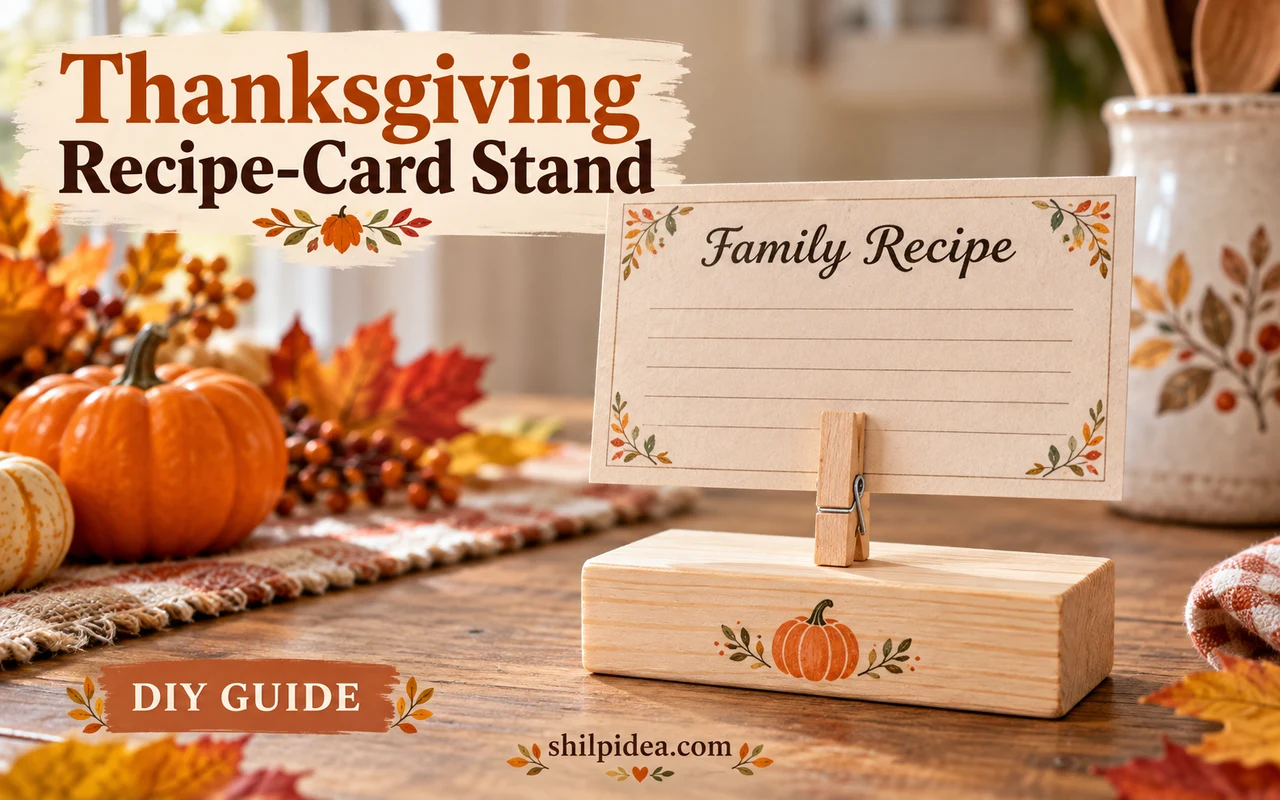
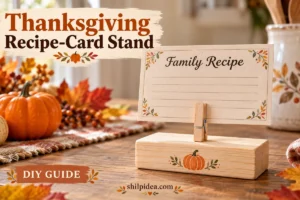
A handwritten family recipe deserves a spot where everyone can see it. This Thanksgiving recipe-card stand pairs a small wooden base with a clothespin for a simple, personal tabletop accent.
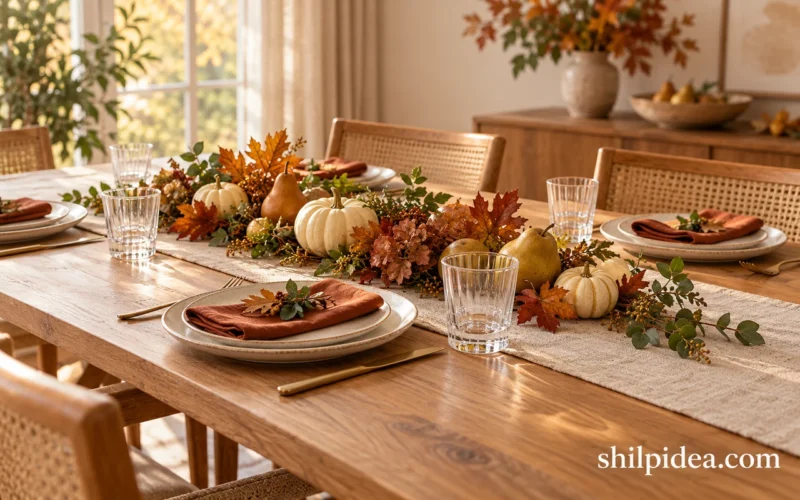
A tiny painted pumpkin helps it sit comfortably among natural Thanksgiving table decorations. Start with a precut block and a lightweight card; no saw or drill is needed.
Below is an illustrated project plan, adapted from a clip-on-block method rather than a physically tested Shilpidea build. Follow the adhesive label, allow a full cure, and check the finished stand’s balance.
Materials and Tools
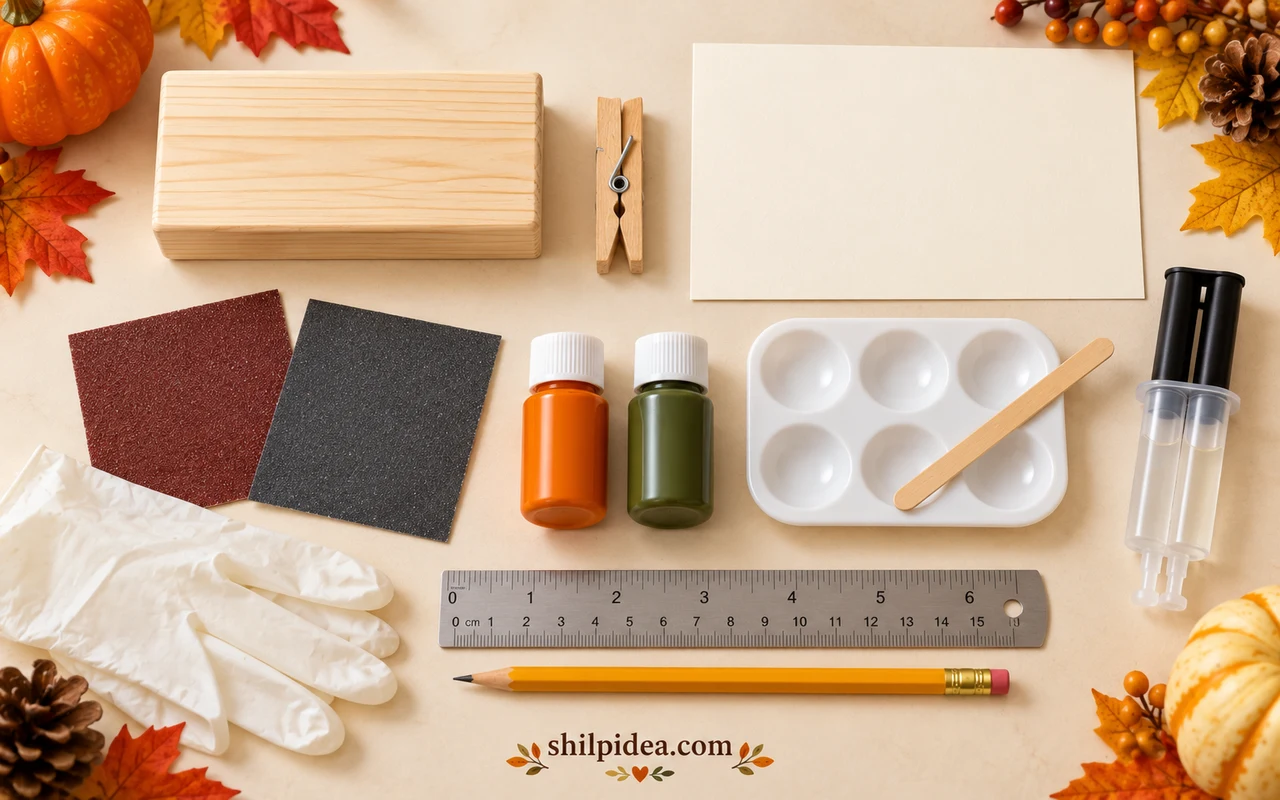
Gather these supplies for one small stand designed to hold a single lightweight recipe card.
- One precut, untreated wood block, approximately 4 inches long × 2 inches deep × 1 inch thick (100 × 50 × 25 mm), with a flat underside.
- One small wooden spring clothespin, approximately 1¾ inches (45 mm) long, with flat handle ends that can rest on the block.
- One lightweight 4 × 6-inch (10 × 15-cm) card, used horizontally; a recipe, buffet label or thankful note will work.
- 120-grit sandpaper for rough spots, if needed, and 220-grit sandpaper for finishing.
- A ruler, pencil and clean cloth for removing sanding dust.
- A small amount of orange and green acrylic craft paint, a fine brush and a paint palette.
- Clear two-part epoxy labeled suitable for bonding wood to wood, plus its recommended disposable mixing surface and stick.
- A protective table covering and protective gloves specified by the adhesive manufacturer.
- Optional: painter’s tape, an additional fine brush for leaf details, and a compatible clear finish for the painted front.
The intended result is a low wooden base with one upright clip. It holds a small paper card; it is not a cookbook, tablet or phone stand. Set aside a short session for preparation and decoration, then allow paint drying and the adhesive’s full curing time separately.
Precautions Before You Begin
Check these points before painting or opening the adhesive.
- Use a precut, sound block without splinters, cracks or a rocking base. Sand with the grain, control the dust and follow the sandpaper and finish manufacturers’ precautions.
- Keep adhesive work adult-only, away from children and pets. Work in a well-ventilated area, protect the table and follow the product’s glove, eye-protection and cleanup directions.
- Keep the top attachment area bare, clean and dry. Paint or loose finish beneath the clip can become the weak layer in the joint.
- Leave the stand undisturbed for the adhesive’s full cure. A short setting time is not permission to insert a card or lift it by the clip.
- Use one light card. Do not force thick laminated cards into the clip, squeeze its bonded handles, or attach a heavy object.
- Display the stand on a level, dry surface away from candles, stovetops, steam and food-preparation splashes. It is a decorative holder, not a food-contact item; do not soak it.
1. Smooth the Block and Check the Clip Position
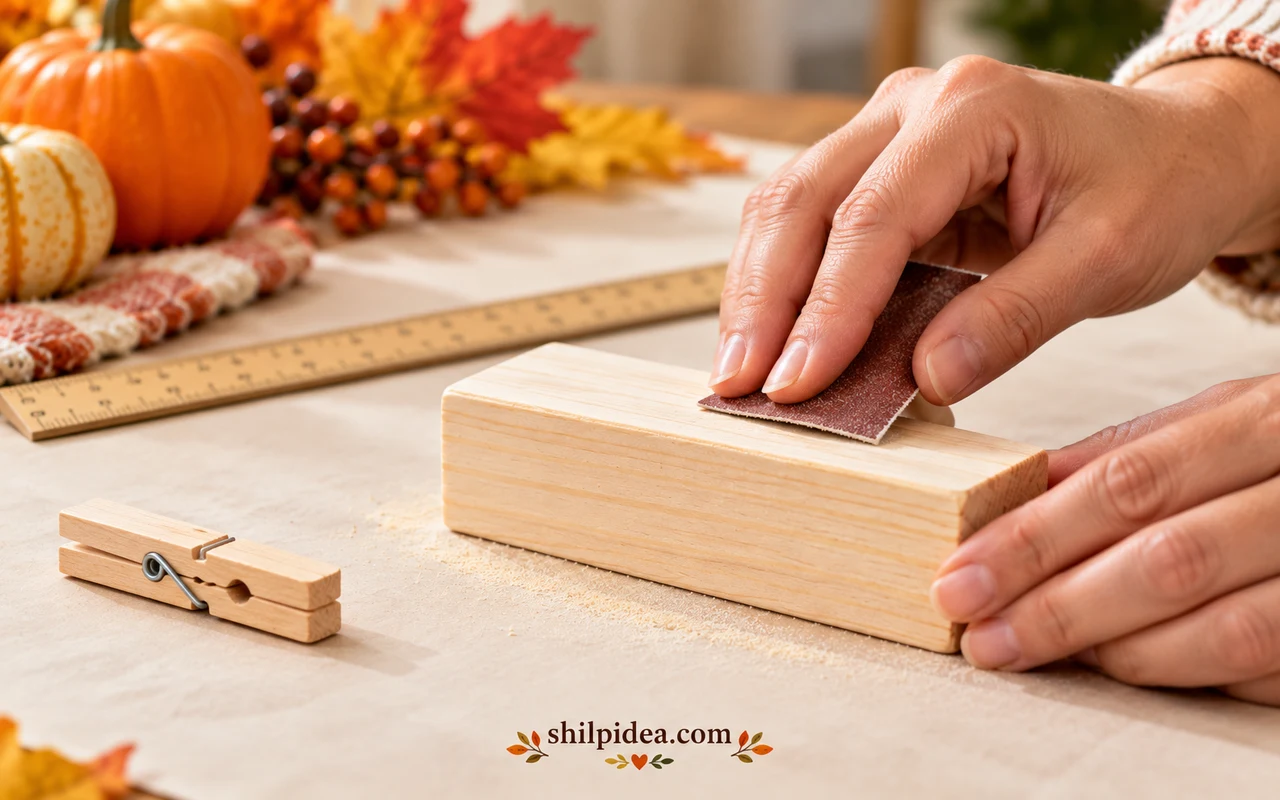
Place the block on its broad 4 × 2-inch face. Check that it sits flat without rocking before doing any decoration.
Remove rough spots with 120-grit paper if necessary, then finish lightly with 220-grit paper. Wipe away the dust and let the wood dry completely.
Mark the center of the top. Dry-fit the clothespin vertically, with the gripping jaws pointing up and both handle ends resting on the wood. Before gluing, check that your light card can slide gently into the jaws. Choose another clip if its ends cannot sit evenly or the card needs force.
2. Paint a Small Pumpkin on the Front
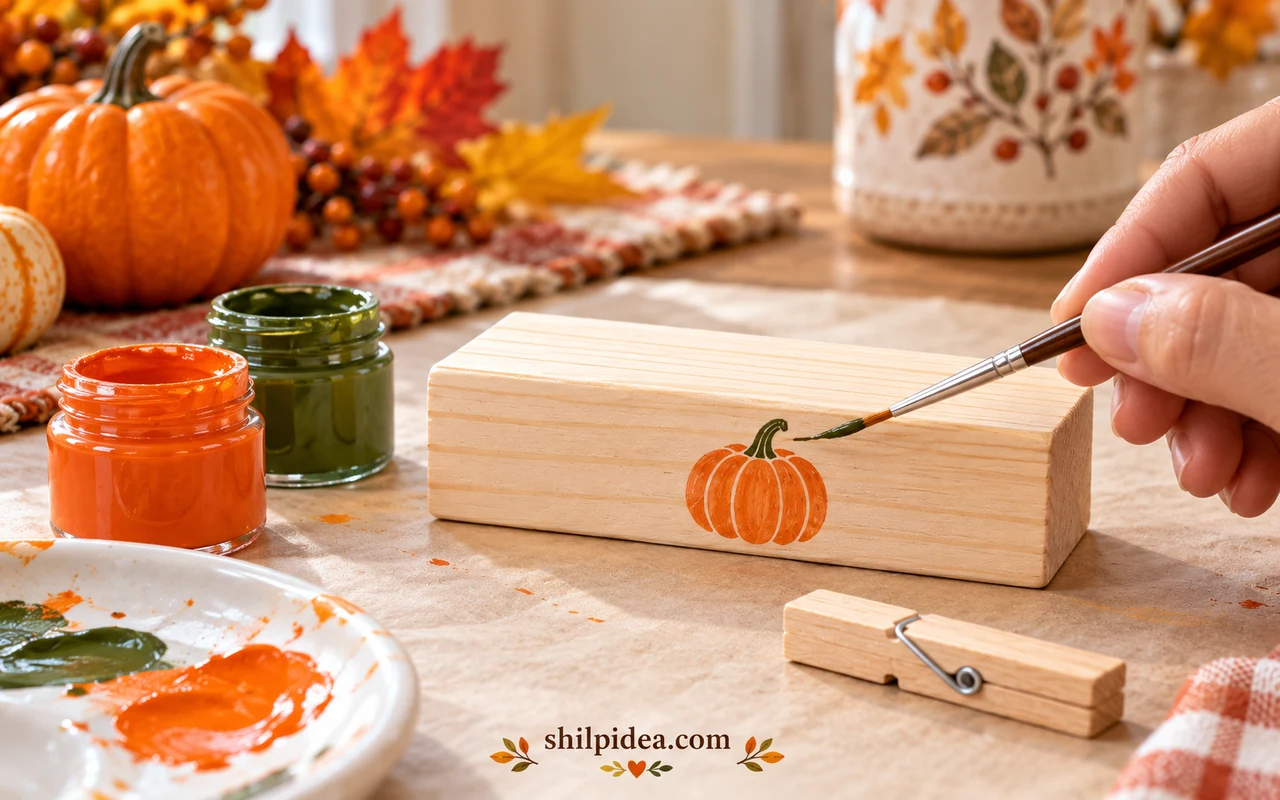
Keep the design simple: paint a small orange oval in the center of the front face, add a few curved lines, then finish with a green stem. A leaf or two is optional; the pumpkin alone is enough.
Leave the top mounting area unpainted. If applying an optional clear finish, mask that area and follow the finish’s instructions.
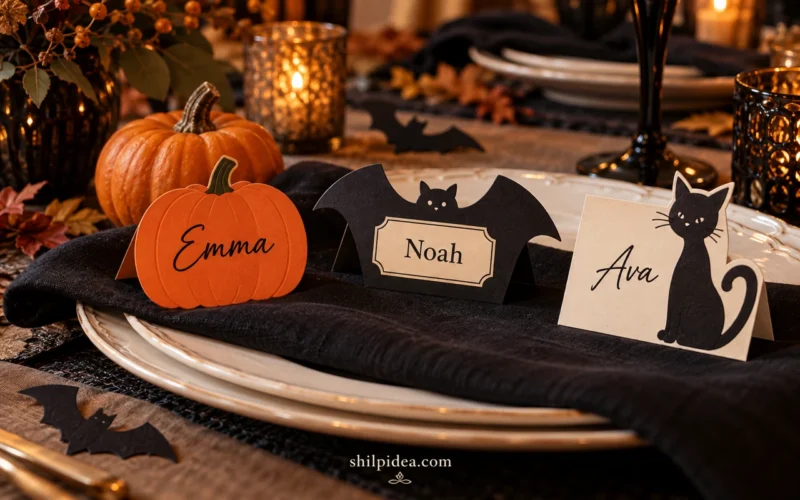
Let the paint and any finish dry fully before handling the block or attaching the clip. For a coordinated table, repeat the pumpkin color in your pumpkin place cards rather than adding more decoration to this small base.
3. Attach the Upright Clip and Allow a Full Cure
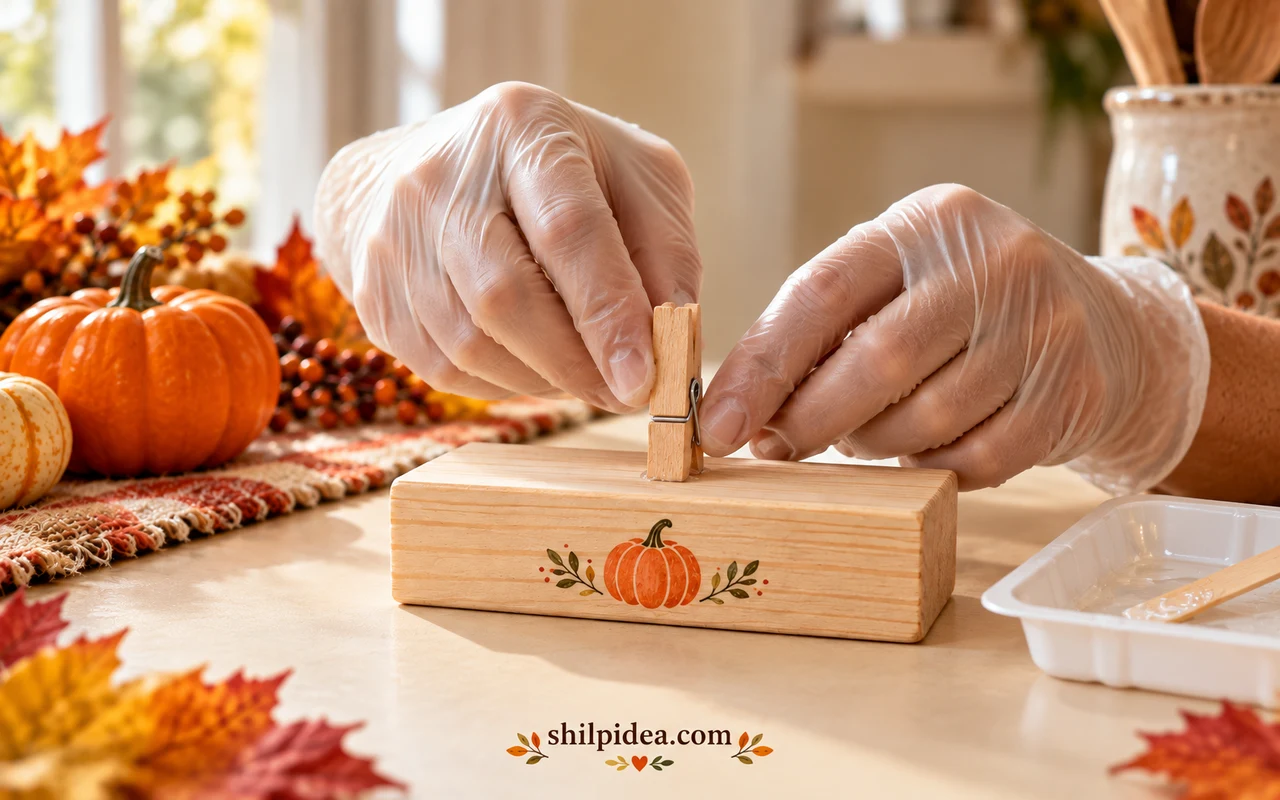
Lightly scuff the clothespin’s two bottom handle ends, remove the dust, and confirm that both contact surfaces are clean and dry. Prepare only a small amount of epoxy, mixing exactly as its label directs.
Apply a little adhesive to the contact points. Position both handle ends on the marked center, with the jaws upright. Keep epoxy away from the spring and gripping jaws, and support the clip as the product instructions require without gluing the support to the project.
Leave the assembly level and undisturbed for its full cure. For reference, Gorilla’s epoxy directions distinguish initial setting from a 24-hour full cure. Follow your own product’s label if its timing or conditions differ; do not assume all adhesives cure alike.
Both lower ends are now bonded to the base. The handles will no longer operate normally: insert a card by sliding it into the upper jaws, not by squeezing the glued ends.
4. Slide in a Light Card and Test the Balance
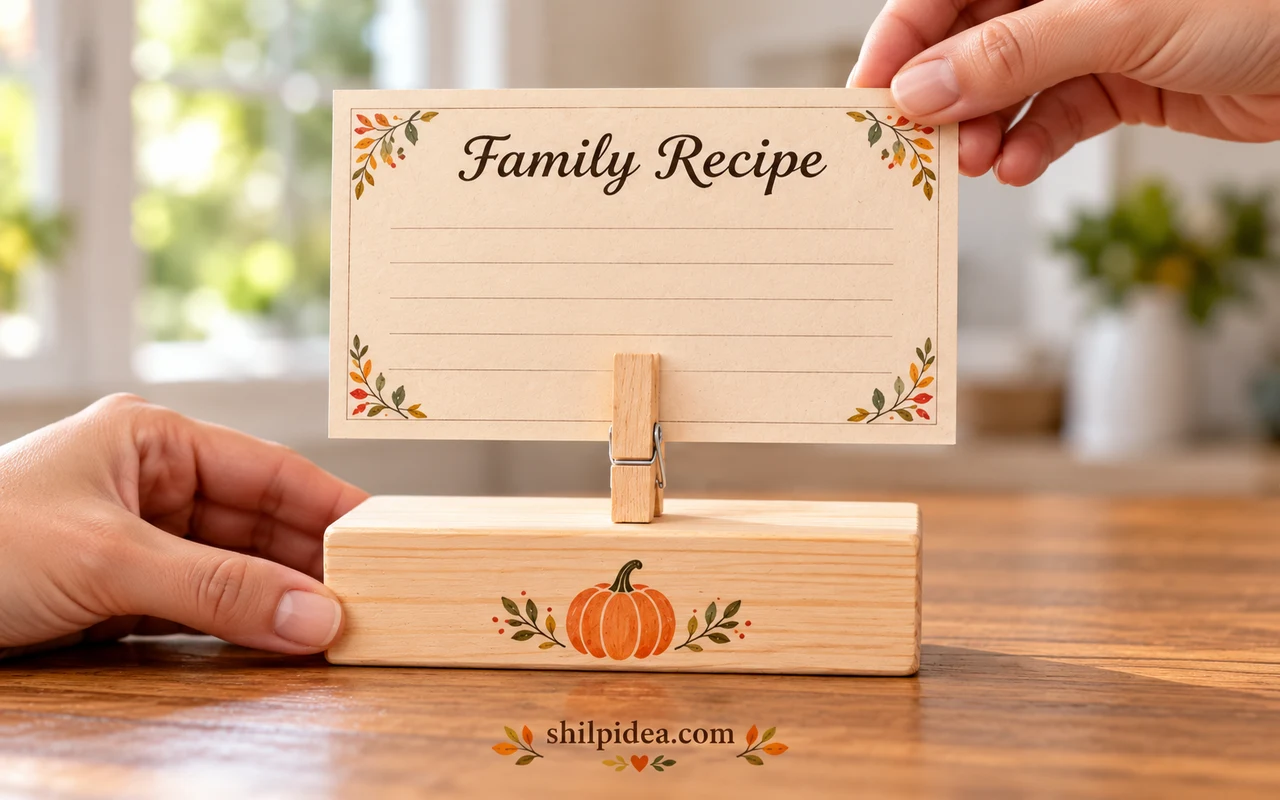
After the adhesive has fully cured, steady the block with one hand. Gently slide the bottom edge of your card into the upper jaws, keeping the card horizontal and centered over the base.
Release it slowly and check the stand from the front and side. If it leans or tips, remove the card and use a smaller, lighter one. A wider or heavier base may be needed for a larger card.
Display a copy of a treasured recipe rather than an irreplaceable original near a busy holiday table. After dinner, swap it for a thankful note and store the stand somewhere dry.
See the original project: DIY Wood Block Photo Holder by Sara Albers / Alice and Lois. Its clip-on-block construction inspired this Thanksgiving adaptation.
If the Card Slips or the Stand Wobbles
- The card slips: remove it and check that the jaws are clean and the card is dry. Try a smaller card that the clip grips without force; do not add more cards to bulk it out.
- The block rocks: remove the card and inspect the underside for debris or unevenness. Correct the base before using the holder.
- The whole stand tips: reduce the card’s size or weight. For a larger display, start again with a broader, heavier base rather than relying on decorations as counterweights.
- The clip loosens: take the holder out of use. Follow the adhesive manufacturer’s directions for removing failed adhesive, preparing the surfaces and making a fresh joint; allow a new full cure.
- The decoration feels tacky: wait longer according to the paint or finish label. Do not set the block on a tablecloth until the finish is ready for use.
Bring the Handmade Details Together on Your Thanksgiving Table
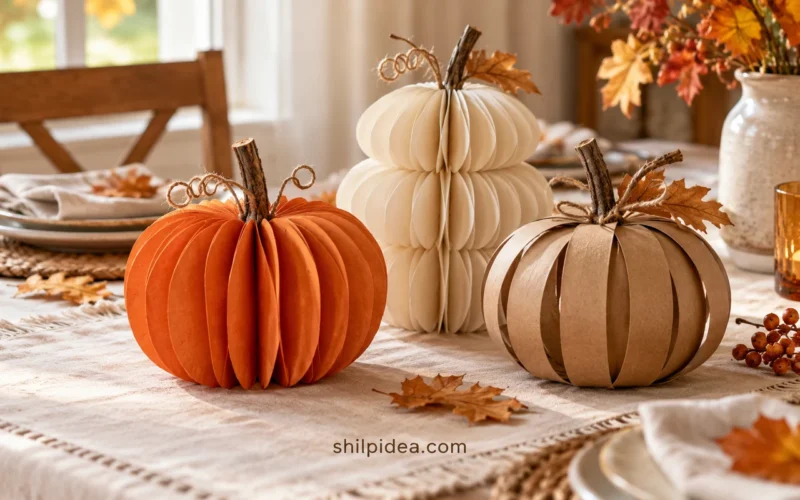
Let the recipe stand be one small detail in the setting. A leaf napkin ring, paper pumpkin or simple place card can repeat its colors without crowding the dishes. If guests are bringing family favorites, give each recipe its own space along the buffet and keep the holders clear of serving spoons, hot pans and spills.
- Natural fall table decorations for Thanksgiving
- Pumpkin place cards for a Thanksgiving dinner table
- Fall leaf napkin rings for Thanksgiving table decor
- Gratitude garlands for Thanksgiving family decor
- Paper pumpkins for a handmade fall table
What would you display first—a family recipe, a buffet label or a thankful note? Share your plans in the comments. If you make a stand, we’d love to hear how you decorated yours and any tips you discovered along the way.


















0 Comments