DIY Air-Dry Clay Pet Name Ornaments for Christmas
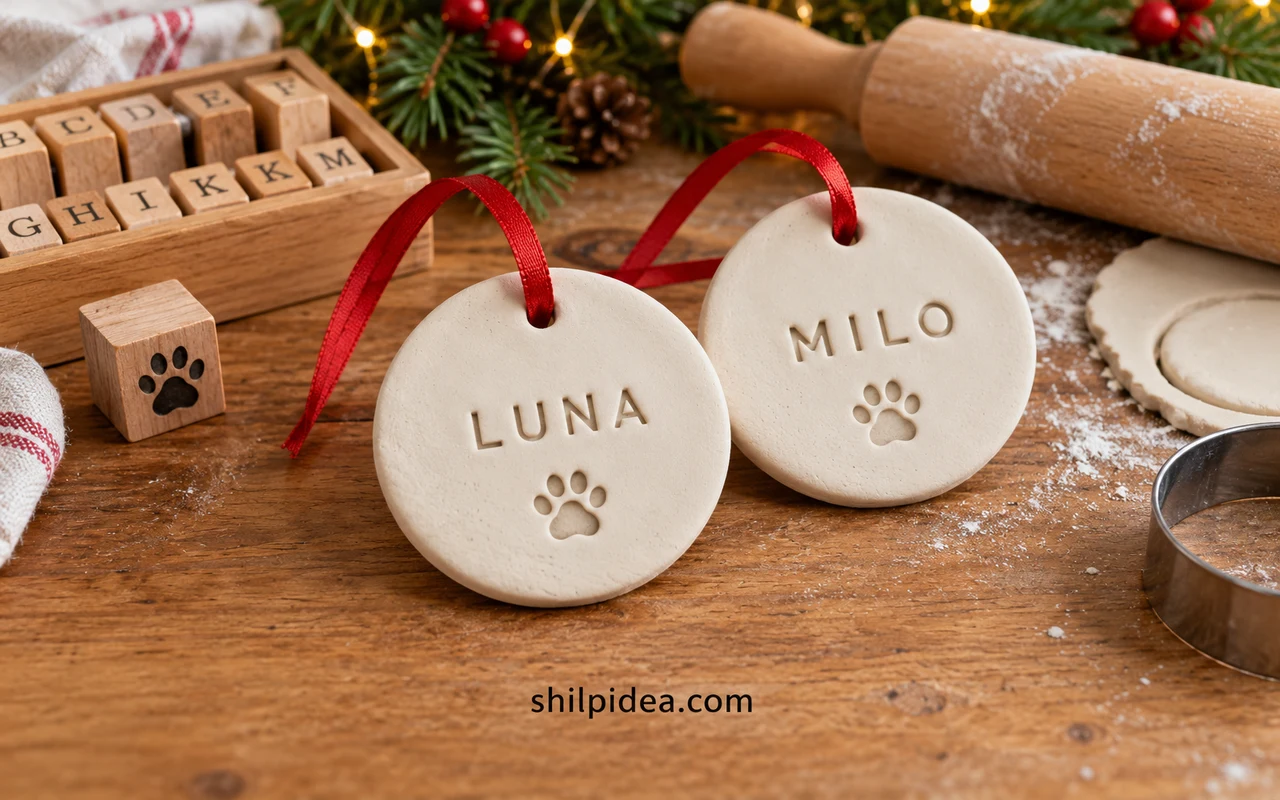
A pet’s name can turn a simple clay ornament into a Christmas keepsake. You can hang it on the tree, tie it to a wrapped present for a fellow pet owner, or make one for each animal in the family.
This project uses air-dry clay and letter stamps, with room for a painted border or a small decorative paw motif. It does not require pressing a pet’s paw into clay.
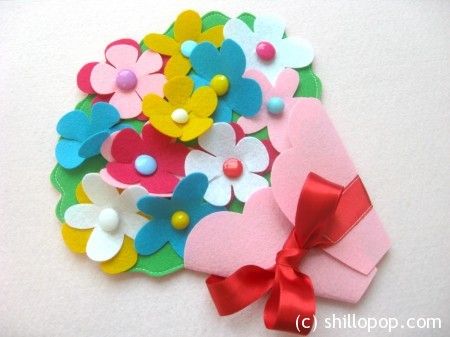
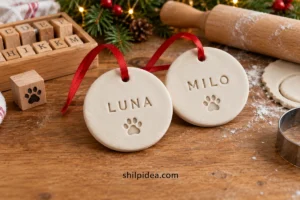
Bella Bucchiotti’s photographs below demonstrate a clay name-tag method with example names. Adapt that technique with your own pet’s name; the round ornaments in our featured illustration show another shape you can choose.
What to Put on the Craft Table

- Air-dry clay and its package instructions
- Rolling pin and a smooth work mat
- A blunt craft knife or a round cutter
- Alphabet stamps, or a fine paint pen for lettering after drying
- A drinking straw or suitable hole-making tool
- Fine sandpaper, optional acrylic paint, and a small brush
- Ribbon or cotton cord
Choose a short version of a long name so the letters stay readable. Before opening the clay, arrange the stamps beside your cutter and check that the whole name fits. Set up a flat drying area where the ornaments can remain undisturbed.
1. Roll a Small, Even Slab

Work with a manageable piece of clay and wrap the unused portion as directed on the package. Roll to an even thickness suited to the clay manufacturer’s instructions; avoid making the edges noticeably thinner than the middle. Turn the mat rather than repeatedly dragging the soft slab. A uniform piece is easier to cut cleanly and less likely to have a weak spot around the hanger.
2. Cut the Shape and Plan the Name
Cut a circle, rounded rectangle, or simple gift-tag shape. Lift away the surrounding clay without stretching the ornament. Lay the stamps in order beside the shape and leave a clear space for the hanging hole. For a long name, choose a wider tag rather than squeezing letters close to the edge. The photographs show rectangles, which make a useful first version.
3. Stamp the Letters Gently

Check the spelling and the orientation of every letter before pressing. Make a light impression first, then lift the stamp straight upward. Clean stuck clay from the stamp before the next letter. A slightly irregular baseline can feel charming, but crowded letters are harder to read. If the result is badly misplaced while the clay is still workable, knead and roll that piece again.
4. Make the Hanging Hole Before Drying

Place the hole above or beside the name with a generous margin of clay around it. Press the tool straight through, remove the little plug, and check that your chosen ribbon can pass through comfortably. Smooth the edge with minimal moisture if the package allows it. Add a tiny decorative paw with a craft stamp if you like; keep the whole activity on the craft table, away from your pet.
5. Let the Ornament Dry Fully
Transfer the shape carefully to the drying surface recommended for your clay. Follow the package for drying time and any turning instructions, since thickness and room conditions affect the result. Do not paint a piece that still feels damp or soft. Air-dry clay is not oven-bake clay, so do not improvise a baking step. If the ornament develops a deep crack around the hole, remake it before adding a hanger.
6. Finish the Surface and Add Ribbon

Once fully dry, gently tidy a rough edge if your clay’s instructions allow sanding, then wipe away dust. Leave the name natural or add a narrow painted border with paint suitable for the material. Keep paint out of the hanging hole and allow each finish to dry as directed. Thread the ribbon, tie it securely, and check that the knot cannot pull through.
7. Hang the Keepsake Where It Can Be Enjoyed

Choose a protected branch where the ornament will not knock against other hard decorations. Clay can chip if dropped, and the ribbon is decoration rather than a pet accessory. Keep the finished piece out of chewing reach and do not attach it to a collar. Wrap it separately in soft packing material after Christmas, then store it somewhere dry for next year.
A Small Name Tag Can Become a Family Tradition
Make one consistent shape for every pet, then vary the ribbon or border so each keepsake feels individual. Add the year on the back after drying if you want to remember when you made it. The same ornament can also finish a parcel alongside Christmas wrapping with jute.
Pair the clay keepsakes with lighter handmade decorations and a personal card. These ideas help carry that thoughtful finish through the rest of your holiday gifts:
- Easy, Personal Handmade Holiday Cards
- Paper Christmas Trees for Small Spaces
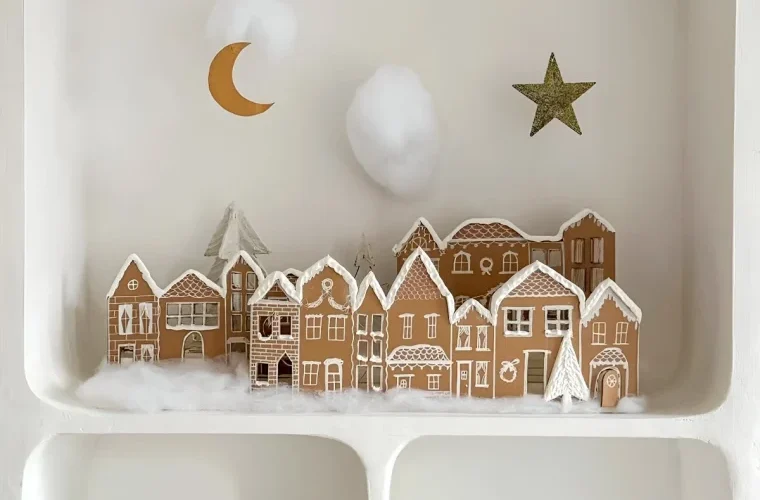
- A Christmas Village Made from Cardboard



















0 Comments