How to Make a Paper Christmas Village for Your Mantel
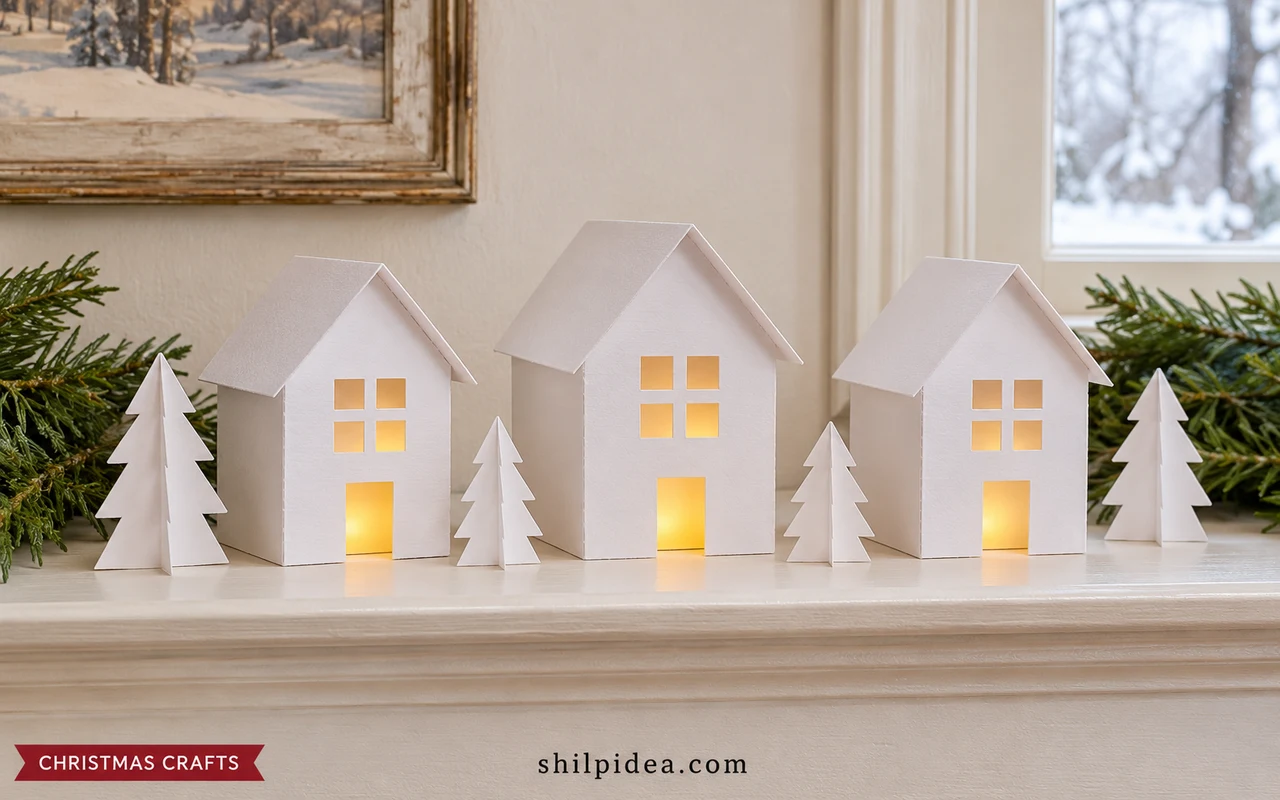
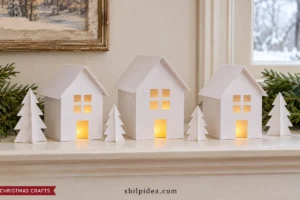
Turn a mantel into a winter village with three small cardstock houses and battery-operated LED lights. Start with one practice house, then repeat the layout.
Pair the village with paper bag snowflakes above the display. The starter house has a 4 cm square footprint, 5 cm walls and a 2 cm gable.
Keep nearby Christmas wreaths simple so the little houses stand out. The process images are AI-generated illustrations; follow the measurements and cutting diagram, which is not a print-to-scale template.
Materials and Tools
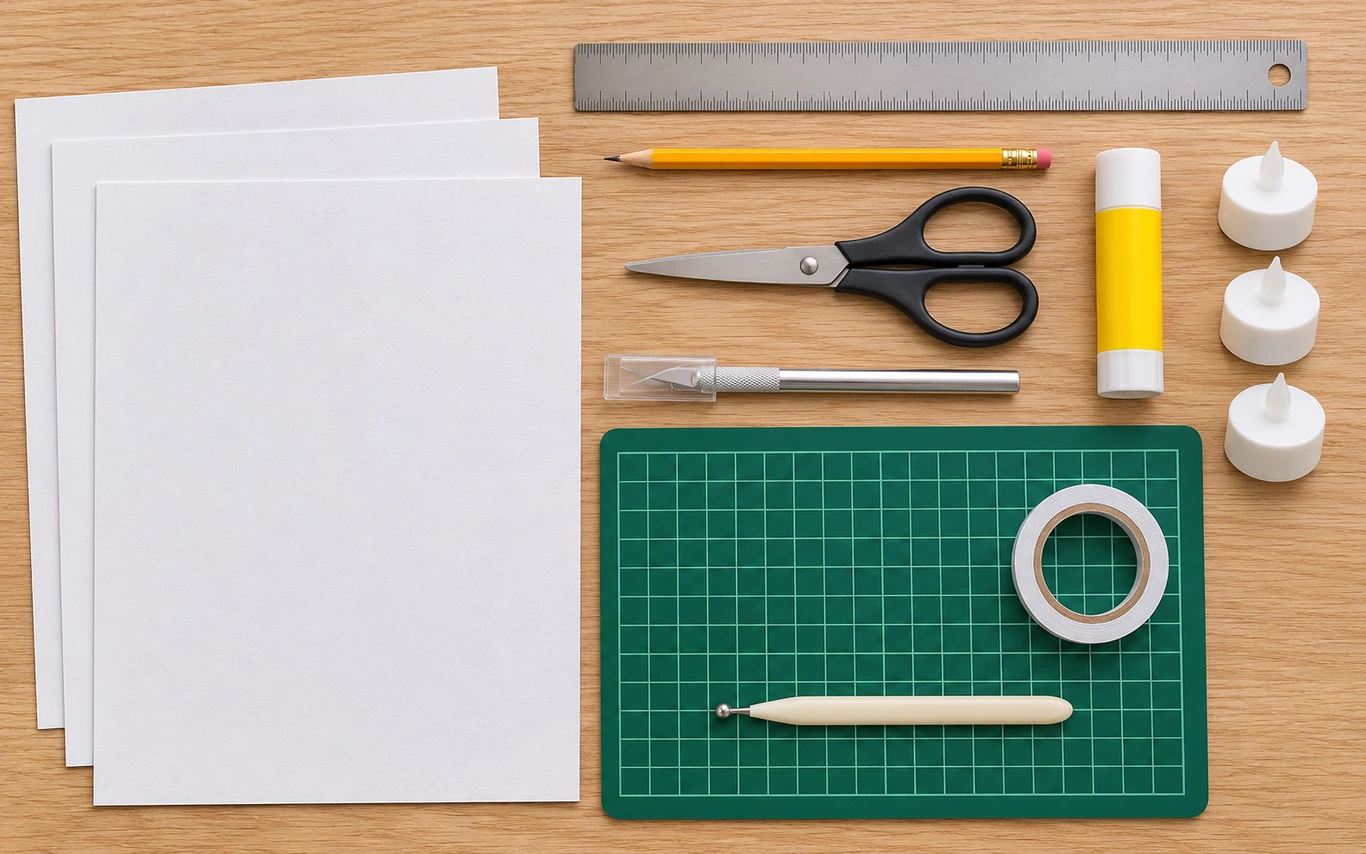
Gather these supplies for three houses, starting with one practice piece.
- White cardstock – Three to five US Letter or A4 sheets, 200–250 gsm; include spare paper for a practice house.
- Measuring tools – Pencil, eraser and ruler marked in centimeters.
- Cutting tools – Scissors, a cutting mat and a craft knife for adult use.
- Scoring tool – A blunt tool or bone folder; never score with a sharp blade.
- Adhesive – A cardstock glue stick or narrow double-sided craft tape.
- LED tealights – Three battery-operated lights with secure battery compartments. Choose bases no more than about 3.5 cm across; check the actual inside fit.
- Optional accents – Vellum for windows, spare cardstock for trees and a removable display board.
Precautions Before You Begin
Protect the cutting area and choose a cool display spot before starting.
- Use battery-operated LEDs only—never real candles, incense or hot bulbs inside paper houses.
- An adult must cut small openings on a mat, keeping fingers clear of the blade. Cap it when finished.
- Keep batteries, offcuts and miniatures away from young children and pets; follow the light manufacturer’s instructions.
- Choose a cool, dry, stable surface away from fireplace heat, vents and shelf edges. Use another shelf if the mantel gets warm.
- Switch LEDs off when unattended and keep them removable for battery access.
1. Draw the Walls, Roof and Tabs
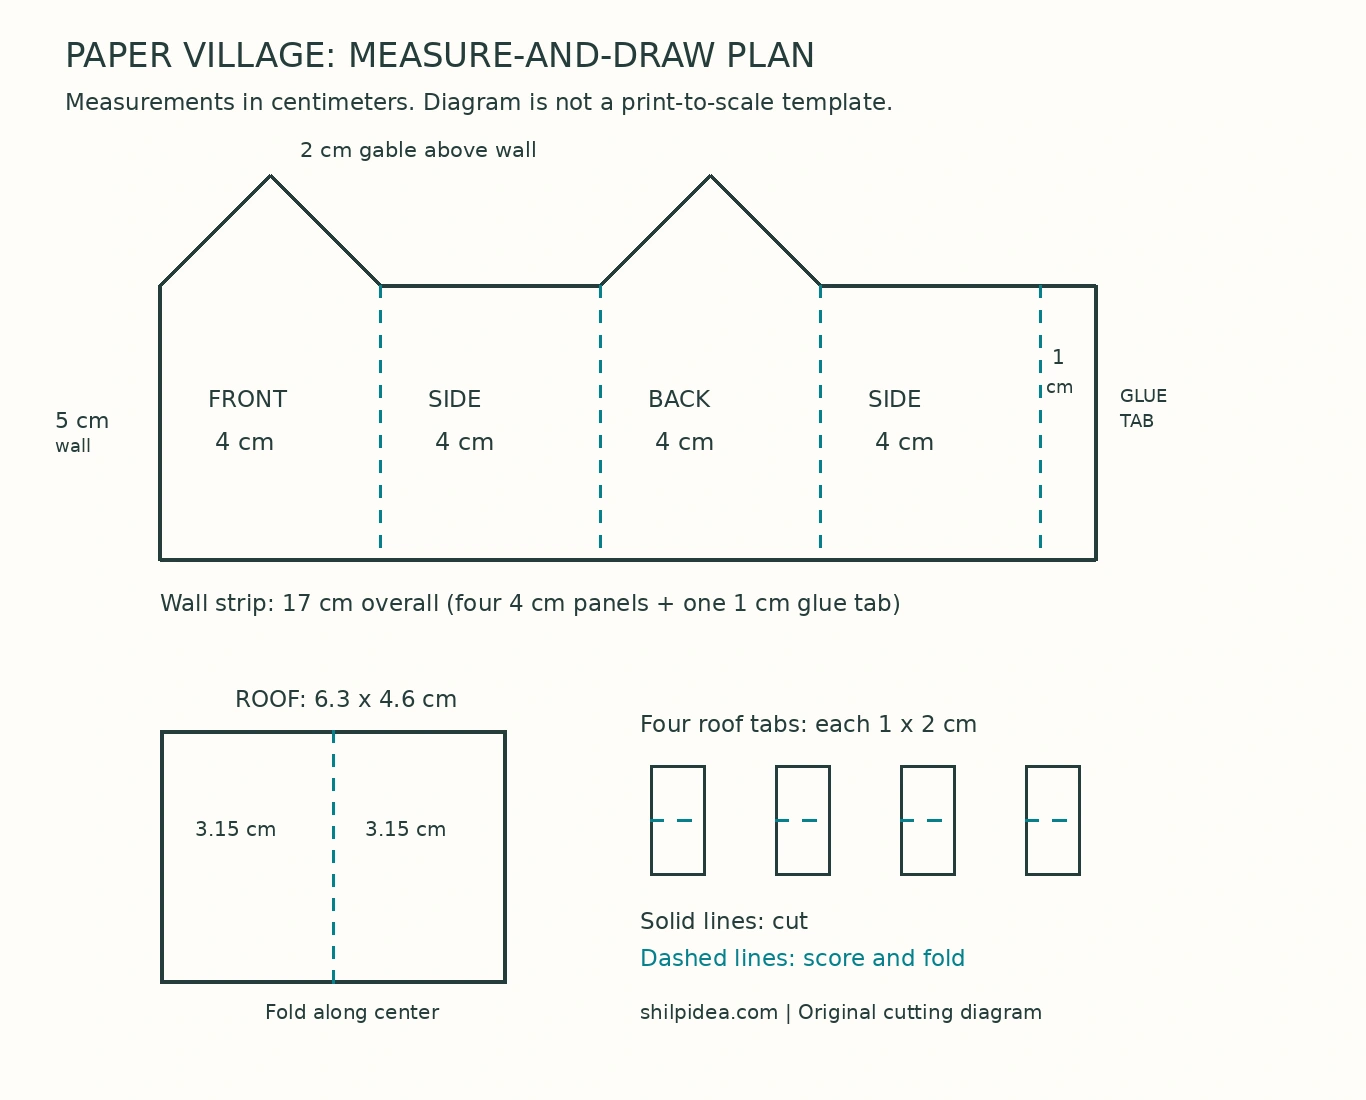
- Mark four walls. Draw a 17 × 5 cm rectangle. Mark vertical lines at 4, 8, 12 and 16 cm from the left: four wall panels plus a 1 cm glue tab.
- Add opposite gables. Above panels one and three, mark a peak 2 cm above each top-edge midpoint. Join each peak to its panel’s upper corners; leave the other panels flat-topped.
- Draw the roof. Make a separate 6.3 × 4.6 cm rectangle. Divide the 6.3 cm side into two 3.15 cm halves; the fold forms a 4.6 cm-long ridge.
- Mark four roof tabs. Draw four separate 1 × 2 cm rectangles and mark a fold halfway along each 2 cm length. If enlarging the house for a wider LED, scale every dimension equally.
2. Cut the Windows and House Pieces
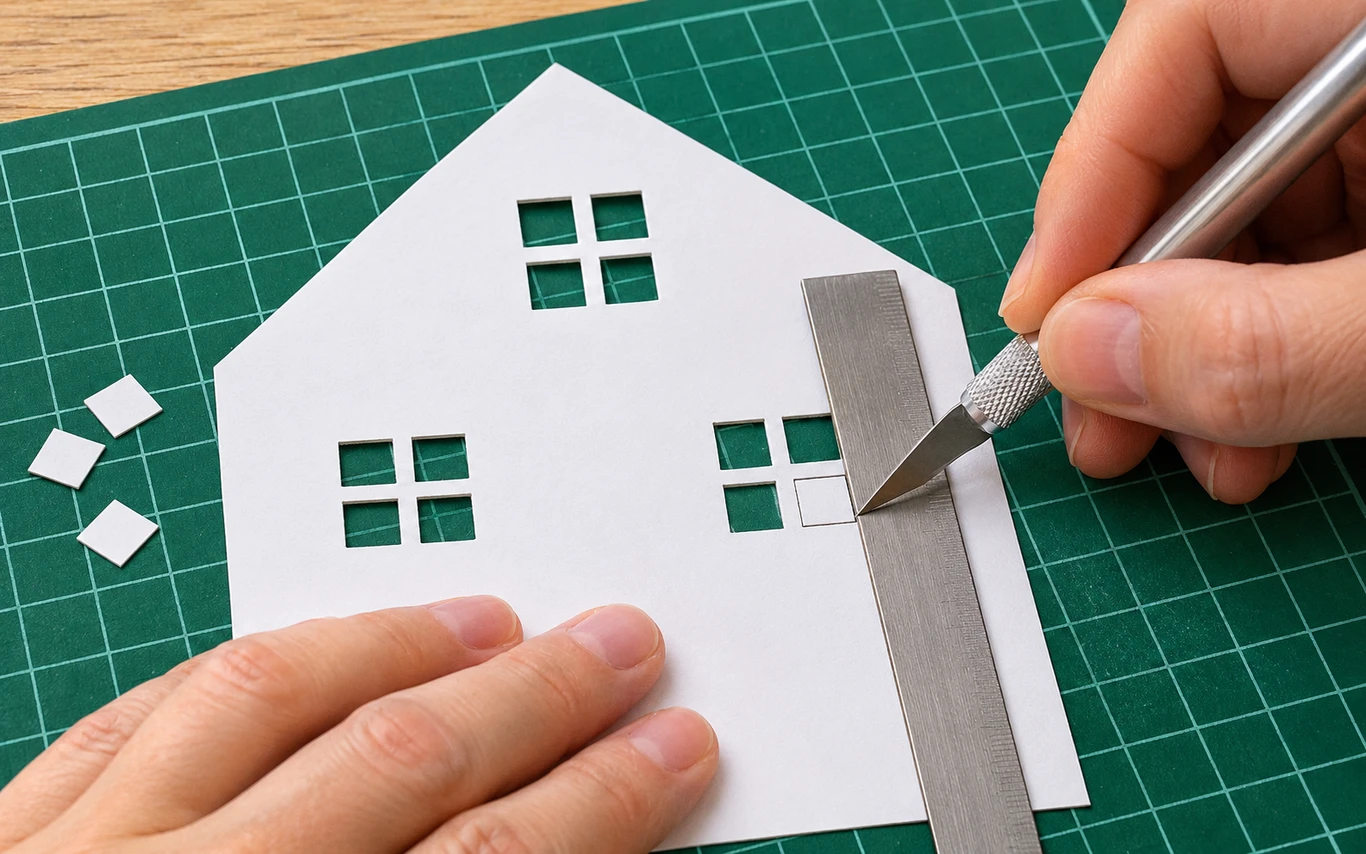
- Draw simple openings. Try four 0.6 cm square windows and a centered 0.9 × 1.7 cm door. Leave at least 0.5 cm around outer edges and solid paper between openings.
- Cut while flat. An adult should cut the openings with short strokes on a mat. Cut out the complete wall net, roof and four tabs; optionally leave one door edge attached.
- Add optional vellum. Attach small patches inside the windows, gluing only around their edges. Keep fold lines and the side tab clear; avoid adhesive across the visible openings.
3. Fold and Join the Walls
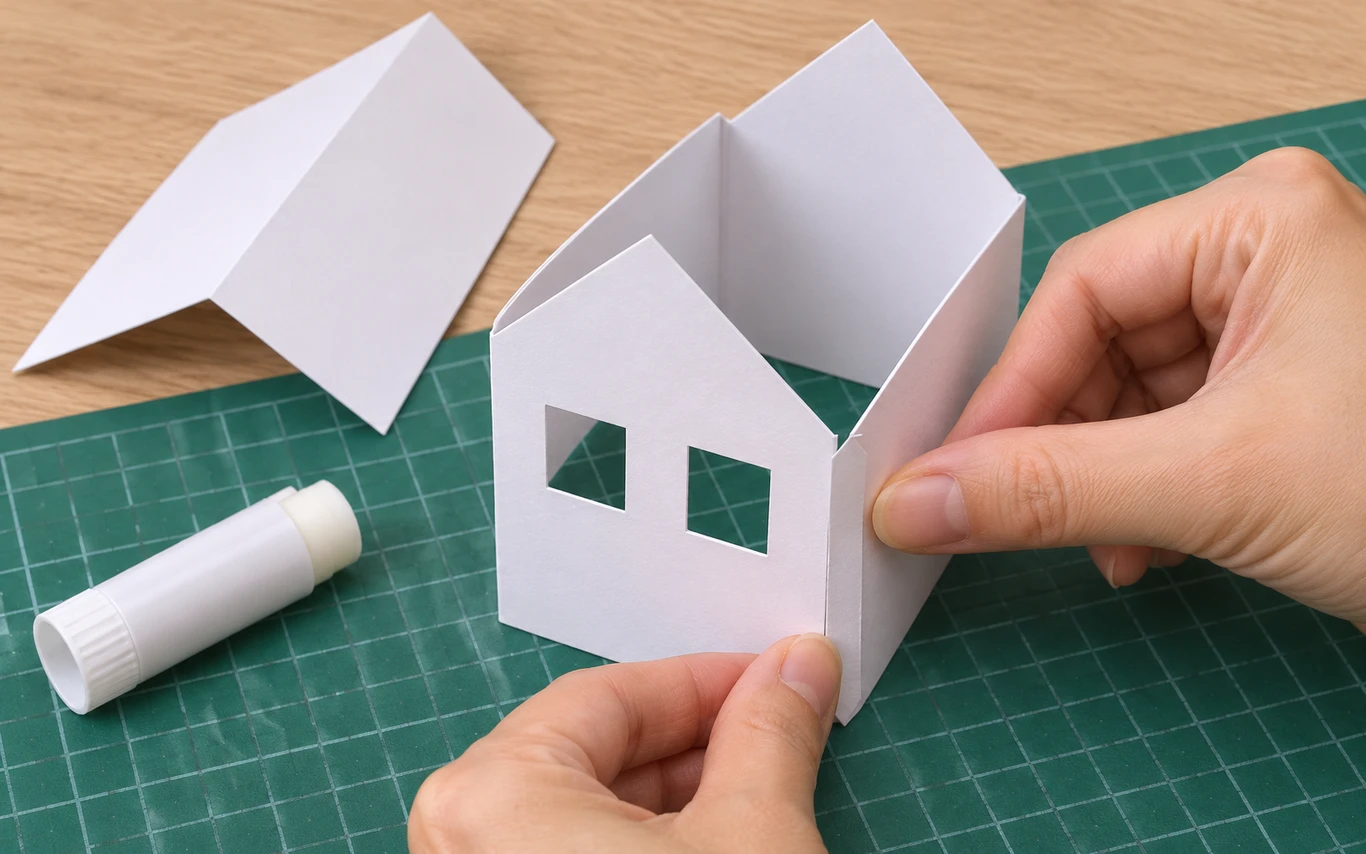
- Score and fold. Use a ruler and blunt tool along the four vertical lines. Fold inward without cutting through the card, keeping pencil marks inside and opposite gables facing each other.
- Close the side seam. Dry-fit a square with level bottom edges. Glue or tape the 1 cm tab behind the first wall’s free edge; support the seam until the adhesive holds.
- Check the light fit. Leave the bottom open. Once the seam dries, test the actual LED inside; it must fit freely without pushing the walls outward. Remove it before fitting the roof.
4. Attach the Roof with Paper Tabs
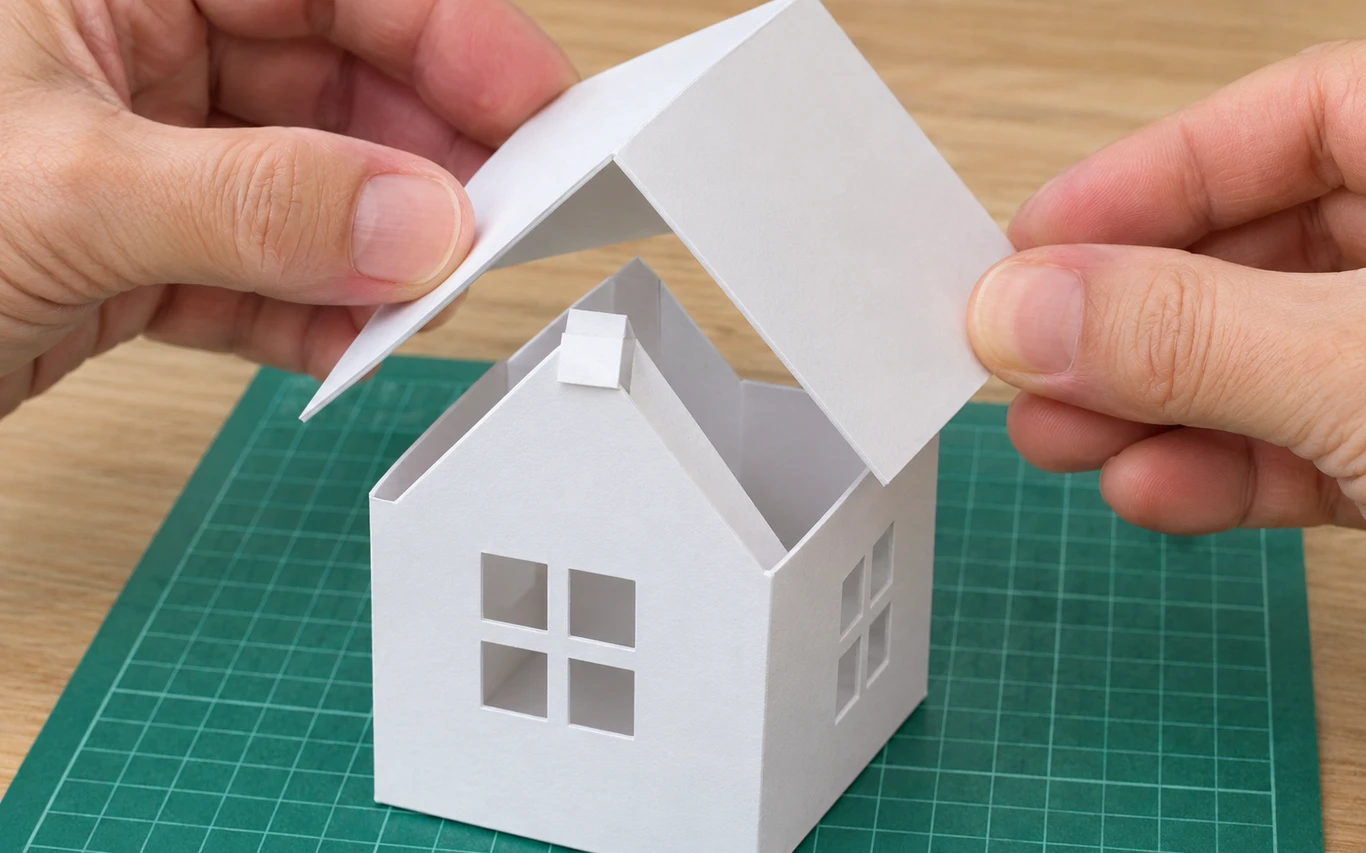
- Test the roof. Score and fold its center line. Set the ridge between the two gable peaks and center the overhang. Correct a crooked wall seam before attaching anything.
- Fit four tabs. Fold each tab in half. Glue one half inside each gable slope, just below the edge. Let the free halves bend inward to meet the roof’s underside.
- Secure the roof. Let the wall-side bonds hold first. Glue or tape the free tab halves under the roof and press gently. Support until dry; avoid excess wet glue or crushing the walls.
5. Repeat the Houses and Light the Village
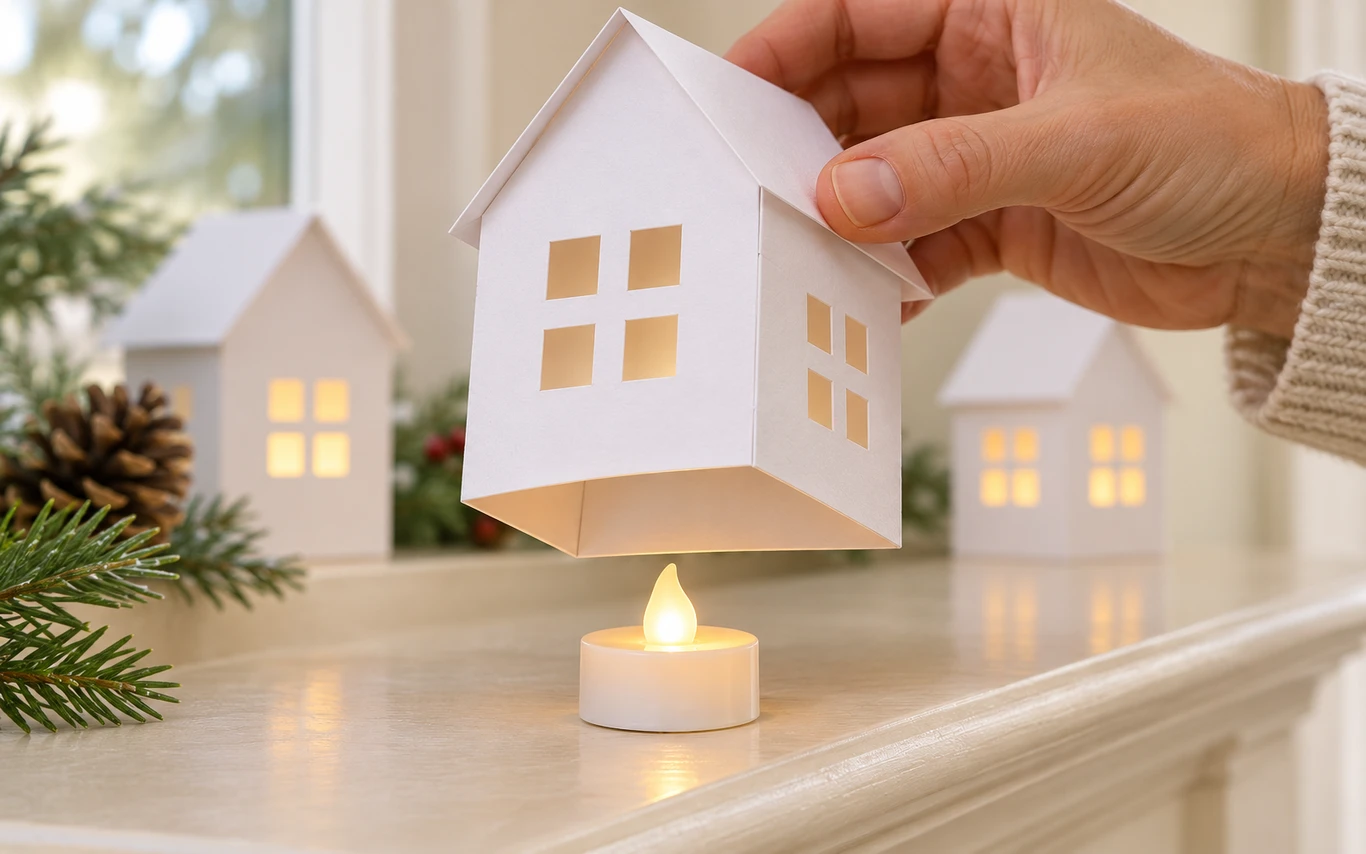
- Make two more houses. Repeat the successful layout and vary the windows. For a taller house, raise all four walls to 6 cm; keep the footprint, gables and roof unchanged.
- Place the LEDs. Let all joints dry fully. Switch each LED on, then lower an open-bottom house over it. Keep lights loose and removable; do not glue them inside or obstruct battery access.
- Arrange the display. Space houses on a cool, stable surface, with taller pieces behind if room allows. Add a few optional paper trees or orange garlands, leaving houses easy to lift.
- Store without crushing. Remove the LEDs and follow their storage instructions. Pack houses upright in a dry box with gentle support. Do not flatten permanently glued roofs; give each miniature enough room.
If you want another paper accent, place a few paper poinsettias nearby without covering the windows or blocking access to the lights.
Finish the Village with One More Handmade Detail
Your first three houses are enough for a complete little display. If you want to extend the handmade theme, choose a project that suits the space around it—snowflakes above the mantel, a garland along the edge or a few ornaments on a nearby branch.
- Paper bag snowflakes for Christmas
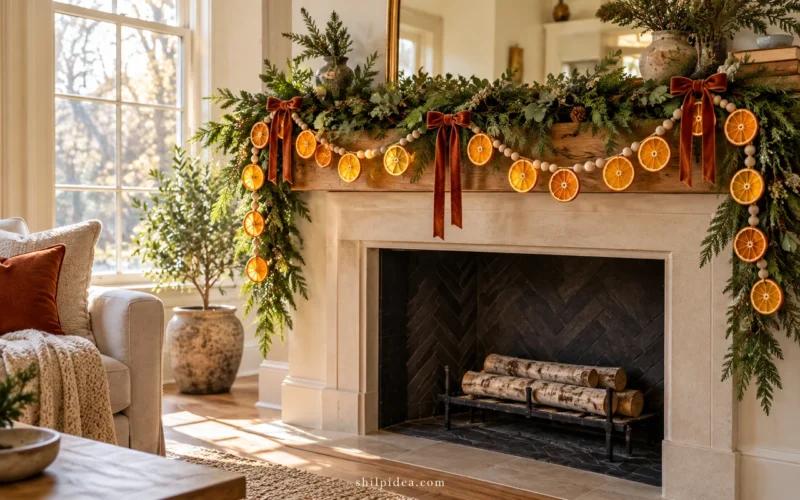
- Dried orange garlands for mantels and windows
- Simple hand-stitched felt star ornaments
- Crepe paper poinsettia ideas
- Christmas door wreath ideas
Would you make a snowy white village or give each house its own color? Tell us in the comments which version you would try—and if you make one, we would love to hear how it turned out or what you changed.






















0 Comments