20 Scandinavian Christmas Decor Ideas with Paper and Wood
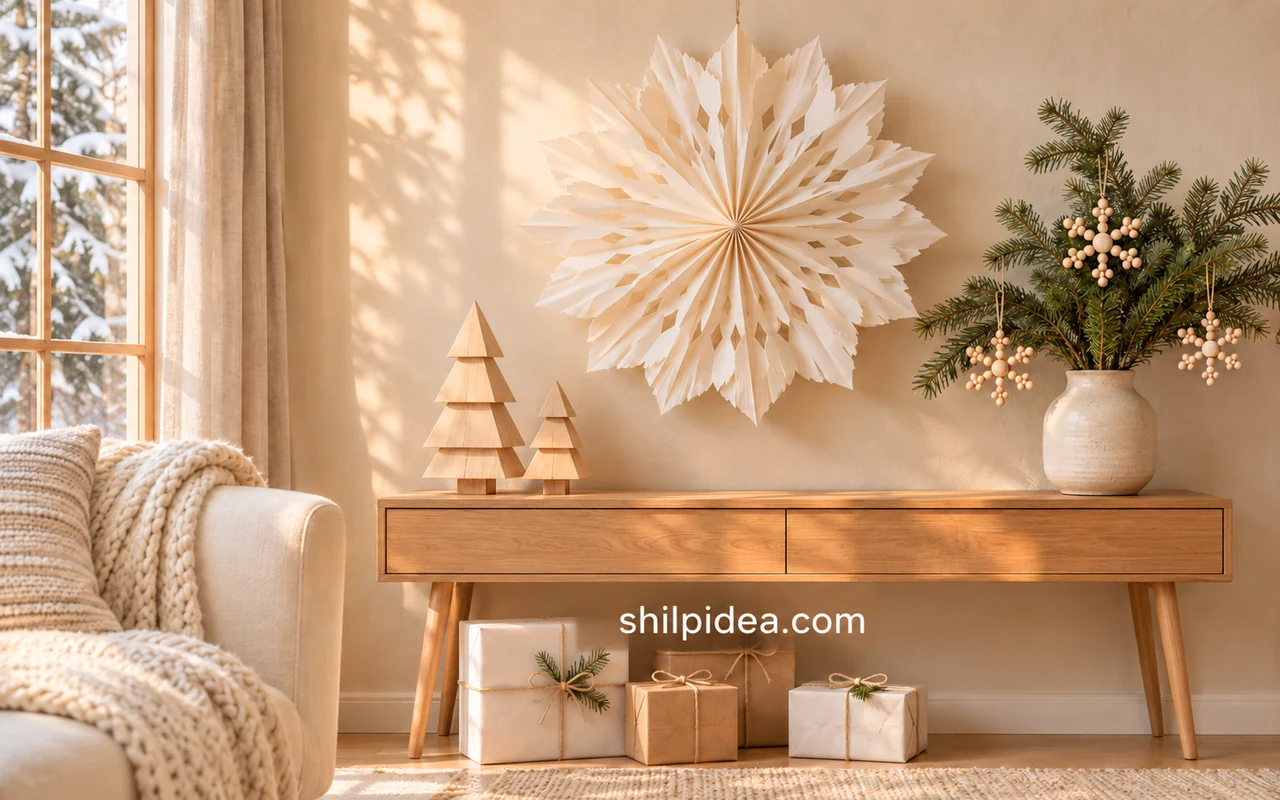
Scandinavian Christmas decor can begin with a few clear shapes: a paper star, pale wood trees and a little greenery. You do not need to replace everything in the room to give it a handmade holiday feel.
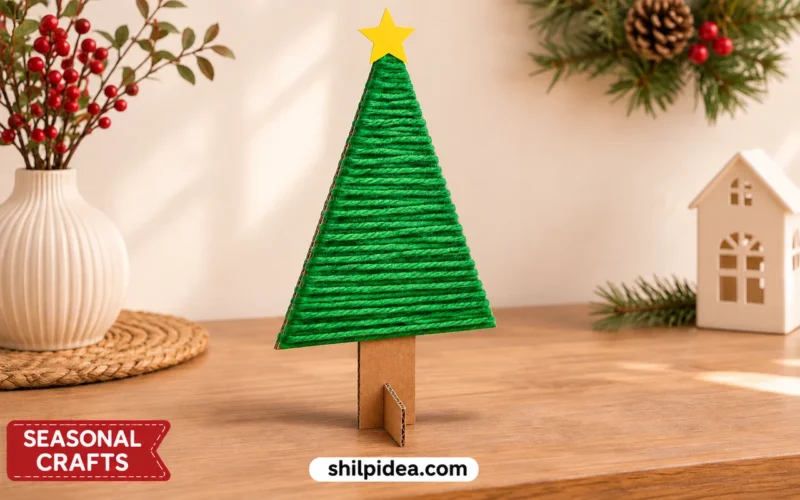
Choose a small palette, then repeat it across ornaments, wrapping and one main display. These paper Christmas trees suit shelves with limited space.
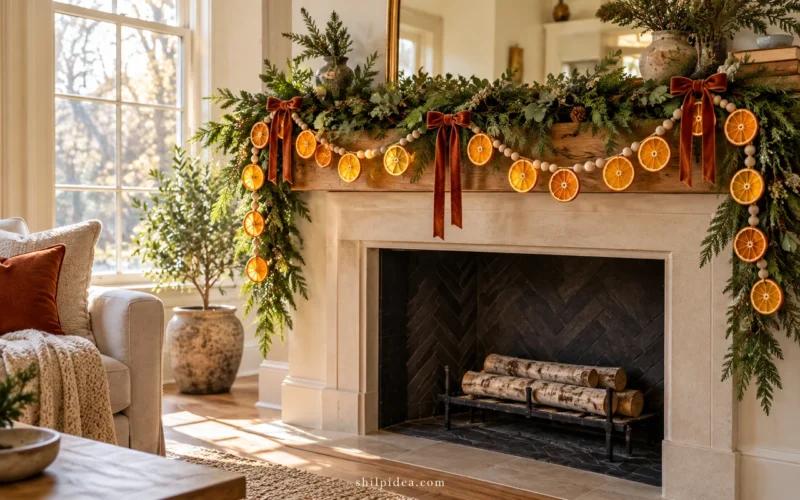
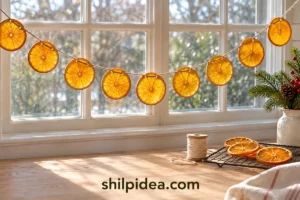
The 20 ideas below compare different materials, shapes and placements. For a warmer accent, dried orange garlands can connect paper and wood with natural color.
1. A Large White Paper Snowflower Above a Console
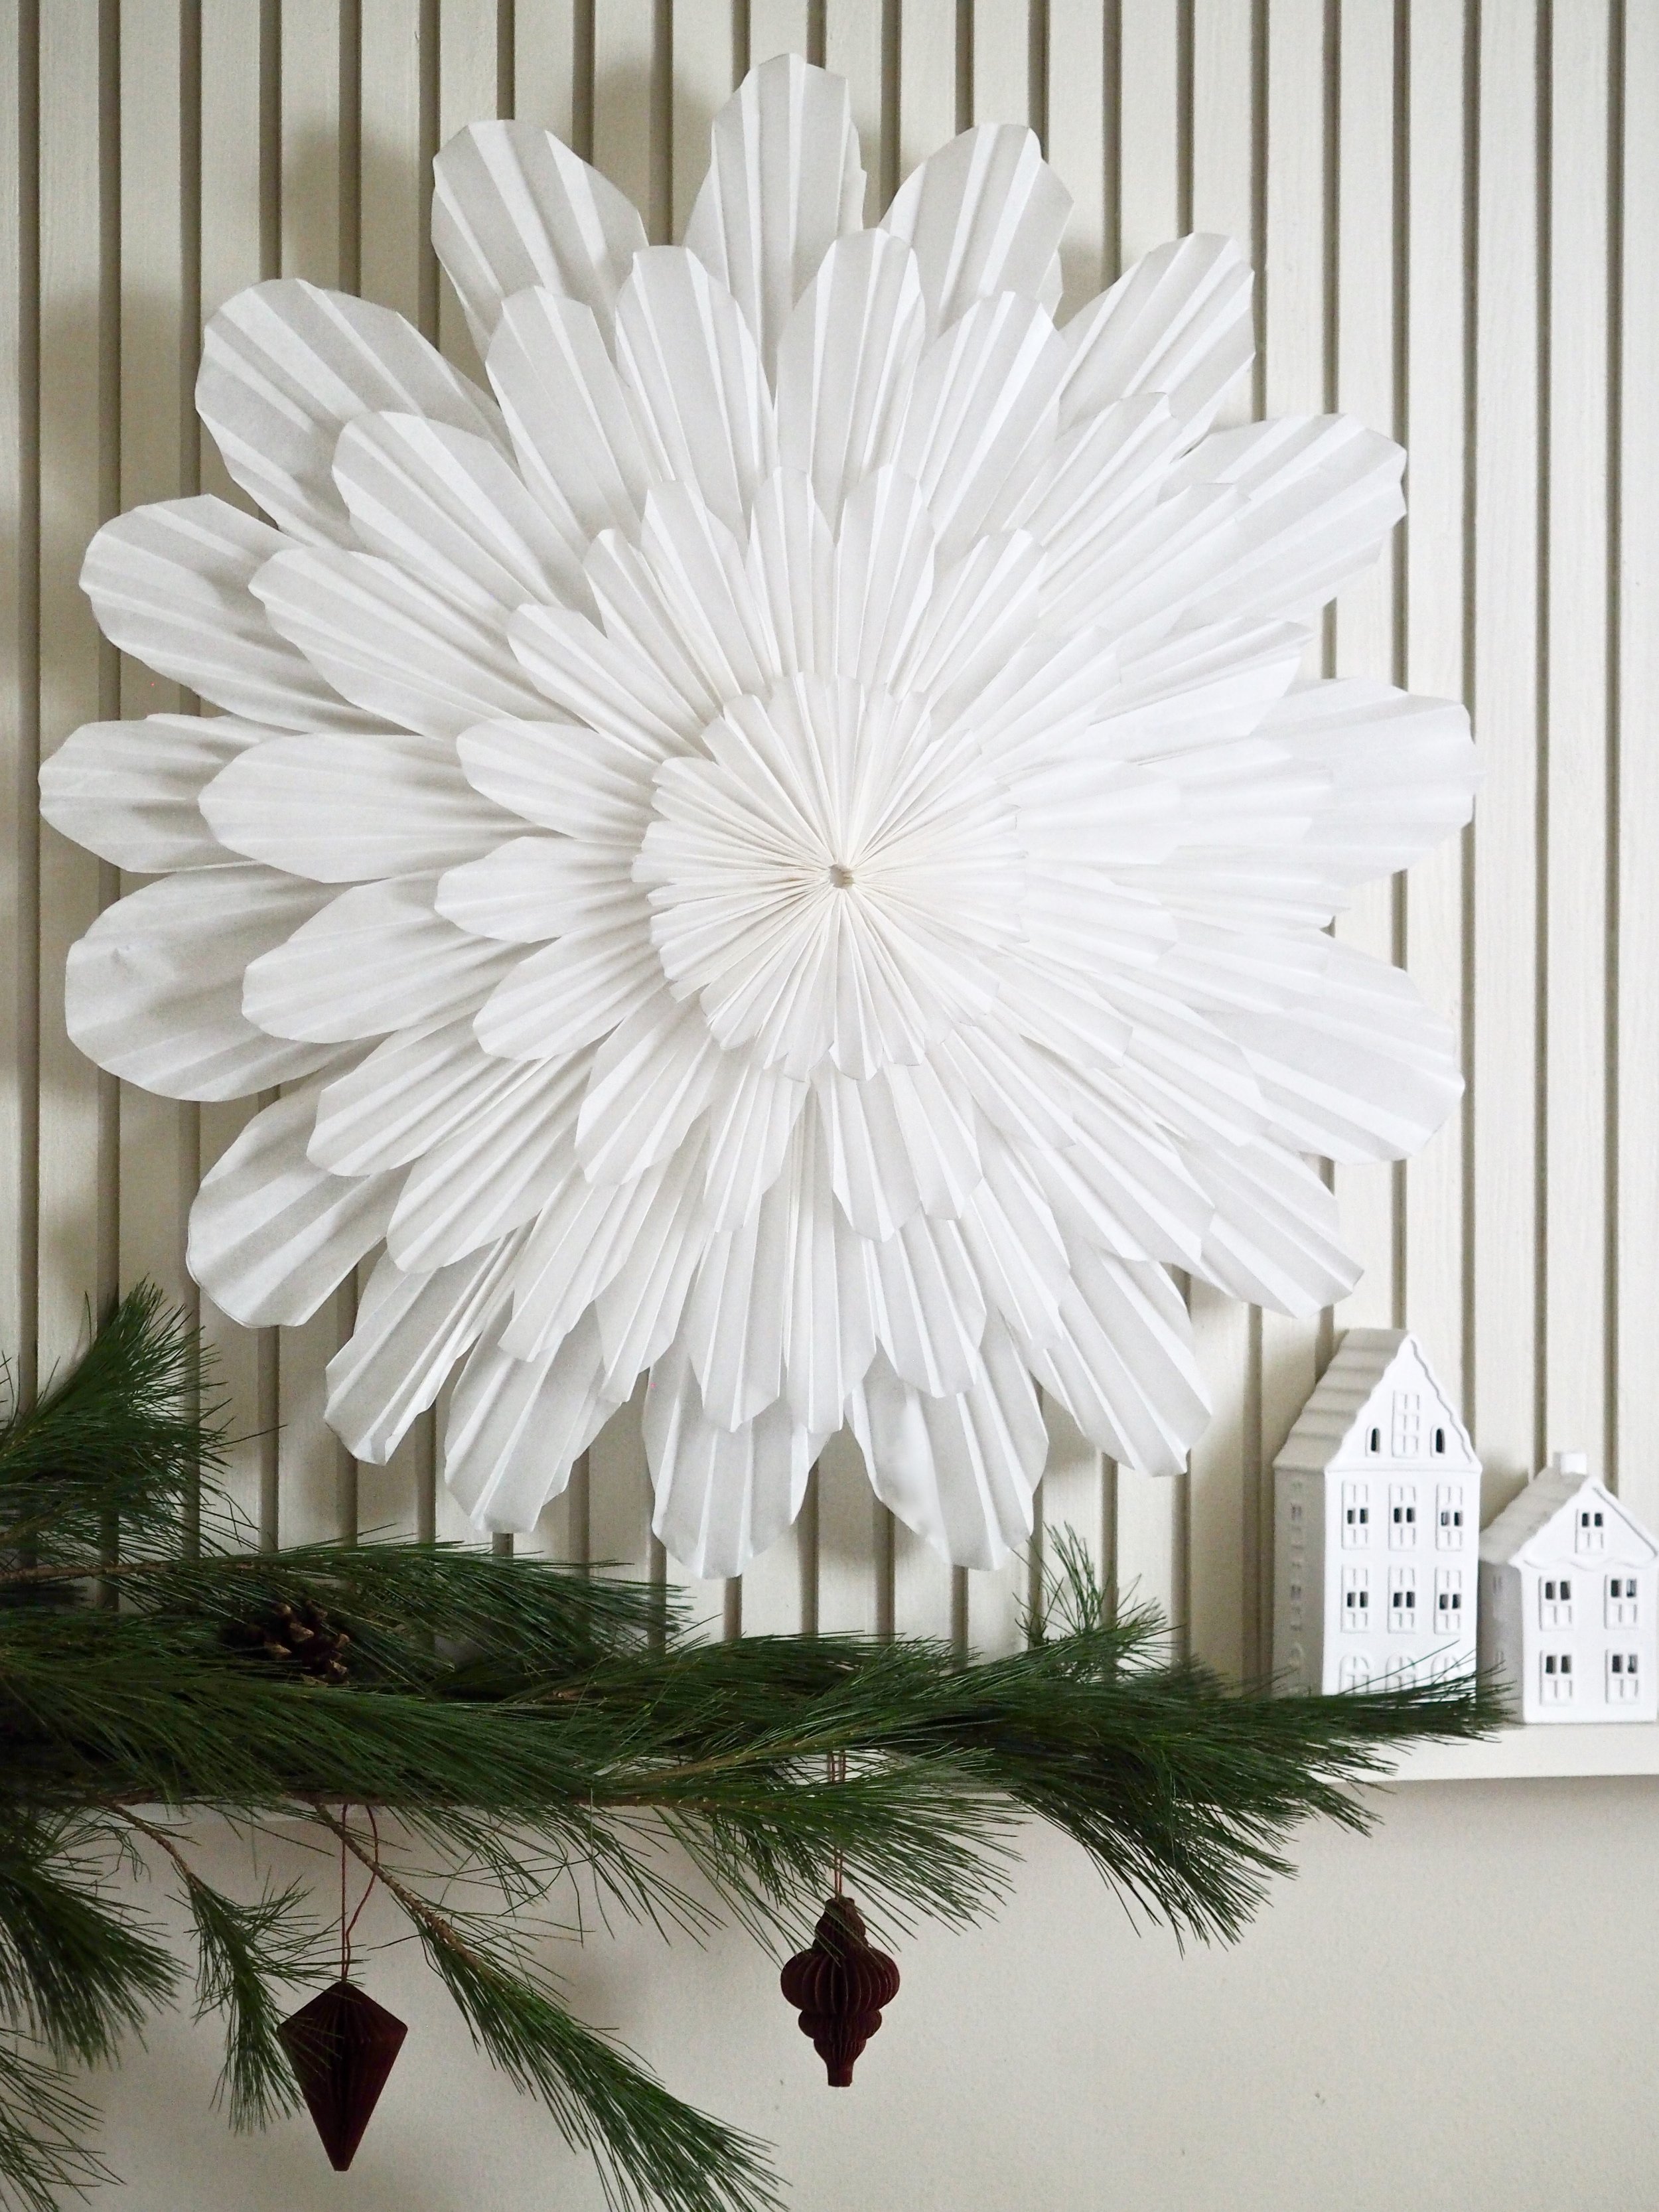
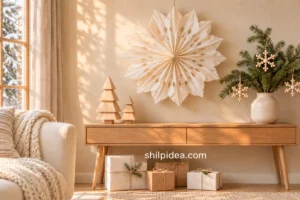
One oversized pleated decoration can give a room its holiday focal point without filling every surface. The layered white paper catches daylight and casts soft shadows against a pale wall. Hang it independently above a console, leaving space for a few smaller objects below. Keep the paper clear of heaters, candles and hot light fittings; its scale is enough to create an effect without adding illumination.
Get the tutorial: A Large White Paper Snowflower Above a Console by Melanie Lissack Interiors.
2. Folded Paper Stars in White and Kraft

Sharp points and clean folds bring a different character from soft snowflower pleats. Mix white, kraft and printed paper stars on a shelf or hang a few at different heights. The limited palette makes the changing shapes easier to notice. If you prefer a lighter outline, these wire stars offer a complementary direction without repeating the same folded texture.
Get the tutorial: Folded Paper Stars in White and Kraft by Home by Linn.
3. Paper Bag Stars with Different Cut Edges

A pointed edge produces a crisp star, while curved cuts make the finished shape softer and more floral. Choose one or two profiles and repeat them rather than combining every possible pattern. This reference compares cut shapes and their opened results, which is useful when planning a coordinated window display. Our paper bag snowflakes guide covers a separate making project if you want illustrated instructions.
Get the tutorial: Paper Bag Stars with Different Cut Edges by Katsiaryna Sipakova / Creative Fabrica.
4. A Slim Wooden Dowel Christmas Tree

A bare wooden tree creates a clear silhouette with plenty of open space between its branches. Small ornaments stand out because they are not competing with dense foliage. This is a useful alternative for a compact living room or dining corner where you want a festive display with a light footprint. Check the base and overall stability before decorating; keep heavier ornaments close to the trunk.
Get the tutorial: A Slim Wooden Dowel Christmas Tree by Burkatron.
5. Geometric Tabletop Trees with Dark Tips
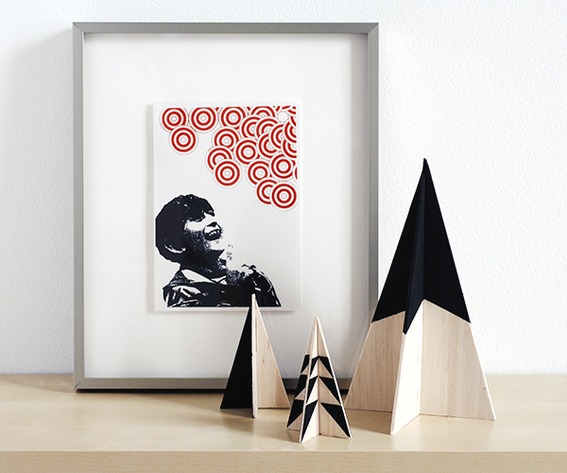
Small slotted wood trees turn simple triangles into three-dimensional objects. Dark painted tips contrast with the pale grain, so a few pieces can hold their own beside framed artwork. Arrange different heights with breathing room between them. If making a set, follow the original project for the slot construction and suitable materials rather than assuming every thin sheet will stand securely once cut.
Get the tutorial: Geometric Tabletop Trees with Dark Tips by Curbly.
6. Ribbed Paper Baubles with One Strong Accent
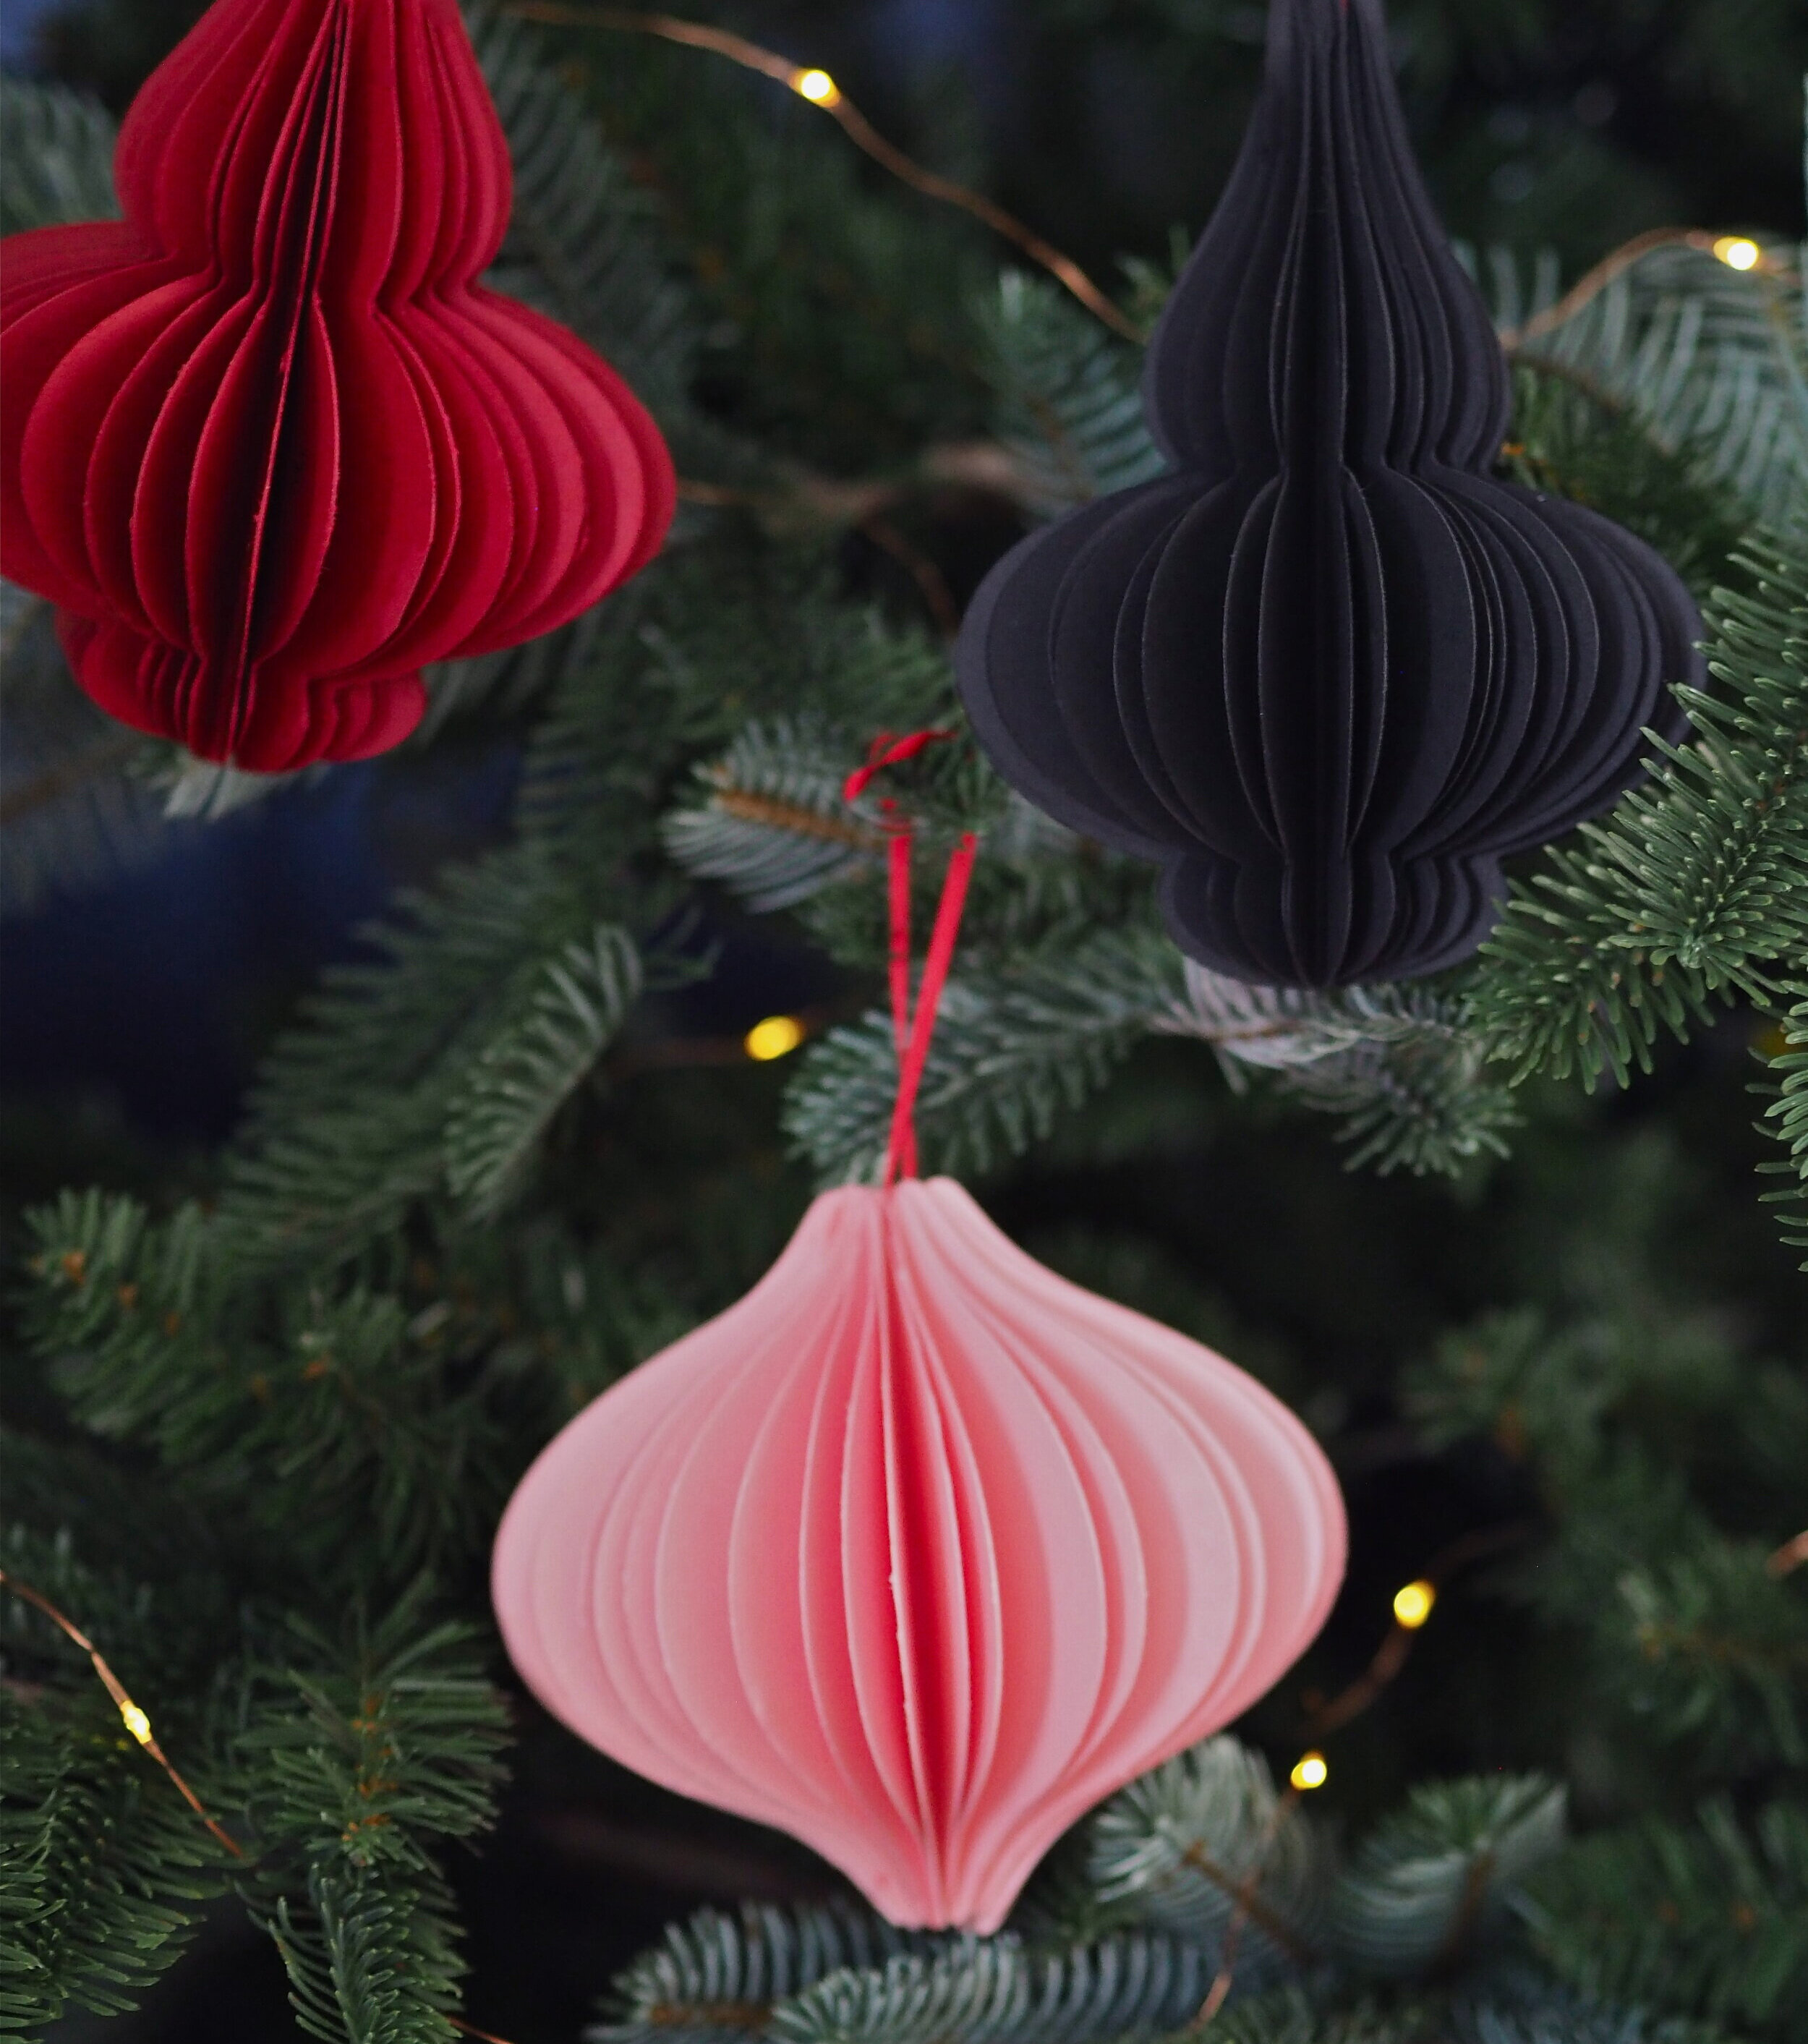
A few red or pink ornaments can warm up a mostly white-and-wood display. Here, repeated paper layers give the decorations depth, and the dark example anchors the brighter colors. Keep the rest of the tree fairly restrained if these are your focal ornaments. Check adhesive curing instructions before opening or hanging handmade pieces, and store them without crushing the projecting paper edges.
Get the tutorial: Ribbed Paper Baubles with One Strong Accent by Melanie Lissack Interiors.
7. Paper Chains Across a Window Corner

A paper chain feels considered when its drape responds to the room. In this Swedish home, several strands bridge a window corner and repeat colors already present in the interior. Start with lightweight paper and test the fixing points before making a long run. Keep the lowest strand above head height and away from opening windows, curtains, heat and routes where people carry food or drinks.
8. Open Paper-Strip Baubles for the Tree

Curved strips create round ornaments that remain visually light. The reference shows the making sequence and a finished hanging bauble, making the open construction easy to understand. Try paper with a subtle print if a plain tree needs a little detail. Consistent strip widths help the shape read clearly, and a short hanging loop keeps a lightweight ornament from swinging into neighboring decorations.
9. Natural Wood Bead Snowflakes

Pale beads arranged into branching snowflakes introduce a small sculptural detail without a glitter finish. They suit a tree, gift package or a single evergreen branch in a vase. Use the original pattern to understand the wire path; the finished shape depends on more than arranging loose beads in a star. Tuck away sharp wire ends and keep small components out of reach of young children.
Get the tutorial: Natural Wood Bead Snowflakes by Sara Albers / Alice and Lois.
10. A Wood Bead Frame Around a Short Message

A circular bead border makes a small handwritten word feel like an ornament rather than an ordinary tag. The white center gives the lettering contrast, while a checked bow adds a modest festive accent. Keep the message short enough to read from the tree. A similar framed circle could hold a name for a gift, provided its weight and hanging loop suit the branch.
Get the tutorial: A Wood Bead Frame Around a Short Message by Pumpkin Emily.
11. A Beaded Tassel with a Small Bell

A vertical strand of beads, a bell and a rough-textured tassel creates movement among flatter ornaments. This narrow shape works between wider baubles and stars, giving the tree a more varied outline. Repeat a ribbon color from another decoration to connect the pieces. Trim the tassel evenly after tying, and make sure the bell and beads are securely attached rather than relying on a loose decorative knot.
Get the tutorial: A Beaded Tassel with a Small Bell by Pumpkin Emily.
12. A Garland Made from Paper Cutoffs

Small folded scraps can become dimensional garland pieces instead of heading straight to the recycling bin. This example combines folded diamond shapes into pointed ornaments along a cord. Keep a consistent scale so the strand looks deliberate, then let slight changes in paper tone provide interest. Use genuinely useful leftovers; there is no need to cut a new stack of paper simply to imitate a scrap project.
Get the tutorial: A Garland Made from Paper Cutoffs by Katsiaryna Sipakova / Creative Fabrica.
13. A Hoop Wreath with a Paper House Skyline

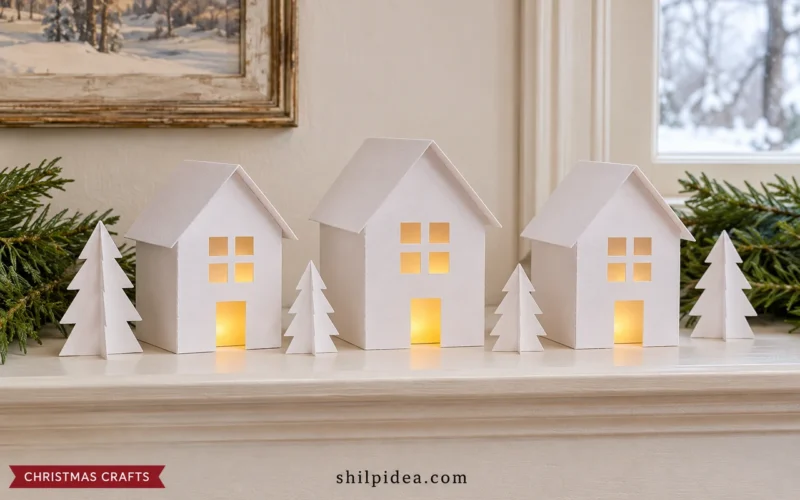
A simple circular hoop gives tiny paper houses a defined frame. The hanging skyline is light enough to leave much of the center open, and the wrapped rim adds texture without a thick foliage wreath. Borrow the house shapes from your chosen palette rather than adding lots of small colors. A nearby cardboard Christmas village can carry the architectural theme onto a shelf.
Get the tutorial: A Hoop Wreath with a Paper House Skyline by Katsiaryna Sipakova / Creative Fabrica.
14. A Message-in-a-Bottle Advent Display

Numbered little bottles turn a countdown into a quiet tabletop arrangement. The clear glass and small paper messages keep the display light, while a few sprigs connect it with the season. Use notes about activities, memories or kind gestures instead of filling every day with an object. Place the bottles on a stable surface where children cannot tip or swallow the small components.
Get the tutorial: A Message-in-a-Bottle Advent Display by The Merrythought.
15. Black-and-White Tree-Print Gift Wrap
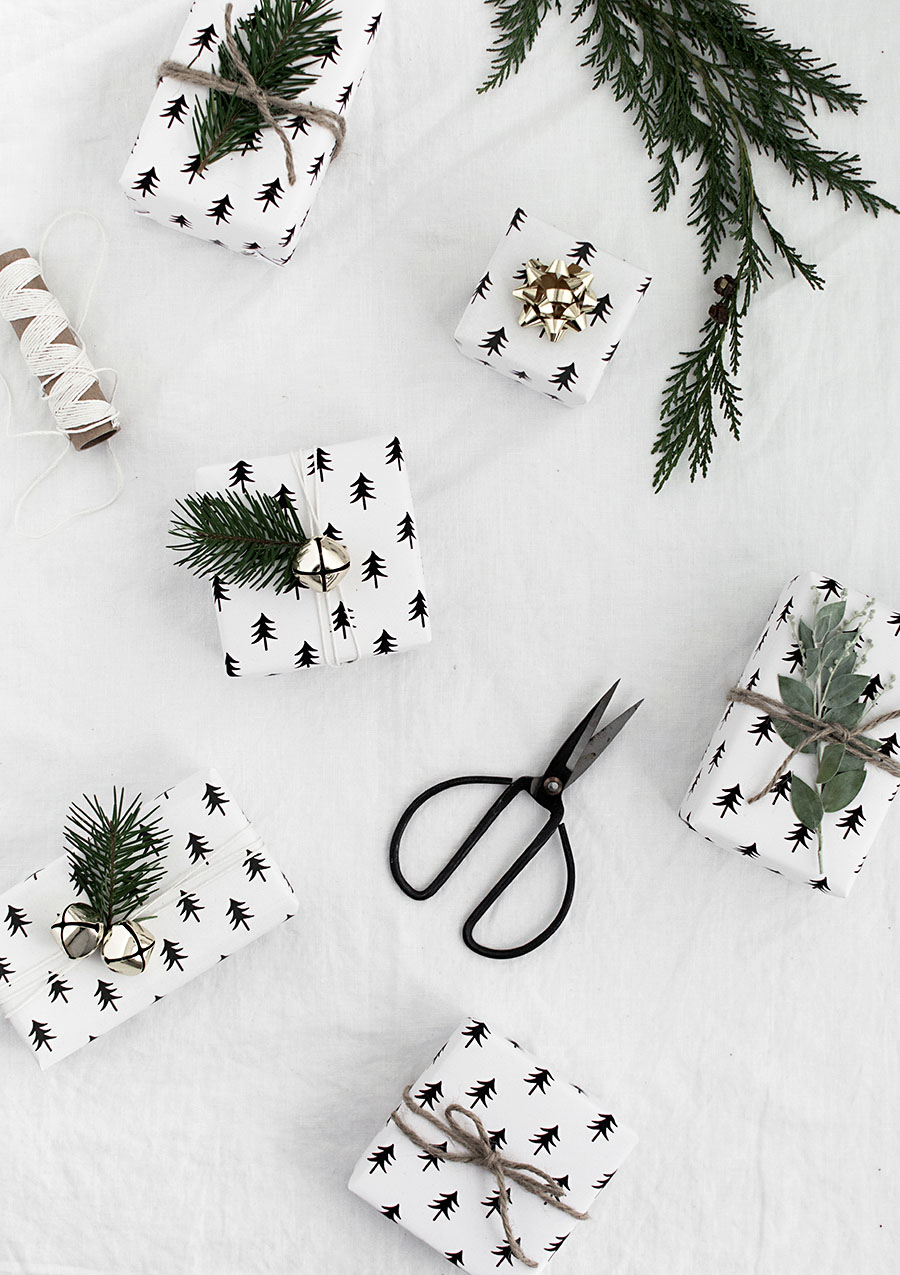
Wrapped gifts can become part of the room palette before they are opened. A small repeated tree pattern looks crisp against plain white paper, especially with simple string and a green sprig. Match the scale of the print to the size of the package. Mix this approach with jute gift wrapping for texture while keeping the overall display restrained.
Get the tutorial: Black-and-White Tree-Print Gift Wrap by Homey Oh My.
16. Eucalyptus Branches Shaped into Hanging Trees

Graduated lengths of eucalyptus create a triangular tree outline without a solid backing. A star at the top and bell below make the silhouette easy to read. Hang a small group where the pale leaves can be seen against a plain background. Treat the greenery as a temporary seasonal material, replacing brittle or shedding pieces and keeping it away from flames and hot fittings.
Get the tutorial: Eucalyptus Branches Shaped into Hanging Trees by Monsterscircus.
17. A Loose Garland of Mixed Bells

A thin strand of bells adds a metallic accent without covering the room in shine. Varying bell sizes give the line movement, and the spaces between them are as useful as the bells themselves. Try a short length beside a doorway or above a console. Use secure fixings and keep wire ends enclosed; this is decoration rather than a toy or a substitute for a handrail.
Get the tutorial: A Loose Garland of Mixed Bells by Monsterscircus.
18. Small Clay Stars Below a Natural Branch
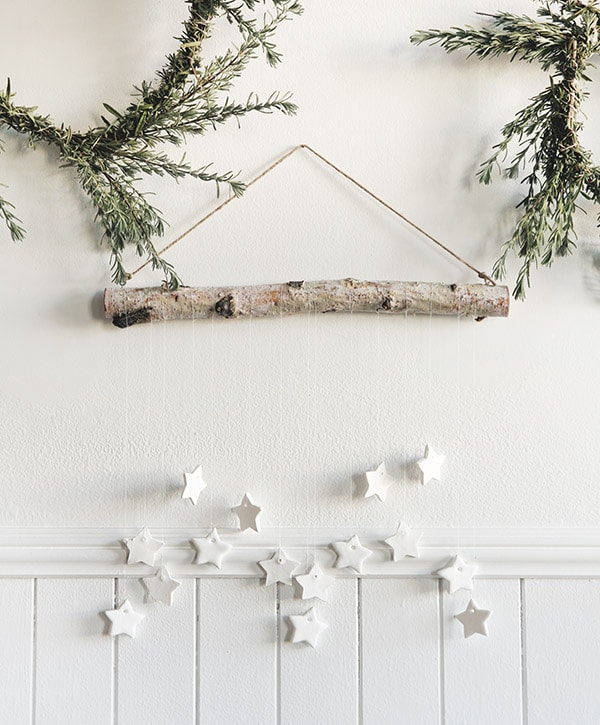
A short branch provides a quiet horizontal line for a row of pale stars. The rough bark and smooth shapes create contrast, so the wall hanging does not need a complicated color scheme. Leave enough room below the branch for the stars to hang freely. Use a secure hanging cord and appropriate wall fixing, particularly if displaying the piece above furniture people regularly use.
Get the tutorial: Small Clay Stars Below a Natural Branch by Delineate Your Dwelling.
19. Woven Paper Hearts with a Clear Two-Color Pattern

A woven heart brings a recognizable Scandinavian craft shape into a tree display. Two contrasting papers make the interlacing visible; softer tones can still work if there is enough difference between them. Follow the linked creator tutorial for the folding and weaving sequence. Hang the finished heart where its front can face the room, and avoid overloading a paper handle with heavy contents.
Get the tutorial: Woven Paper Hearts with a Clear Two-Color Pattern by Carina’s Craftblog.
20. Paper Pinecones Beside Evergreen Sprigs
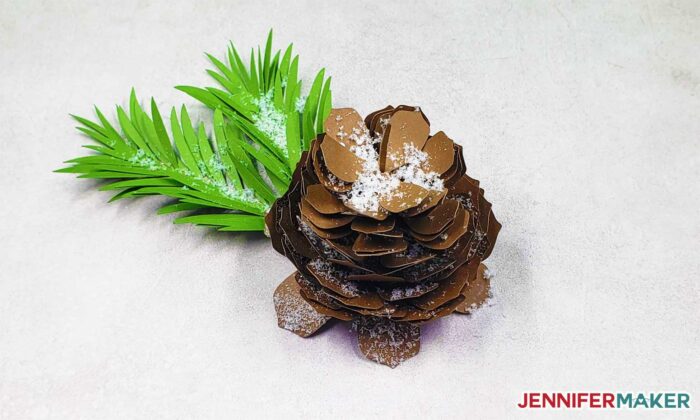
Layered brown paper gives a pinecone its overlapping texture without depending on collected outdoor materials. The finished piece can sit on a shelf, join a wreath or hang from a sturdy branch. Keep nearby details simple so the layered shape remains visible. Pair it with dried orange garlands for another natural-looking texture, keeping both clear of flames and damp areas.
Get the tutorial: Paper Pinecones Beside Evergreen Sprigs by JenniferMaker.
Build a Handmade Christmas Display Around Your Favorites
Choose one larger focal piece and a few smaller repeats before bringing out the rest of your decorations. A star above a console, wood ornaments on the tree and coordinated wrapping may be enough to connect the room. Keep walkways, window openings and everyday surfaces usable. These related projects offer more detail when you are ready to make an individual piece.
- Paper Bag Snowflakes for Christmas Displays
- Paper Christmas Trees for Small Spaces
- A Folding Cardboard Christmas Village
- Handmade Wire Stars for Christmas Decorating
- Rustic Christmas Gift Wrapping with Jute
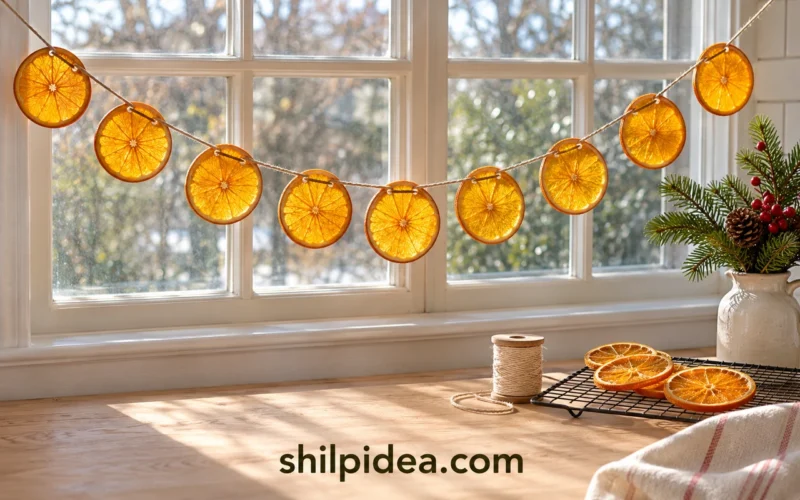
- Dried Orange Garlands for Holiday Displays
Which handmade detail would you build your Christmas room around: a large paper star, natural wood ornaments or a simple garland? Share your decorating plans in the comments. If you already use a restrained holiday palette, we would love to hear which pieces you bring back each year.
















0 Comments