19 Origami Christmas Star Ideas for Windows and Hanging
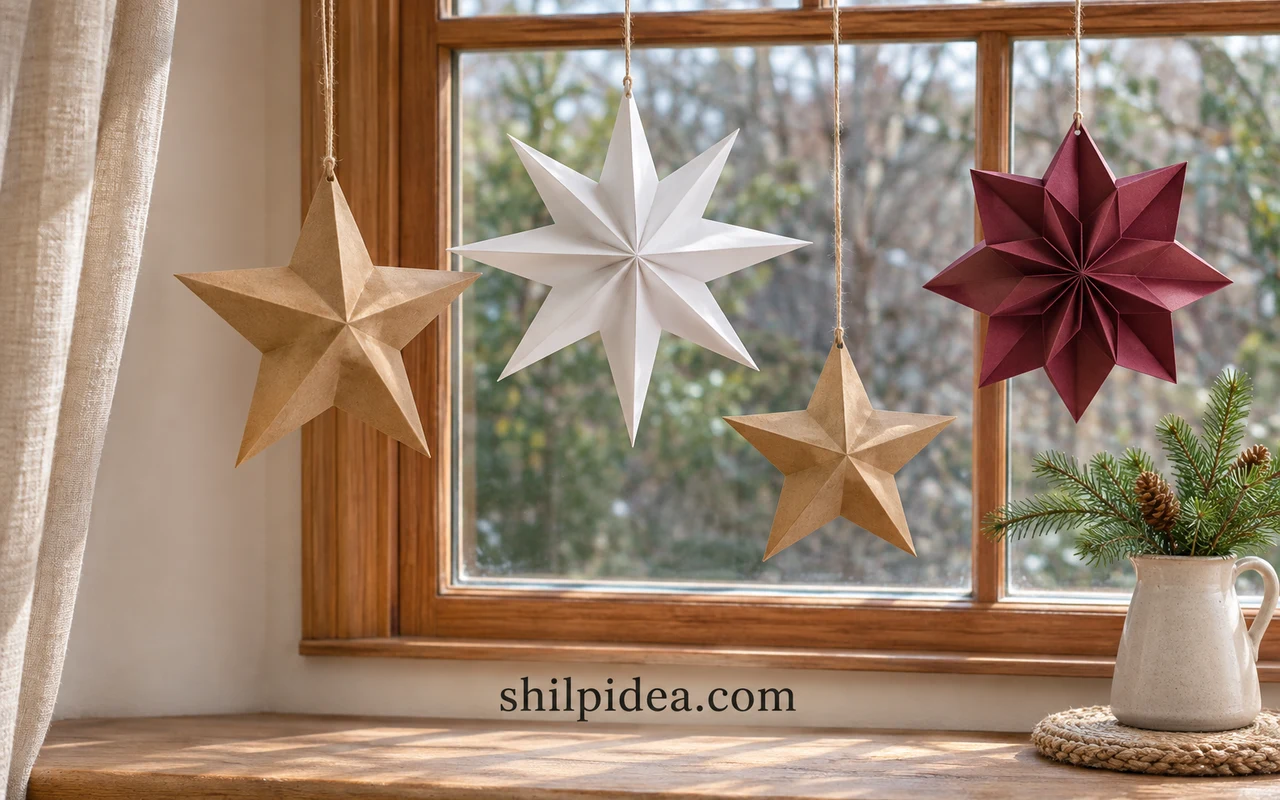
Folded paper stars bring a little structure and movement to Christmas decorating. A few carefully chosen shapes can dress a window, brighten a plain wall or add handmade detail to a small hanging display.
These origami Christmas stars combine familiar five-point designs with geometric alternatives. Our Scandinavian Christmas ideas offer a simple setting for paper and natural textures.
Explore 19 choices for shape, paper and placement, then follow the linked creators for construction. For a larger paper decoration, try our paper snowflake guide.
1. Stagger Stars Across a Tall Window
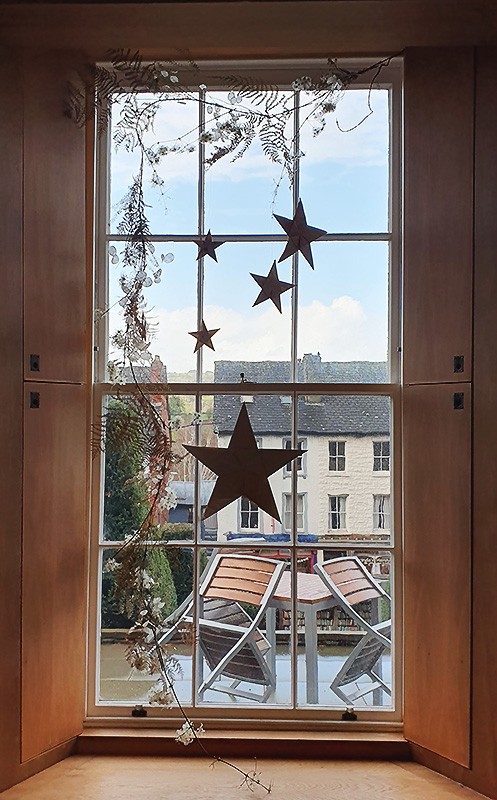
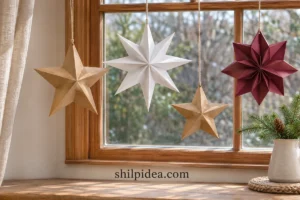
Different hanging lengths turn one window into a small constellation. Kate Kato’s display uses the height of the glass instead of crowding every star into a straight row. Plan the arrangement with paper shapes before adding thread, and leave room for handles and opening panels. Keep the lower stars above anything that might snag them when the window is used.
Get the tutorial: Stagger Stars Across a Tall Window by Kate Kato.
2. Use a Mirror as the Hanging Backdrop
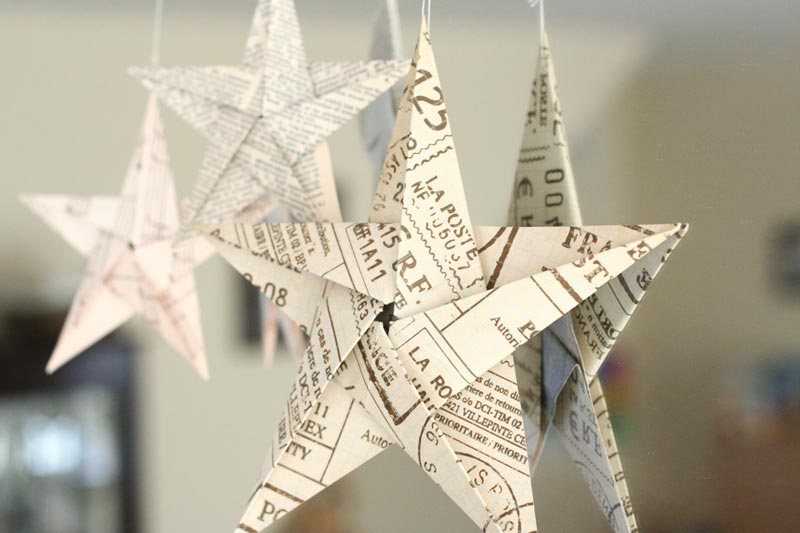
A mirror gives folded stars another setting when window space is limited. The reflection repeats their edges and makes a small arrangement feel fuller. Use a removable attachment appropriate for the frame rather than taping across a delicate finish. Keep the surrounding styling restrained: the folds and their reflections already create plenty of detail, especially with printed paper.
Get the tutorial: Use a Mirror as the Hanging Backdrop by Homemade Gifts Made Easy.
3. Mix Larger Stars with Small Companions
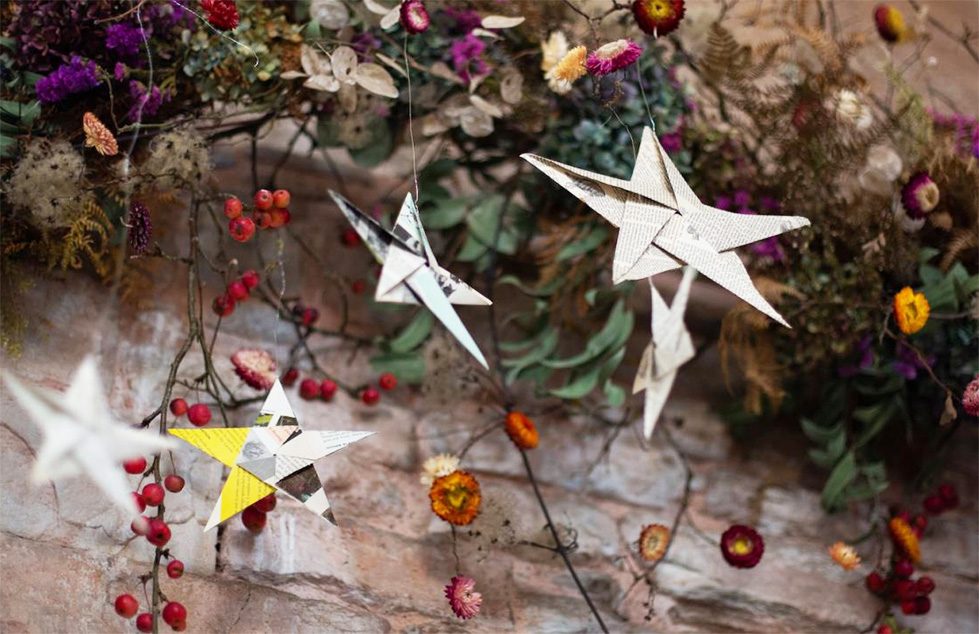
A grouping feels more natural when one or two larger stars anchor several smaller ones. In this hanging arrangement, the varied sizes help the paper shapes stay visible among nearby botanical details. Choose a main viewing angle, then spread the stars so their silhouettes remain separate. Our Scandinavian decor ideas offer quieter settings for a similar handmade display. In a broad pane, try placing the largest shape slightly off center so the smaller stars have room to lead the eye outward.
Get the tutorial: Mix Larger Stars with Small Companions by Kate Kato.
4. Give Printed Pages a Sculptural Fold
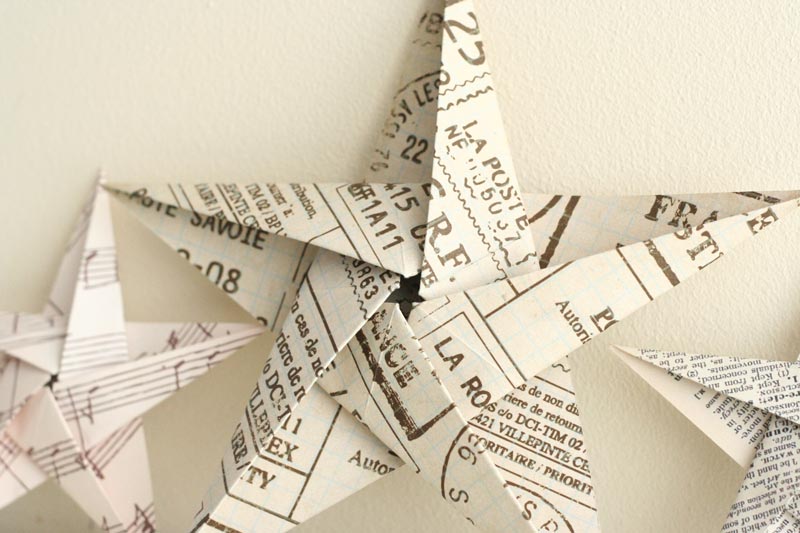
Printed words and music add texture without needing extra decoration on the finished star. The lettering changes direction across the creases, so the surface becomes part of the design. Use expendable printed copies or already damaged paper rather than cutting a valued book. Test the folding with one sheet first; brittle pages can split when several creases meet at a point.
Get the tutorial: Give Printed Pages a Sculptural Fold by Homemade Gifts Made Easy.
5. Warm the Display with Kraft Paper
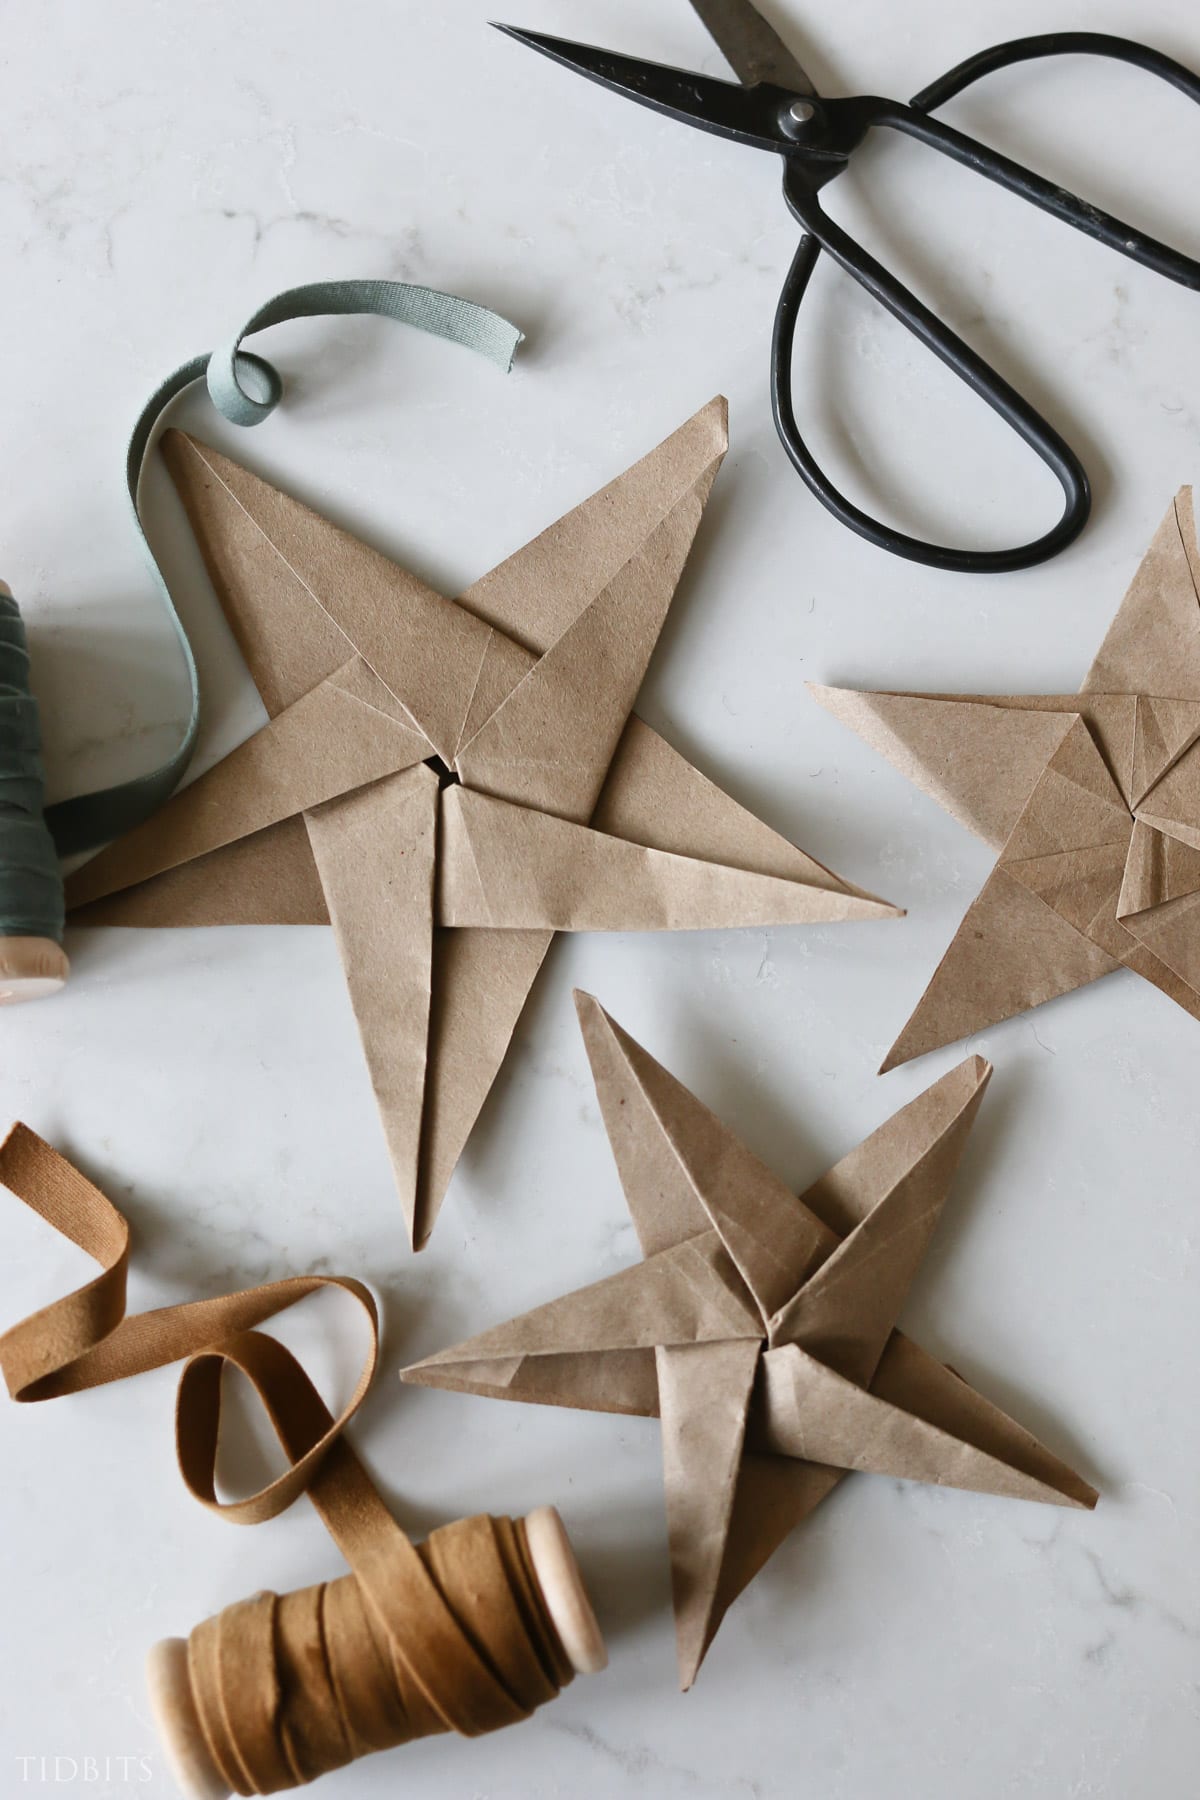
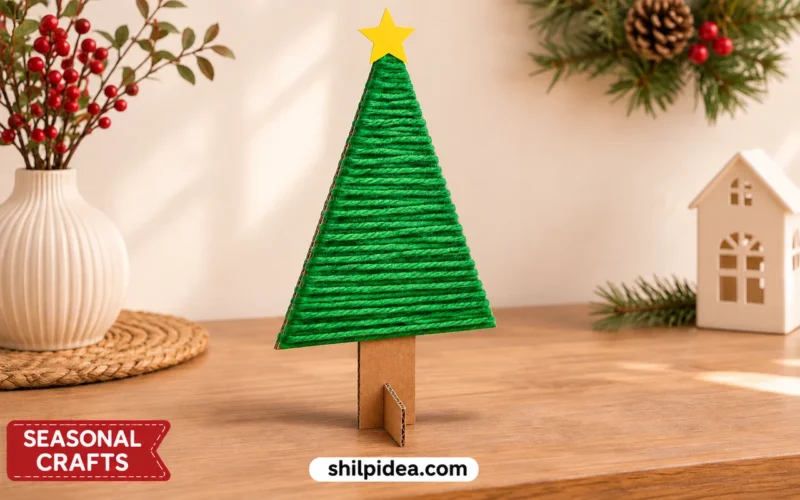
Brown paper gives five-point stars a softer, more rustic presence than glossy metallic sheets. The folds still need to be crisp, but the quiet surface makes the shadows easy to see. Choose flexible paper that bends cleanly and try a sample before preparing a whole batch. This finish sits comfortably beside the wood and cardboard in our mini tree guide.
Get the tutorial: Warm the Display with Kraft Paper by Cami at Tidbits.
6. Make the Hanging Loop Part of the Finish
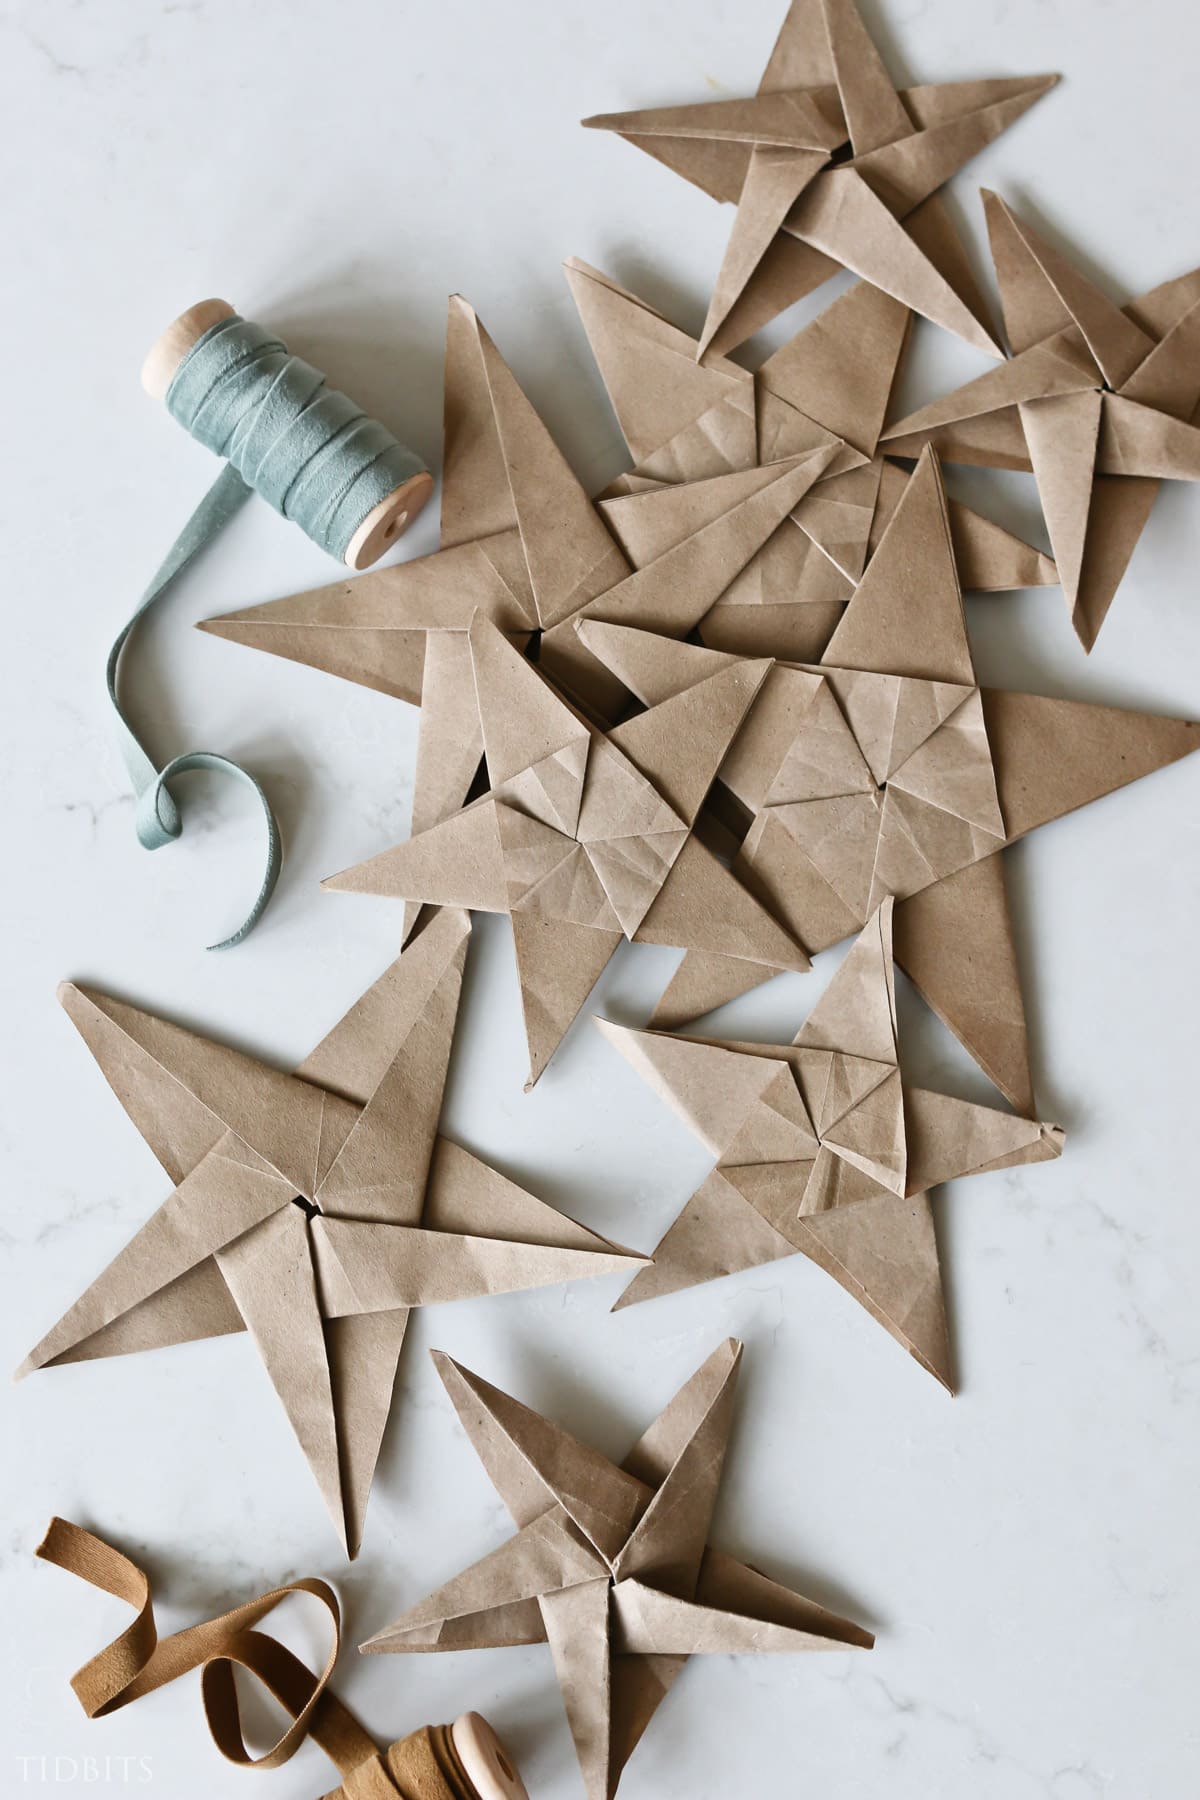
The loop deserves as much attention as the folded shape. Ribbon can feel decorative, while fine thread lets the star seem to float. Cami’s ornament examples show how hanging supplies can stay simple and soft. Match the attachment to the chosen folding method, test that it holds the finished weight, and avoid pulling tightly on a fragile paper tip.
Get the tutorial: Make the Hanging Loop Part of the Finish by Cami at Tidbits.
7. Try a Compass Star Inside a Geometric Border

A star within an octagonal outline gives a different effect from an open silhouette. The contrast between the central points and the surrounding folded border makes this model useful as a small hanging medallion. Paper Kawaii’s compass variation is a good reference when you want detail contained within one neat shape. Let the pattern stay readable by leaving space around each finished piece. View a sample against both daylight and the evening interior: opaque paper will read as a silhouette from one side and a colored surface from the other.
Get the tutorial: Try a Compass Star Inside a Geometric Border by Paper Kawaii.
8. Use an Eight-Point Tato as a Window Medallion

A tato is a folded paper pouch, and this version places an eight-point star on its face. Its outer edge stays compact, which can work well in a narrow window panel or a row of small suspended decorations. Follow the original model rather than treating it as a cutout. A contrasting paper reverse helps the central star stand out without adding loose glitter.
Get the tutorial: Use an Eight-Point Tato as a Window Medallion by Paper Kawaii.
9. Choose a Compass Rose with Strong Folded Rays

A compass rose has a sharper, directional rhythm than a simple five-point star. Its broad folded rays give light and shadow room to define the shape. Display one as a focal ornament or repeat a few at the same scale for a calmer arrangement. Leave the central folds visible; a large bow or label across the middle would hide the feature that makes this model interesting.
Get the tutorial: Choose a Compass Rose with Strong Folded Rays by Paper Kawaii.
10. Make an Augustar the Detailed Focal Piece

The Augustar designed by José Meeusen has a richly folded center that rewards a closer look. It suits a display where one intricate star can have its own space, rather than a dense cluster of tiny ornaments. Follow the credited tutorial carefully and choose a plain paper for your first attempt. The folds provide enough decoration without needing a busy print on top. Choose this kind of detailed folding for an adult craft session or an experienced folder; a quick party activity needs a simpler model and more forgiving paper.
Get the tutorial: Make an Augustar the Detailed Focal Piece by Paper Kawaii.
11. Add Volume with a Hexagonal Puffy Star

A puffy hexagonal model introduces depth when the rest of the display is mostly flat. Its raised faces catch light differently as the ornament turns. Keep some clear space behind it so the shape is easy to read from the side as well as the front. Set aside a shallow storage box afterward; pressing a dimensional star beneath other decorations can flatten its defining folds.
Get the tutorial: Add Volume with a Hexagonal Puffy Star by Paper Kawaii.
12. Leave the Center Open with a Modular Star

An open center gives a hanging star a lighter outline and lets the background remain part of the design. Salman Ebrahimi’s modular model, demonstrated by Paper Kawaii, is a useful reference for this effect. Keep the units consistent and follow the original joining method. For a nearby tabletop scene, our paper village guide provides a separate project with a compatible handmade feel. Check the appearance from the position where the display will actually be seen. An open center can disappear when another ornament hangs directly behind it.
Get the tutorial: Leave the Center Open with a Modular Star by Paper Kawaii.
13. Frame a Smaller Star Within the Main Shape

Ali Bahmani’s Star Within creates a second star-shaped detail inside the larger outline. This makes the model interesting even when you use only one paper color. Give it a clear backdrop so the inner form does not disappear into a patterned curtain. It is a good choice for a single suspended accent where viewers can notice the structure instead of just its color.
Get the tutorial: Frame a Smaller Star Within the Main Shape by Paper Kawaii.
14. Use a Star-Faced Pouch as a Small Hanging Accent

Philip Chapman-Bell’s White Star tato places a distinct five-point motif on a compact folded form. The example shows how the paper’s two faces can create the decoration through folding alone. Keep this as a lightweight accent and follow the original model’s instructions before deciding on a hanging attachment. A short row of these can complement larger stars without repeating their full silhouette.
Get the tutorial: Use a Star-Faced Pouch as a Small Hanging Accent by Paper Kawaii.
15. Create a Flat Two-Color Pinwheel Star

A symmetrical shuriken form offers a crisp, turning outline that looks different from a puffy ornament. Use it here as a decorative folded shape, with the two colors clearly separating its broad arms. Mount or hang a finished sample gently rather than forcing a hole through a thick joint. Keep the display out of reach of small children, especially when loose thread is involved. A flat paper star needs very little depth, so it can suit a shallow display space where a larger dimensional ornament would touch the glass.
Get the tutorial: Create a Flat Two-Color Pinwheel Star by Paper Kawaii.
16. Add a Small Four-Point Metallic Accent

A four-point folded star gives a collection a simpler silhouette between more elaborate models. The gold examples make the edges stand out without extra embellishment. Fold one in the paper you plan to use before committing to a full set, since a metallic surface can reveal every misplaced crease. Repeat a few modest accents instead of making every star compete as the main feature.
Get the tutorial: Add a Small Four-Point Metallic Accent by Paper Kawaii.
17. Choose a Reversible Five-Point Model

A star that looks finished on both sides is useful where it may rotate, especially in the center of a room or beside an opening window. Paper Kawaii’s one-sheet model offers this different folding approach. Follow its tutorial instead of assuming all five-point stars use the same construction. Leave enough clearance between neighboring ornaments that the points can turn without catching.
Get the tutorial: Choose a Reversible Five-Point Model by Paper Kawaii.
18. Run a Short Star Garland Across a Wall

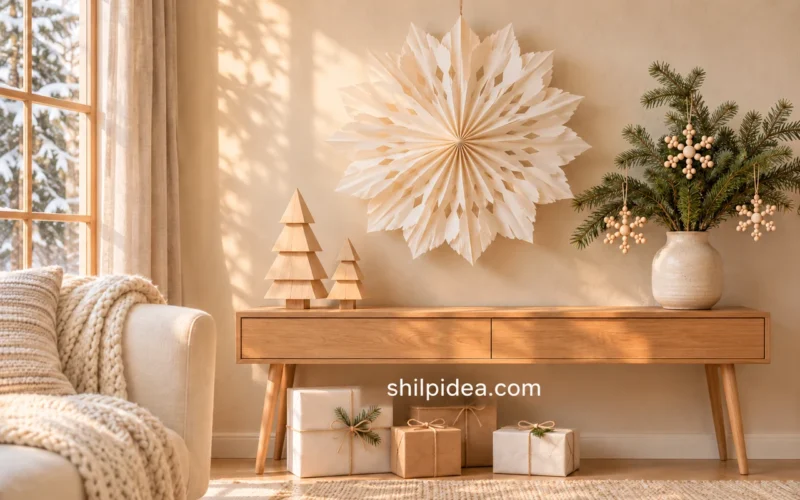
A short horizontal arrangement works when a window needs to remain clear. Design & Paper’s grouping shows how several dimensional stars can form a clean line against a pale wall. Mix a few compatible paper finishes, including patterned or marbled sheets, while keeping the sizes controlled. Coordinate the nearby greenery with our Christmas wreath ideas rather than adding more shapes to the same garland.
Get the tutorial: Run a Short Star Garland Across a Wall by Design & Paper.
19. Save a Sculpted Puff Star for a Special Spot

Philip Chapman-Bell’s Puff Star adds an inflated central form within a pointed outline. Paper Kawaii rates this as an advanced model, so allow time for a practice version before using a favorite sheet. It can become the single detailed accent in a quieter hanging arrangement. Avoid flattening the center when adding a loop, and store the finished piece where its depth is protected. Check both the front and side views before hanging it permanently. The raised center is the point of this design, and a cramped position can hide that detail.
Get the tutorial: Save a Sculpted Puff Star for a Special Spot by Paper Kawaii.
Bring Your Paper Stars into a Simple Christmas Display
Choose the place before choosing the model: a rotating hanging ornament needs a finished reverse, while a wall accent can emphasize its front. Keep paper away from candles, heaters and damp glass, and leave window handles accessible. These projects offer a few complementary ways to build a handmade Christmas scene without crowding every surface.
- Scandinavian Decorations with Paper and Wood
- Paper Bag Snowflakes for Christmas Displays
- A Mini Yarn and Cardboard Tree
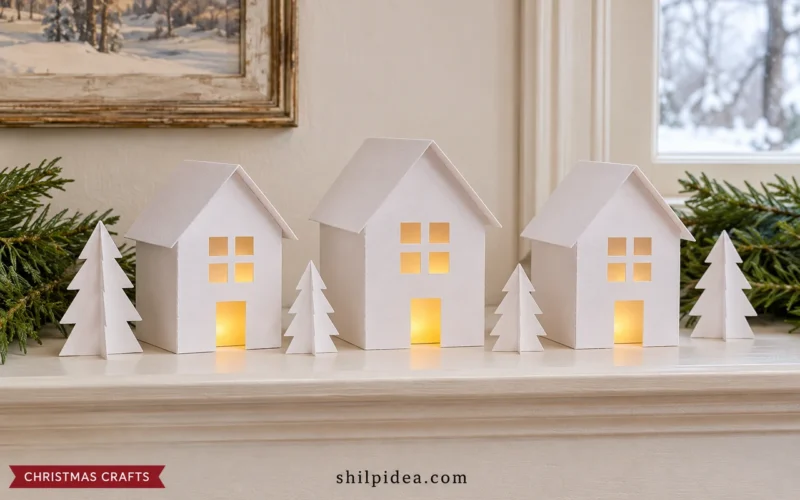
- A Paper Village for Your Mantel
- Christmas Wreaths for a Welcoming Door
Where would you hang your paper stars this Christmas? Tell us about the shapes, papers or display you have in mind in the comments. If you have folded a favorite model before, your paper choice or hanging tip could help another reader get started.















0 Comments