How to Press and Seal Fall Leaves for Long-Lasting Table Decor
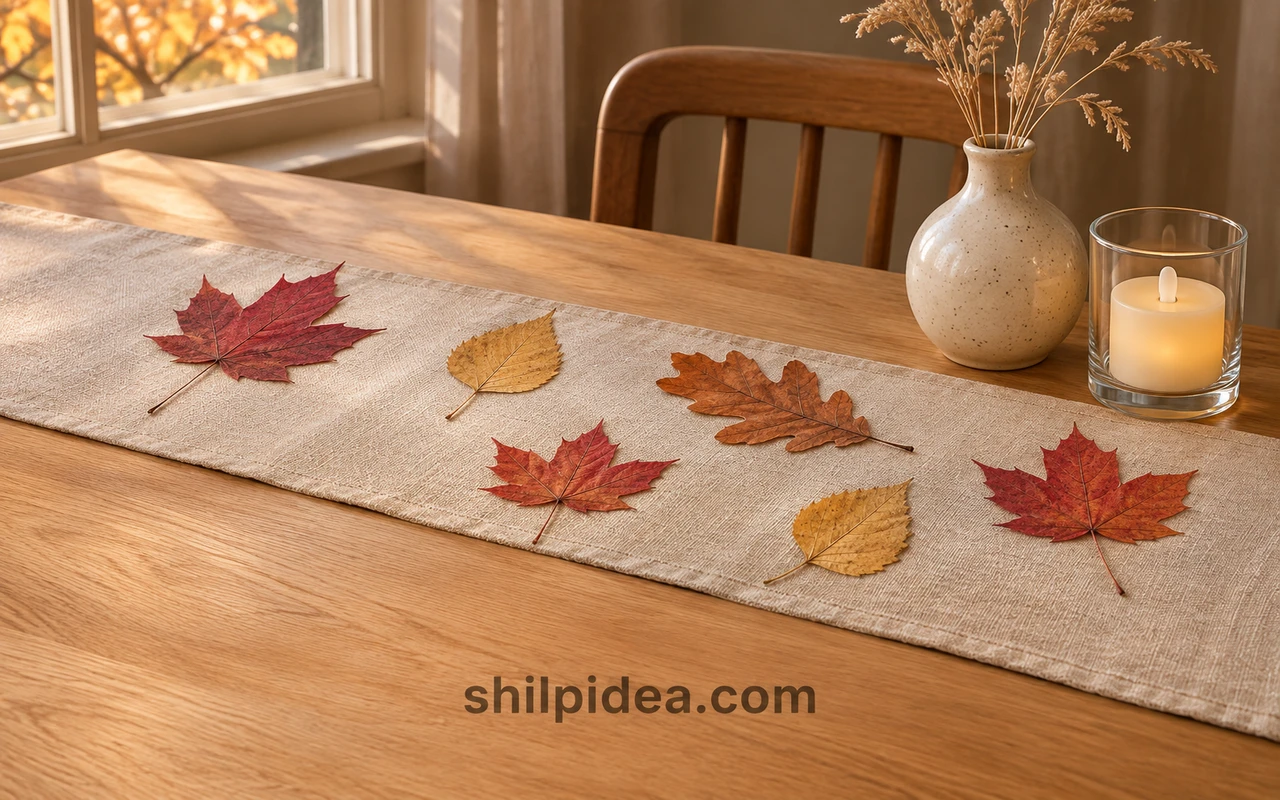
A few flat fall leaves can bring natural color to a Thanksgiving table without a large centerpiece. This researched method combines a simple paper-and-cardboard press with thin brush-on sealer coats. The leaves remain delicate, and their colors may change over time.
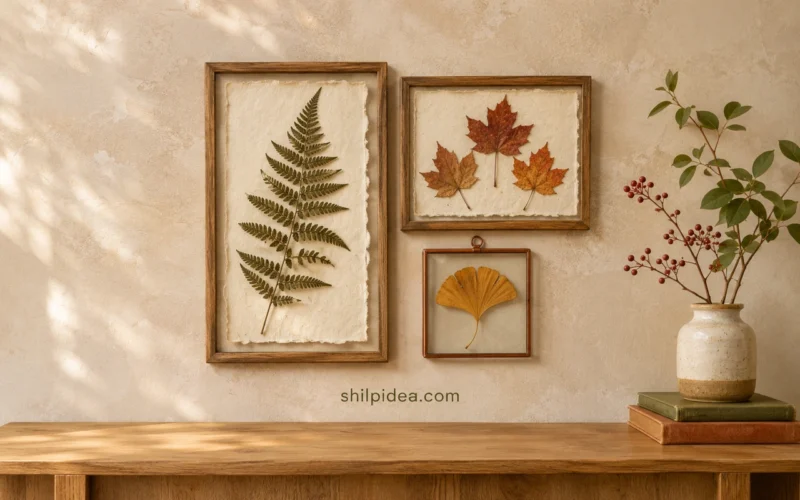
Start with small, intact leaves and absorbent paper; our pressed leaf art collection offers more display inspiration.
Use the finished leaves as dry decorative accents beside a recipe card stand, allowing plenty of time for pressing and drying.
Materials and Tools
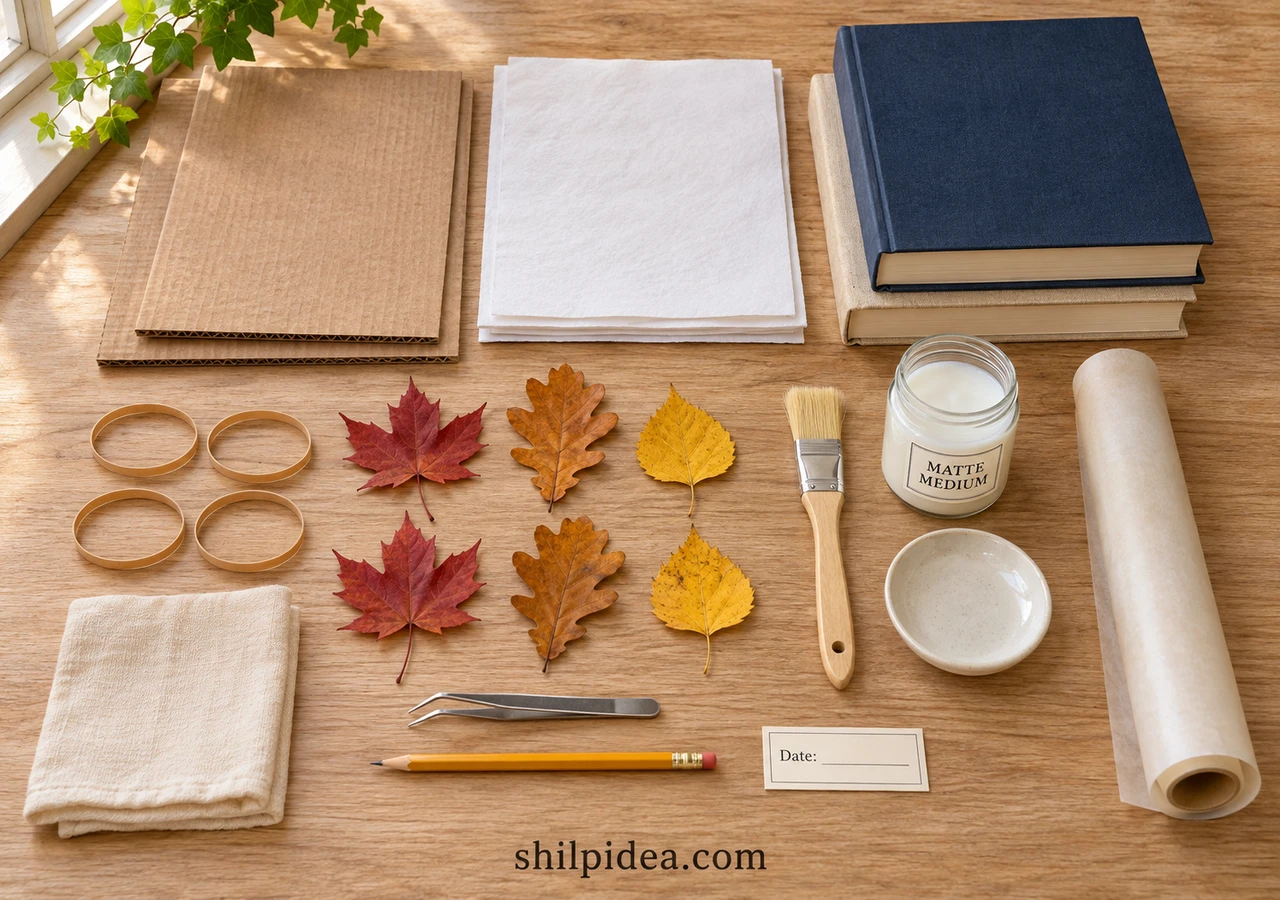
Gather these supplies for a small batch of flat decorative leaves.
- Fall leaves – Choose 6–8 thin, intact leaves about 2–4 inches (5–10 cm) long; maple, oak, or birch shapes make a varied small batch.
- Cardboard – Cut two stiff corrugated pieces to about 9 by 12 inches (23 by 30 cm).
- Absorbent paper – Prepare about 16 matching sheets of plain, uncoated blotting paper, plus dry replacements; do not use parchment for pressing.
- Bands and weights – Use four wide rubber bands and two heavy, flat books large enough to cover the press.
- Matte sealer – Use a water-based decoupage medium such as Mod Podge Matte; follow its label and test one spare leaf first.
- Brush and dish – Use a soft, roughly 1-inch (2.5 cm) brush and a small washable dish for a little medium.
- Nonstick work surface – Use baking parchment for coating and drying only, with a protected table underneath.
- Small tools – Keep a dry soft cloth, tweezers, pencil, and a small date label nearby.
Precautions Before You Begin
Use a gentle, dry process and plan for the waiting time.
- Collect only leaves you can identify and have permission to take. Avoid irritating plants, mold, insect damage, and leaves wet with rain or dew.
- Keep the press indoors in a dry place. Do not seal damp leaves or try to hurry this method with an oven, microwave, or iron.
- Use the finished leaves as decorations, away from food-contact surfaces, splashes, hot dishes, and real candles; choose battery-operated LED lights.
- Follow the sealer label. Touch-dry is not fully cured; avoid heavy handling and water while the finish cures.
1. Choose and Clean Thin Leaves
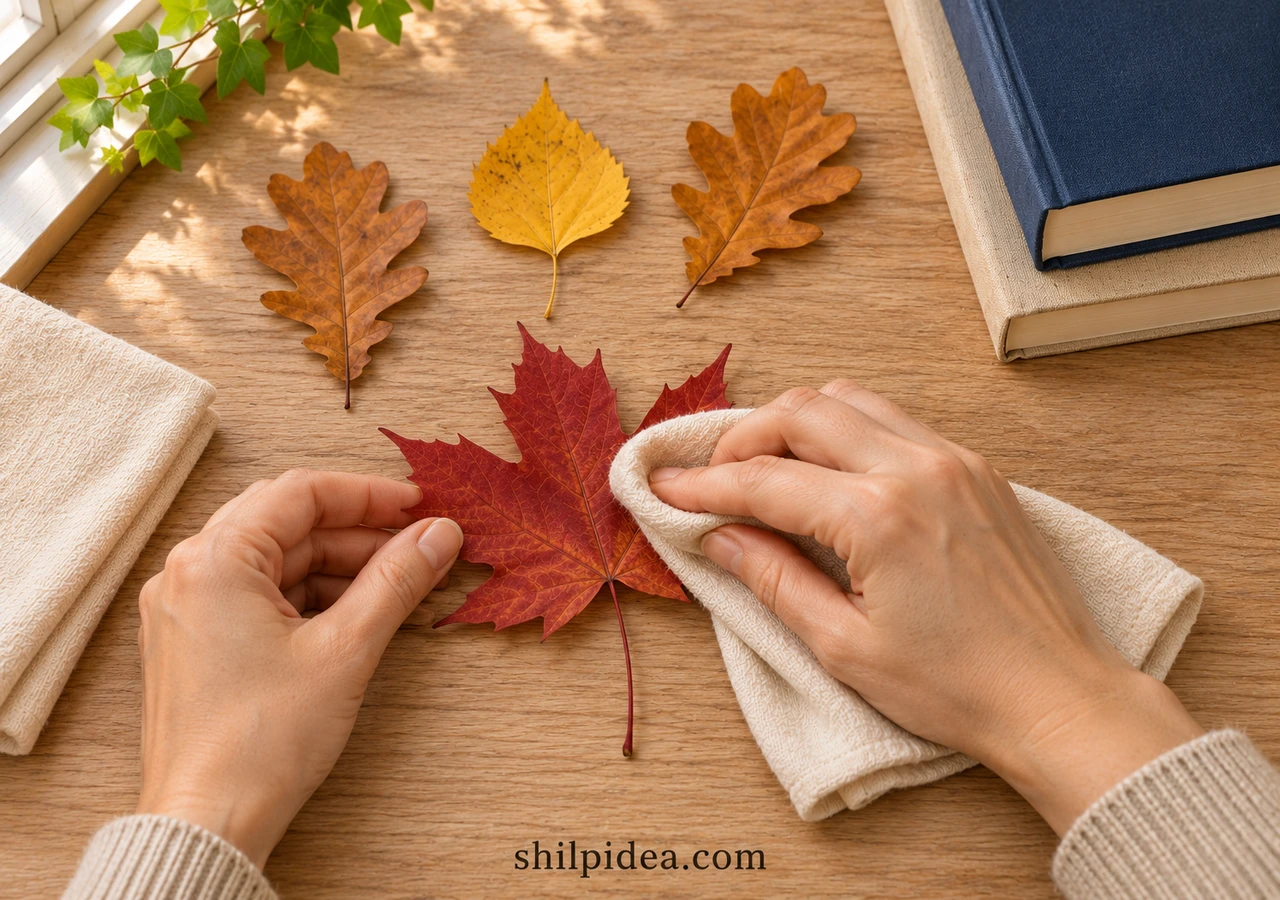
- Select a small batch – Pick thin leaves that still lie reasonably flat and have intact edges. Set aside curled, thick, crumbling, or damaged specimens rather than trying to repair them with sealer.
- Remove surface dirt – Brush each leaf gently with a dry cloth. If any surface moisture remains, let it air-dry before pressing; avoid soaking the leaves or rubbing hard enough to tear the veins.
2. Arrange Leaves Between Absorbent Sheets
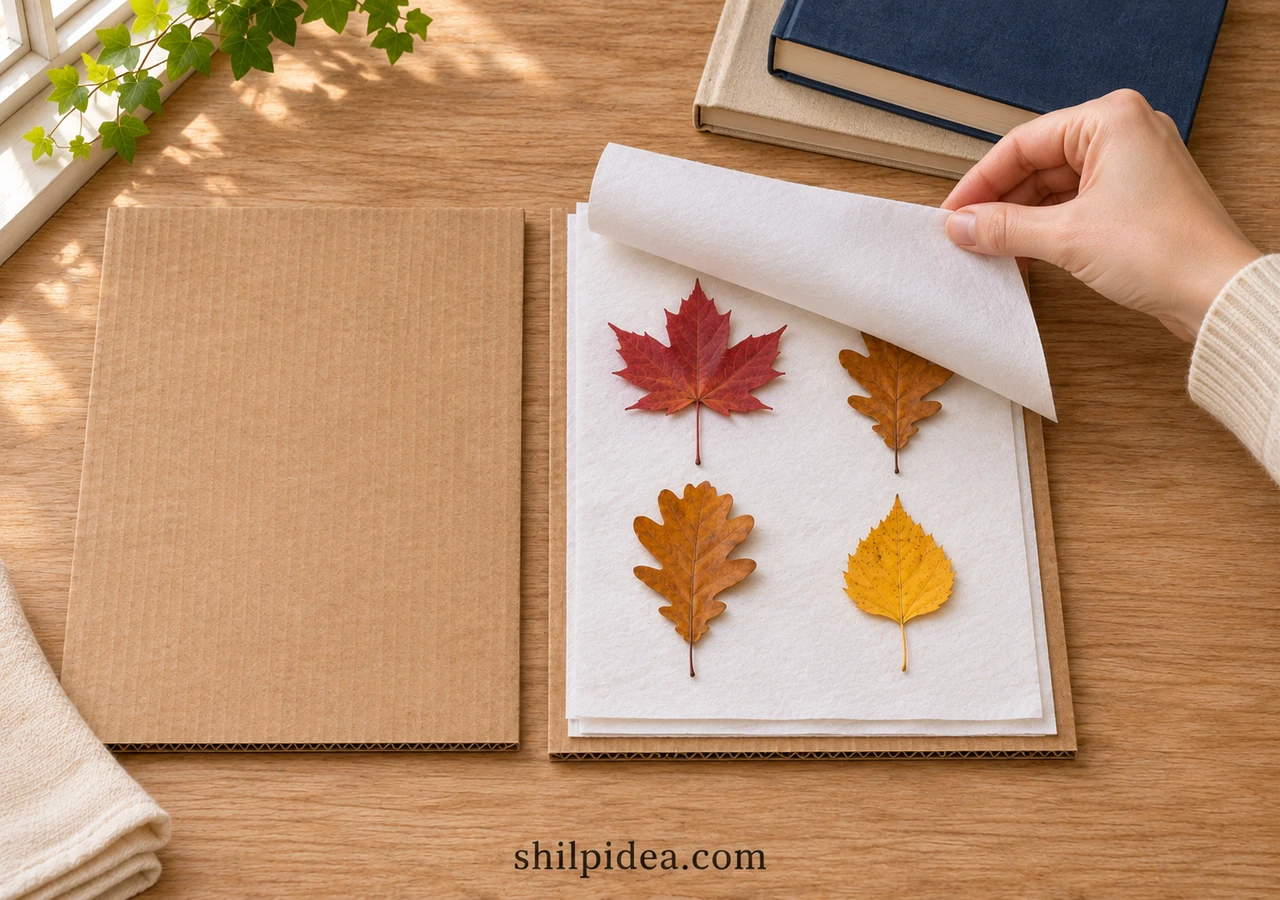
- Make the first layer – Place several sheets of blotting paper on one cardboard panel. Arrange a few leaves in a single layer, leaving space between them and straightening the stems without forcing brittle edges.
- Cover without overlapping – Add several more absorbent sheets, keeping every leaf flat. Make a second paper-and-leaf layer if needed, then finish with more paper and the second cardboard panel on top.
3. Weight the Press and Give It Time
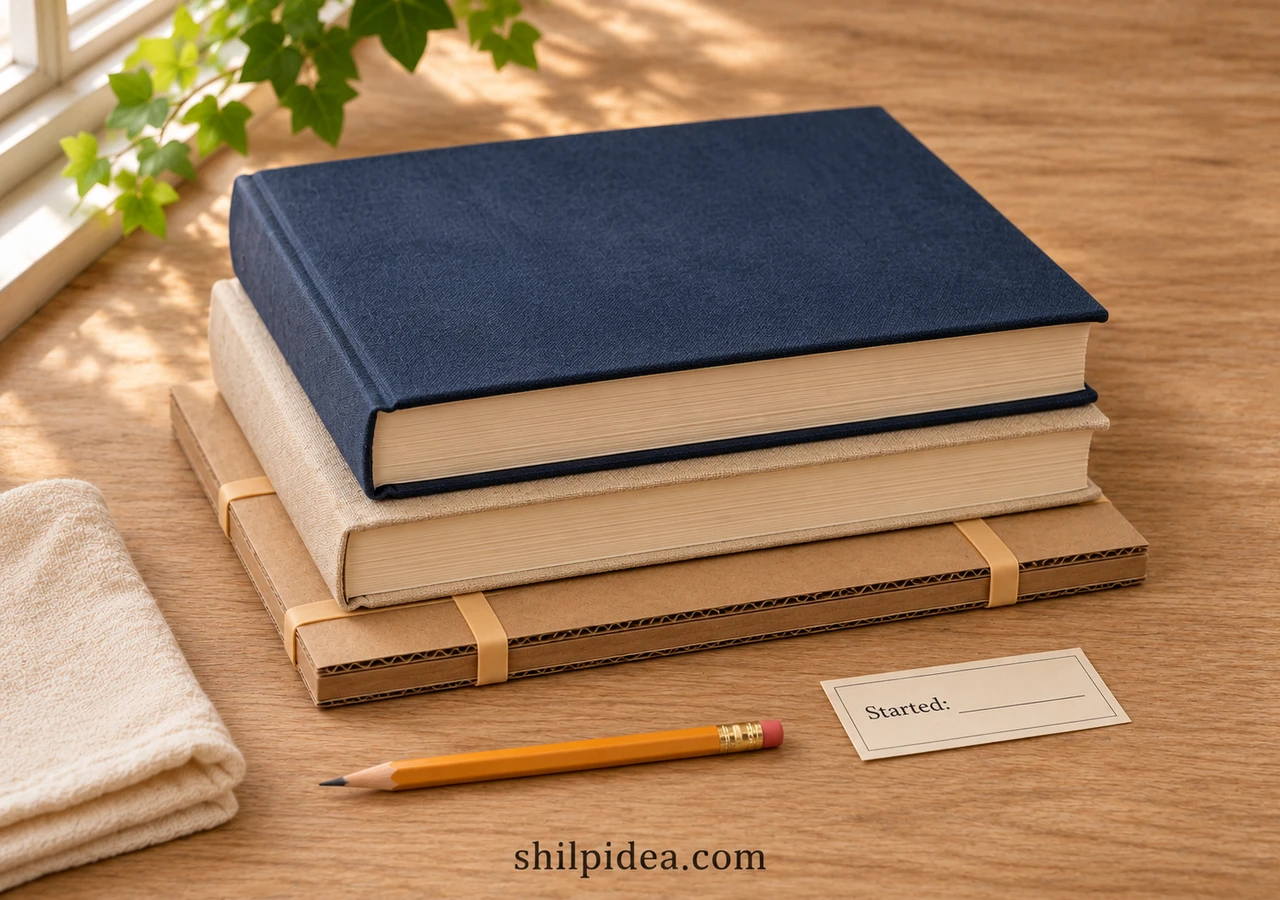
- Hold the stack together – Slip two rubber bands around each direction of the cardboard sandwich. Keep the bands outside the leaf areas, then place the press on a level, dry indoor surface.
- Add even weight – Set the closed books flat on top so pressure covers the whole press. Add a date label nearby and leave the stack somewhere it will not be disturbed by daily activity.
- Allow enough drying time – Start checking after at least two weeks. Thin leaves may dry sooner than thicker ones, but use dryness rather than a fixed date to decide; damp specimens need additional days in the press.
The University of New Hampshire Extension plant-press activity recommends at least two weeks before checking. The RHS pressing guide also emphasizes removing moisture; thicker specimens can take longer.
4. Check That the Leaves Are Fully Dry
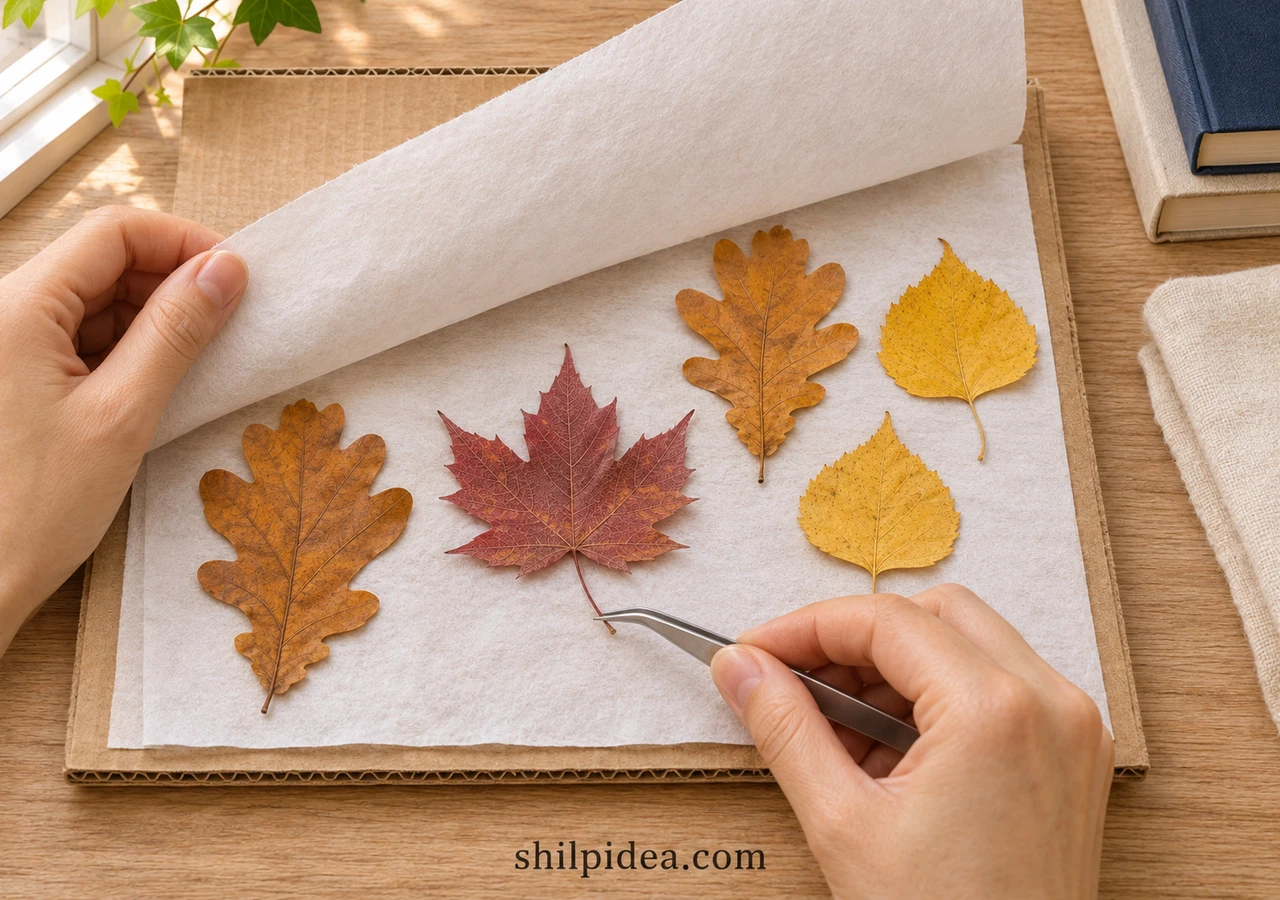
- Open the press carefully – Remove the books and bands, then peel back the paper slowly. Lift a leaf by its stem with tweezers, supporting the blade instead of pulling on a fragile tip.
- Re-press any damp leaves – The paper and leaves should be dry, with no damp patches. If moisture remains, replace the absorbent sheets and return the leaves to the weighted press. Do not coat them yet.
5. Brush Thin Coats on Both Sides
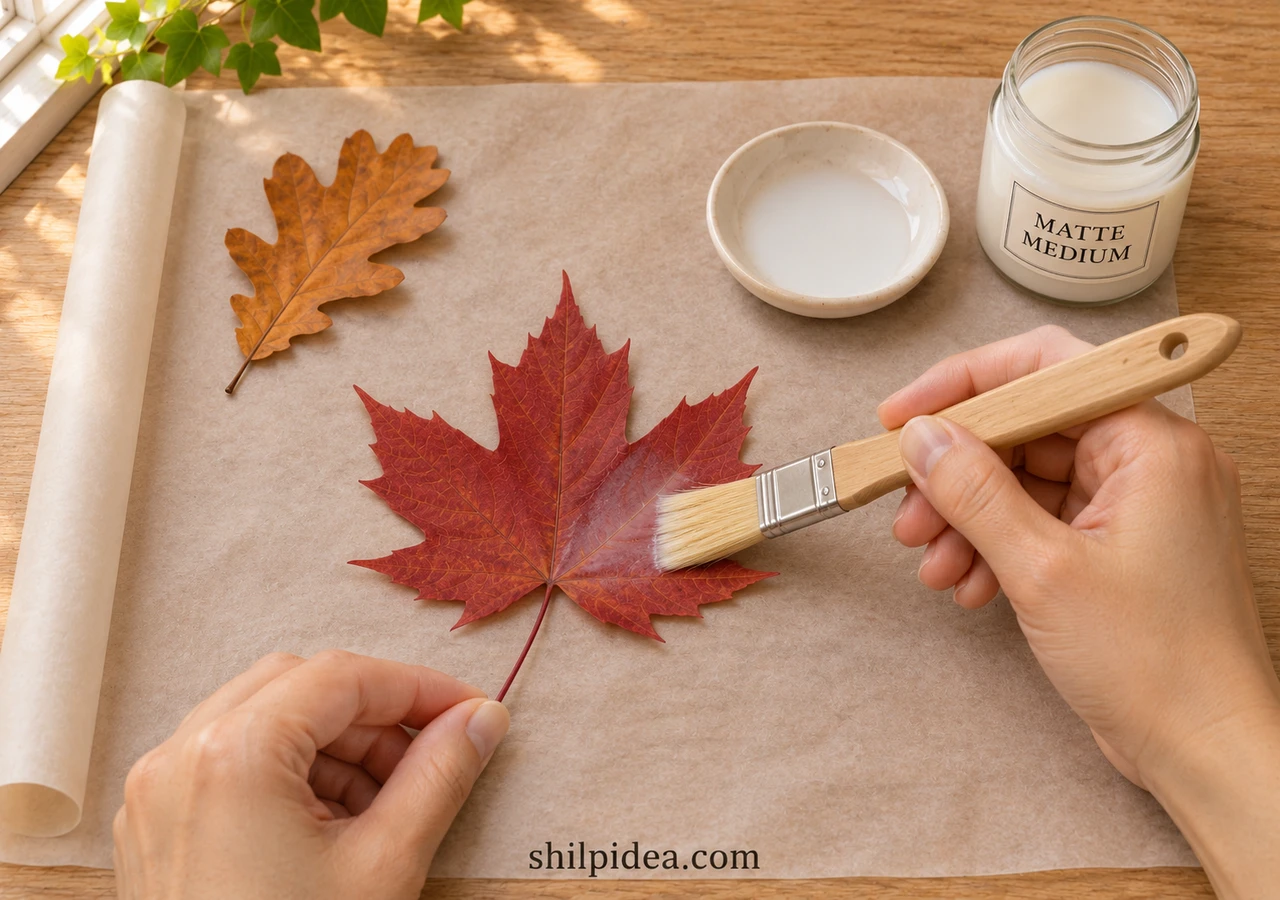
- Test one leaf – Protect the table with parchment and test a spare dry leaf with a small amount of medium. Let it dry before treating the rest; reject a finish that causes unwanted color changes or sticking.
- Coat the first face – Support a leaf flat on the parchment. Brush a very thin, even layer from the center toward the edges, including the edge line, without repeatedly scrubbing the same fragile area.
- Turn only when dry – Wait until the first face is clear, fully dry, and no longer tacky before lifting it. Turn the leaf onto clean parchment, coat the reverse and edges lightly, and let that side dry.
- Handle the finish gently – Follow the product label for extra coats and drying intervals. Give the completed leaves at least 24 hours of gentle drying before light handling; leave them longer if any coating feels sticky.
Drying, Curing, and a Clear Finish
Plaid explains that Mod Podge may become touch-dry in roughly 15–20 minutes, but full curing takes approximately 28 days. Humidity and coat thickness change the timing, so do not flip or stack a leaf simply because a timer has elapsed. Keep gently displayed leaves dry and avoid heavy handling during this period; wait for full curing before boxing them together.
See Plaid’s drying and curing guidance. Sealing does not make the leaves waterproof or permanently colorfast. If a coat remains milky or sticky, allow more drying time rather than adding another thick layer. The manufacturer also explains the finish’s water-resistance limits.
6. Finish a Simple Indoor Table Arrangement
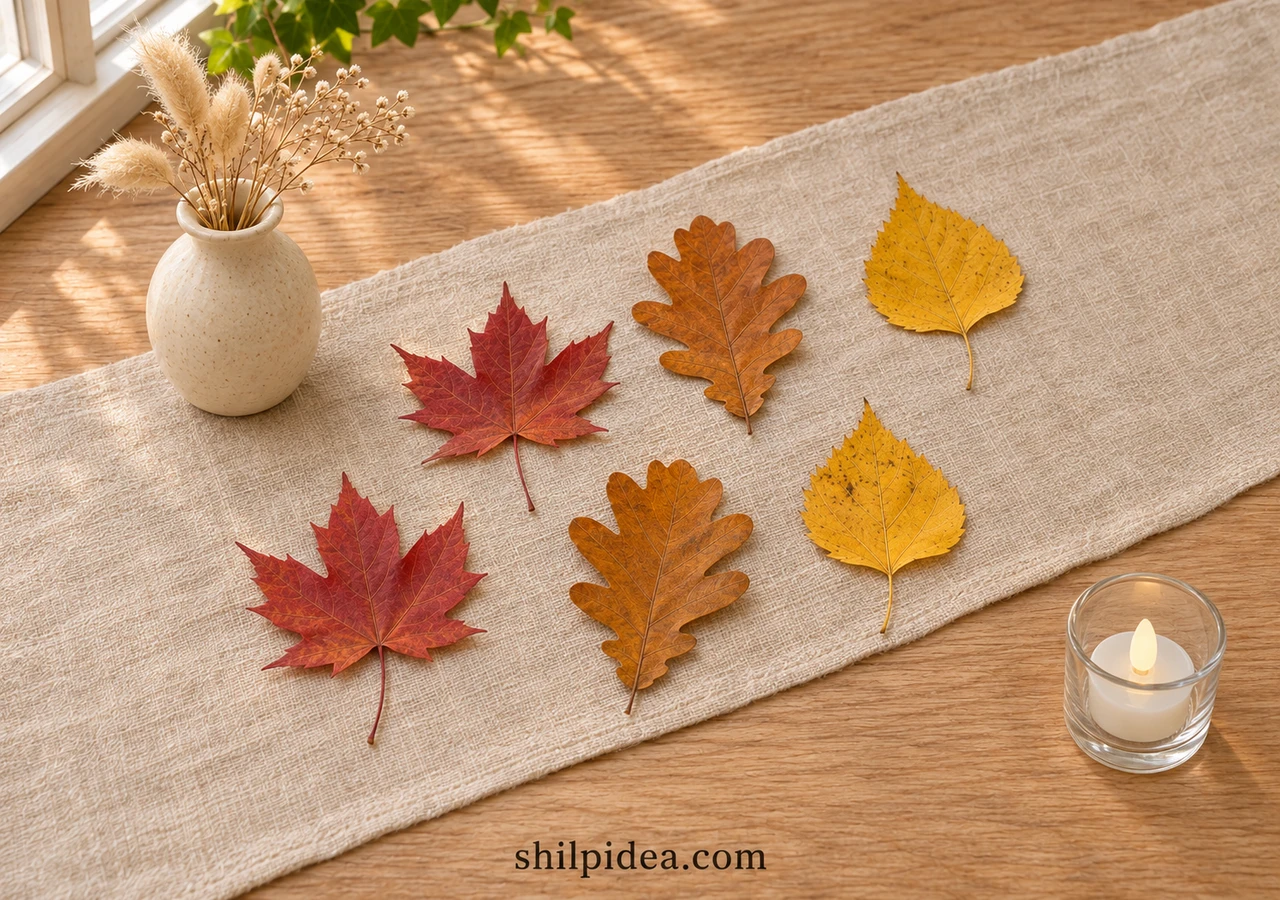
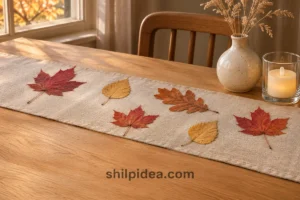
- Arrange a few accents – Place dry leaves loosely along a clean, dry runner, leaving room for dishes and family memory cards. Keep them separate from food and use an LED candle if you want a glow.
- Store after curing – Once the finish has fully cured, lay the leaves flat between clean sheets of paper in a shallow box. Keep the box cool, dry, and out of direct sunlight; handle the leaves by their stems.
Complete the table with buffet label ideas or kids’ activity placemats, keeping the preserved leaves in their own decorative area.
More Natural Details for Your Fall Table
A small amount of preserved foliage can connect the whole table without taking over the setting. Repeat one or two leaf shapes, leave the serving space clear, and let plain linens or ceramics provide the background. If you collect more leaves than you need, keep the extras flat for another decorative project after the sealer has fully cured.
- Pressed Leaves for Simple Botanical Walls
- A Thanksgiving Recipe Card Stand
- Family Memory Cards for Thanksgiving
- Friendsgiving Labels for Your Buffet
- Thanksgiving Gift Packaging and Tags
- Thanksgiving Activity Placemats for Kids
Where would you use your pressed leaves—a dinner table, entryway, or gift display? Leave your plans in the comments. If you have tried a similar method, share what worked for your leaves and climate.






























0 Comments