How to Turn Fabric Samples into a Framed Wall-Art Set
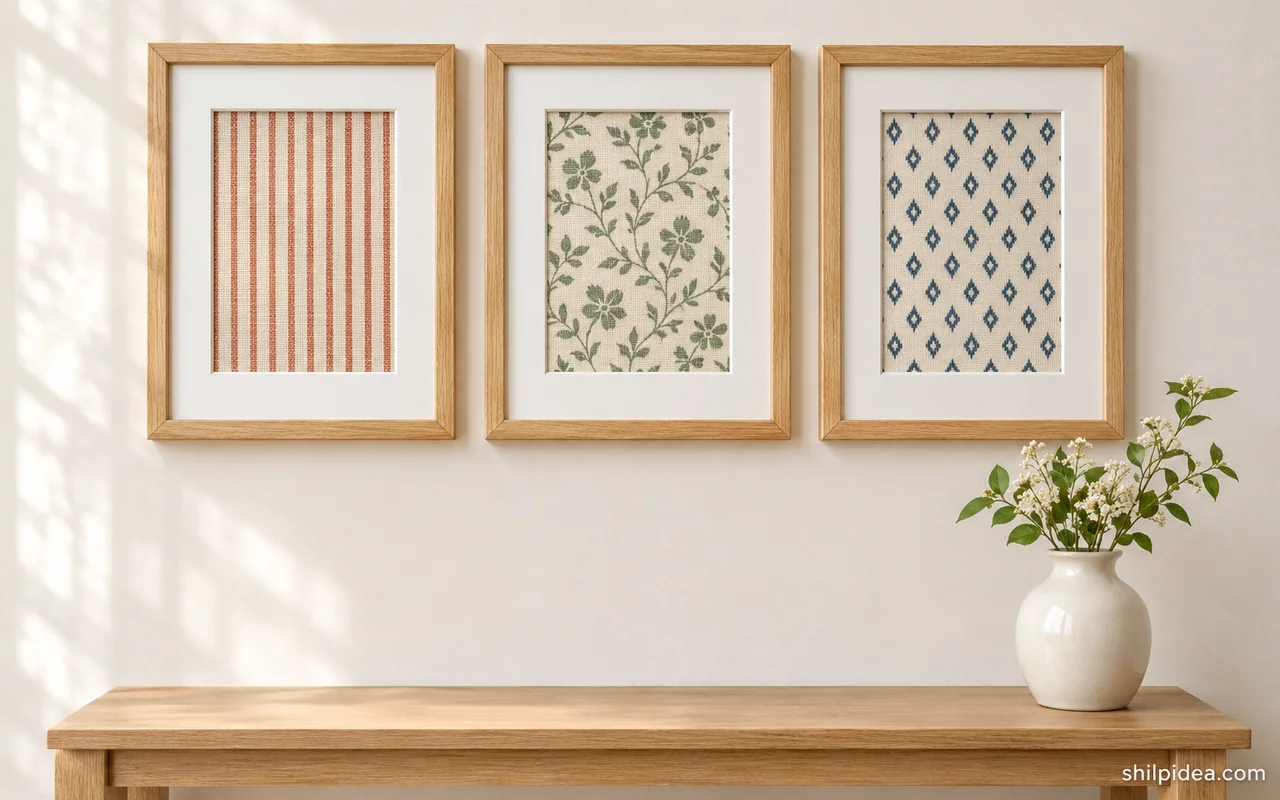
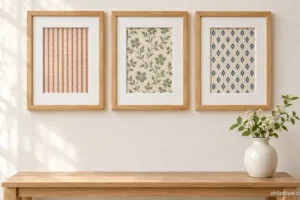
A few fabric samples can become a framed wall-art set for a hallway, bedroom, or blank stretch above a console. The mat gives each small print room to stand on its own.
Use three matching frames, white mats, and a shared color to pull the fabrics together. The same idea works alongside other personal wall decor made from things you already own.
This guide covers choosing, pressing, and mounting the swatches. When the frames are ready, use paper frame templates to test the spacing on the wall.
Materials and Tools
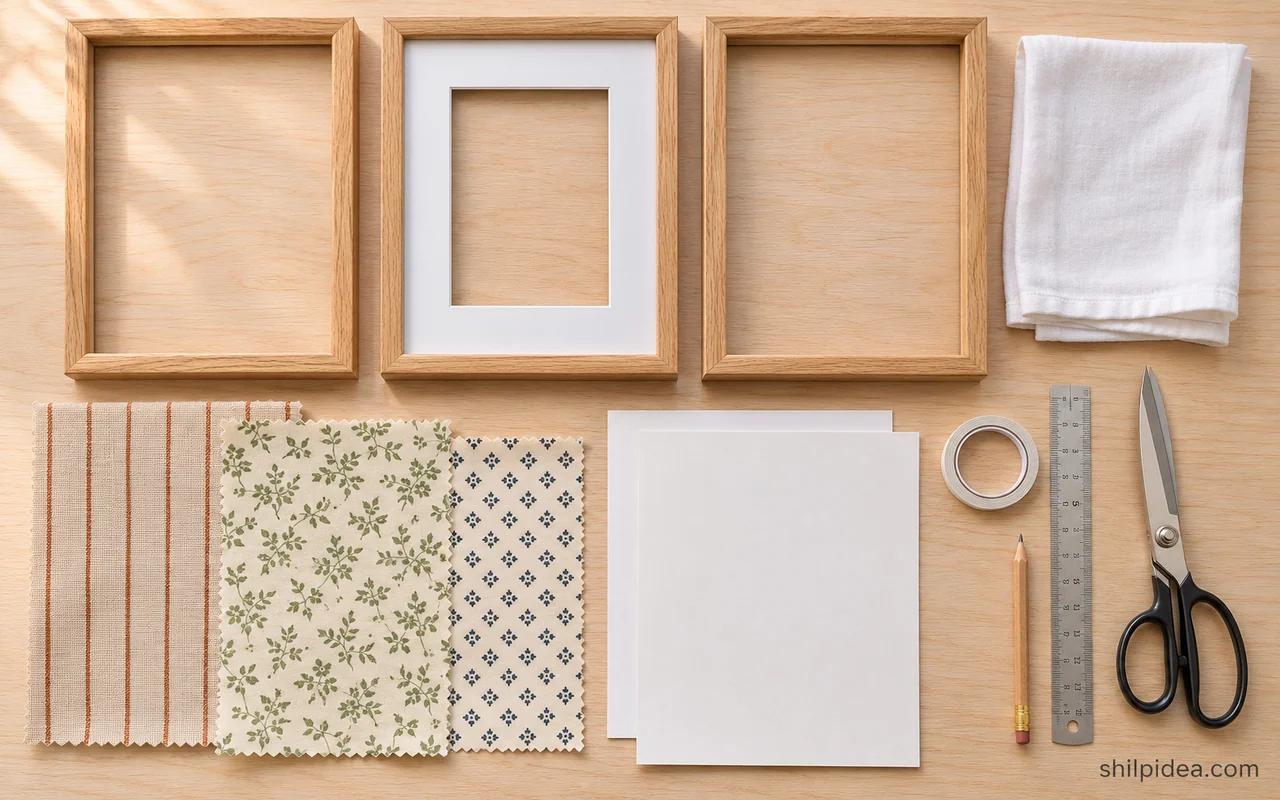
Gather three lightweight swatches and measure the actual mat openings before cutting.
- Three fabric samples – Choose thin, flat cotton or linen pieces at least 6½ × 8½ inches for the example below.
- Three matching frames with mats – Use 8 × 10-inch frames with nominal 5 × 7-inch openings and enough depth for the mounted fabric.
- Three acid-free mounting boards – Cut each to 5½ × 7½ inches for the example, or ½ inch larger than the actual opening on all four sides.
- Archival single-sided tape – Use narrow strips to hold the folded fabric edges on the back of each board.
- Ruler, pencil, and fabric shears – Use a ruler and light pencil marks on the fabric back to square the cut.
- Iron, ironing board, and cotton pressing cloth – Use a clean, plain cloth and settings appropriate for the swatches.
Precautions Before You Begin
Check the fabric, frame depth, and hanging hardware before starting.
- Check care instructions and test heat on an offcut. Leave unknown or heat-sensitive fabric unpressed if it reacts poorly.
- Lay the glazing on a clean, stable surface and handle glass by its edges.
- Use tape only for ordinary craft swatches. Ask a textile framer about mounting an heirloom or fragile fabric.
- Choose wall fasteners rated for the finished frame’s weight and suited to the wall material.
1. Choose and Preview the Fabrics
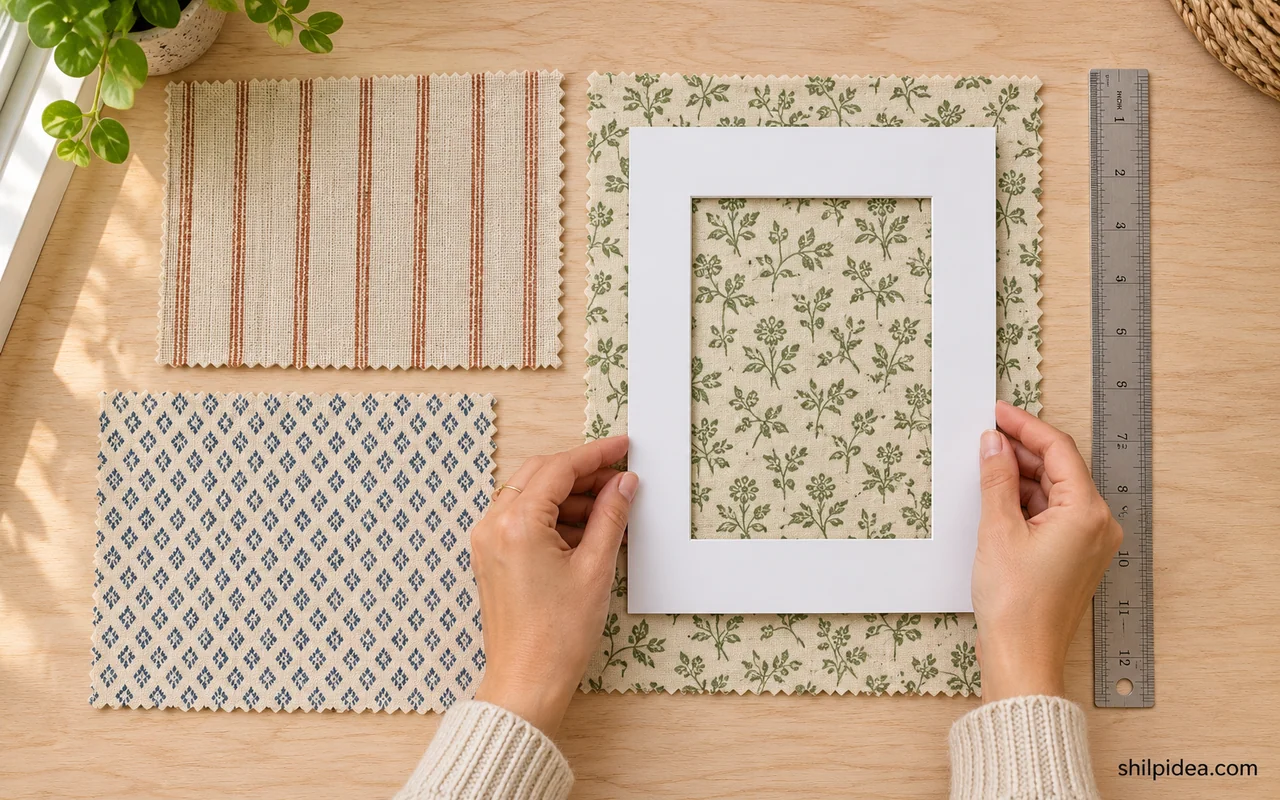
- Pick a shared color. Lay the swatches together. Start with one print you want to feature and pull a color from it into the other two. Mix a small pattern with a stripe or a solid so each frame reads clearly.
- Find the crop. Slide a mat over each swatch and look at it from a few feet away. Mark the direction on the back outside the visible area, especially if stripes need to run the same way across the set.
2. Press the Swatches Flat
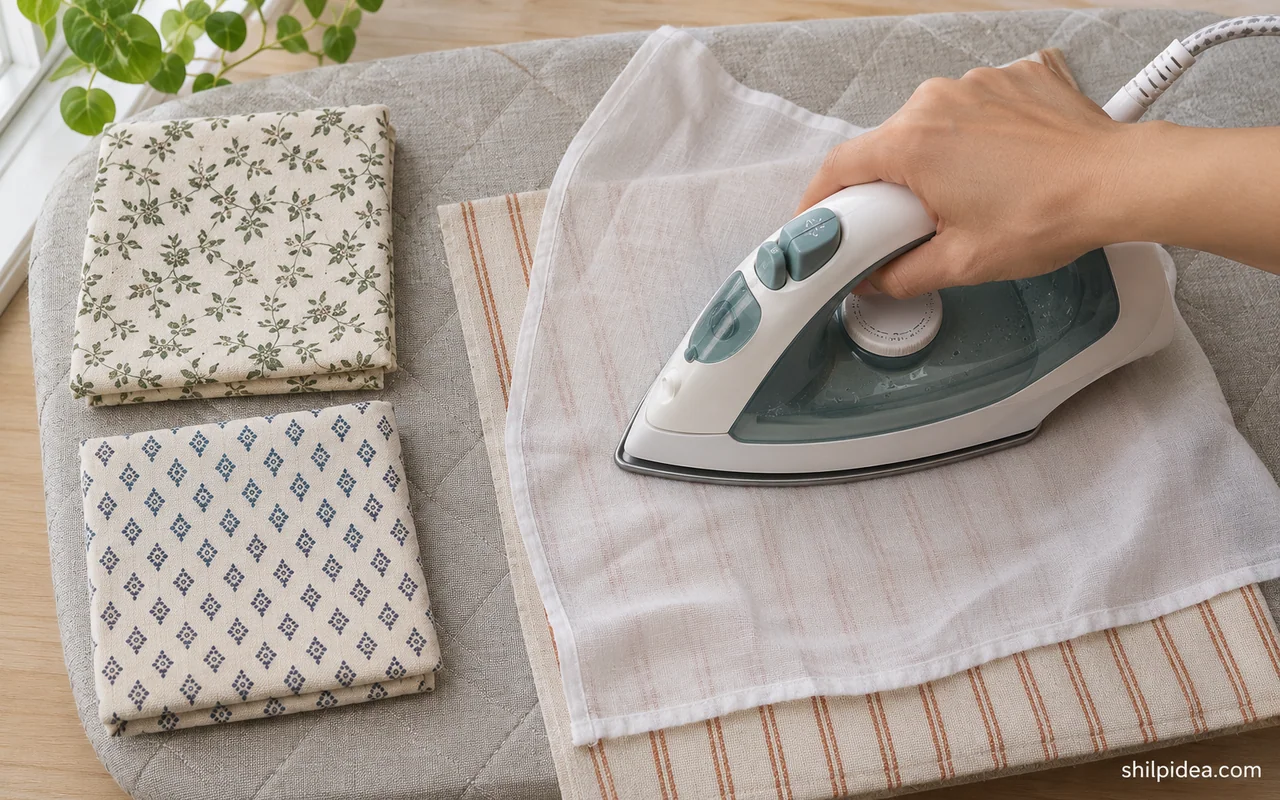
- Test the heat setting. Follow the care label and your iron’s instructions. Rowenta’s ironing guidance also explains how to handle mixed fibers. Start with the lowest suitable heat and test an offcut or hidden corner under a clean cotton pressing cloth.
- Smooth and cool. Press the swatch on an ironing board, then lay it flat until cool. Lift and set the iron down on the pressing cloth rather than tugging at the fabric as you work.
3. Measure the Opening and Cut
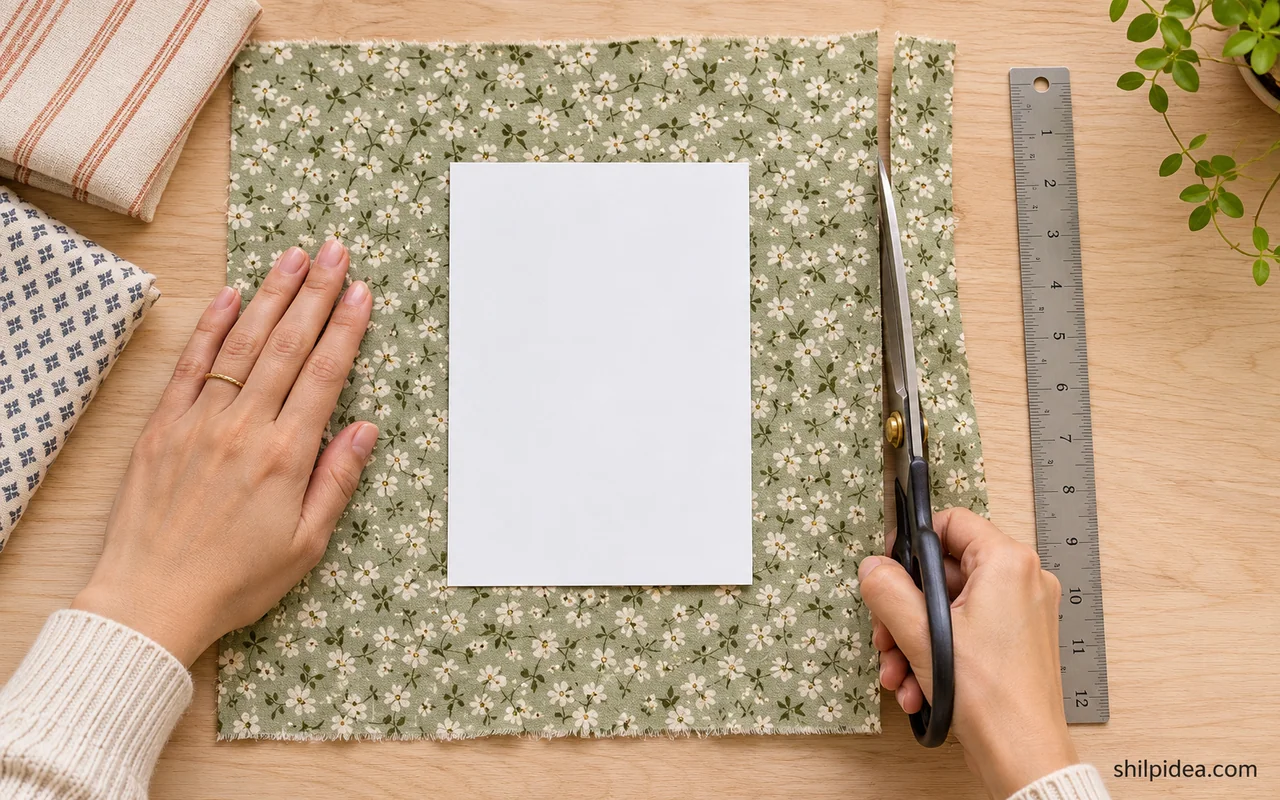
- Measure the actual window. Measure the inside of the mat. Add 1 inch to both measurements for the board and another 1 inch to both for the fabric. For a true 4½ × 6½-inch opening, that makes a 5½ × 7½-inch board and a 6½ × 8½-inch swatch.
- Cut around the chosen motif. Center the design within those marks, leaving about ½ inch of fabric to wrap behind each edge of the board. Cut with fabric shears. Place the mat over the cut swatch to confirm the crop.
4. Wrap and Mount the Fabric
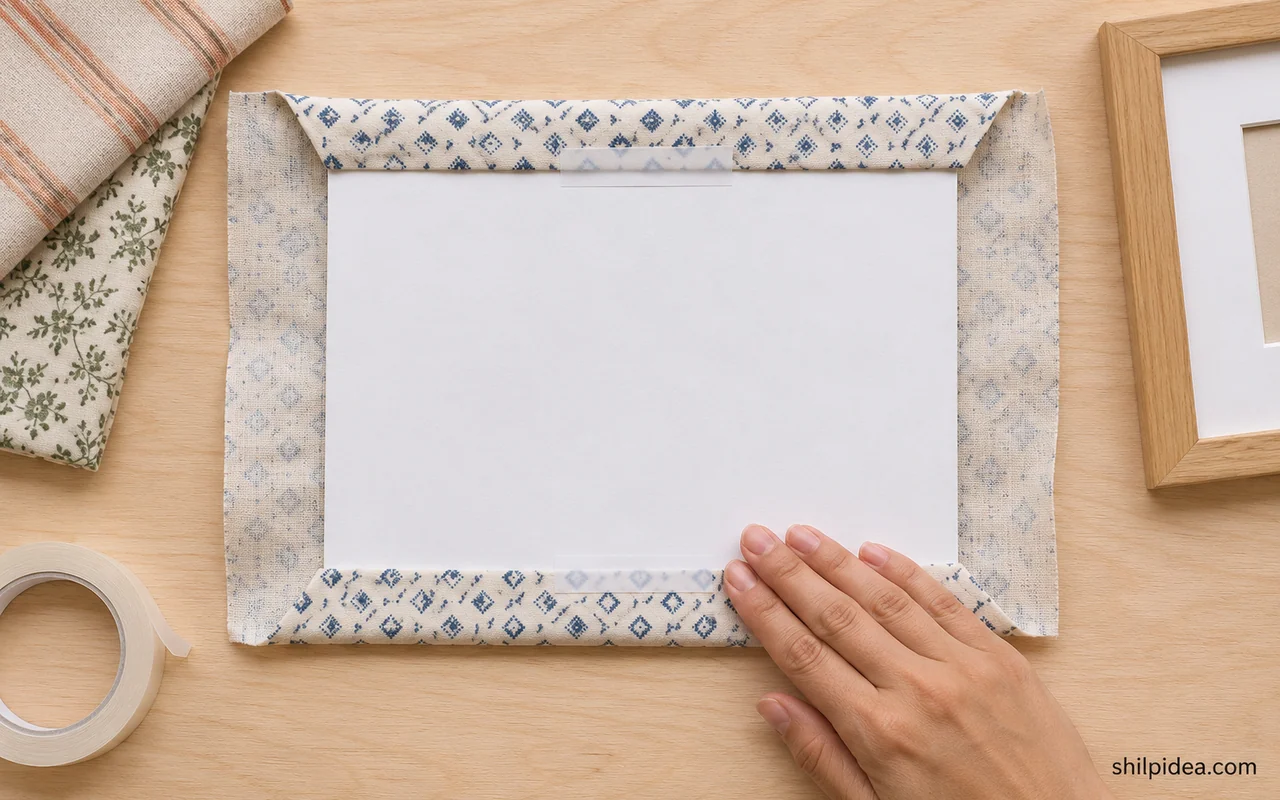
- Wrap opposite sides first. Lay the swatch face down, then center the board on the back. Fold two opposite edges over the board and smooth gently so the weave stays straight. Bridge each folded edge with a few short strips of tape so each strip grips fabric and board.
- Flatten the remaining folds. Fold and tape the other two edges. Tuck the corners flat like a gift wrap and keep bulky overlaps away from the edges. Turn the board over and check for wrinkles or tilted stripes.
5. Assemble the Frames and Hang the Set
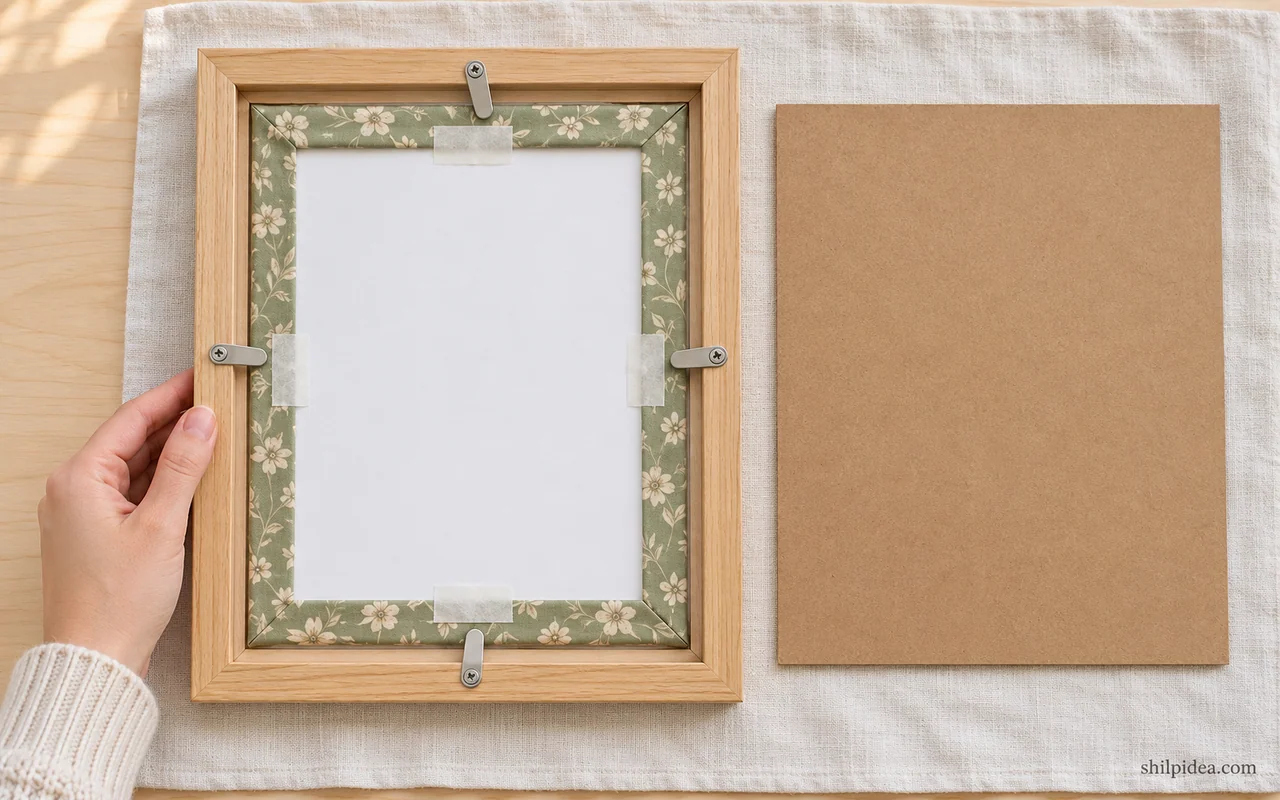
- Seat the mat and mount. Place the mat behind the glazing and center the fabric mount behind the mat. Hold the mount in place with small tape tabs on the back of the mat, then replace the frame backing. If the tabs resist, use a deeper frame or thinner fabric.
- Set the spacing. Lay the three frames on a table with a consistent gap. Try 2 inches between matching frames, adjust for the wall, then transfer the positions with paper templates and hang using rated hardware.
Fix a Crooked Print or Bulky Corner
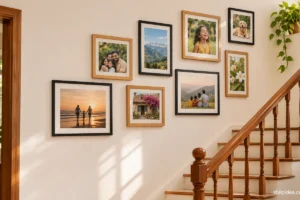
If the print tilts, release the tape on two opposite sides and use the mat edge as a guide as you refold the fabric. If the backing bows, reopen the frame and flatten the folds. For a wider display, look through these wall decor layouts before deciding where to add a fourth frame.
More Framed Wall Art Projects to Try
If you have more fabric or another small keepsake you want to display, pick a frame project that suits what you have. Cardboard can work for a lightweight piece, while wood or cork adds texture around a simpler print. Keep one finish consistent if you plan to hang the pieces together, so each one has room to stand out.
- Make cardboard frames on a budget
- Picture frames made with corks
- Pressed leaves for botanical wall art
- Pebble art for wall displays
- Make a paper wall hanging
Which fabric would you frame first? Share the swatch or pattern you’d build your set around in the comments.





























0 Comments