How to Refresh an Old Picture Frame with Paint and Gilding Wax
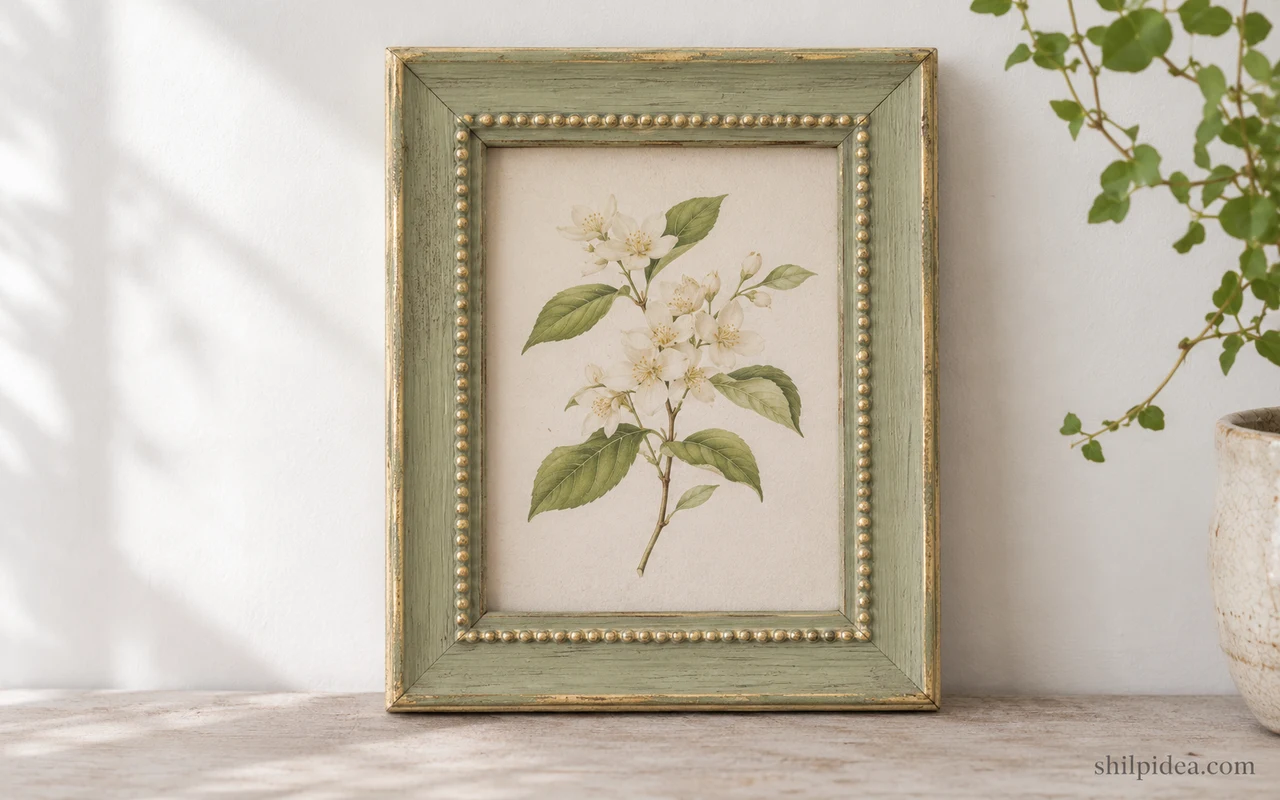
A thin coat of paint can give a tired picture frame a new color, and gilding wax can bring its raised trim back into view. This guide uses a sound wooden frame with beaded detail.
Choose a paint that suits the existing surface and a compatible wax for the highlights. Muted sage and soft gold work with a botanical print or framed fabric art.
You’ll remove the glass, prepare the frame, and rebuild it after the finish has set. If the frame is part of a family photo wall, compare the new color with neighboring frames before painting.
Materials and Tools
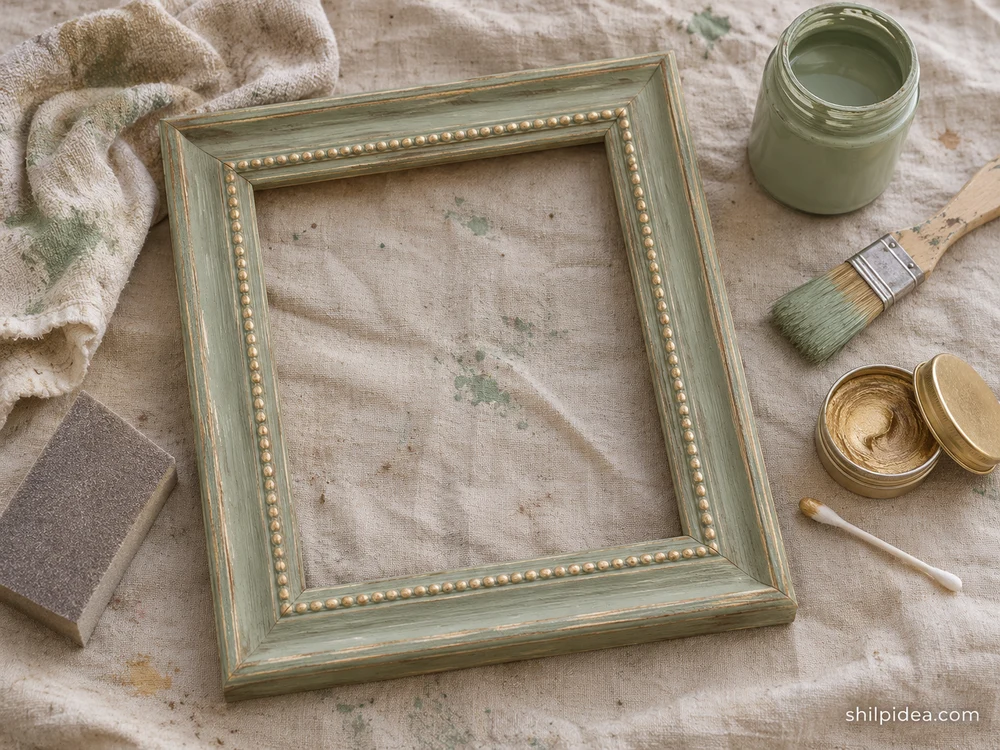
Set out these supplies for one small wooden frame with sound joints and a raised edge or bead detail.
- Wood picture frame – Choose one with removable glazing and backing and check that the corners are secure.
- Soft cloth and suitable cleaner – Use a cleaner recommended for the existing surface.
- Fine sanding sponge – Use it only on a finish known to be safe to sand and when the coating instructions call for scuffing.
- Primer and frame paint – Use a paint suitable for wood and add a compatible primer if the product or surface requires it.
- Small brush – Choose one narrow enough to reach the inside corners and grooves.
- Gilding wax and cotton swab – Choose a wax compatible with the paint and use a swab or lint-free cloth for a light application.
- Drop cloth and protective gloves – Cover the table and use the protective equipment on the product labels.
Precautions Before You Begin
Check the frame and the finish before opening the paint or wax.
- Set the removed glass on a padded, flat surface away from the edge of the table.
- Avoid sanding an old coating that may contain lead. See the EPA’s lead-safe guidance before disturbing it.
- Follow the product labels for ventilation, protective equipment, drying, and cleanup.
1. Remove the Glass and Clean the Frame
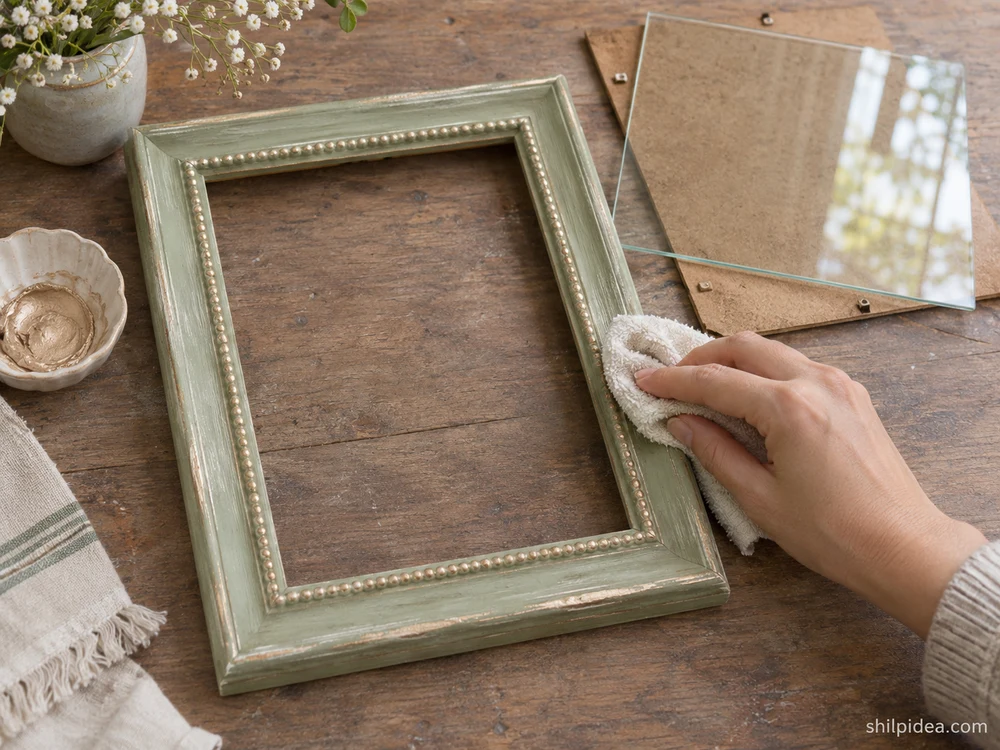
- Take the frame apart. Lay the frame face down on a padded surface. Lift out the backing, artwork, and glass, then put loose tabs or fasteners in a small dish.
- Clean the wood. Wipe the frame with a cloth and suitable cleaner, especially where dust collects around the bead detail. Let the wood dry and check the corner joints before coating it.
2. Prepare the Frame for Paint
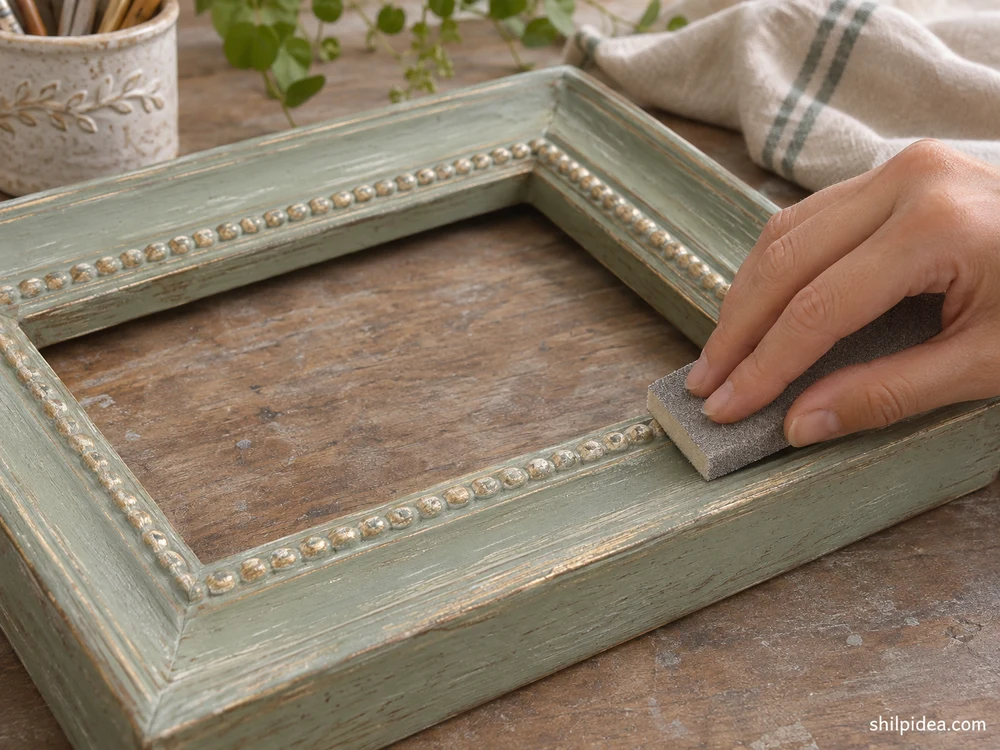
- Test the surface. Try your preparation method on the back. If the finish is known to be safe to sand and the label calls for scuffing, dull the sheen gently with a fine sponge.
- Remove residue and prime if needed. Wipe away dust with a clean cloth. Apply a compatible primer if the frame material or paint instructions require it, and allow the primer to dry as directed.
3. Brush on Thin Coats of Paint
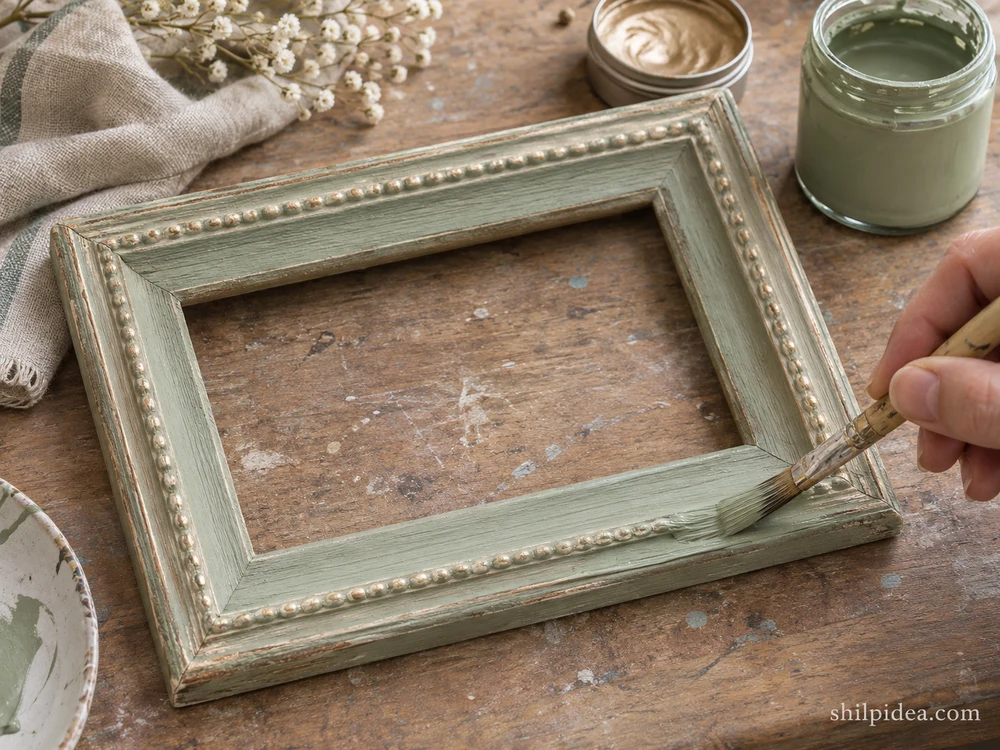
- Paint the grooves first. Use the brush tip to reach the corners and inner edges. Spread a thin coat over the flat areas and remove paint pooling along the beads before it sets.
- Check coverage before recoating. Wait for the label’s recoat time. Add a second thin coat where coverage is uneven, then let the paint dry sufficiently for the wax according to both product labels.
4. Highlight the Raised Trim with Gilding Wax
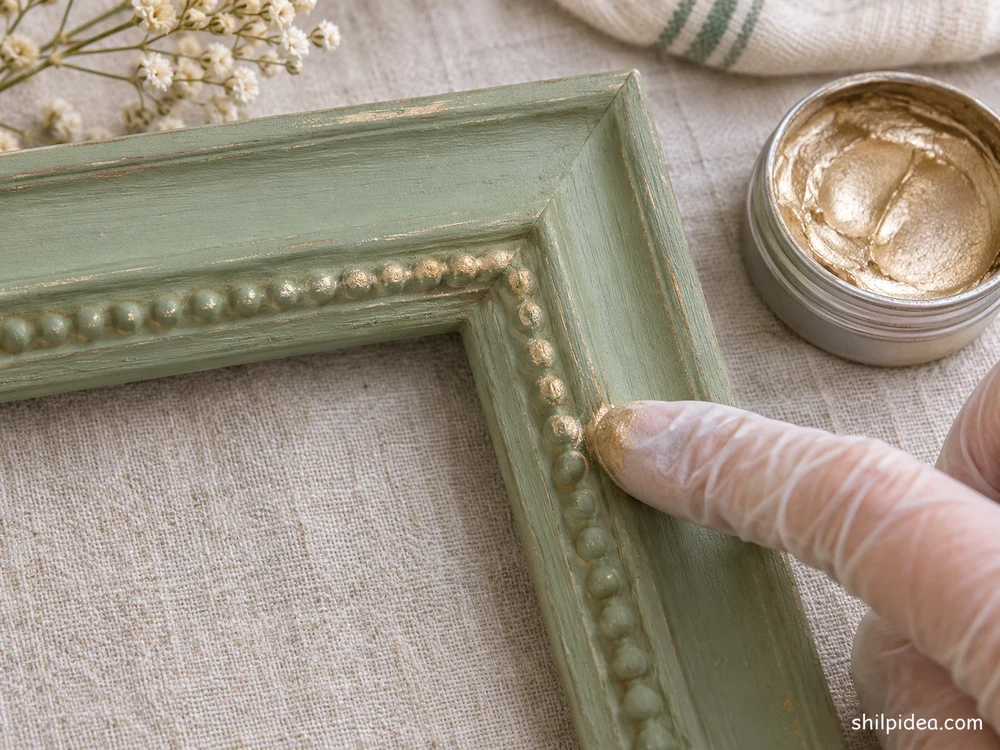
- Test a small amount. Pick up a little wax on a cotton swab or lint-free cloth. Dab off the excess and test the amount on a hidden painted area before touching the front.
- Skim the high points. Pass the applicator lightly over the raised trim. Check the frame in side light, add more only where the highlight needs it, and follow the label for buffing and drying.
5. Reassemble the Frame and Display the Art
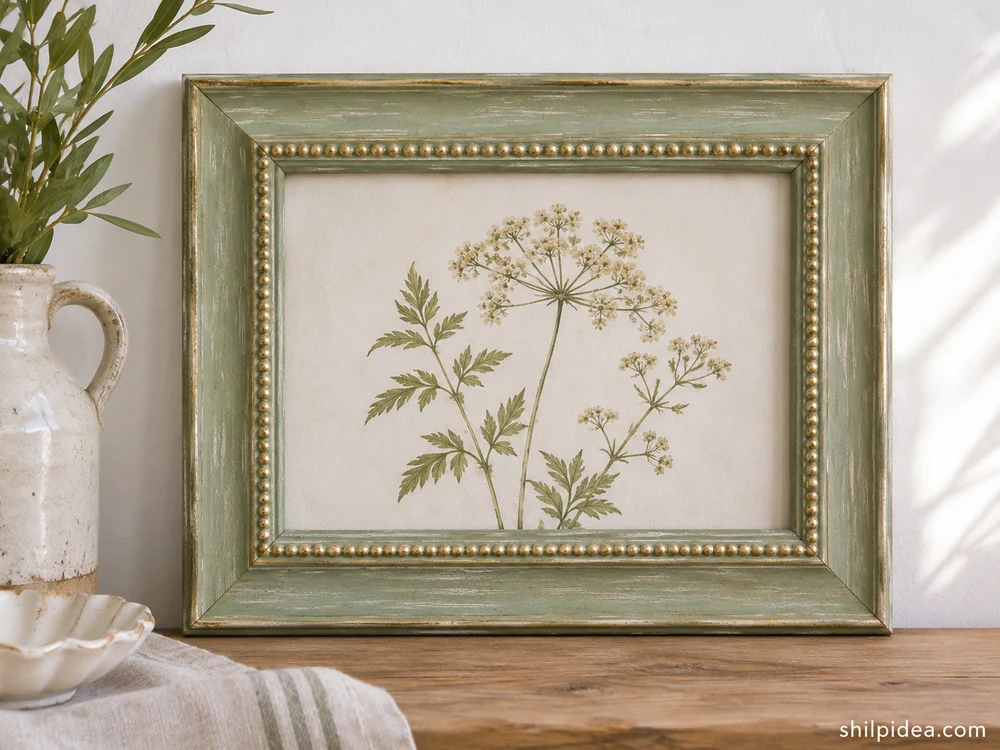
- Check that the finish can be handled. Wait until the paint and wax can be handled according to their labels. Clean and dry the glass separately so cleaner stays away from the new finish.
- Replace the glass and artwork. Set the glass, print, and backing into the frame and close the fasteners. Use a hanger rated for the assembled weight, or set it on a stable ledge.
How to Keep the Painted and Gilded Frame Looking Its Best
Once the finish has cured, dust the frame with a dry, soft cloth or brush. Apply glass cleaner to a cloth and keep it away from the painted rim. Choose a spot away from direct sun or damp surfaces if you want to protect the artwork and finish.
Look at the frame in the room where it will hang. Soft living room lighting can bring out a narrow gilded edge without making the whole frame gleam.
Troubleshooting Paint and Gilding Wax
Inspect the finish in side light before putting the glass back.
- Paint pools around the beads. Lift the extra paint with a clean brush while it’s wet. If it has already set, let it dry and follow the paint maker’s directions for leveling and recoating.
- The wax covers too much trim. Follow the wax label for removing excess and try a smaller amount on the next pass.
- The coating stays tacky. Give it the full drying time under the conditions on the label. If it still feels sticky, check product compatibility before adding another coat.
More Ideas for Framed Wall Decor
A small change in color or finish can make a frame easier to work into a larger display. Explore these projects for more ways to use the frames and art you already have.
- Framed Wall Art from Fabric Samples
- Staircase Photo Walls for Family Memories
- Hygge Living Rooms with Soft Lighting
- Kitchen Wall Decor Beyond the Backsplash
Would you keep the gilding subtle or highlight every raised edge? Tell us in the comments what color you’d paint the frame and where you’d hang it.


































0 Comments