18 Bee Craft Ideas for Cheerful Kids’ Displays
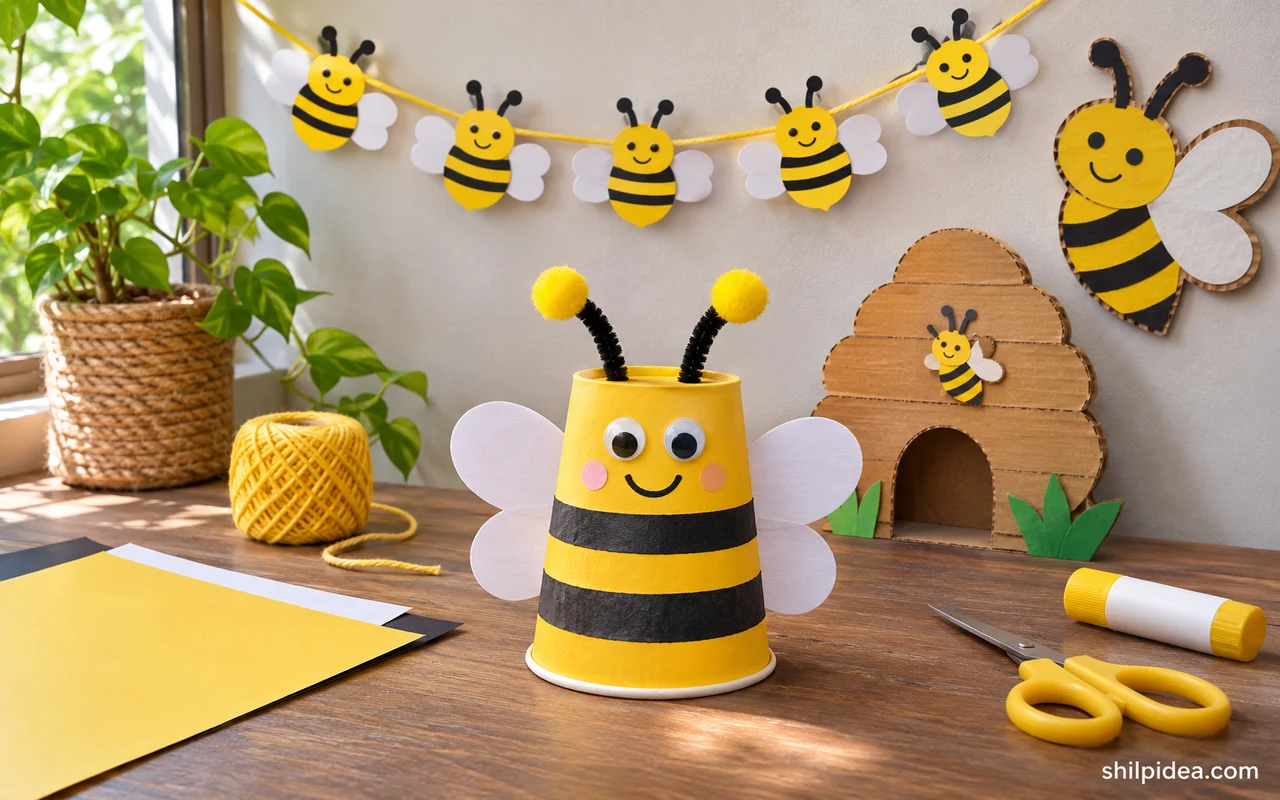
A bee craft can start with a paper plate, a cardboard tube, or a few scraps of felt. Broad stripes help the finished shape stay recognizable from across the room.
Choose supplies to match the time you have and where you want to display the work. A few leftovers from pipe cleaner crafts can become antennae or looped wings.
Try a flat bee for a pinboard or a freestanding shape for a shelf. Some designs use craft stick projects for an easy straight base.
1. Make a Paper Bee Finger Puppet

Give a flat paper bee a wide back where a loop can sit comfortably. Keep the wings close to the sides so they don’t catch as the puppet moves. Draw facial details before attaching the loop, then make a flower on a separate piece of card to give the puppet somewhere to land.
2. Turn Paper Plates into a Pair of Bees
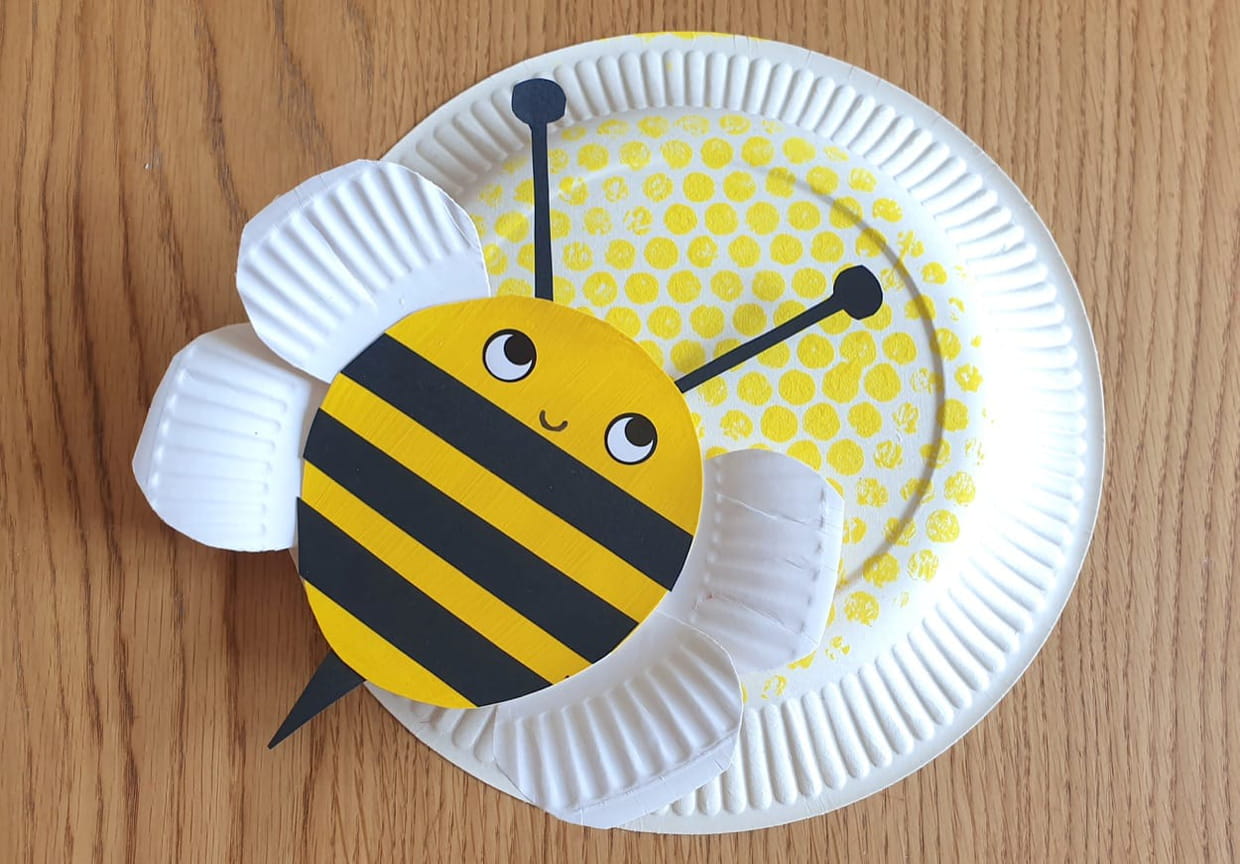
Paint the plates and let them dry before attaching the wings. Start with two broad black stripes so the bee shape reads from across the room. Place one bee a little higher than the other on a display board so the wings and antennae are visible, even where the two crafts overlap.
3. Build a Small Egg Carton Bee

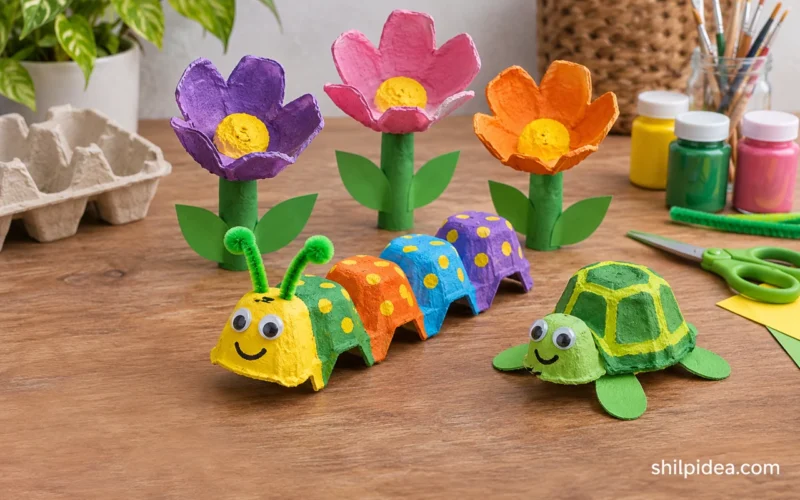
A single paper egg cup gives this bee a rounded body with very little assembly. Paint the cup yellow and cut short paper strips or draw the bands once it has dried. Adult helpers can cut the carton and handle small attachments while children choose the stripe placement and draw the eyes.
4. Stand Cardboard Tube Bees in a Honeycomb Display
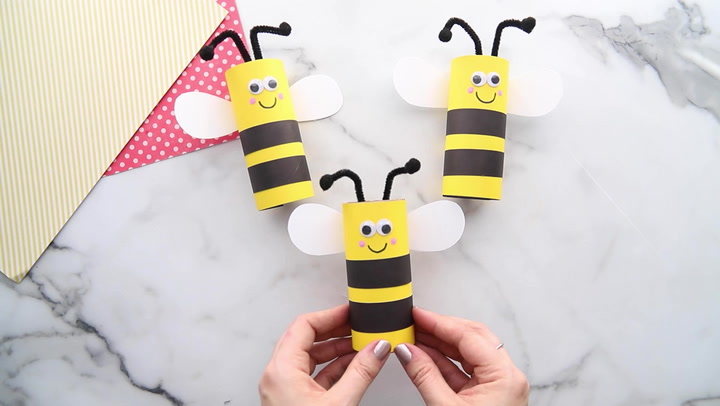
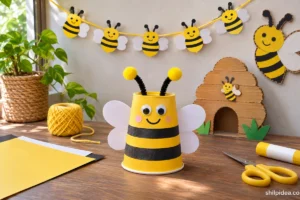
Stand two striped tubes beside a paper honeycomb pattern. Cut the wings from light card so the bee bodies stay balanced even if the wings stick out beyond the tube. A narrow tray or paper base can keep the bees in place when you want to move the whole display between rooms.
5. Stamp a Group of Bees with a Potato
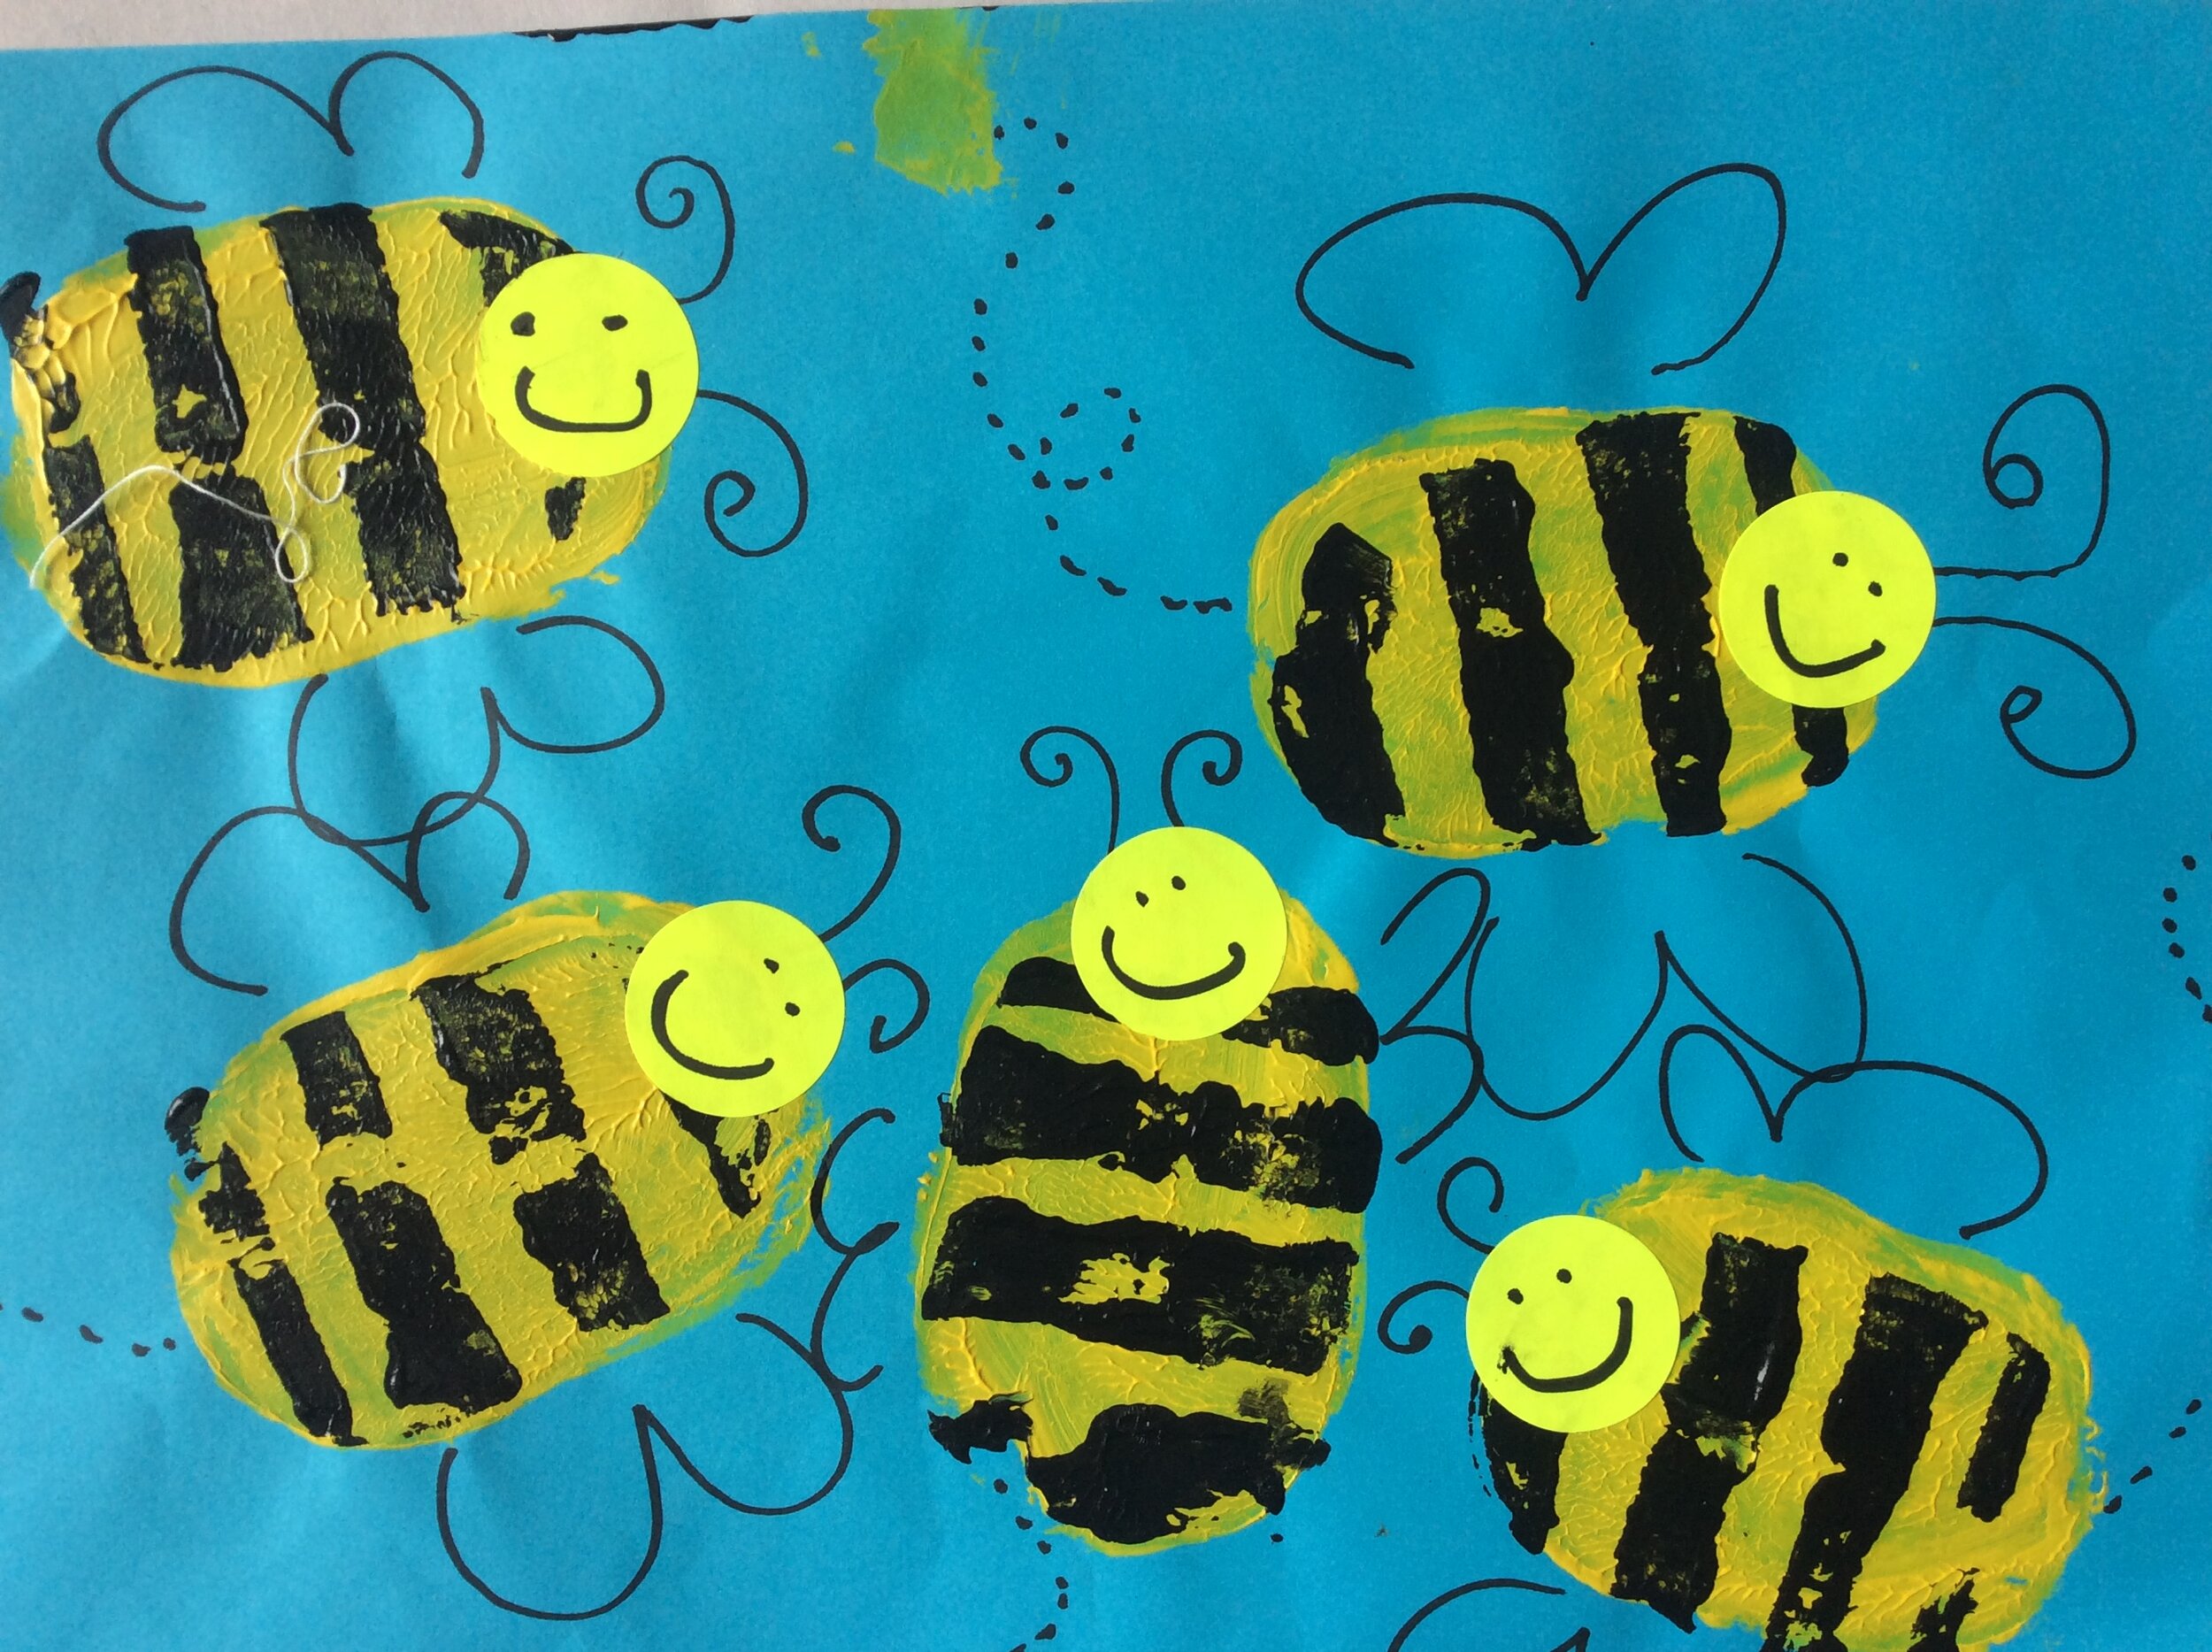
Make a simple oval print and add the stripes after the first color dries. Adult helpers can cut the stamp surface before children begin painting. Try stamping lightly so the oval edges are easy to see, and use pencil lines to vary where the wings sit on the bees across the page.
6. Give a Large Yarn Bee a Soft Striped Body
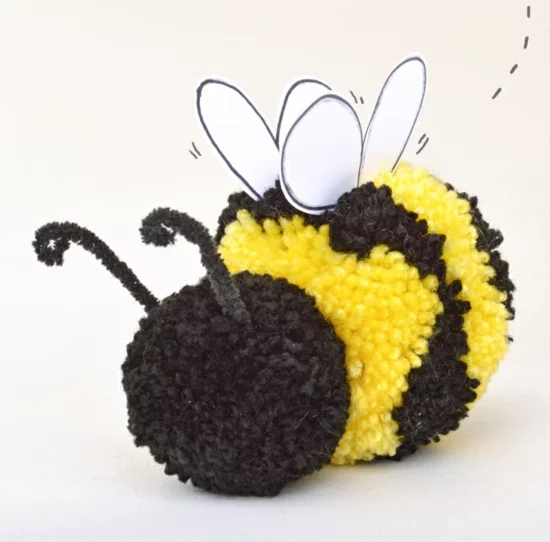
Choose black and yellow yarn of a similar weight to keep the body even. Leave the wing shapes plain so they show against the striped texture. Set the finished bee on a shallow shelf with room around it, away from children who may pull at the loose strands and small details.
7. Bend Chenille Stems into Big Looped Wings

Shape two open loops and check that they are about the same size before attaching the body. The broad wings make a clear outline, so keep the head and stripes simple. Have an adult fold exposed wire ends inward. Try one completed bee against colored paper to judge whether its outline stands out. Make the wings from leftovers from pipe cleaner crafts.
8. Add Paper Wings to a Balloon Display

Create a party display with a yellow balloon as the round body and paper pieces as accents. Keep the attachments light so they stay in position. Have an adult set it up and remove burst or deflated balloons promptly. Place the finished display away from very young children and busy doorways.
9. Make a Bee-Shaped Party Piñata

Use broad black and yellow stripes so the bee remains recognizable across the room. Lay out the paper sections before covering the form and keep the wing shapes simple. Give the piñata a clear place in the party display with adult supervision, separate from low decorations or any nearby seating.
10. Use Cardboard Rolls to Show a Honeycomb Shape

Cut several tubes to equal lengths and group them on a firm backing. Arrange the openings before attaching them so the cluster has a shape you can read from a distance. Add a paper bee beside the honeycomb rather than covering its cells so both parts of the display remain clear.
11. Layer Felt Stripes over a Felt Bee
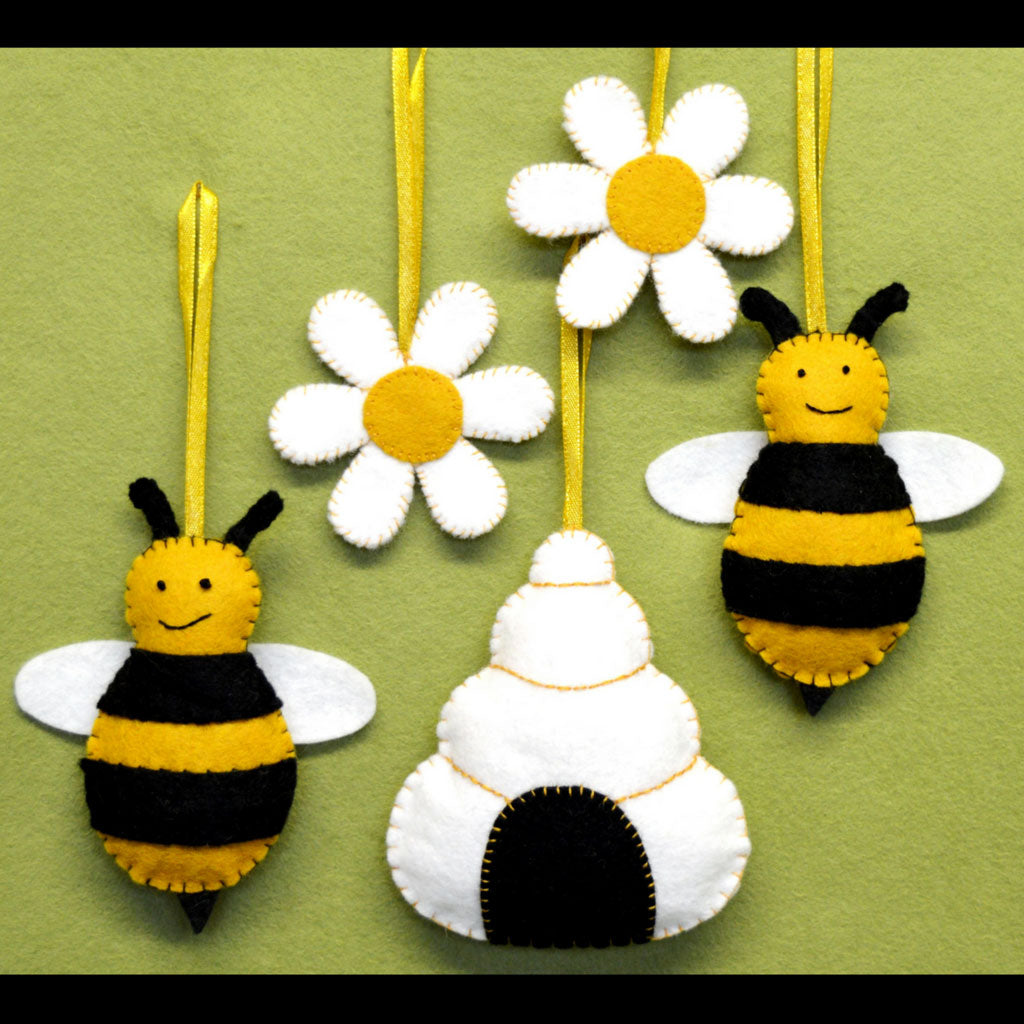
Use a simple oval shape that leaves room for two broad bands. Try the white wings against the backing color before stitching or gluing anything. Keep loose pieces on a tray while you work, then place the finished bee on a card or in a framed display where it can stay flat.
12. Build a Bee from Craft Sticks
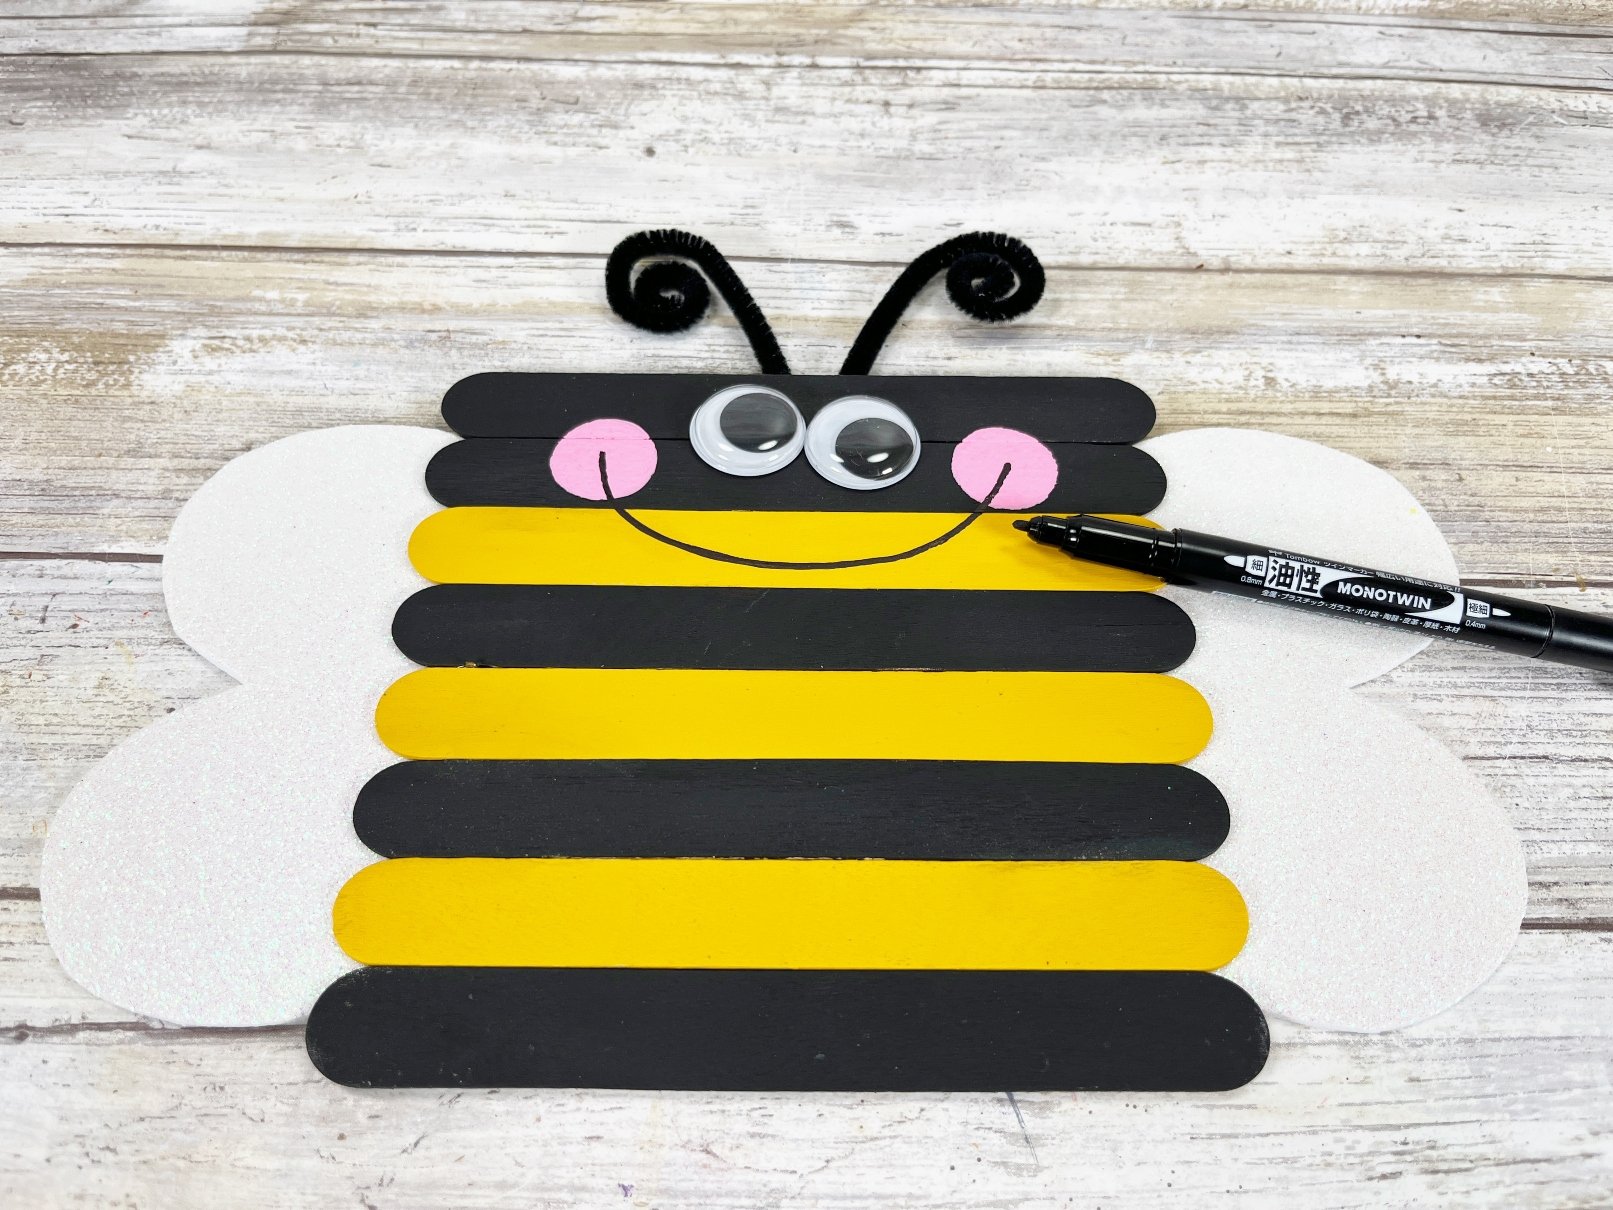
Line up the sticks before coloring them so the yellow and black bars come out in the intended order. Keep the wings wide enough to be visible above and below the body. Choose a plain backing if you want the straight edges of the sticks to stand out clearly. Let glued pieces dry before display. Try one spare from craft stick projects.
13. Pair Paper Bees with a Painted Flowerpot

Use a small yellow pot as the display base and make flat paper bees that repeat the body color. Put the lightest paper shapes where they contrast with the background. Keep the display indoors when the pieces are made from card, and move it away from the pot before watering nearby plants.
14. Use Stick Bees as Planter Markers

Cut yellow bodies and add black stripes before attaching them to craft sticks. Set the wings out from the body so the silhouette stays easy to recognize. Group a few in an indoor planter or use a weighted cup if you want to move the display. Keep the paper details away from water.
15. Turn Cutout Handprints into Bees

Trace a hand onto yellow paper and cut out the shape. Add black bands across the fingers before attaching a separate head and wings. Children can compare hand sizes and make a small group for a noticeboard. Leave a little space around each shape so the handprint detail stays visible.
16. Give a Tiny Pompom Bee a Paper Face
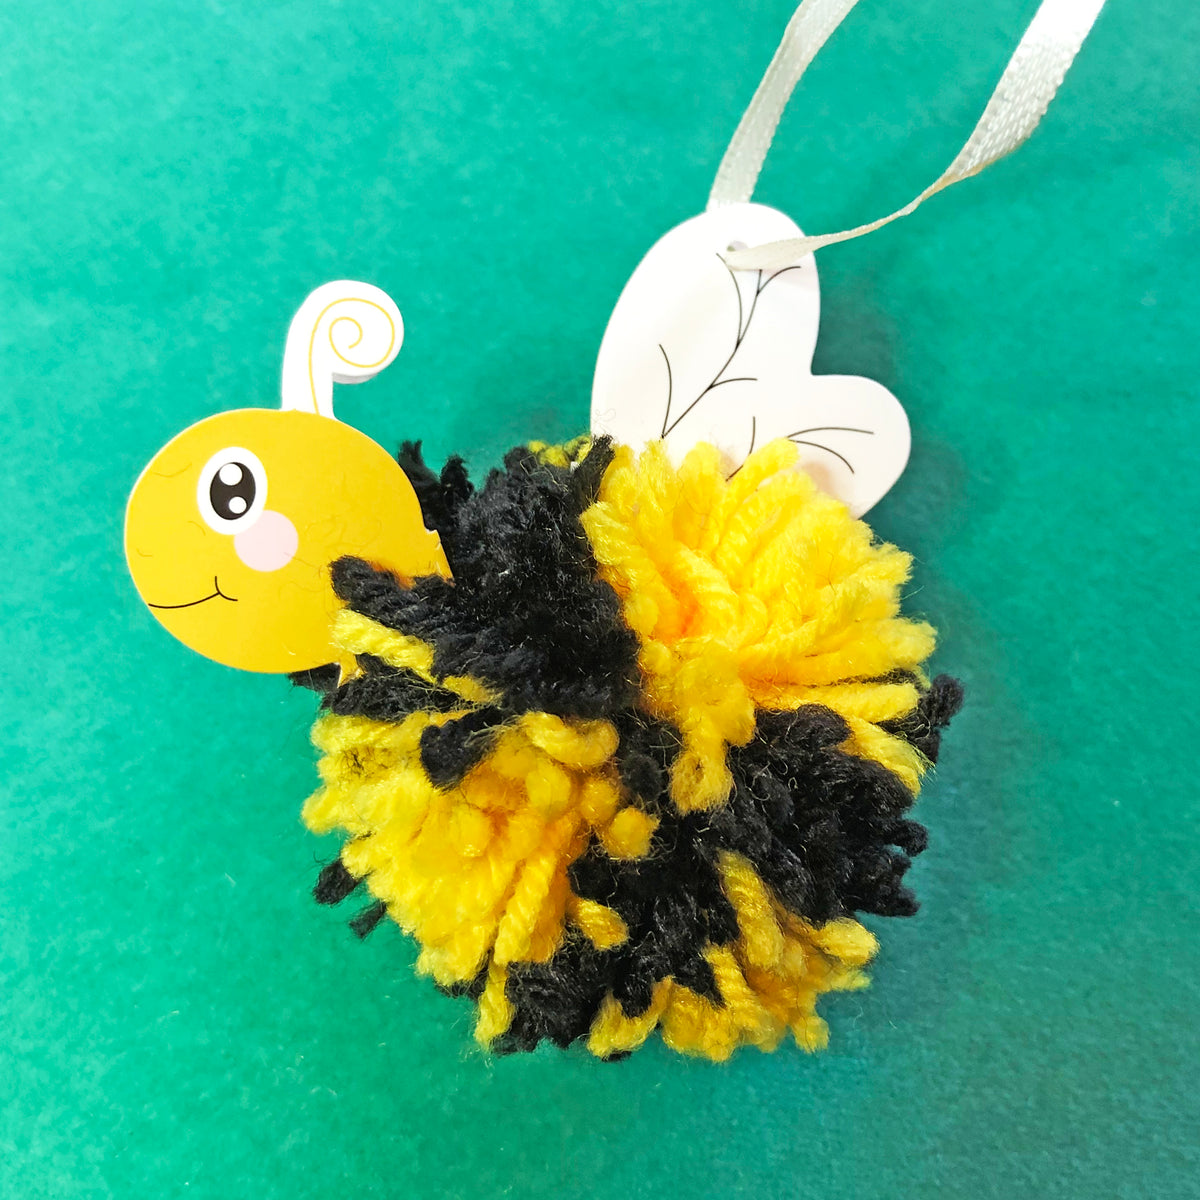
Use contrasting yarn for the body and make the face from sturdy paper so it stays readable against the fuzzy stripes. Cut small white wings and test their position before attaching them. Once the pieces are secure, prop up the tiny bee beside a greeting card or on a shallow display shelf.
17. Fill a Bee Outline with Torn Paper

Outline a broad body on plain card, then divide it into yellow and black sections. Use small torn scraps around the curves and keep the large pieces for the middle. Save the wings as untextured areas so the handmade surface of the body remains the center of attention on the display.
18. Lace Yarn Across a Bee Medallion

Use holes along the edge of a firm plate or disc to show the line of the stripes. Lay the yarn on the surface first to decide how many rows each band needs. Keep the design broad enough to recognize, and have an adult help with a hole punch or pointed tools. Add paper bag snowflakes to the display if you want another flat shape.
Try Another Craft for the Display
Save the yarn, paper, and chenille stems from your chosen bee craft and sort them by what you can still use. Short yarn lengths work for small stripes, while scraps of card can become wings or a display label. The projects below offer other ways to use those materials, whether you’re decorating a noticeboard or planning the next craft afternoon.
- Colorful Pipe Cleaner Craft Ideas
- Craft Stick Organizers and Decor
- Paper Bag Snowflakes for Christmas
- Kitchen Wall Decor Beyond the Backsplash
Which would your group enjoy more, lacing a bee with yarn or building one from a cardboard tube? Share your choice in the comments, along with whether you’d turn the finished bees into a wall display or a tabletop scene.
















0 Comments