18 Paper Plate Craft Ideas for Creative Afternoons
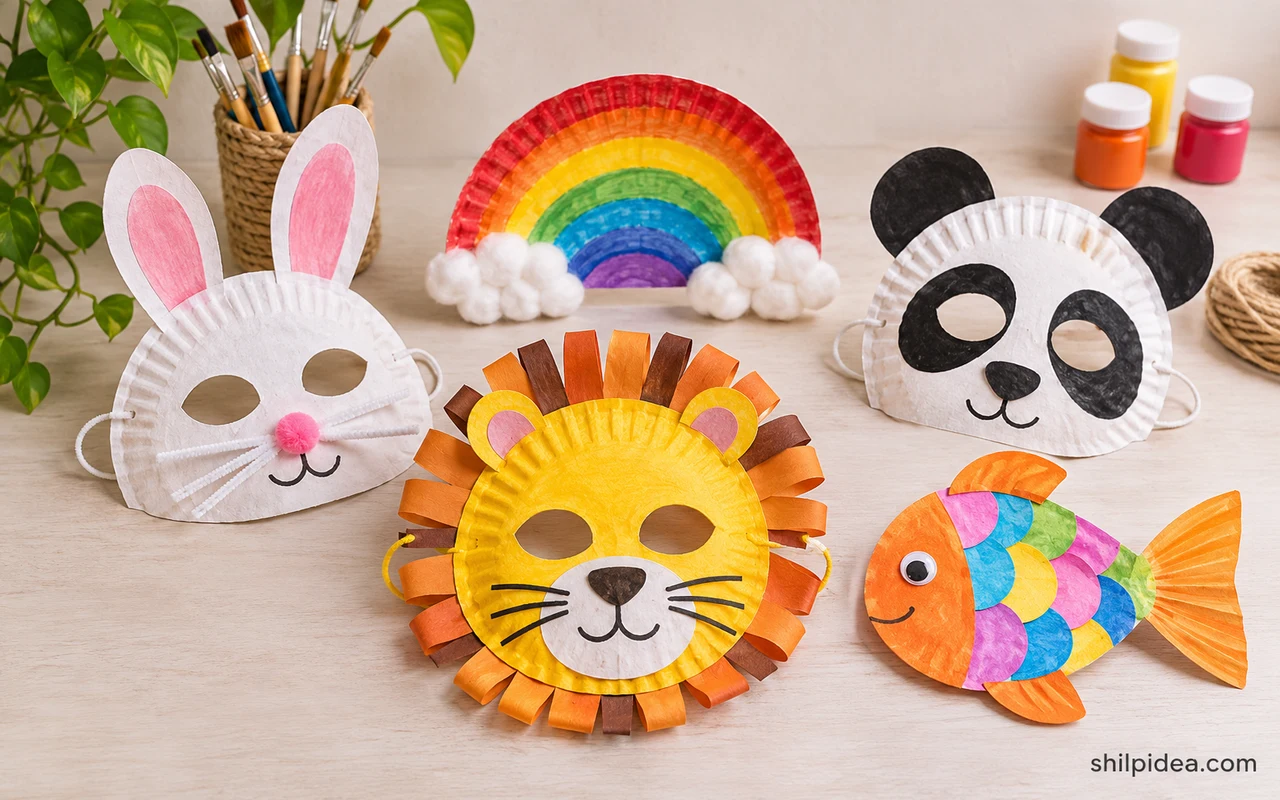
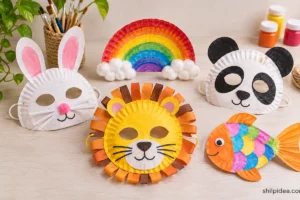
Paper plates make a steady base for colorful craft projects, even when you’re working with scraps. Change the angle, trim the rim, or fold the circle to make a different shape.
Start with a plain plate that takes your chosen paint or glue. If you already make pipe cleaner crafts, set aside short pieces for jellyfish tentacles or a hanging decoration.
These projects range from flat fish and flowers to folded owls and paper animals. Add a raised detail with craft stick projects if you want the design to stand away from the plate.
1. Turn a Plate into a Bright Fish
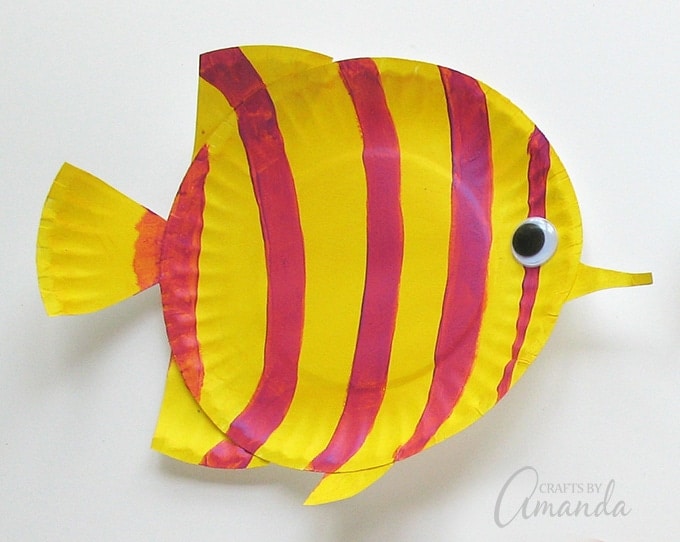
Use the circle as the body and let a simple folded tail show where the fish is going. Paint large areas before adding spots or an eye. Decorate several fish in different colors and leave space between them on a wall so each tail and round silhouette remains easy to see.
2. Add Clothespin Rays to a Sun

Arrange the clips around the rim before coloring them. Leave a wider gap at the bottom if you plan to add ribbon tails. The clips make it easy to change the ray pattern, so try one color arrangement first and move a couple of pieces until the sun looks balanced from across the room.
3. Make a Daisy from a Paper Plate

Use a small plate for the daisy head and cut between the petals so each one can bend independently. Mark the center in yellow, then give the daisy a paper stem with a leaf that angles away from the flower. Change the direction of the leaves when displaying several flowers together.
4. Build a Spring Scene Inside the Rim

Treat the raised rim as a small frame for flowers and grass. Arrange the paper shapes on the plate before attaching them and keep one clear strip of background where the stems can stand out. Try fitting the whole design within the inner circle so the outer texture stays visible.
5. Give a Jellyfish Flexible Tentacles

Use a half plate for the top and keep the attached strands long enough to hang below it. Alternate thin and thick strands if you want more texture. Place the display high enough that the strands stay away from children who might pull them, and fold inward any exposed chenille wire ends. Use leftovers from pipe cleaner crafts for the tentacles.
6. Build a Colorful Dinosaur from a Half Plate

Use the curved edge as the top of the dinosaur and arrange paper spines where they break up the silhouette. Compare the tail and head before gluing so neither side looks too heavy. A few wide spots or stripes show more clearly than many tiny marks on the body. Let the paint dry before hanging.
7. Make a Rocking Paper Plate Chick
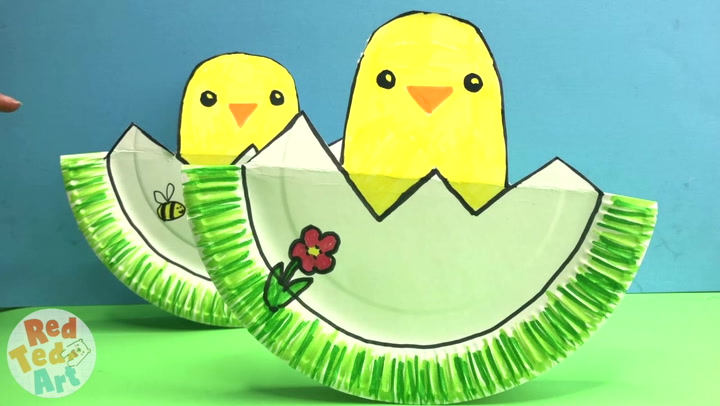
Fold a paper plate to make a curved base, then cut a zigzag along the top so it looks like a cracked eggshell. Make a yellow chick separately and sit it behind the edge. Check that the bottom rocks freely before adding a second chick or thicker paper details.
8. Fold the Sides of a Plate into Owl Wings

Try the two side folds before coloring so you can see which parts will show from the front. Draw feathers on the outer sections and add broad eyes where the top folds down. Vary the patterns from owl to owl so a row feels connected without each piece looking the same.
9. Decorate a Snail Shell with Paper Squares

Cut colored squares from leftover paper and lay them around the round shell. Use smaller pieces close to the edge so the plate keeps its shape. Put the snail’s name or a short message on the paper body if you want an easy way to tell several children’s projects apart. Build another shape beside it with craft stick projects.
10. Make a One-Eyed Paper Plate Monster
Paint the base one color and give the monster a single large eye. Try placing the mouth a little off center for a different expression. Use leftover paper for small teeth or horns and test the arrangement before gluing. A plain background helps the eye and mouth stand out.
11. Stack Two Plates into a Snowman

Use a smaller circle for the head and leave enough overlap to fasten the two parts securely. Fold or layer paper for a scarf and make the hat large enough to frame the face. Test how the snowman looks upright before adding small marks so the basic shape remains easy to recognize.
12. Use the Plate Rim as a Turkey Tail
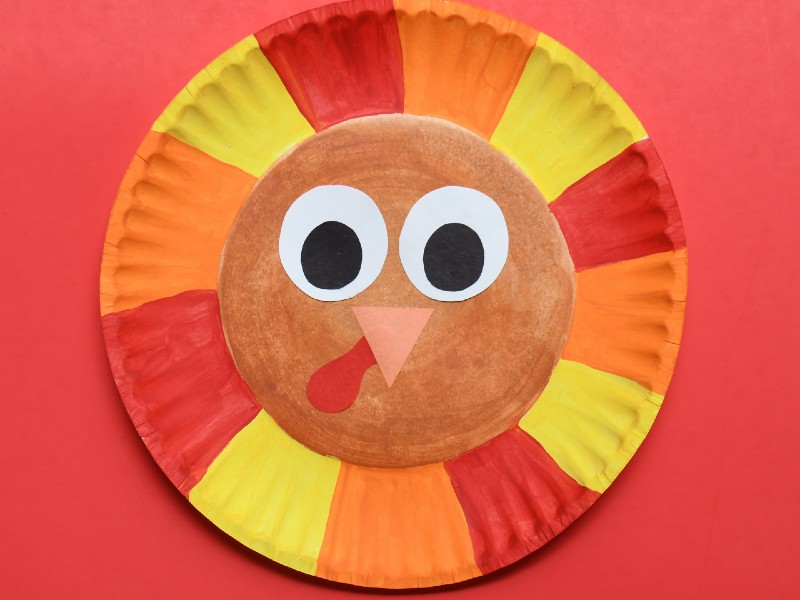
Paint the fluted rim in sections so the feathers come through as distinct stripes. Use a separate paper shape for the body and keep it low enough to leave a fan of color behind it. Choose a few repeating shades when several children are making birds for the same table.
13. Make a Giraffe Face with Bold Spots

Start with a yellow plate and compare the size of the spots before gluing them. A few broad spots show the pattern without crowding the eyes. Use a simple paper shape for each ear and keep the two short horns visible above the rim if you plan to display it against a wall.
14. Draw a Broad Smile on a Paper Plate Frog

Fold the plate so the curved edge forms a broad mouth. Set the eyes above the fold and add a red paper tongue for contrast. Try two shades of green when making a pair of frogs, and let the paint dry before gluing on the facial details.
15. Show a Peacock Tail on a Round Plate

Arrange the spotted feathers around the outer curve and reserve the middle for the bird’s body. Let two or three colors repeat in the tail so a child can make the marks without following a detailed pattern. Compare feather spacing before the glue dries and adjust any crowded spots. Let the paint dry before hanging.
16. Paint and Trim a Paper Plate Wreath

Cut away the center with adult help and keep a broad rim so the ring stays firm. Add simple dots, paper shapes, or a bow without covering too much of the original curve. Make a hole or attach a separate loop near the top if you want it to hang flat. Add paper bag snowflakes to a winter display.
17. Use the Convex Side for a Turtle Shell

Draw a grid or a series of overlapping shapes on the raised center. Attach the paper feet and head underneath so you can still see the circle of the shell from above. Try two shades of green if you want the markings and the curve to be visible together. Let the paint dry before hanging.
18. Make an Underwater Picture on a Blue Plate

Paint the base blue and position the fish before adding long green strips for sea grass. Angle a few pieces in different directions so the fish look as if they are moving. Leave some blue visible between them, especially near the upper part of the plate where the background reads as open water.
Use Your Leftover Craft Supplies
Take a look at what remains after the plates dry. Short strips of green paper can become pond grass, and leftover card can hold a little sign for a shelf display. The projects below offer ways to use wider scraps, spare sticks, or extra chenille stems while giving kids a different shape or texture to work with next time.
- Colorful Pipe Cleaner Craft Ideas
- Craft Stick Organizers and Decor
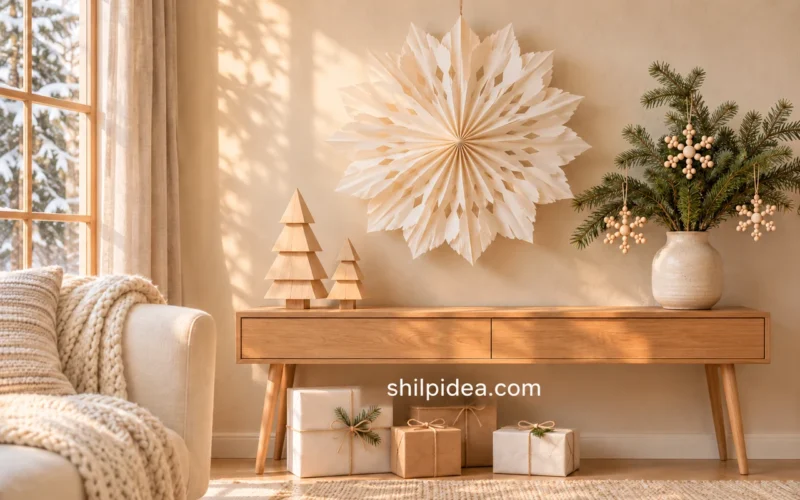
- Paper Bag Snowflakes for Christmas
- Kitchen Wall Decor Beyond the Backsplash
If you set out a stack of plates for a second craft afternoon, what would everyone make together? Share the idea in the comments. We’d like to hear how you’d display several projects when each child chooses different colors.















0 Comments