How to Make a Beaded Napkin Tassel for a Christmas Place Setting
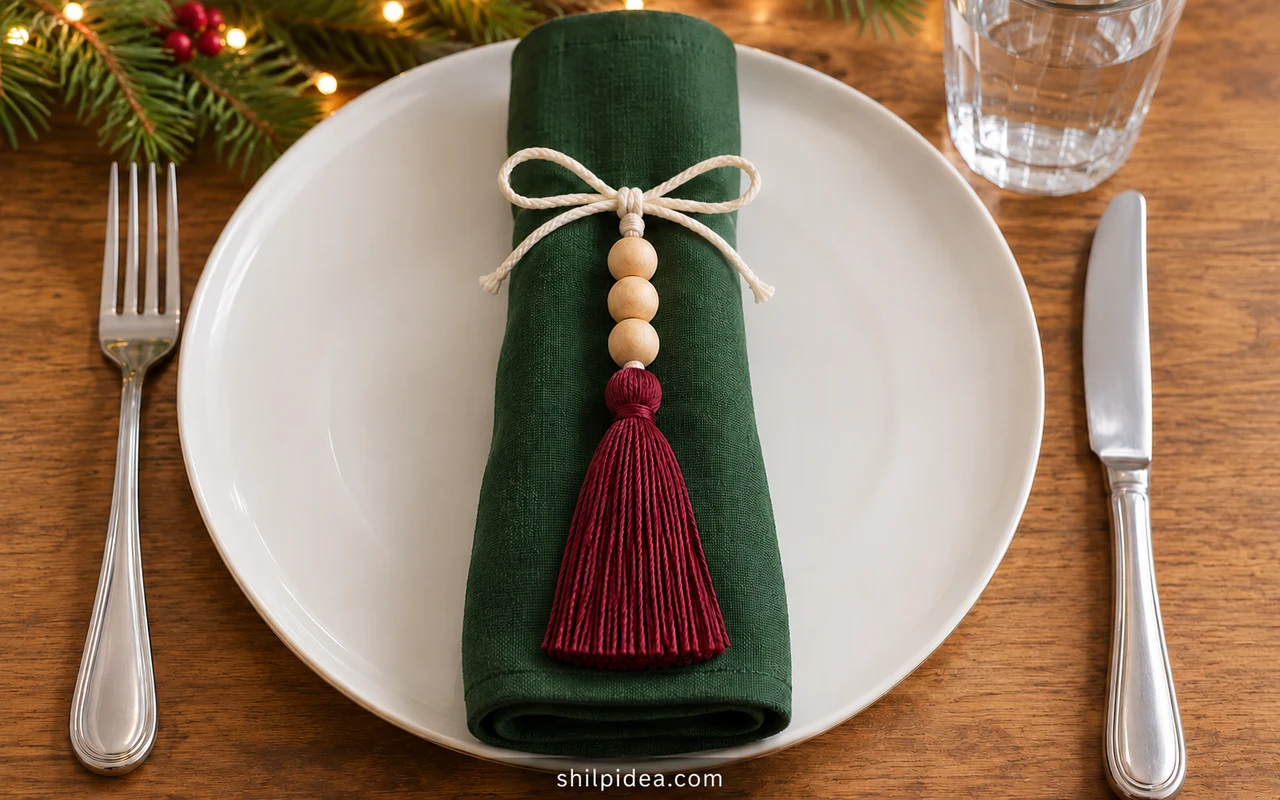
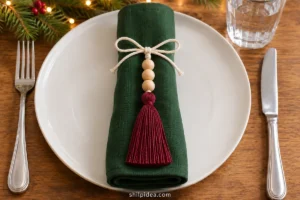
A beaded napkin tassel adds a small handmade detail to a Christmas place setting. Burgundy thread, natural wood beads, and an ivory tie look especially warm against a dark green napkin.
This proposed project combines a wrapped-thread tassel with three beads and a removable bow. It pairs easily with other Christmas napkin decorations using everyday tableware.
The guide shows how to secure the loops, trim the fringe, and thread both cord ends through the beads. Finish the table with simple natural Christmas details that leave room for dinner.
Materials and Tools
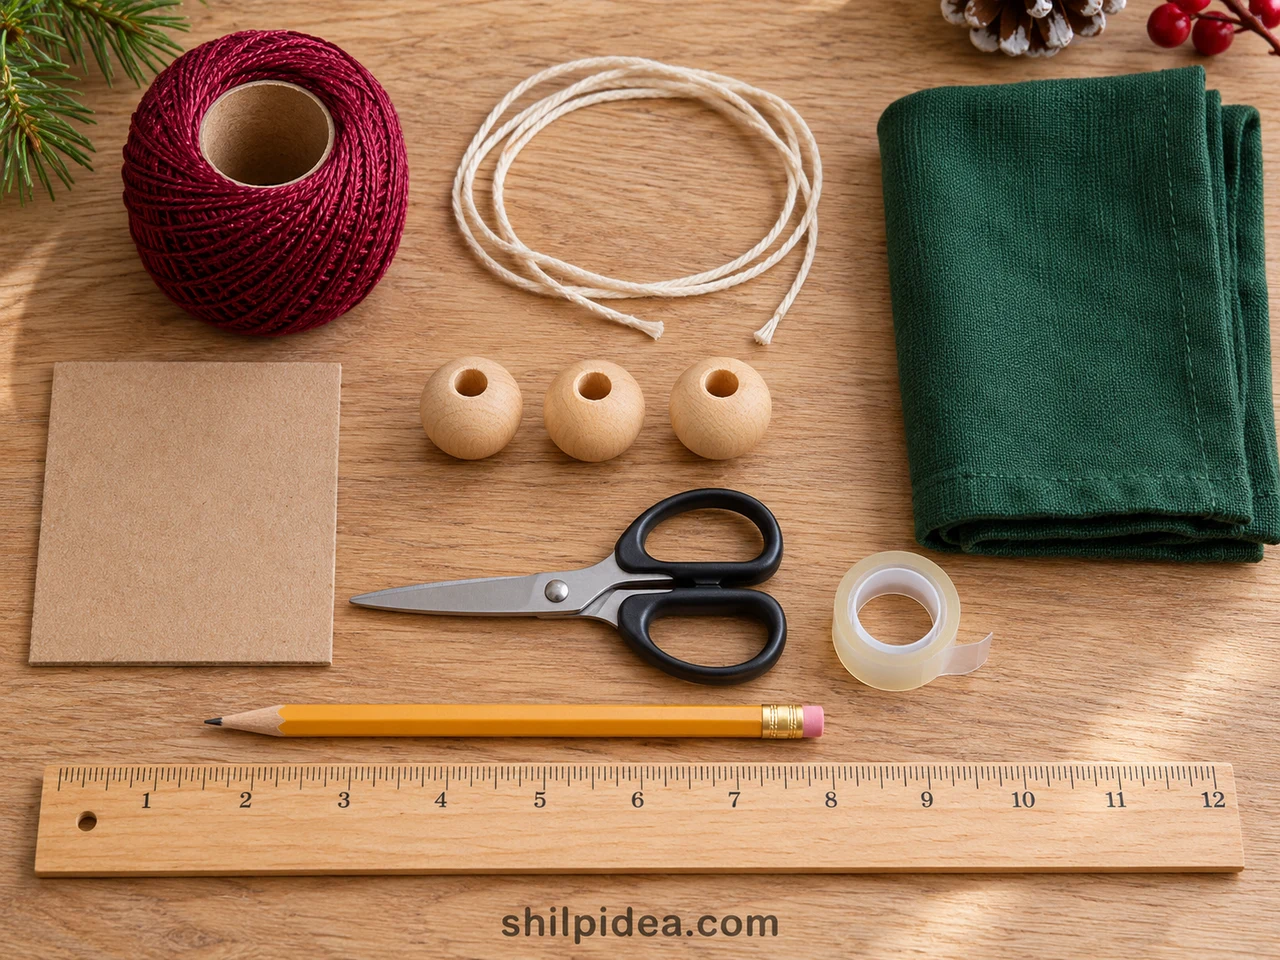
These quantities make one tassel; multiply the beads and cord lengths by your number of place settings.
- Burgundy cotton thread – Approximately 8.00 yards of pearl cotton for the wrapped bundle, plus one separate 12.00-inch piece for the neck binding.
- Ivory cotton cord – One 30.00-inch piece, approximately 1.00 mm thick, for securing the tassel, stringing the beads, and tying around the napkin.
- Natural wood beads – Three smooth round beads approximately 12.00 mm across, with holes large enough for both cord strands together; a 3.00 mm hole is a useful starting point.
- Cardboard square – One sturdy 3.00 × 3.00-inch square with smooth edges for winding the thread.
- Scissors and ruler – Sharp scissors for cutting the loops and trimming the fringe, plus a ruler and pencil for marking dimensions.
- Removable tape – A small piece to hold the thread end during winding and, if needed, temporarily stiffen the two cord tips for threading.
- Cloth napkin – One clean forest-green napkin, or another color that contrasts with the tassel.
Precautions Before You Begin
Keep this decoration separate from food and remove it before using the napkin.
- Small beads and cords are unsuitable for babies and young children; keep loose supplies and finished tassels out of their reach.
- Check wooden beads for splinters, rough holes, or loose finishes before threading.
- Keep scissors pointed away from the holding hand and protect the long ivory tie from accidental cuts.
- Keep tassels away from candle flames, drinks, and serving dishes. These are table decorations, not food-safe utensils or toys.
1. Wind the Thread Around the Card
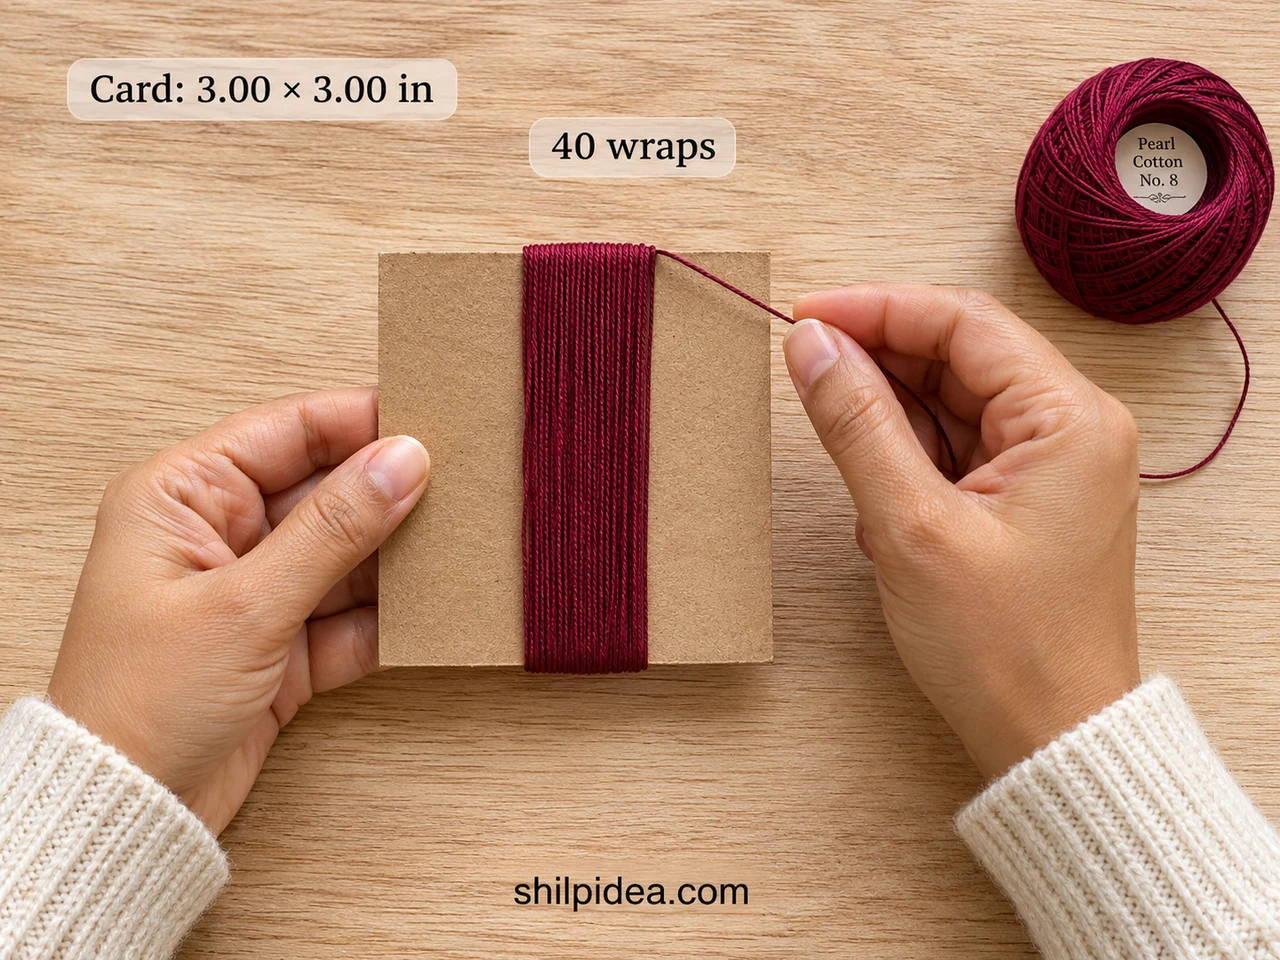
- Prepare the winding card – Cut a sturdy cardboard square measuring 3.00 × 3.00 inches. Smooth any rough edges so they will not catch the thread. Cut the separate neck-binding thread and ivory tie cord before winding.
- Anchor the thread end – Hold the starting end near the lower edge of the card with a small piece of removable tape. Wind vertically over the top and bottom edges, keeping the strands in a narrow band.
- Build the bundle – Make 40 complete wraps using even, gentle tension. Keep the card flat rather than bending it. Cut the working thread near the lower edge; the initial and final ends will become part of the fringe.
Thread thickness affects fullness. Make one sample before preparing a whole set, then use the same thread and wrap count for every place setting. The square sets the starting loop length; the finished tassel will be shorter after its head is tied and the fringe is trimmed.
2. Tie the Top Before Removing the Card
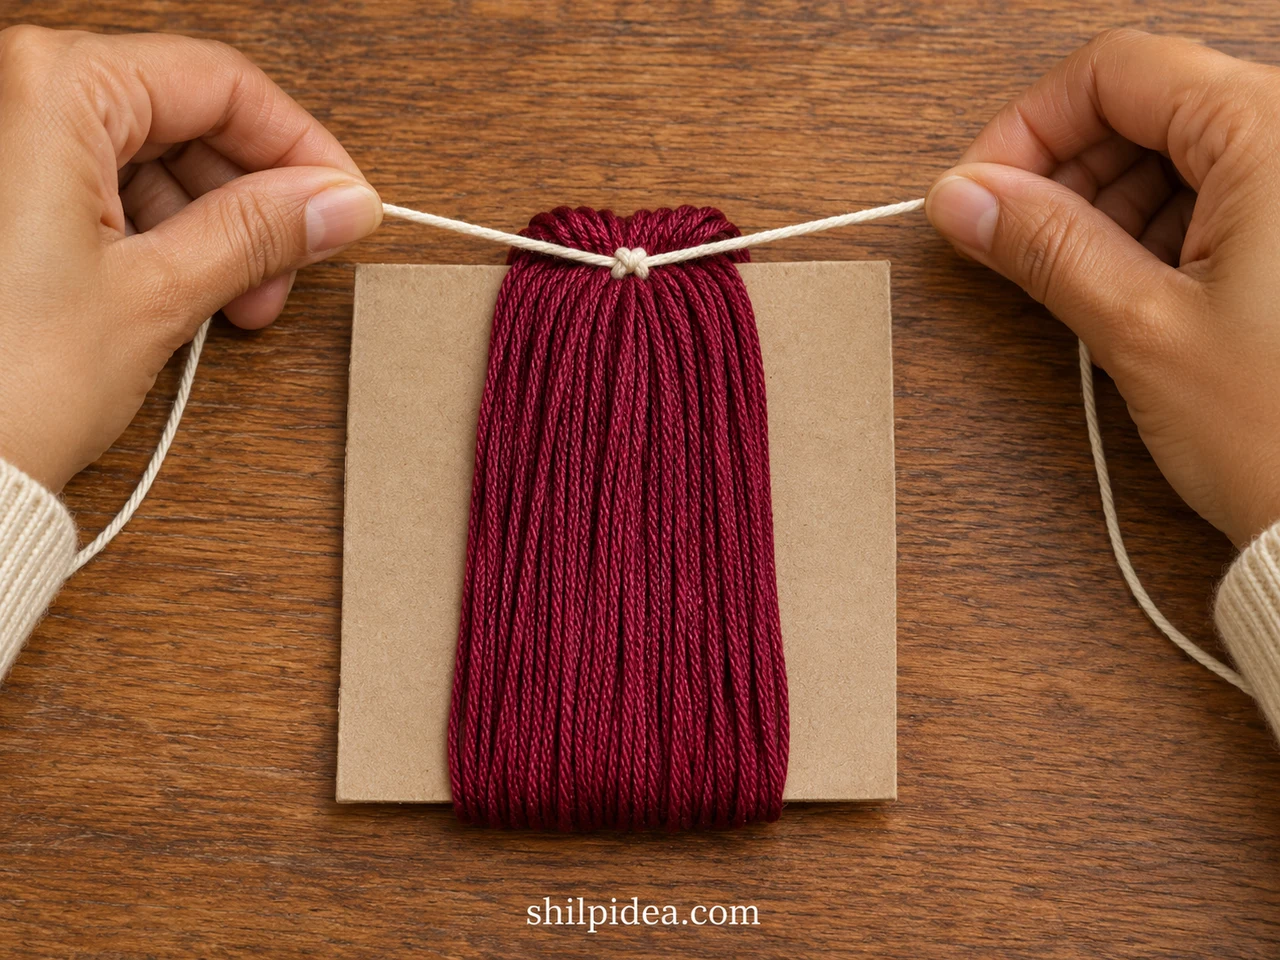
- Slide the cord under the loops – At the card’s top edge, gently lift the entire band of burgundy loops. Slide the ivory cord between the cardboard and all the thread strands. Center it so its two free ends are approximately equal.
- Secure the bundle – Bring the ivory ends together around the top of the bundle. Tie right over left, then left over right, and pull both parts snug. Keep the long tails intact; they will carry the beads and become the napkin tie.
- Remove the cardboard – Remove the temporary tape and slide the loop bundle off the card while holding the tied top. Keep the lower loops together and uncut. Move the long ivory tails upward, clear of the burgundy bundle.
Before moving on: Every burgundy loop must be captured by the ivory tie. Gently tug the bundle before continuing; re-tie now if any strands slide free.
3. Bind the Tassel Neck
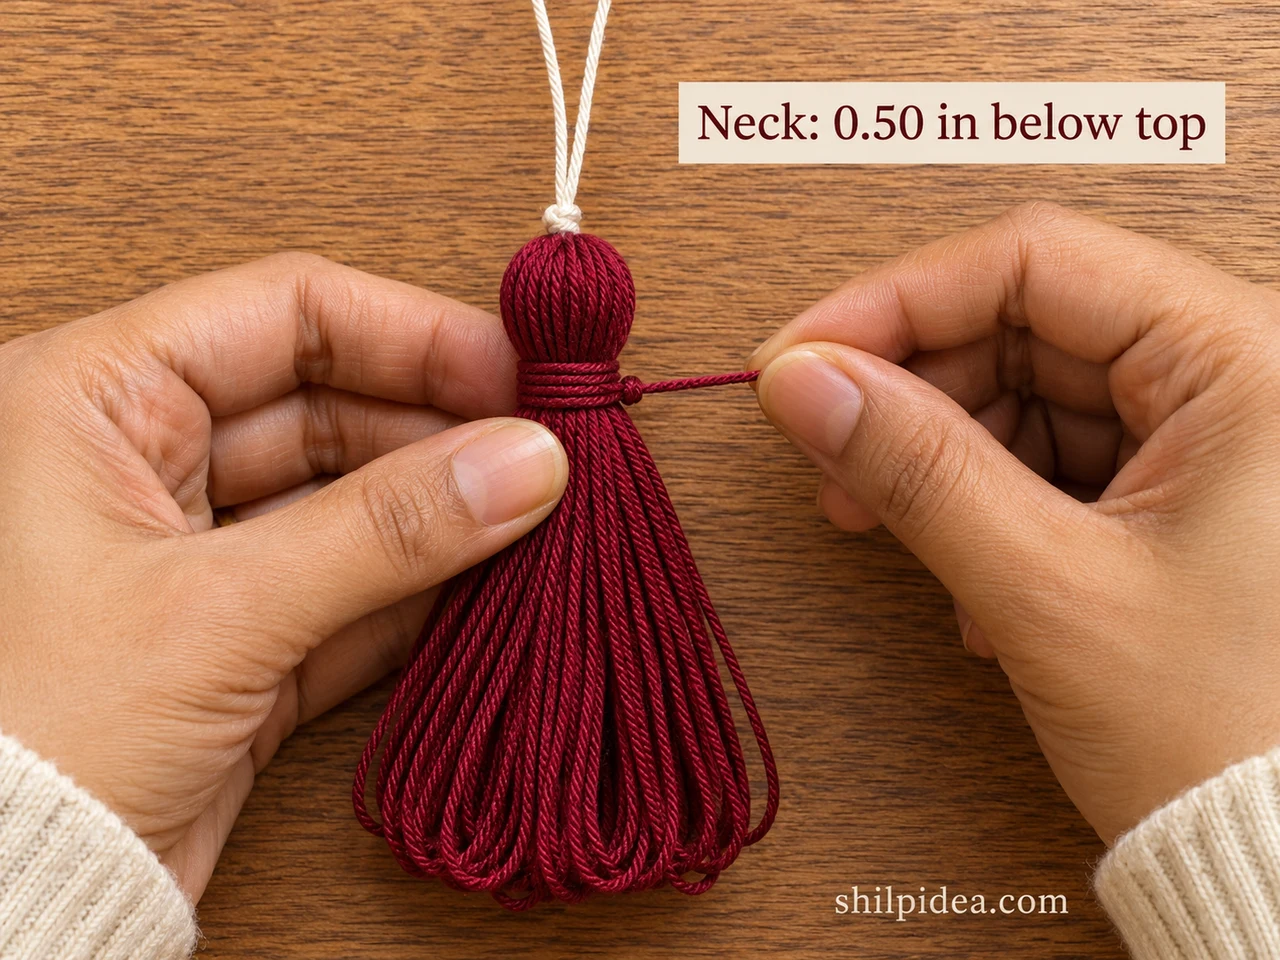
- Mark the neck position – Measure approximately 0.50 inch down from the top fold of the burgundy bundle. Pinch the strands at that point to form a small rounded head. Keep the two ivory tails above the head.
- Wrap the binding thread – Place the separate 12.00-inch burgundy piece around the neck, leaving one short end free. Wrap the longer end around the bundle three times, keeping the wraps together without crushing the head.
- Knot and blend the ends – Tie the binding ends right over left, then left over right at the back of the tassel. Pull snug and let both burgundy ends fall into the lower bundle, where they can be trimmed with the fringe.
The neck tie shapes the tassel; the ivory cord supports it. Keeping those jobs separate makes the next steps easier to follow. If the neck slides, retie it firmly before cutting the loops rather than trying to hold the shape with glue.
4. Open and Trim the Fringe
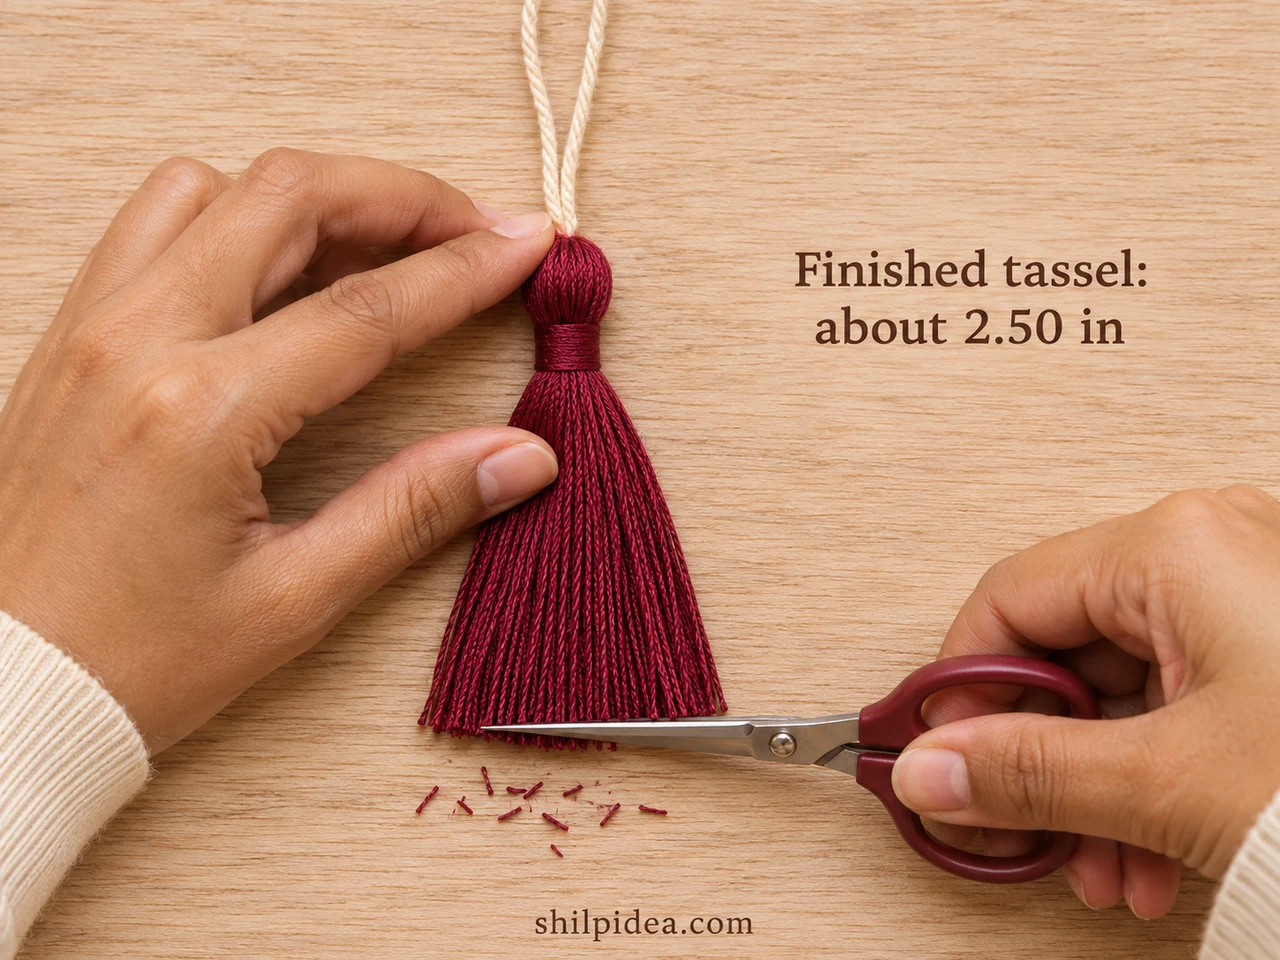
- Cut only the bottom loops – Move both ivory tails away from the scissors. Slip one scissor blade through the lower burgundy loops and cut them open at the bottom fold. Check the back of the bundle for any loops you missed.
- Smooth the strands – Lay the tassel flat and stroke the strands downward with your fingers. Bring the short neck-binding ends into the fringe. Keep the head and neck still while aligning the loose ends.
- Trim in small passes – Measure about 2.50 inches from the top of the burgundy head to the fringe ends, excluding the ivory cord. Trim a little at a time into a straight edge, then turn the tassel over and check again.
Use this measurement reference when making a matching set. All inch measurements are shown in decimals.
| Part | Measurement |
|---|---|
| Winding card | 3.00 × 3.00 in |
| Ivory tie cord | 30.00 in |
| Burgundy neck-binding piece | 12.00 in |
| Neck below top fold | About 0.50 in |
| Trimmed tassel, head to fringe | About 2.50 in |
| Wood bead diameter | 12.00 mm, approximately 0.47 in |
5. Thread and Secure the Three Beads
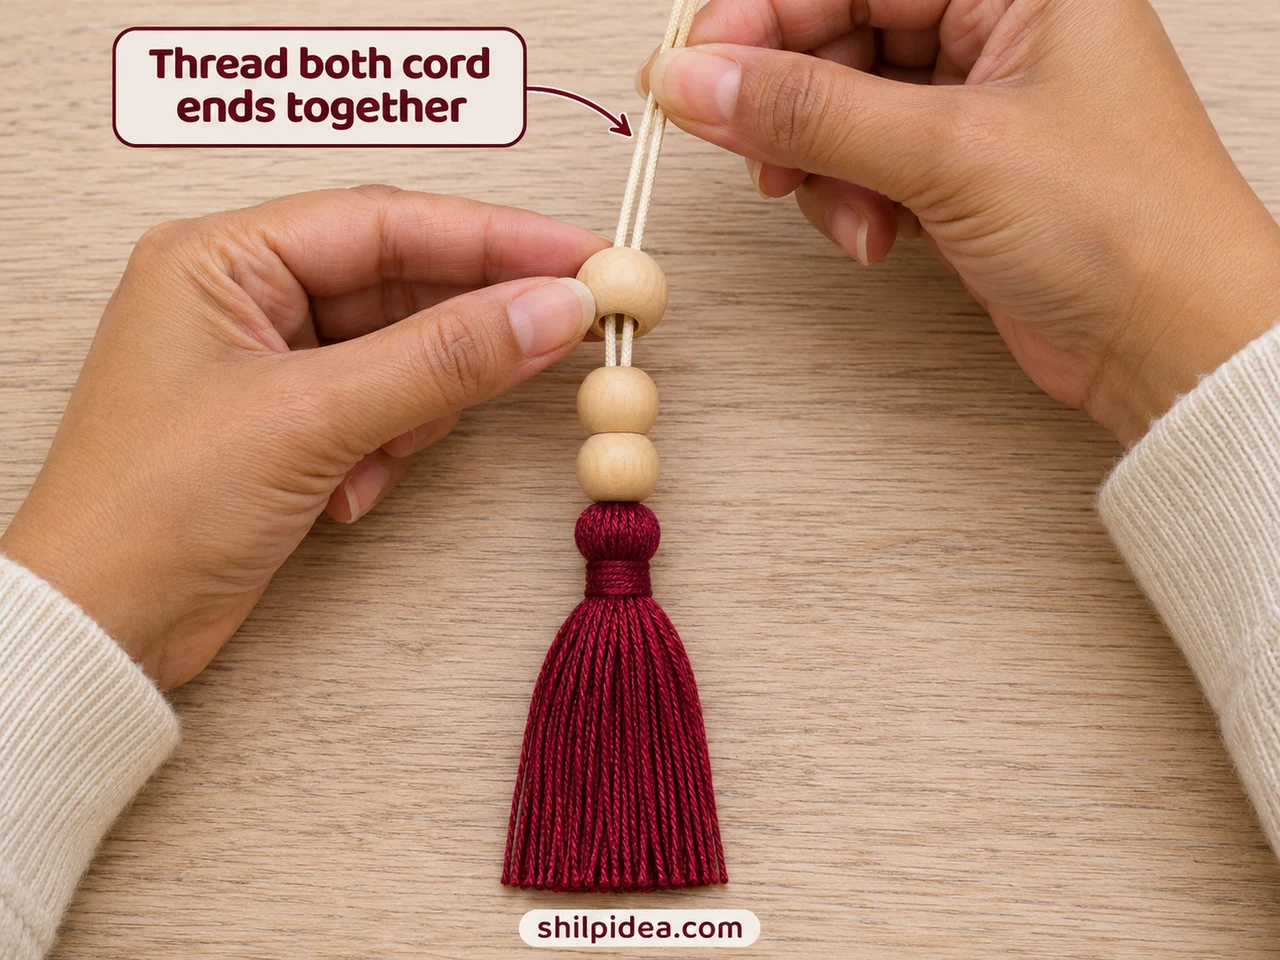
- Check the hole fit – Bring both ivory cord tips together and test them through one bead. If needed, wrap the tips tightly with a tiny piece of removable tape. Use beads with larger holes if the pair will not pass easily.
- Slide on all three beads – Thread each bead onto both cord ends together, sliding the stack down toward the tassel head. Keep the beads in one column. Do not put one bead on each separate strand or split the cord between beads.
- Add a stopper knot – Remove any threading tape. Hold the two strands together as one, form an overhand loop just above the top bead, pass both free ends through it, and tighten. Check that the knot is too large to slip through the bead hole.
If the stopper slips into the hole, make the knot bulkier by passing both free ends through the same loop a second time before tightening. Test it with a gentle pull. The two remaining free ends must stay long enough to wrap around your napkin and form a bow.
For another example of wooden beads threaded over paired tassel strands, see Rayher’s wooden bead pendant guide. This napkin version uses longer free tails so the decoration can be untied.
6. Tie the Tassel Around the Napkin
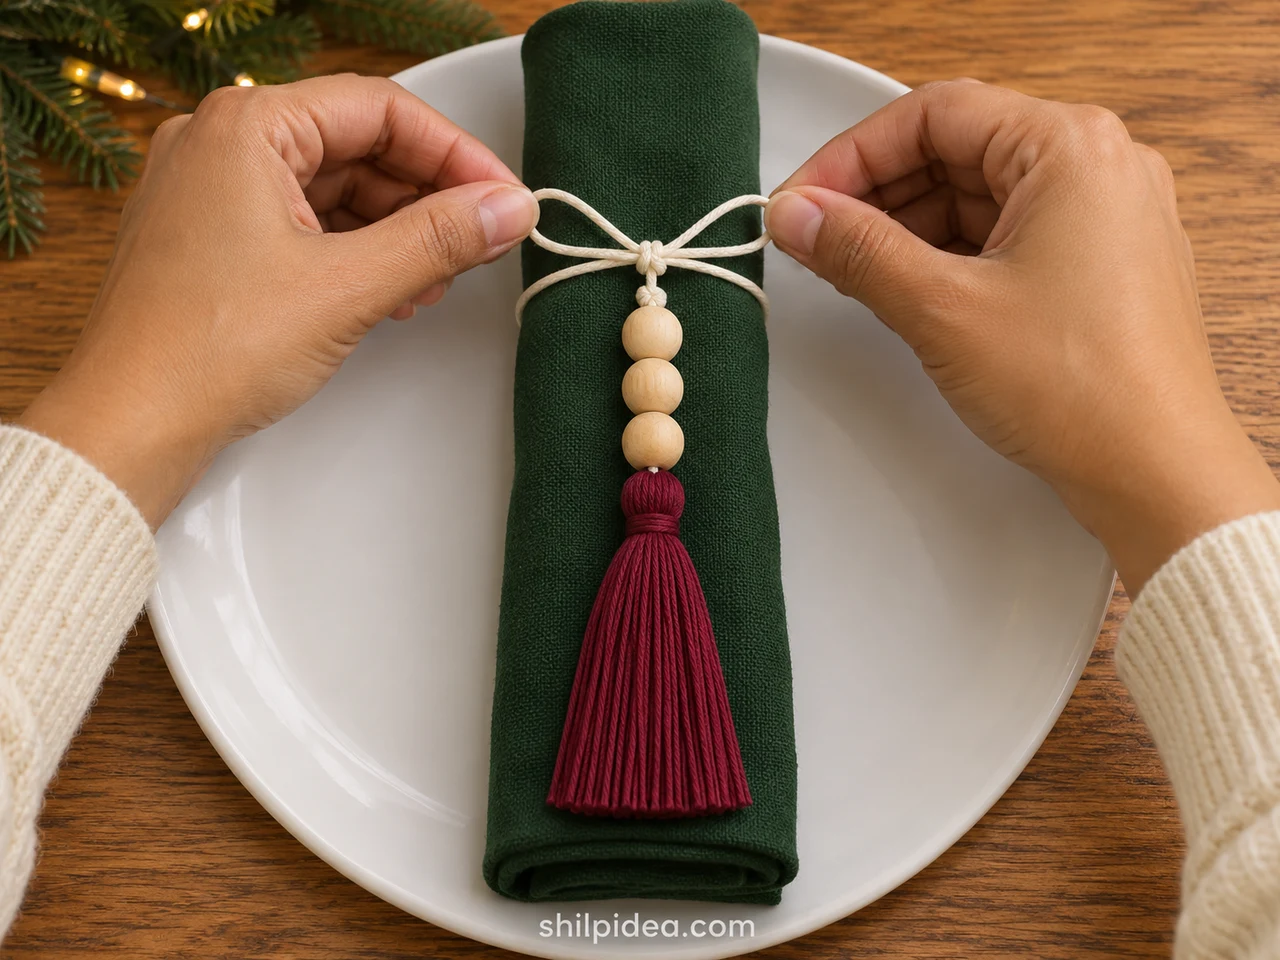
- Roll the napkin – Fold your cloth napkin into a manageable rectangle and roll it into a loose cylinder. Place the tassel on the front with the bead stack above the fringe. Keep the whole decoration within the napkin’s length.
- Wrap and tie the cord – Separate the ivory tails above the stopper knot. Take one around each side of the napkin, cross them behind, and bring them back to the front. Tie a simple bow above the beads without squeezing the fabric tightly.
- Check and repeat – Adjust the bow loops and straighten the beads and fringe. Gently pull each end to confirm the decoration holds together, then untie the bow once to check easy removal. Repeat the same measurements for the remaining napkins.
Leave enough tail to untie the bow comfortably; trim only after the final fit check. If a thick napkin leaves too little cord, use a longer ivory piece on the next tassel. For another shape, browse these Christmas napkin folds and test the tie on your chosen fold first.
Quick Fixes for a Neater Tassel
- The bundle feels thin: Add more wraps on your next sample and record the final count for the set.
- The neck slips: Retie the binding before trimming, with the wraps close together and the knot at the back.
- The fringe looks uneven: Smooth it from head to tips and trim tiny amounts. Avoid pulling individual strands while cutting.
- The beads slide: Check the stopper knot against the hole size and enlarge the knot if necessary.
- The bow is too small: Use a longer tie cord rather than tightening the wrap until it creases the napkin.
Care and Storage After Dinner
Untie and remove the tassel before using or washing the napkin. Store the decoration flat with its fringe smoothed and its cord loosely coiled. Keep it dry and separate from cutlery that might snag the thread. Before reusing it, inspect the top tie, neck binding, and stopper knot, and replace any damaged or rough bead.
More Handmade Christmas Table Projects to Try
Repeat the burgundy, green, and natural wood palette in a few other details to give the table a coordinated look. A simple centerpiece or a different napkin treatment can be enough. These projects offer additional ways to work with fabric, beads, and seasonal accents while keeping your place settings easy to arrange and clear away after the meal.
- Christmas Napkin Decorations for Your Table
- Christmas Napkin Folds for Festive Tables
- Beaded Christmas Ornaments for Craft Night
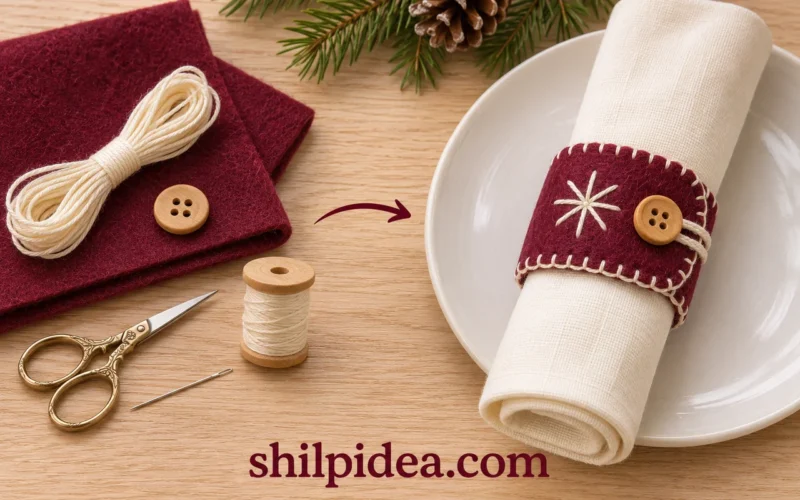
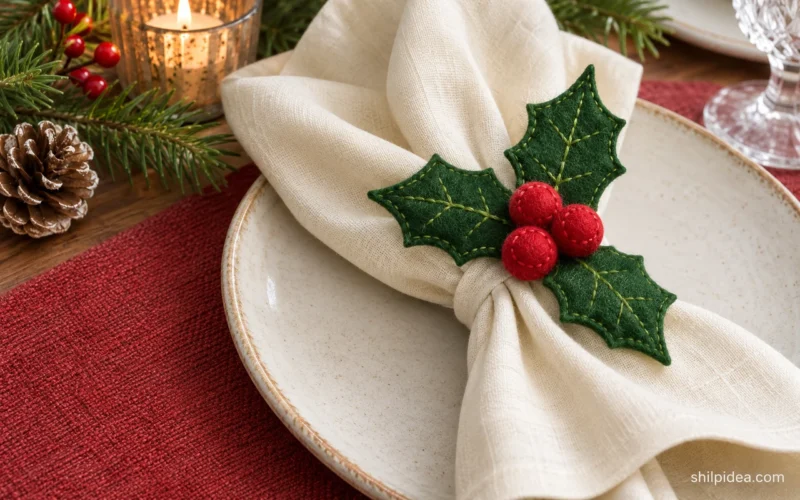
- Felt Holly Rings for Christmas Napkins
- Christmas Centerpieces for a Welcoming Table
Would you make these tassels in burgundy or choose another color for your Christmas table? Share your plans in the comments, and if you try them, let us know what thread thickness and wrap count gave you the finish you liked.





















0 Comments