How to Arrange a Pinecone Place Setting for Christmas Dinner
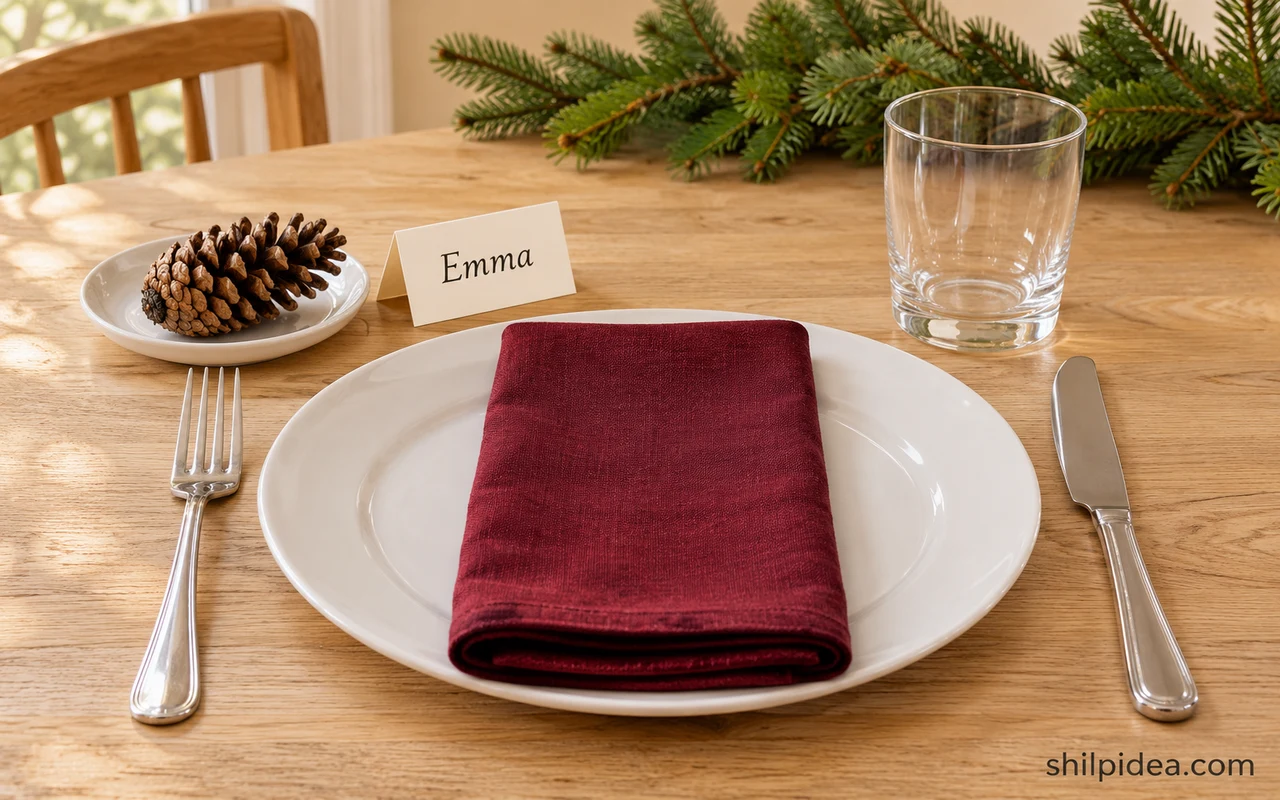
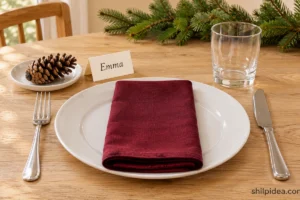
A pinecone place setting gives Christmas dinner a warm woodland touch without covering the table in decorations. This arrangement pairs a natural cone with a folded name card and a burgundy napkin.
A small saucer keeps the cone separate from dinnerware, while the card stands on its own. Use the same restrained palette across your Christmas table settings.
The proposed method below covers card measurements, a simple napkin fold, and practical placement. For a different fabric treatment, explore these Christmas napkin ideas before choosing your final look.
Materials and Tools
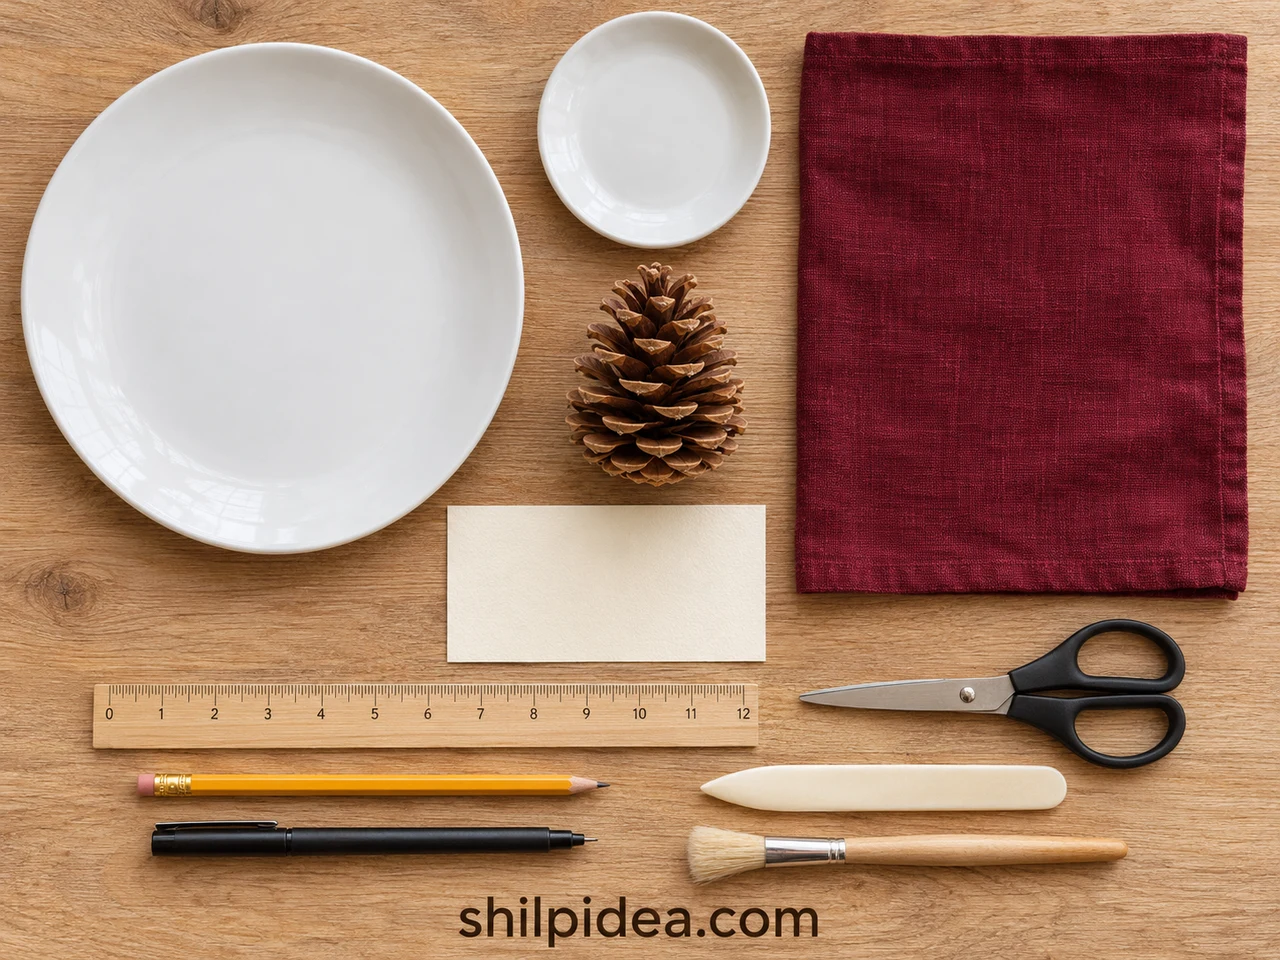
Gather these supplies for each guest, sharing the cutting and writing tools across the whole table.
- Plain pinecone – One clean, dry, unscented cone approximately 2.50–3.50 inches long, small enough to fit completely inside your saucer.
- Small saucer – One shallow, stable dish reserved for the decoration; a diameter around 4.00 inches is a useful starting point.
- Ivory cardstock – One 3.50 × 3.50-inch square per name card; choose cardstock that holds a crease and stands without sagging.
- Cloth napkin – One clean burgundy napkin; a square approximately 18.00 × 18.00 inches folds into a compact rectangle.
- Measuring and cutting tools – A ruler, pencil, scissors, and a blunt bone folder for scoring the card on a protected surface.
- Name-writing pen – A dark fineliner or felt-tip pen that writes clearly on your cardstock without bleeding.
- Soft brush – A small dry brush and scrap paper or a spare dish to catch loose debris.
- Tableware – Your dinner plate, flatware, and water glass; greenery elsewhere on the table is optional.
Precautions Before You Begin
Keep the decorative materials separate from anything guests will eat or drink from.
- Reject cones with visible mold, insects, sticky sap, fragrance, glitter, or loose coatings; brushing removes debris but does not sanitize a cone.
- Keep the pinecone in its decorative saucer, away from the napkin, food, and drinking rims.
- Use a blunt scoring tool and protect the tabletop when cutting or scoring cardstock.
- Keep loose cones and small decorations out of reach of young children and pets, and away from open flames.
1. Prepare the Pinecone and Check Its Fit
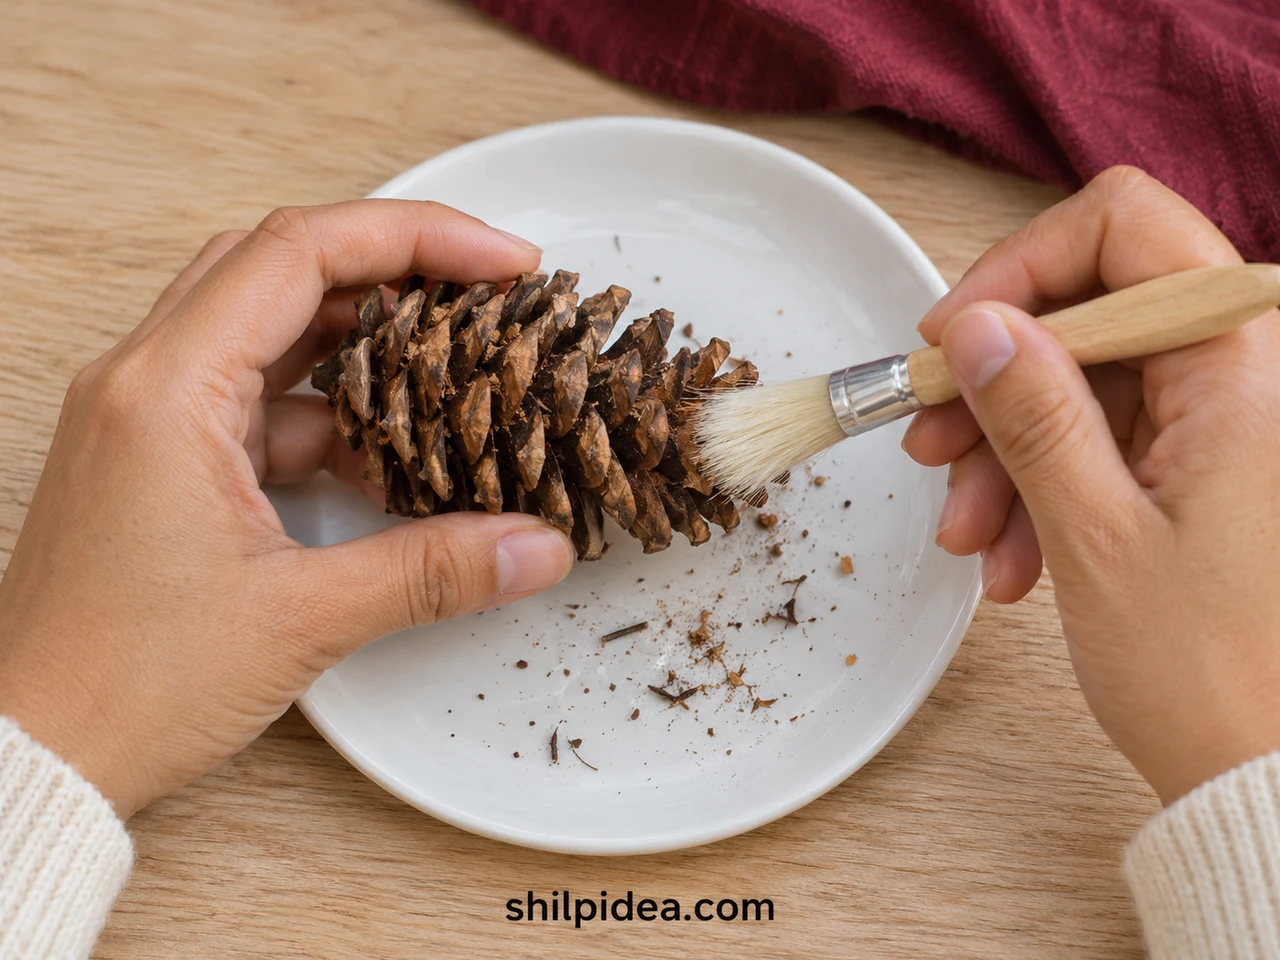
- Inspect before brushing – Turn the cone slowly and check between the scales. Choose a plain, dry cone with intact scales; replace one that is sticky, damaged, or shedding heavily instead of trying to disguise it.
- Remove loose debris – Hold the cone over scrap paper or a spare dish. Brush gently from the broad end toward the tip, turning it as needed. Empty the debris and wash your hands before handling clean tableware.
- Test the saucer – Lay the cone on its side in the clean decorative saucer. Rotate it until it rests securely, with no part extending over the rim. Use a larger saucer or smaller cone if necessary.
Before moving on: The cone should stay in the dish when you gently move the saucer across the table. It does not need to stand upright or support the name card.
2. Cut and Score the Name Card
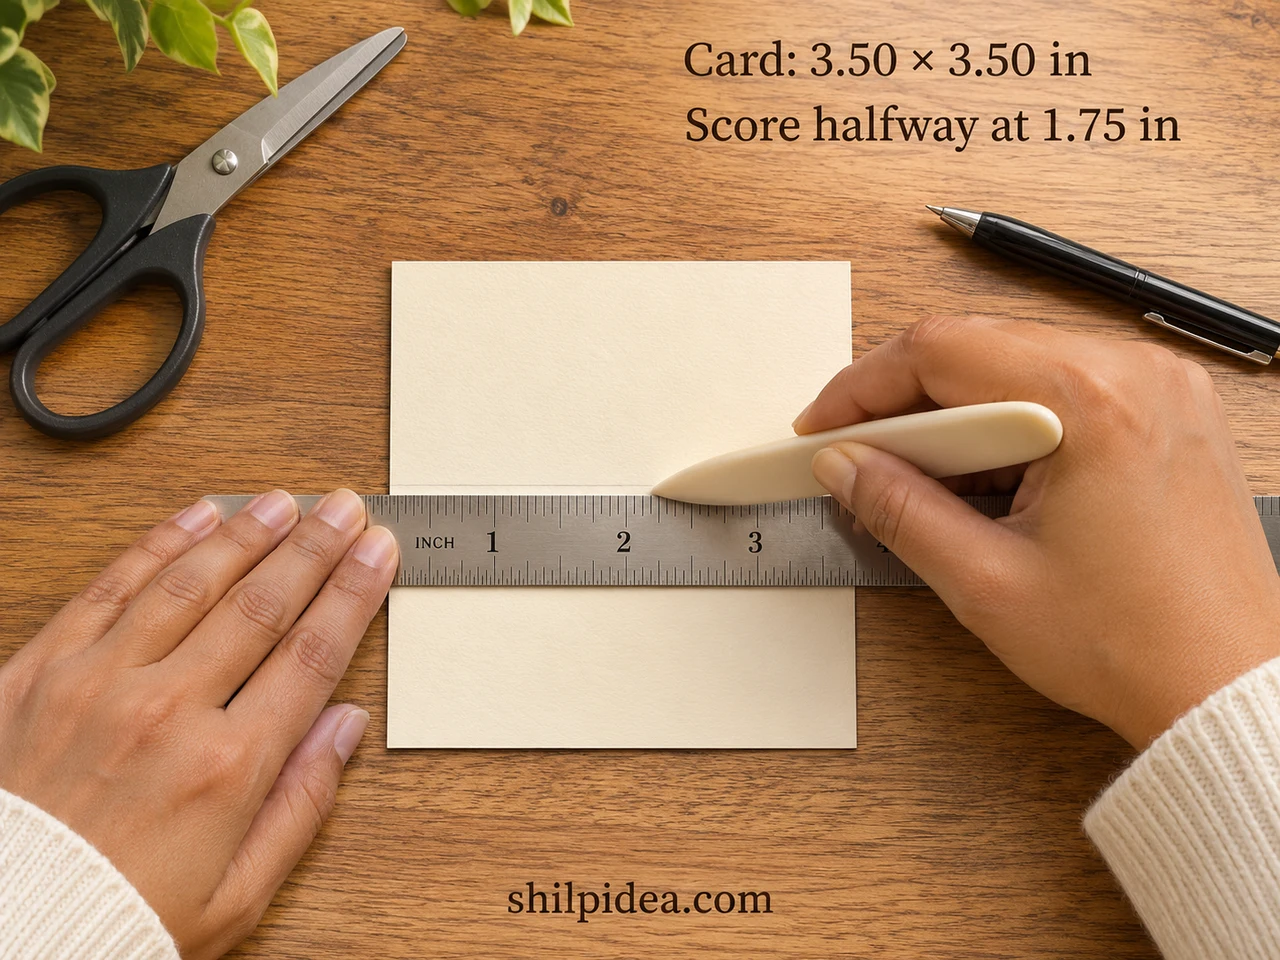
- Cut one square – Measure and cut ivory cardstock to 3.50 × 3.50 inches. Keep the corners square and the edges straight so the two lower edges will sit evenly when the card is folded.
- Mark the halfway line – Measure 1.75 inches down from the top along both side edges. Make two light pencil marks, then align the ruler between them. This line divides the square into equal front and back panels.
- Score lightly – Hold the ruler firmly and draw a blunt bone folder along its edge over the midpoint line. Use light pressure to indent the surface without tearing through the cardstock. Erase visible pencil marks.
All card dimensions below are in inches. Width runs left to right; height runs from top to bottom.
| Part | Width × height |
|---|---|
| Flat cardstock | 3.50 × 3.50 |
| Each folded panel | 3.50 × 1.75 |
| Score position | 1.75 from the top edge |
3. Fold and Write the Tent Card
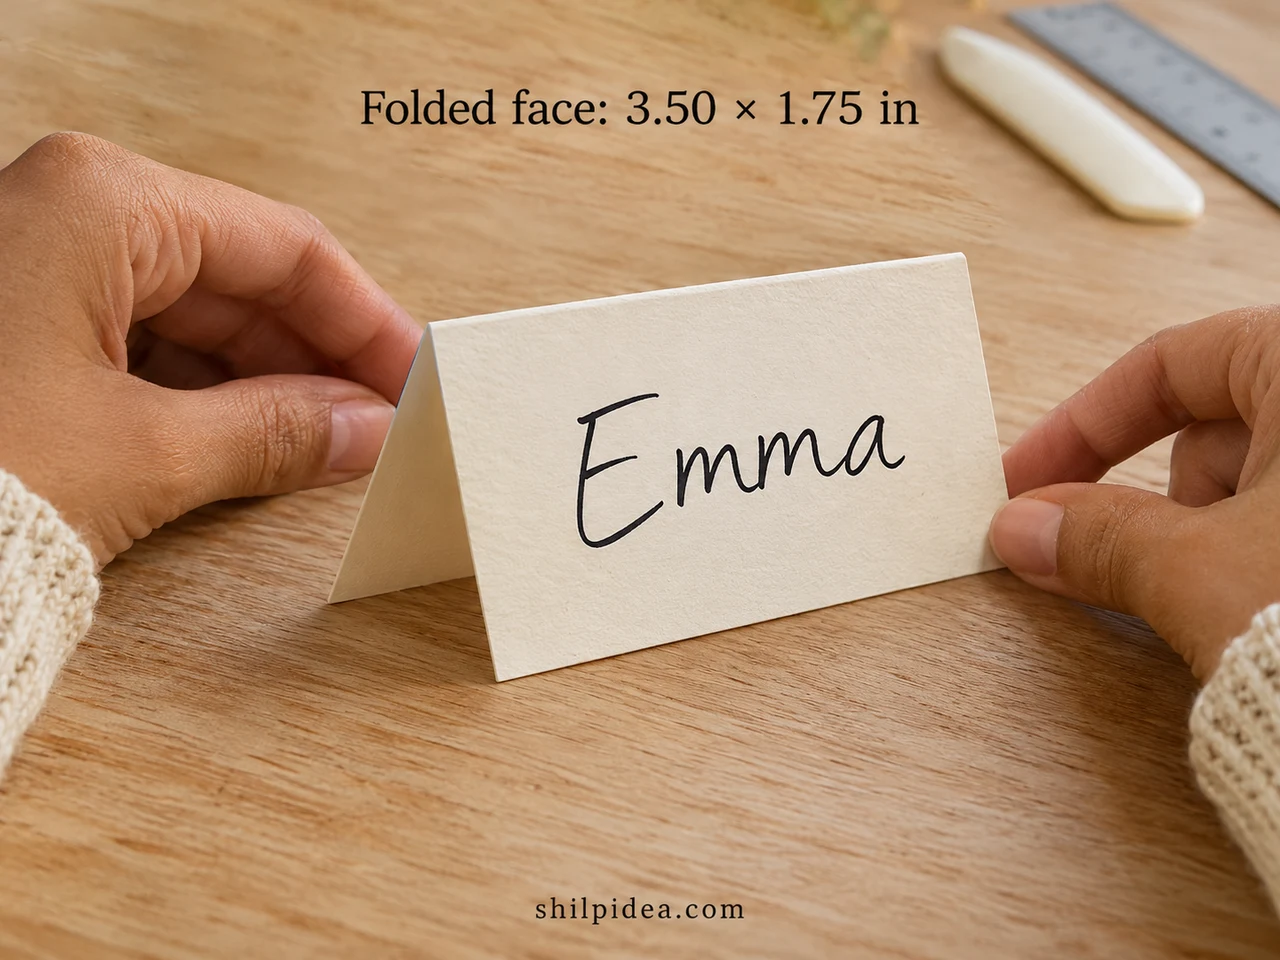
- Make the tent fold – Fold the card along the scored midpoint, matching the outer edges. Press the crease gently, then open the card into an inverted V. Both lower edges should rest on the tabletop.
- Write the guest name – Check which panel faces the guest with the fold at the top. Open the card flat again and write the name on that panel, keeping it comfortably inside the edges. Let the ink dry.
- Check readability and balance – Stand the card back up with its blank rear panel behind the name. Read it from a seated position. If it rocks, check for uneven cuts; if it spreads flat, sharpen the crease or use firmer cardstock.
Before moving on: The card must stand independently. Do not push it between pinecone scales or lean it against the cone; this arrangement uses two separate pieces.
4. Fold the Napkin into a Simple Rectangle
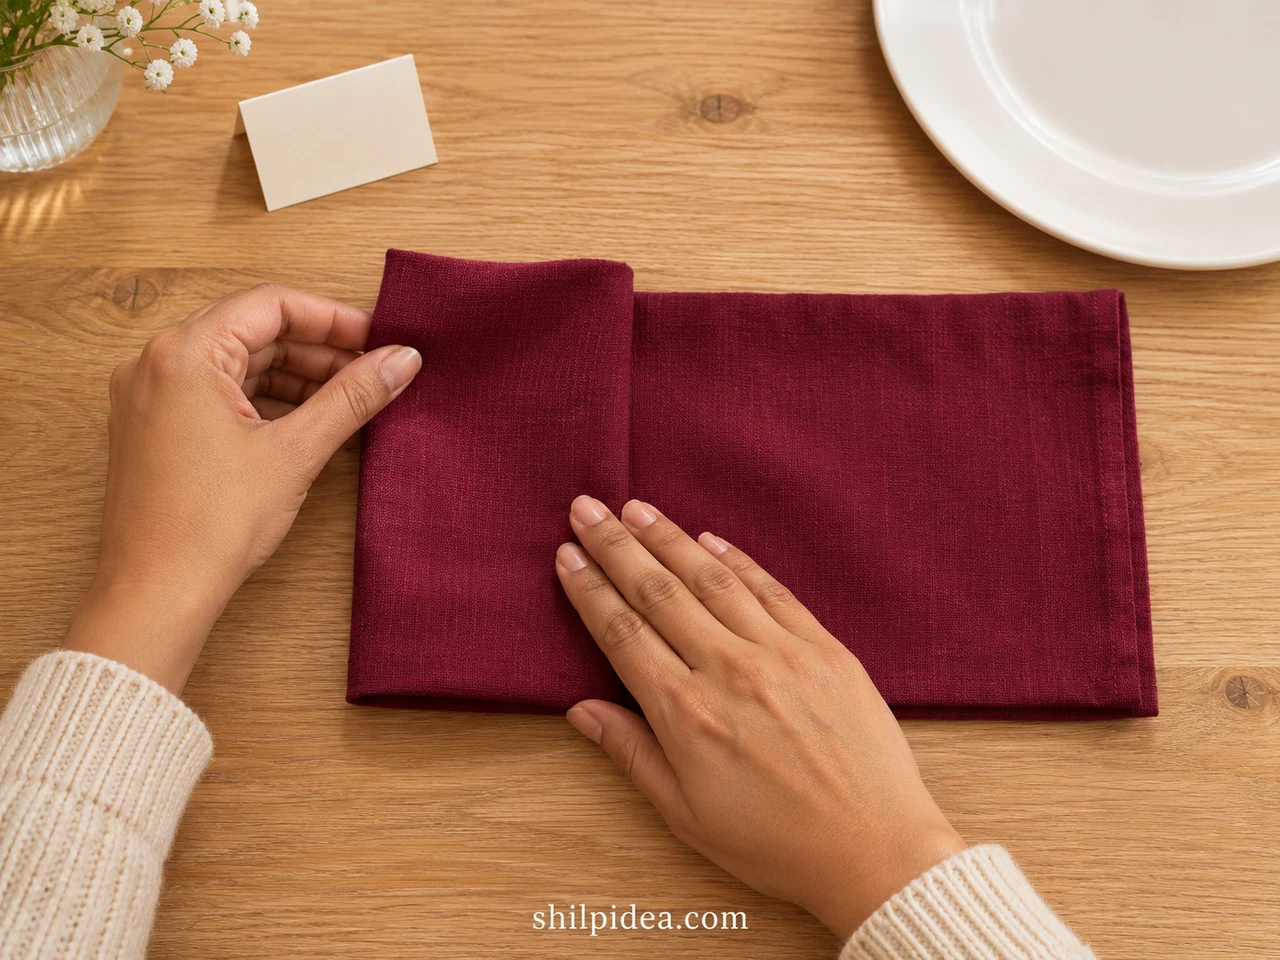
- Make the first fold – Spread the clean square napkin flat. Bring the bottom edge up to meet the top edge, smoothing the cloth into a wide rectangle. Keep the edges aligned without stretching the fabric.
- Fold the sides inward – Fold the left third across the center, as shown, then bring the right third over it. Smooth the layers with your hands. Turn the folded napkin so its long dimension runs toward the guest.
- Position on the plate – Set the rectangle in the center of the dinner plate, keeping the loose edges tucked underneath where practical. For an 18.00-inch square napkin, the folded rectangle is approximately 6.00 × 9.00 inches.
If the napkin covers the entire plate, make the initial rectangle shorter with one additional fold, then fold the sides inward. Cloth sizes and thicknesses vary, so use the plate as your final fit check. Leave the napkin easy to lift without untying anything.
5. Arrange and Check Each Place Setting
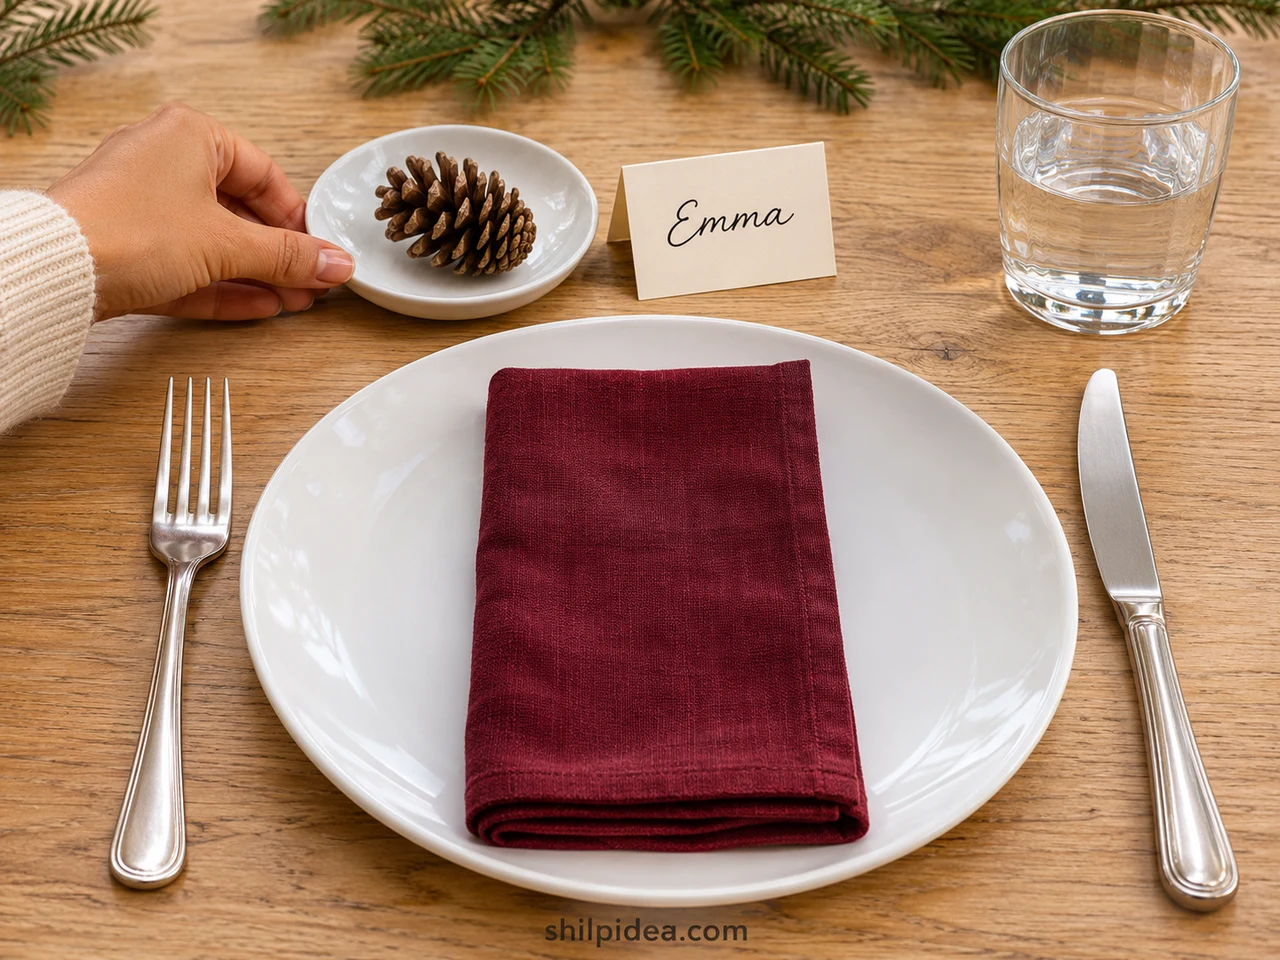
- Place the decorative pieces – Set the pinecone saucer above the plate toward the left. Stand the name card directly on the table beside it, facing the guest. Leave enough separation that the cone does not hide the name.
- Keep the setting usable – Put the fork to the left and the knife to the right, blade facing the plate. Place the water glass above the knife. Add only the utensils needed for your meal and keep the card clear of them.
- Repeat and make a seated check – Repeat the arrangement for each guest, then sit at one place. Confirm that the name is readable, the glass is easy to reach, and decorations leave room for serving dishes. Move the saucers aside before serving if space is tight.
Small differences between natural cones are fine. Matching the saucers, card size, and napkin color gives the table a consistent look without requiring identical cones. For coordinated natural Christmas decorations, keep any optional greenery toward the center of the table, separate from the place cards and serving surfaces.
Quick Fixes Before Guests Arrive
- The cone rolls: Turn it onto a more stable side or choose a different cone; do not wedge it against the name card.
- The name is crowded: Write a shorter preferred name or reduce the lettering size. Test on scrap cardstock first.
- The table feels cramped: Move the decorative saucers to a sideboard after guests find their seats, leaving the tent cards on the table.
- The card goes flat: Reinforce the crease and narrow the tent opening. Replace thin paper with firmer cardstock if it still collapses.
Make the cards ahead and store them flat. Keep the dry cones in a separate container so loose debris cannot transfer to clean linens. Assemble the saucers and cards when setting the table, then put the reusable pieces away separately after dinner.
More Handmade Christmas Table Ideas to Try
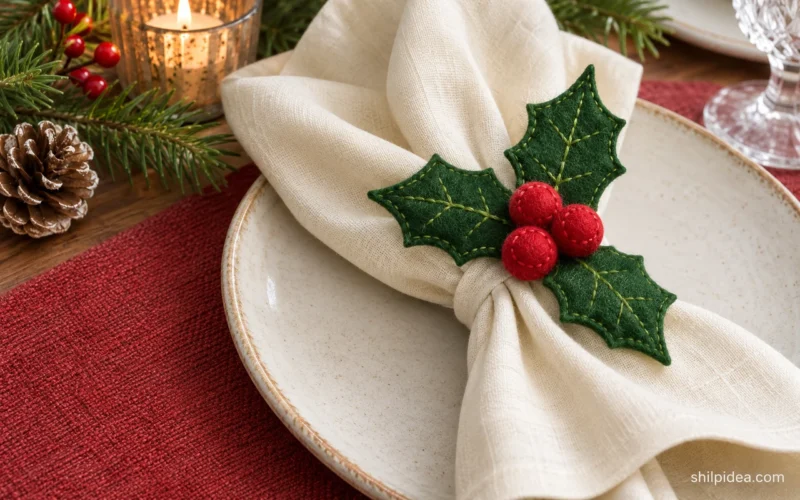
Build the rest of your table around the same simple choices: natural texture, a limited color palette, and room for the meal. These projects offer different ways to carry the look into napkins, centerpieces, and nearby decorations. Choose one or two accents that suit your table instead of adding every idea to each place setting.
- Festive Napkin Decorations for Christmas
- Christmas Centerpieces for Your Table
- Christmas Table Settings with Natural Details
- Natural Christmas Decorations with Pinecones
- Woodland Ornaments with Pinecones and Felt
Would you pair your pinecones with burgundy napkins or a different Christmas color? Share your table plans in the comments, and if you try this arrangement, let us know how the card size and saucer placement worked for your space.


















0 Comments