How to Make a Handmade Christmas Card with Layered Paper Shapes
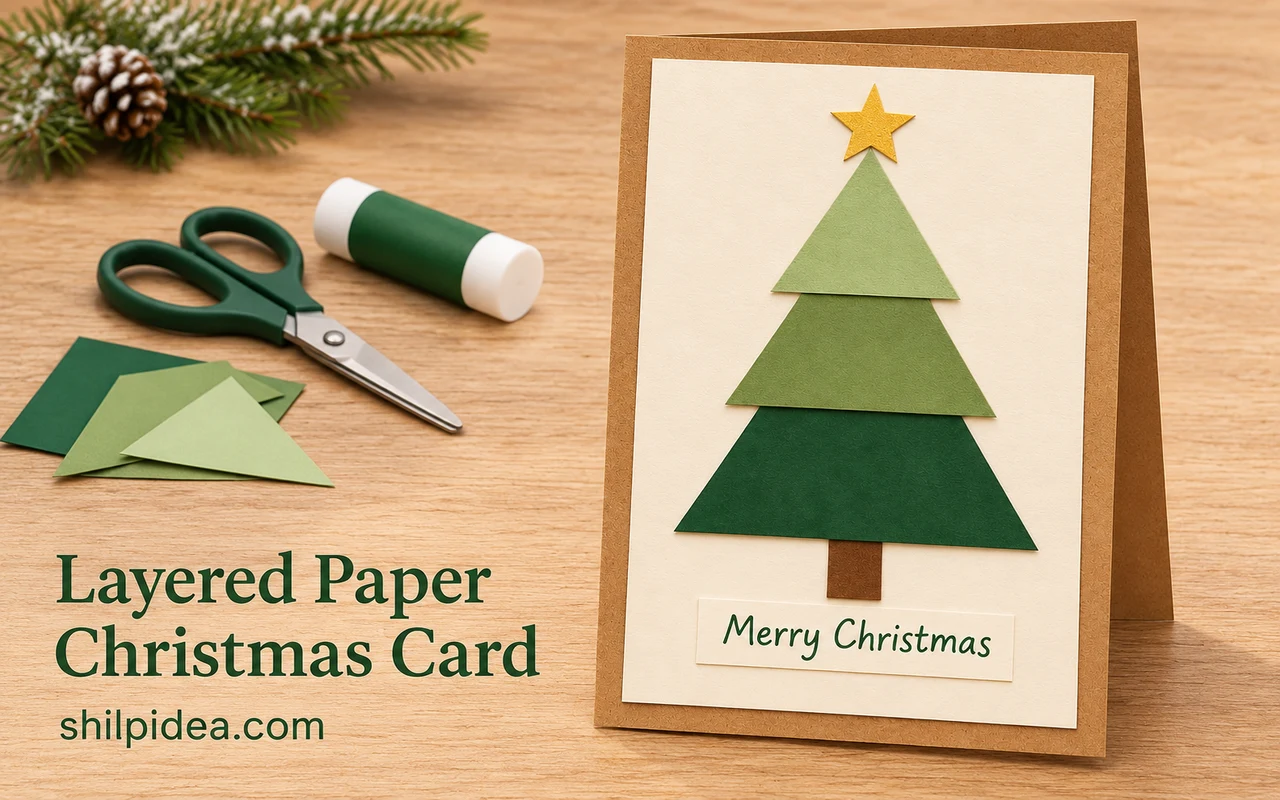
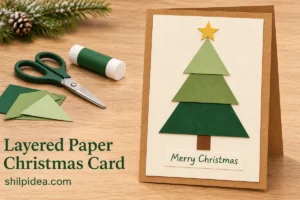
A layered paper Christmas card turns a few cardstock scraps into a small gift worth keeping. Three overlapping triangles form the tree, while a gold star and handwritten greeting finish the front.
Use greens, ivory and kraft for this version, or borrow a palette from these handmade Christmas cards. The layers stay flat, with no pop-up mechanism to assemble.
Follow the cutting sizes and gluing order below. Save suitable offcuts for Christmas gift tags so your card and wrapping feel coordinated.
Materials and Tools
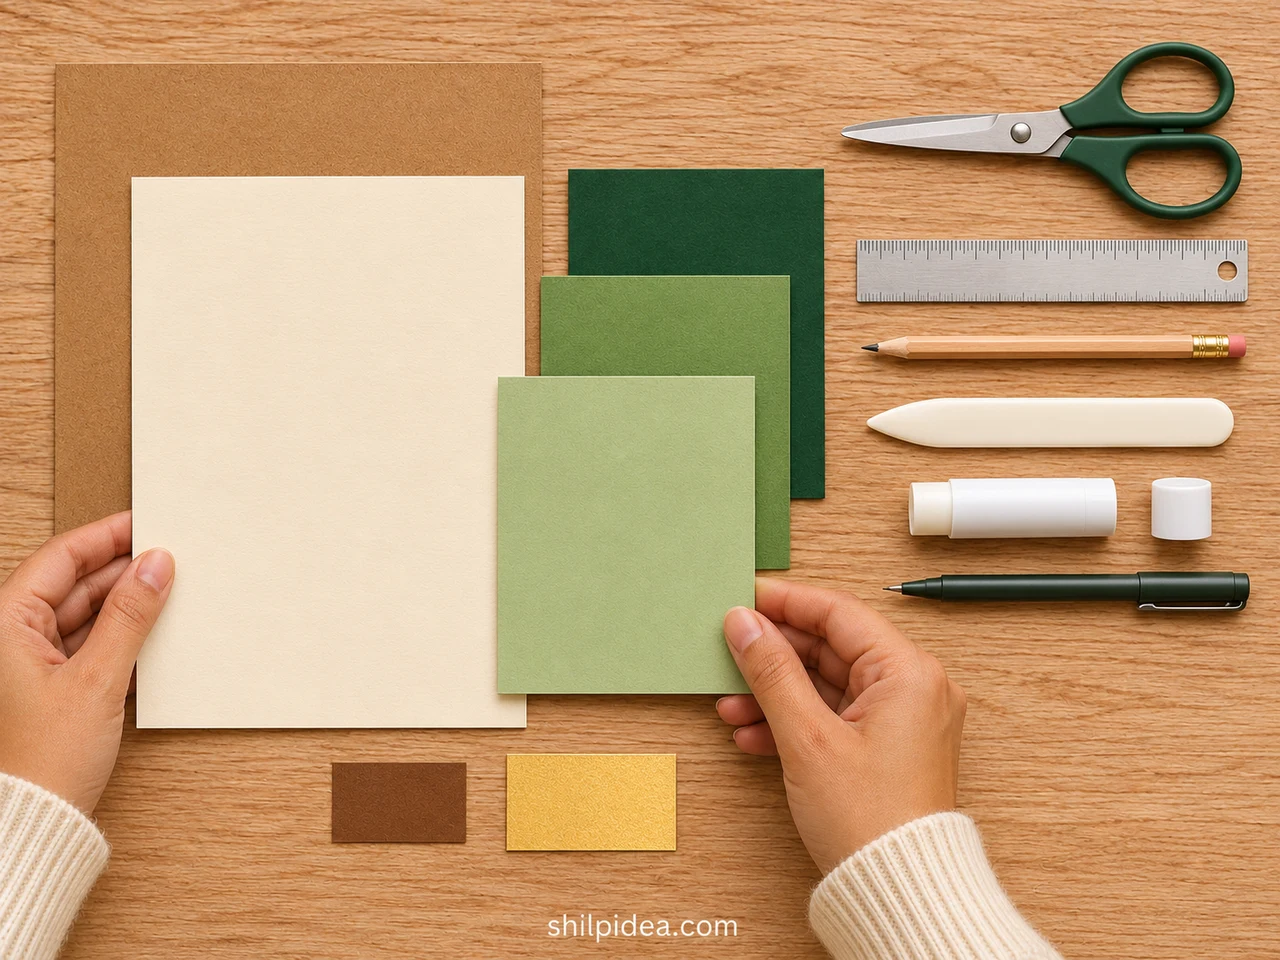
Gather these supplies for one folded card, plus a little spare paper for practice.
- Kraft cardstock – One piece at least 8.50 × 5.50 inches (21.60 × 14.00 cm); choose a sturdy cardstock that folds cleanly.
- Ivory cardstock – Enough for a 3.75 × 5.00-inch front panel (9.50 × 12.70 cm) and a 3.00 × 0.50-inch greeting strip (7.60 × 1.30 cm).
- Green paper – Three shades of lightweight cardstock for the tree; use the triangle sizes listed below.
- Small accents – Brown paper for a 0.50 × 0.75-inch trunk (1.30 × 1.90 cm) and matte gold paper for a roughly 0.50-inch (1.30 cm) star.
- Measuring and cutting tools – A ruler, pencil, eraser and scissors; a paper trimmer is optional for straight edges.
- Scoring tool – A blunt scoring stylus or bone folder, used over a suitable scoring surface.
- Adhesive and pen – A paper-compatible glue stick, a fine pen, scrap paper to protect your table and an envelope that fits the finished card.
The finished card is approximately 4.25 × 5.50 inches (10.80 × 14.00 cm), a common US A2 card size. This is a proposed design rather than a physically tested Shilpidea pattern. Use the written measurements; the pictures and cutting diagram are not full-size templates.
Precautions Before You Begin
Prepare a clear cutting area before handling the small pieces.
- Use a blunt tool to score; a sharp blade can cut through the fold.
- Keep fingers clear of scissors and supervise children during cutting.
- Test your glue and pen on scraps of the chosen papers first.
- Keep glue off the card interior and let wet ink dry before handling it.
1. Cut and Fold the Kraft Card Base
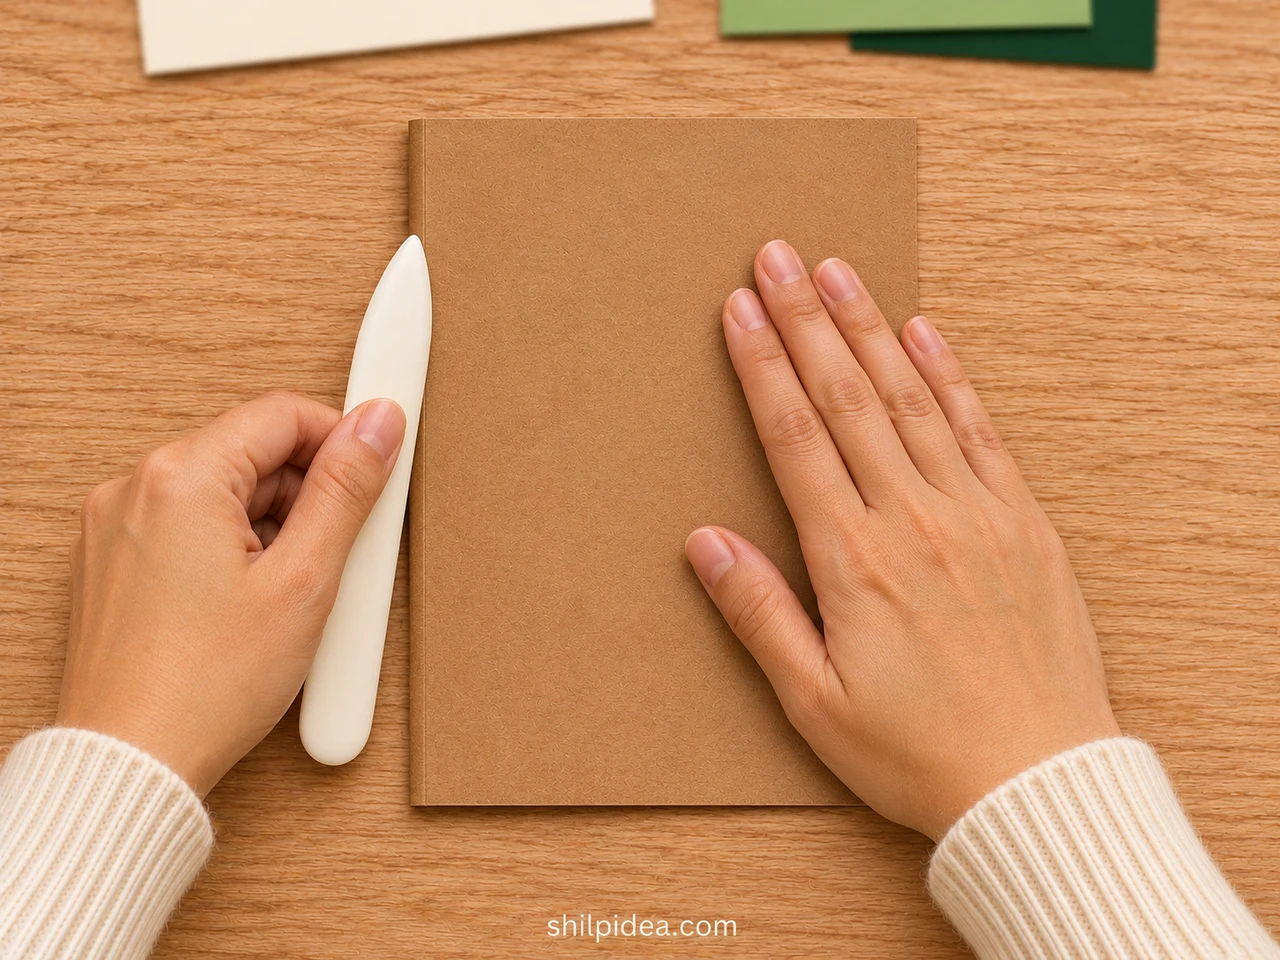
- Measure the base – Cut kraft cardstock to 8.50 inches wide by 5.50 inches tall (21.60 × 14.00 cm). Keep the longer edges horizontal, then mark the midpoint at 4.25 inches (10.80 cm) along the top and bottom.
- Score and fold – Join the midpoint marks with a ruler and make a light score using a blunt tool. Fold in half, align the corners and smooth the crease. Set the folded card upright in portrait orientation, spine on the left.
Before moving on: The front measures 4.25 × 5.50 inches. It opens like a book, and the top and bottom corners meet without twisting.
2. Cut the Panel and Three Tree Triangles
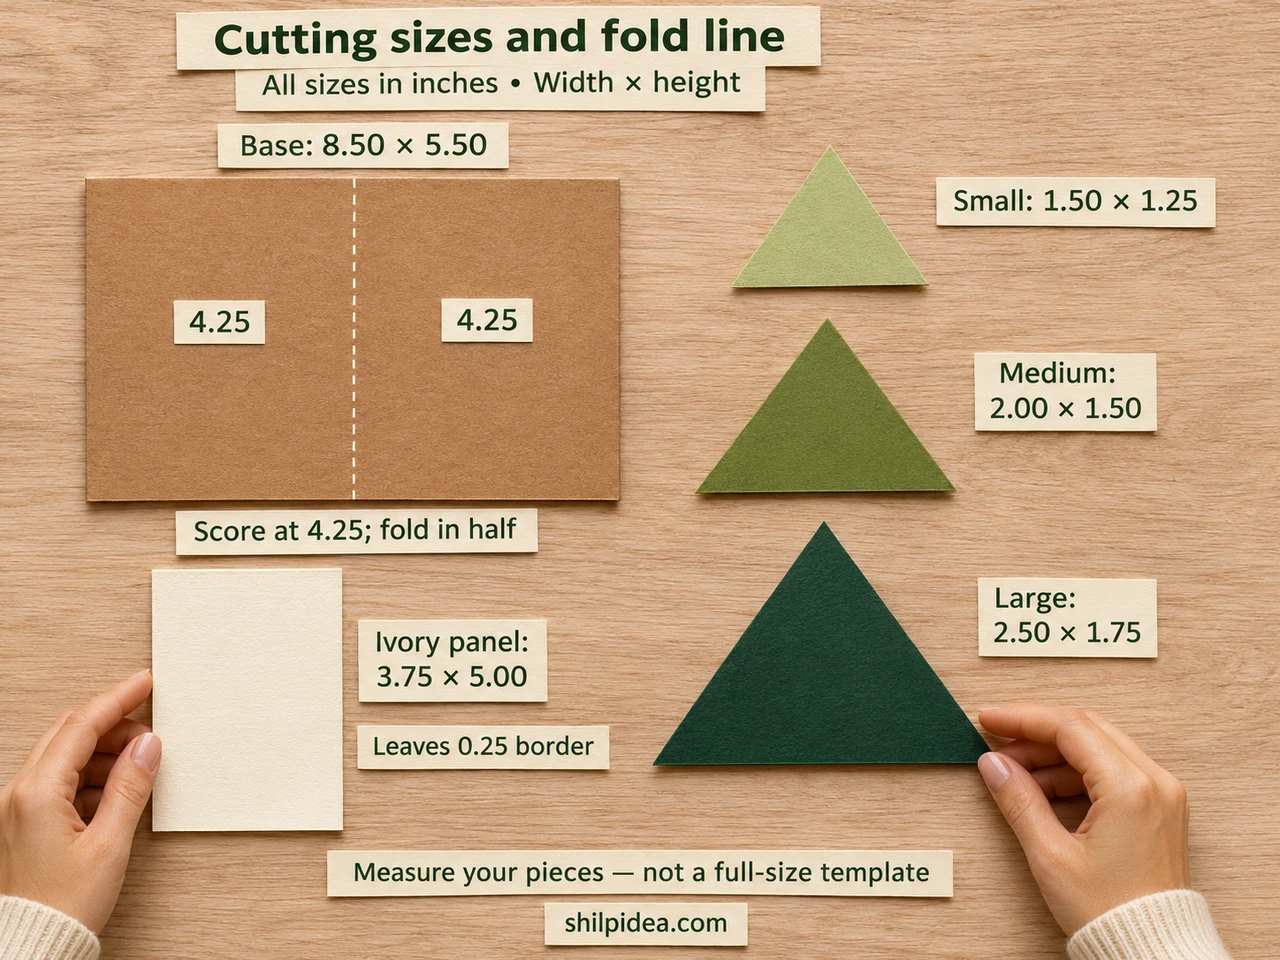
Cut these rectangles first. Width is the horizontal measurement; height runs from the triangle’s top point to its straight base.
| Piece | Width × height |
|---|---|
| Ivory front panel | 3.75 × 5.00 in (9.50 × 12.70 cm) |
| Large forest-green rectangle | 2.50 × 1.75 in (6.40 × 4.40 cm) |
| Medium olive rectangle | 2.00 × 1.50 in (5.10 × 3.80 cm) |
| Small sage rectangle | 1.50 × 1.25 in (3.80 × 3.20 cm) |
- Turn rectangles into triangles – On each green rectangle, mark the midpoint of its top edge. Draw straight lines from that mark to both bottom corners. Cut along those two lines, keeping the full bottom edge as the triangle’s base.
- Prepare the small pieces – Cut the brown trunk and ivory greeting strip to the materials-list sizes. Sketch and cut a small five-point gold star, or use a similarly sized star punch. Erase any visible pencil marks.
No angle measurement is needed: connecting the top midpoint to both bottom corners creates two matching sloping sides. Use the inch measurements consistently; metric equivalents are rounded.
Before moving on: You have three complete triangles with pointed tops, not trapezoids. Their tips will be hidden by overlapping during assembly.
3. Arrange the Pieces Without Glue
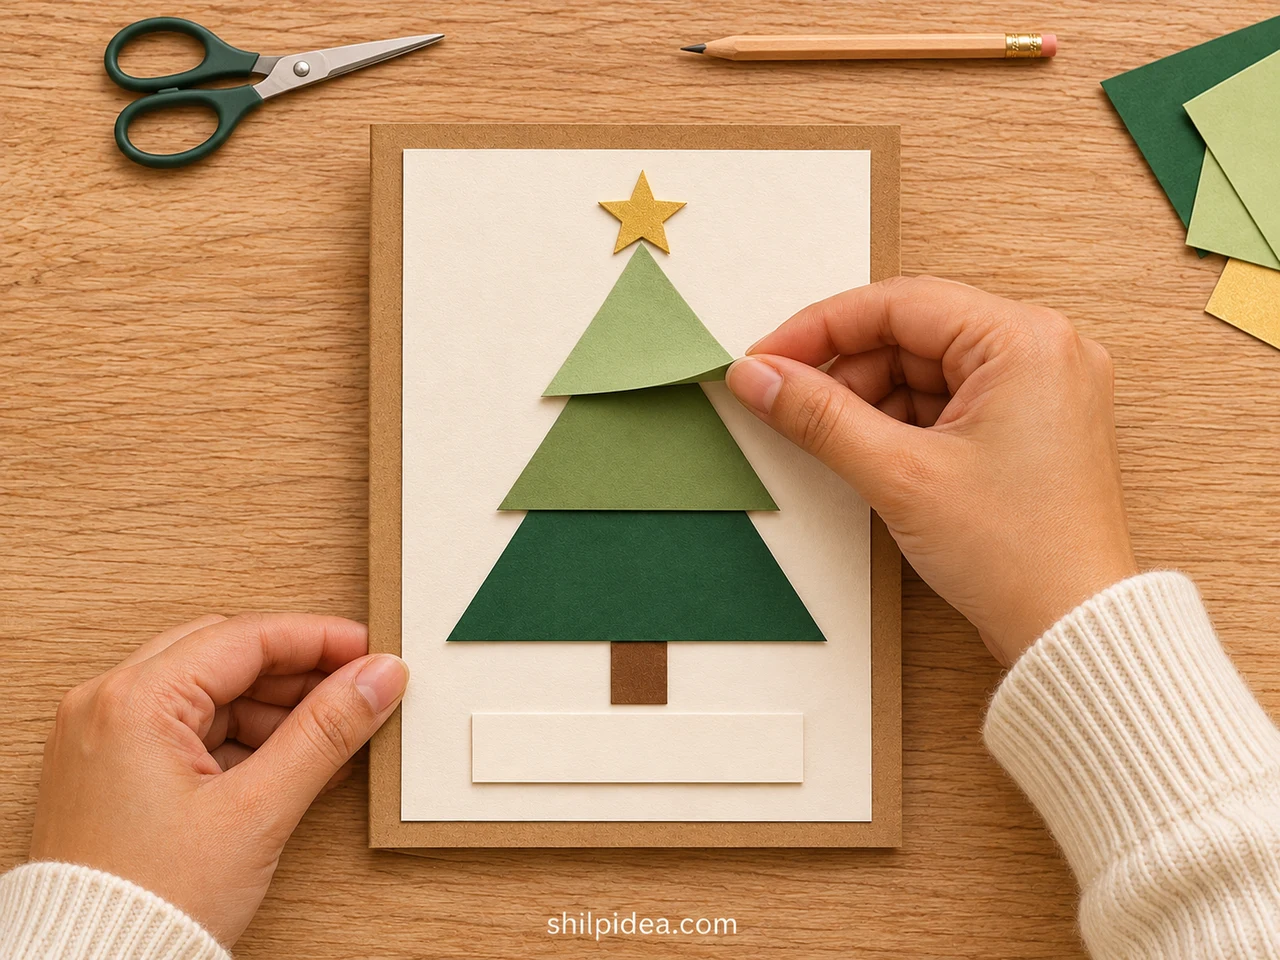
- Center the ivory panel – Place the ivory panel on the closed kraft card, leaving a 0.25-inch (6.00 mm) border on every side. Rest the blank greeting strip near the panel’s lower edge, leaving a small margin below it.
- Build the tree from the bottom – Place the trunk above the greeting strip, then set the largest triangle over its upper end. Add the medium triangle above the large one and the small triangle above the medium, keeping all three centered.
- Check the spacing – Start with about 0.50 inch (1.30 cm) of vertical overlap at each join. Add the star above the top point. Adjust slightly until the tree, trunk and greeting fit comfortably inside the ivory panel.
The two overlaps reduce the combined triangle height from 4.50 inches to about 3.50 inches (8.90 cm). Keep the greeting separate from the trunk and leave a little ivory space around the star.
Before moving on: Every piece sits inside the panel, and all three horizontal green bases remain visible. Take a quick phone photo of the dry arrangement before lifting the pieces.
4. Glue the Panel and Tree from Back to Front
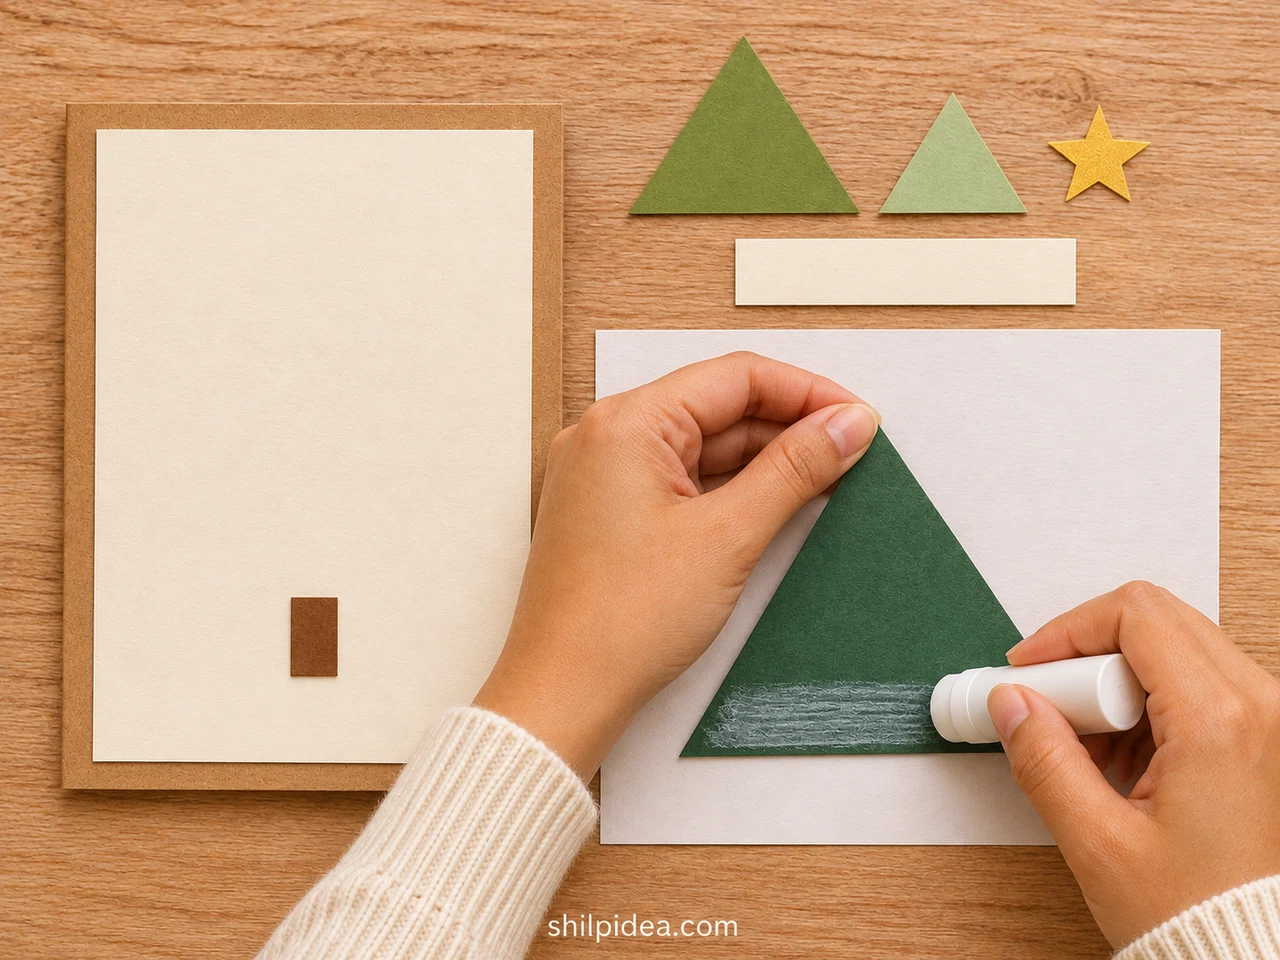
- Attach the background – Move the small pieces aside in their size order. Apply a thin, even coat of glue to the back of the ivory panel, including its corners. Center it on the card front and press gently.
- Glue the trunk and large triangle – Replace the trunk using your dry-layout photo as a guide. Glue it first. On scrap paper, coat the back of the largest triangle and place it over the trunk’s upper end.
- Add the two upper layers – Glue the medium triangle over the upper portion of the large one, then the small triangle over the medium. Keep their center points aligned. Press each layer gently without sliding it out of position.
Work with small amounts of glue rather than thick ridges. The design gets its layered look from overlapping paper, so foam pads are unnecessary. If a tip lifts, add a little glue beneath it and press with clean scrap paper.
Before moving on: The tree is attached in this order: trunk, large triangle, medium triangle, small triangle. The gold star and greeting are still separate.
5. Add the Greeting and Finish the Card
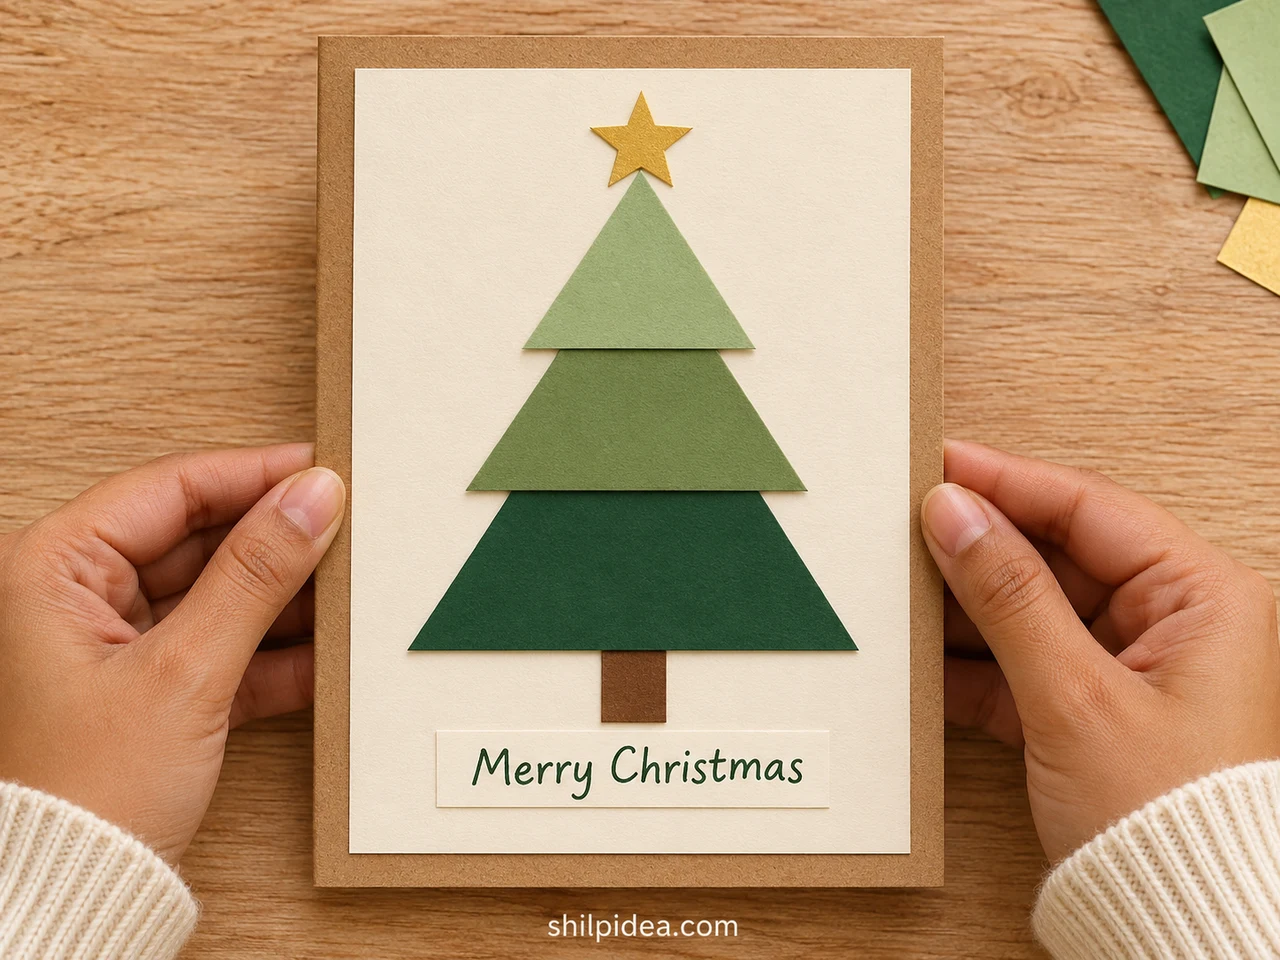
- Write before attaching – Write “Merry Christmas” or a short personal greeting on the loose ivory strip. Let the ink dry, then glue the strip below the trunk. Attach the gold star above the tree’s top point.
- Let the layers set – Leave the card flat for the adhesive’s recommended setting time. Check corners and triangle tips, then open the card and write your message inside. Make sure no glue has sealed the front to the back.
- Check the envelope fit – Slide the dry card into your chosen envelope without forcing it. If mailing, check the packed card’s thickness and current postal requirements; extra embellishments can change how it is handled.
Before moving on: The card opens freely, the ink is dry and the paper edges are firmly attached. Keep the front simple so the layered tree remains the focus.
Fix Crooked Layers, Lifting Tips or Curled Paper
- The tree leans: Before the glue sets, align the triangle tips with the middle of the ivory panel. If the adhesive has dried, avoid tearing the paper; remake the affected piece if needed.
- A tip lifts: Add a small amount of glue beneath it, cover it with clean scrap paper and press lightly until it holds.
- The panel curls: Use less glue on the next card. Let this one dry flat; when the surface is dry to the touch, protect it with clean paper before applying light, even weight.
- The greeting looks crowded: Try a shorter message on a new strip before attaching it. Keep longer notes inside the card.
Change the Colors and Store Finished Cards
Try blue-green triangles with silver paper, or alternate plain and lightly patterned greens. Keep enough contrast between the three layers for their edges to show. For a matching shelf display, use the same colors in paper Christmas trees. Once fully dry, store cards flat in a clean box away from moisture and direct sunlight. Separate fronts with plain paper to protect handwritten greetings.
More Handmade Christmas Projects to Try
A single card is a manageable place to practice clean cutting and careful layering. Once you like your color combination, carry it into a few gift tags or a small paper display. Choose the next project around the supplies you already have, and keep sentimental handwritten cards intact when gathering paper to reuse. These ideas offer several directions for another crafting session.
- Handmade Christmas Cards for Holiday Greetings
- Gift Tags from Recycled Christmas Cards
- Paper Christmas Trees for Small Spaces
- Paper Bag Snowflakes for Christmas Decor
- A Paper Christmas Village for Mantels
Which paper colors would you choose, and who would receive your card? Share your plans in the comments. If you try the layered tree, tell us which paper and adhesive combination worked well for you.




























0 Comments