How to Stitch a Felt Holiday Napkin Holder with a Loop
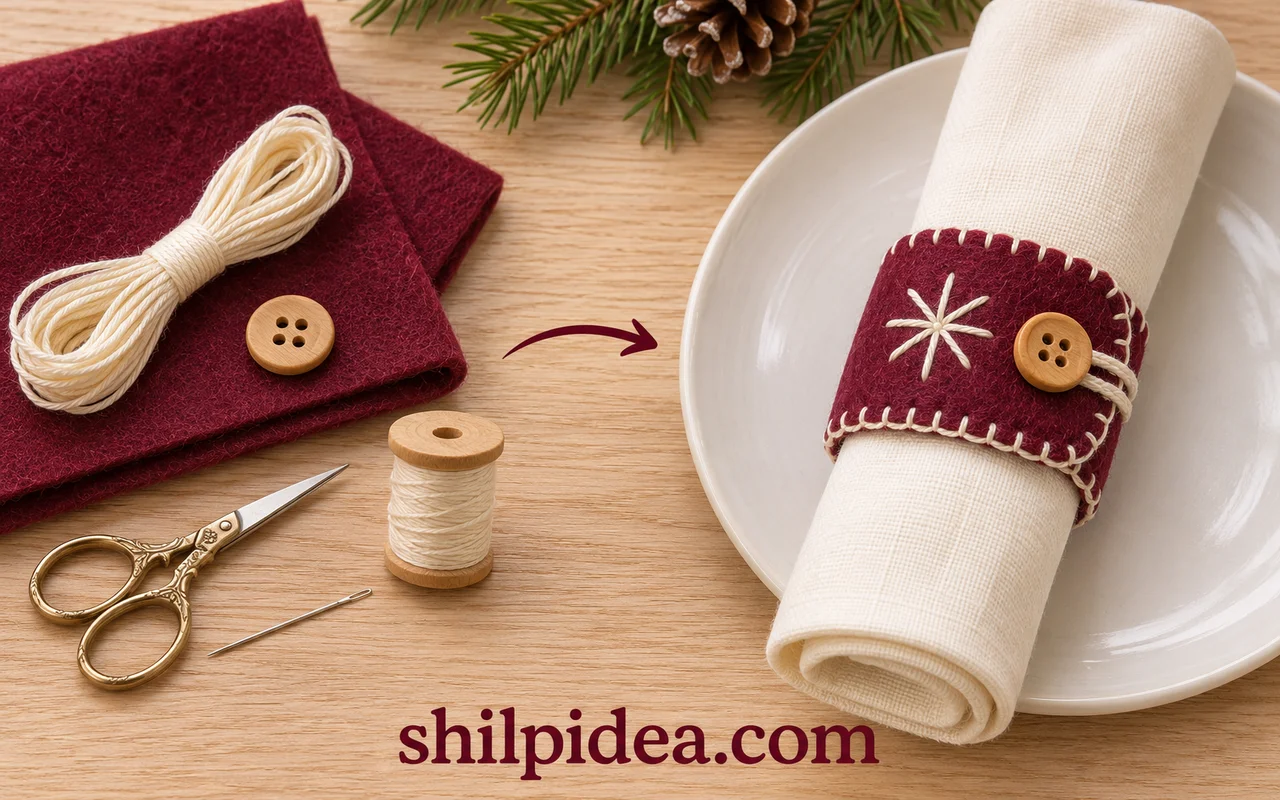
A felt holiday napkin holder adds a small stitched detail to your Christmas table. This soft band opens with a button and cord loop, so guests can remove it without pulling apart their napkins.
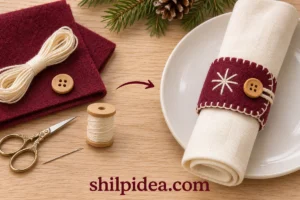
Burgundy felt, cream thread and a wooden button pair easily with Christmas napkin folds. Two felt layers conceal the embroidery backs and support the closure.
Follow the cutting, stitching and fitting stages below, then coordinate your band with other fabric Christmas decorations. Make one sample before cutting a full table set.
Materials and Tools
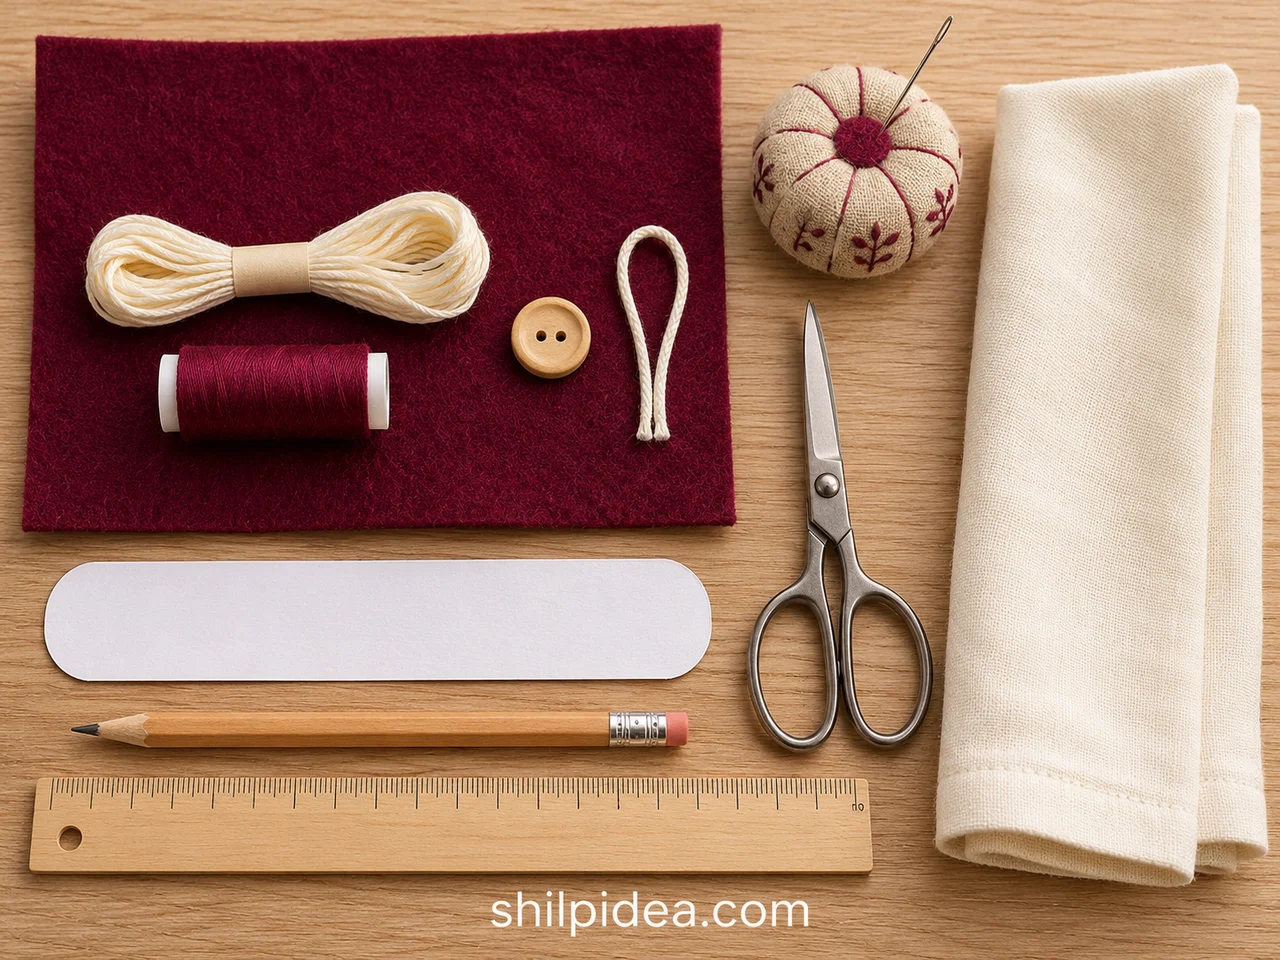
Gather these supplies for one holder, keeping your chosen napkin nearby for fitting.
- Felt – Use two pieces of flexible, approximately 1–2 mm thick wool-blend or craft felt, each large enough for a band about 7 × 1½ inches (18 × 4 cm); adjust the length to your napkin.
- Embroidery floss – Choose cream cotton floss for the star and edge stitching; separate three strands for a manageable starting thickness.
- Sewing thread – Use matching burgundy thread for securing the cord and button.
- Cotton cord – Start with about 4 inches (10 cm) of thin, soft cord, approximately 1–2 mm thick, and trim after fitting the loop.
- Button – Choose one smooth sew-through button about ⅝ inch (15–16 mm) across, with holes that fit your needle.
- Needles and scissors – Use an embroidery needle for floss, a finer sewing needle for the button, fabric scissors and a pincushion.
- Measuring and marking tools – Have a ruler, paper, pencil, removable fabric marker and small sewing clips ready.
- Cloth napkin – Use the same napkin fabric and fold planned for your place settings.
Precautions Before You Begin
Prepare a clear work surface and check the fit before committing to the stitching.
- Keep needles, scissors, buttons and loose cord away from small children and pets.
- Count and remove every pin or needle before placing the holder on a table.
- Keep felt and napkins away from candles and other open flames.
- Test your marking tool on a scrap and follow the felt maker’s cleaning instructions.
This is a proposed hand-sewn design; fit a sample to your napkin before making a matching set.
1. Measure and Cut the Felt Band
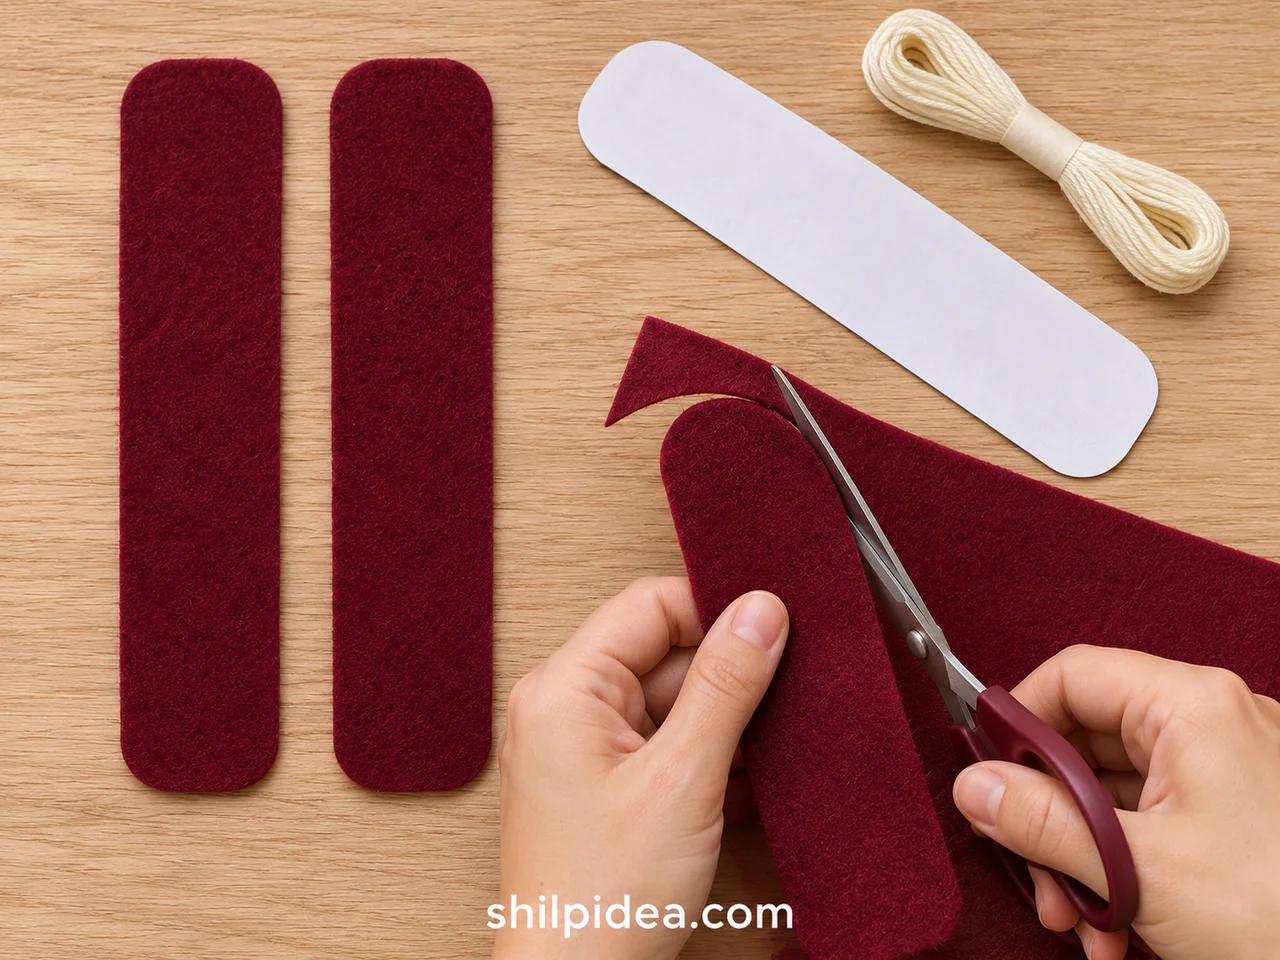
- Fit a paper template – Roll or fold your napkin, then wrap a 1½-inch-wide paper strip around it. Allow roughly ½ inch (1.3 cm) of overlap without squeezing the cloth; mark that length.
- Cut two matching pieces – Round the template’s corners and trace it onto two felt pieces. Cut both to the same size. The suggested 7-inch length is a starting point, not a universal fit.
2. Stitch the Star on the Front
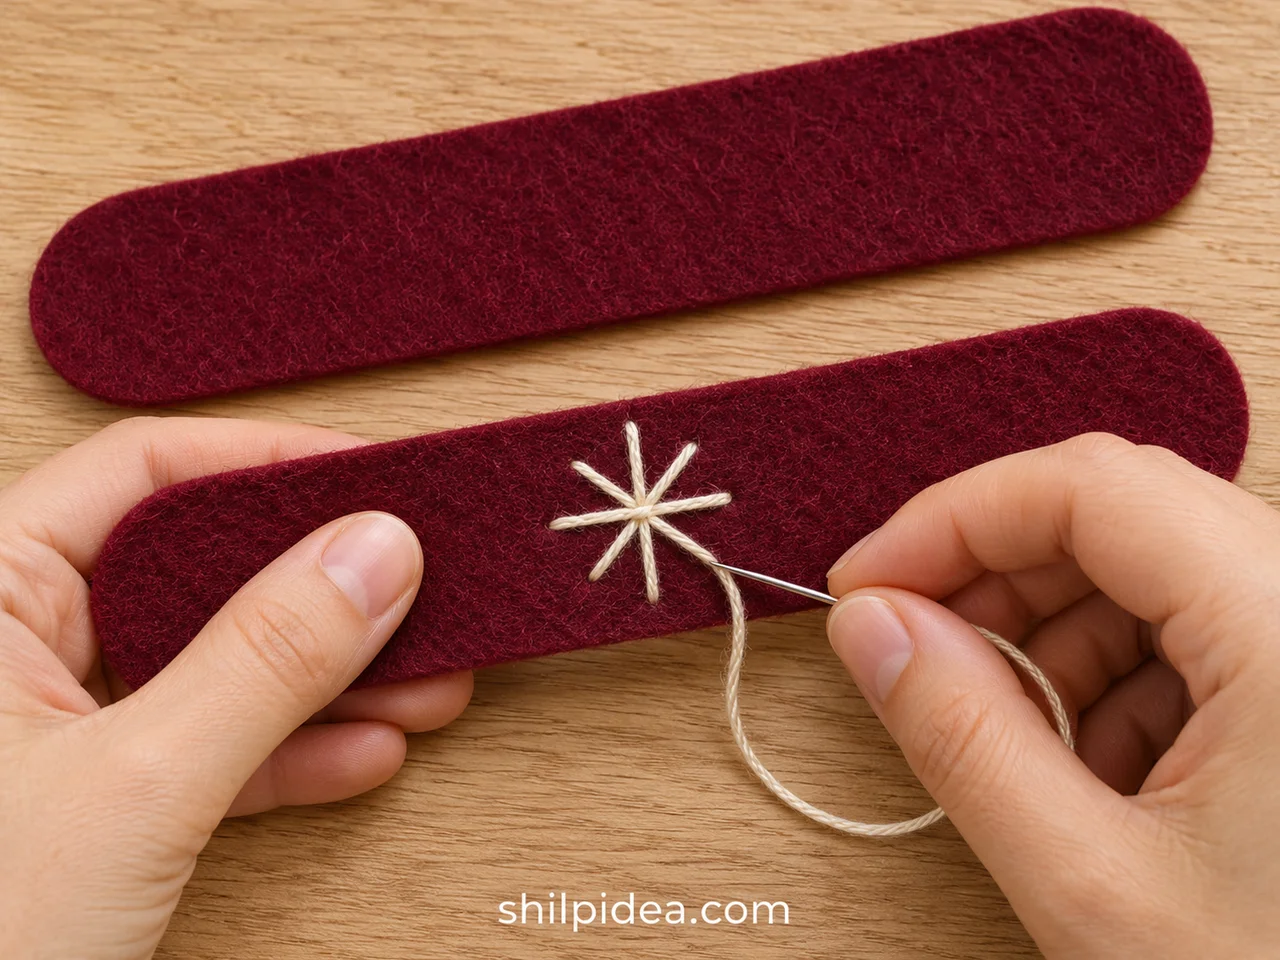
- Mark a small star – Lay one strip right side up. Mark an approximately ¾-inch (2 cm) star near the center, keeping it away from the edge stitching and the closing ends.
- Work four crossing stitches – Use three strands of cream floss to sew a vertical line, a horizontal line and two diagonals across the same center. Keep the felt flat; secure the thread on the reverse without a bulky knot.
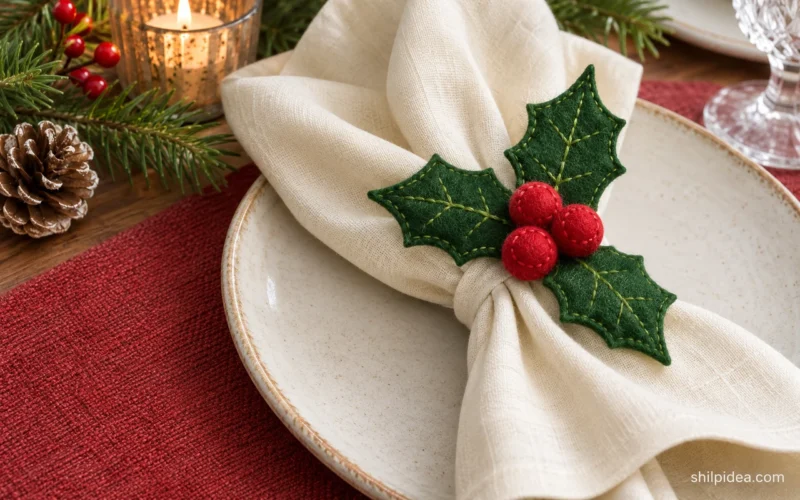
For another project using small felt pieces, these felt holly rings use a leafy decoration and elastic instead of this opening band.
3. Secure the Cord Loop Inside
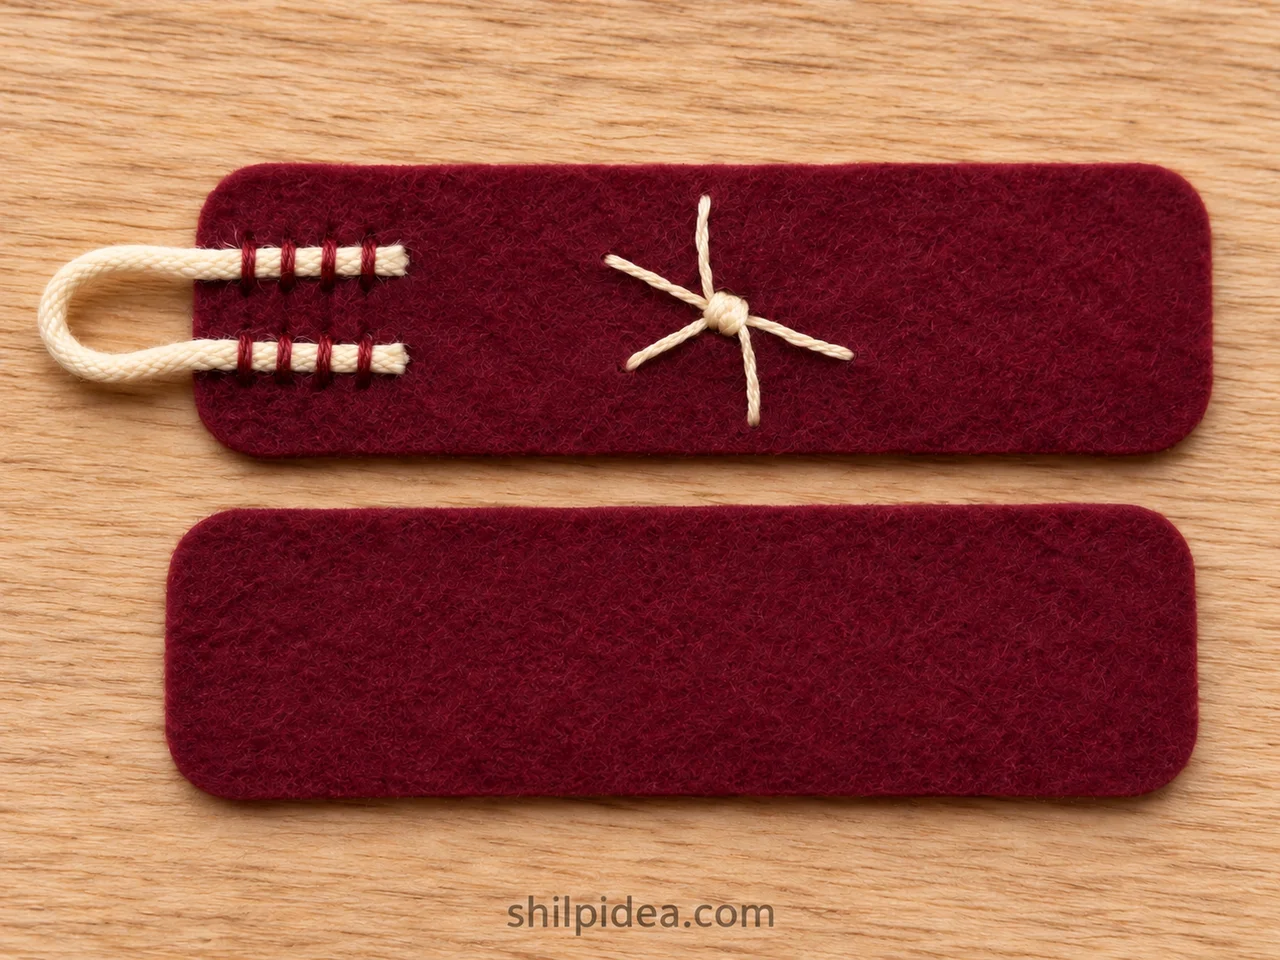
- Size the loop to the button – Fold the cord into a U that slips over your button with gentle resistance. Leave at least ¾ inch (2 cm) of each tail inside one short end of the felt band.
- Anchor both tails – Turn the embroidered strip face down. Position the tails on its reverse and sew closely across each tail several times with matching thread, catching the cord fibers. Tug lightly to check the attachment before covering it.
4. Join the Two Felt Layers
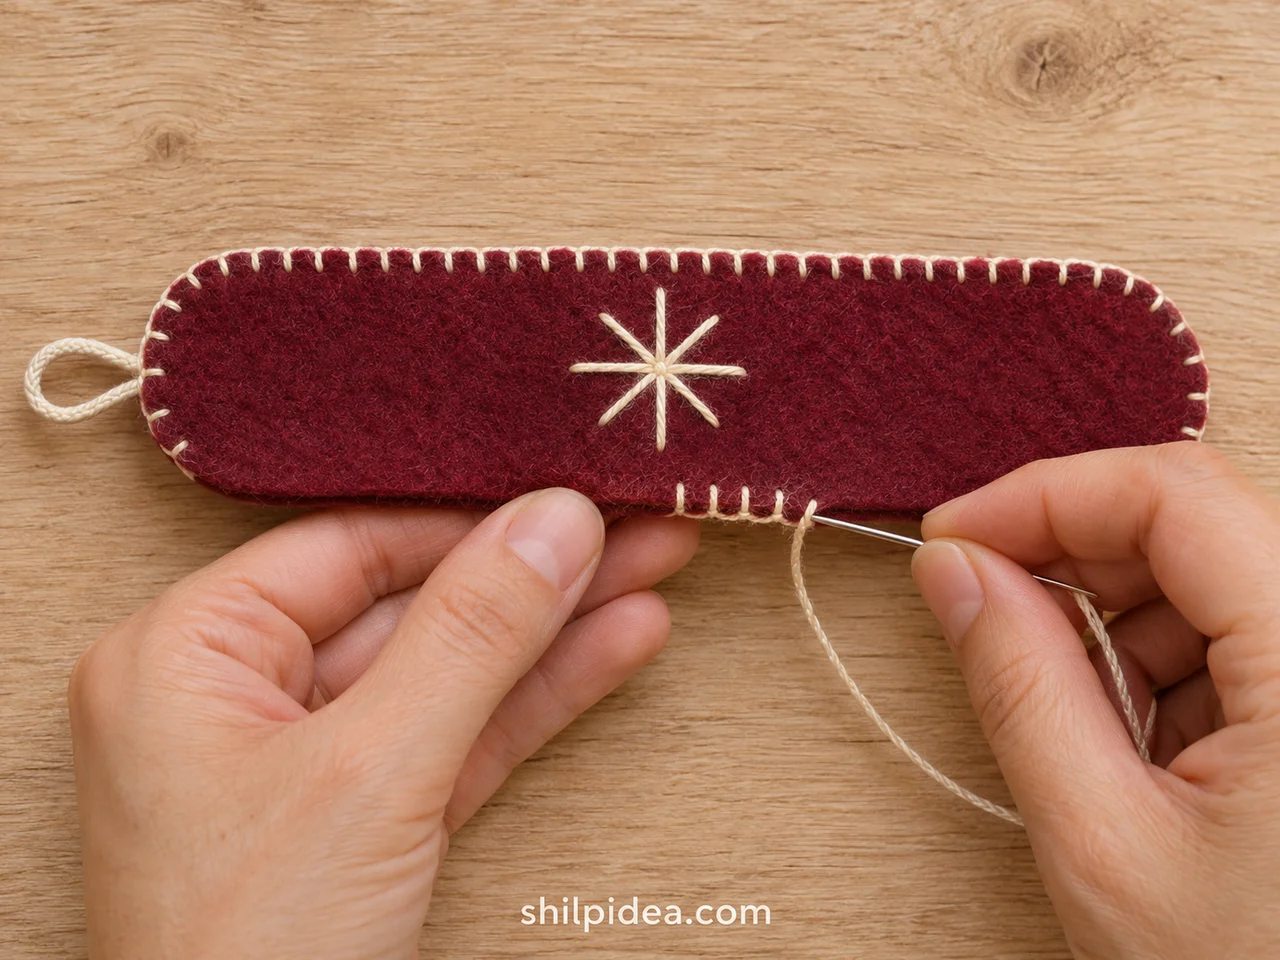
- Sandwich the unfinished sides – Place the plain backing against the embroidered strip’s reverse, enclosing the knots and cord tails. Align the edges and clip them together. The loop must remain outside the short end.
- Blanket-stitch the border – Bring cream floss out at the edge. Insert the needle through both layers about ⅛ inch (3 mm) in, pass it through the loose thread loop, then tighten gently. Repeat at even intervals around the band.
- Finish beside the starting point – Keep the external cord loop free as you stitch past its base. Join the last stitch to the first, secure the thread and bury the tail between the felt layers before trimming.
If this stitch is new to you, Jeanette Lin’s blanket-stitch tutorial shows how the thread loop forms along the edge. Practice on two scraps before sewing the band.
5. Fit and Sew on the Button
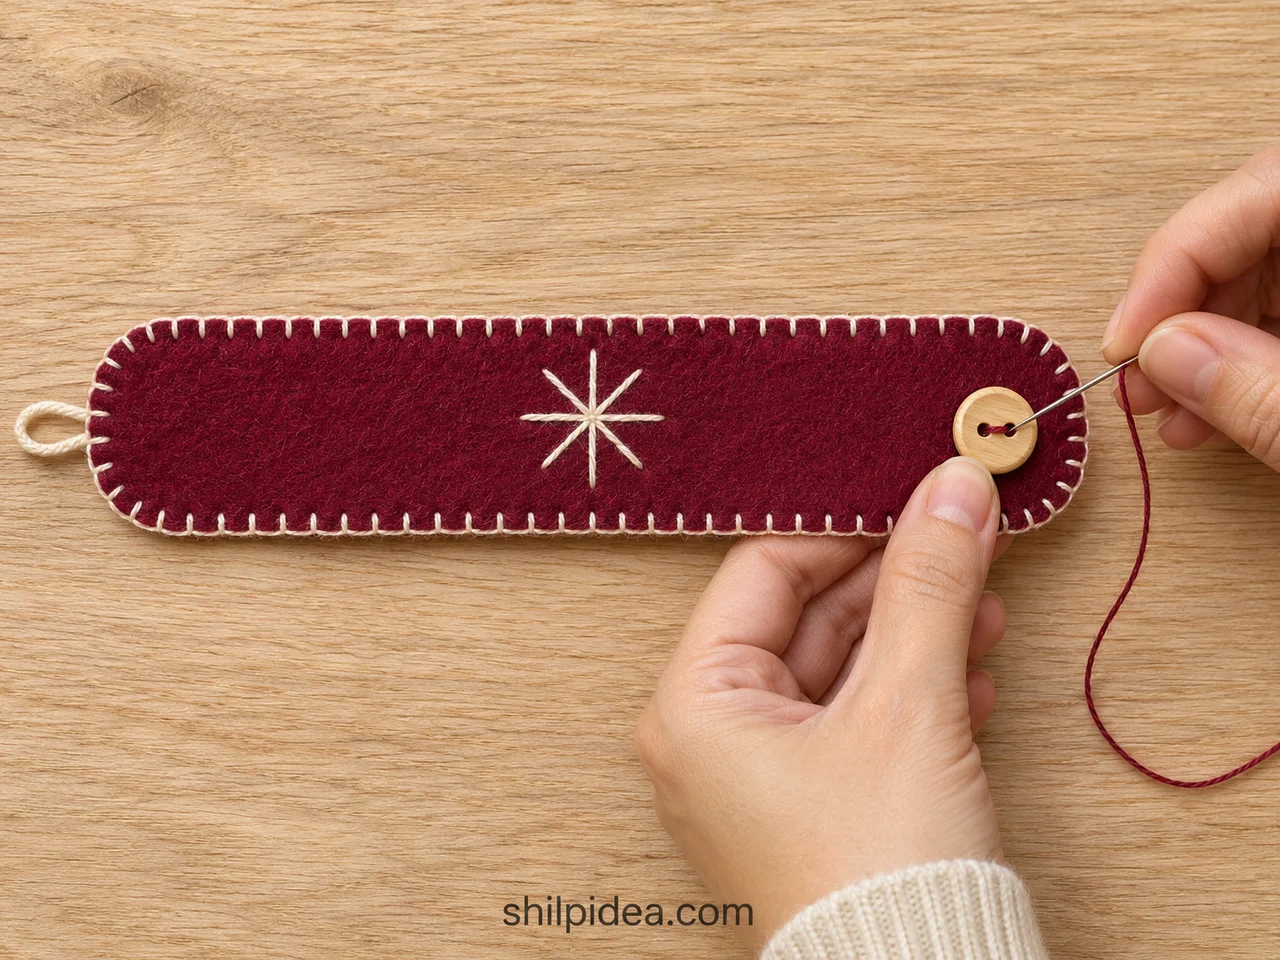
- Mark the closing position – Wrap the band around your napkin with the decorated side facing out. Overlap the ends slightly and place the button beneath the loop on the opposite end; mark a position that closes without pulling the felt.
- Attach the button securely – Remove the napkin. Sew through the button holes and both felt layers several times with doubled sewing thread, leaving enough clearance beneath the button for the cord. Knot securely on the inside and trim the thread.
6. Fasten and Check the Finished Holder
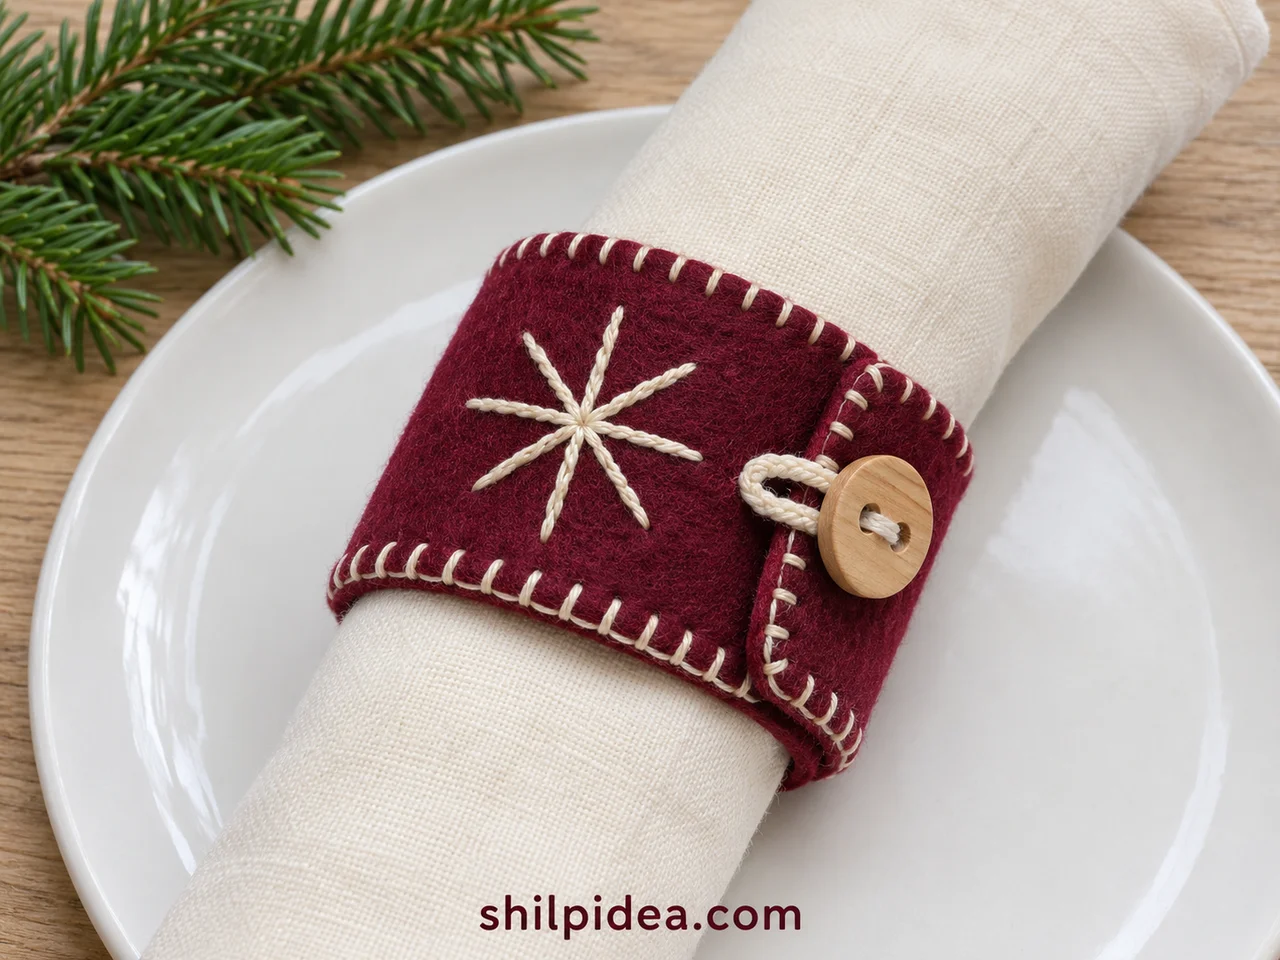
- Close the band around the napkin – Wrap the holder around the folded napkin and slip the loop over the button. Turn the star toward the front. The band should sit neatly while opening easily for a guest.
- Check before making a set – Open and close the holder several times, then gently check the button and loop attachment. Keep your paper template and finished button position as references, but test each band against its own napkin.
Care and Storage Between Celebrations
Unbutton the holder before washing the napkin. Brush away dry crumbs gently and follow the felt supplier’s care instructions for spots; test any cleaning method on a leftover scrap first. Let the band dry completely before storing it flat in a shallow box. Keep heavy ornaments off the embroidery, and check the button stitches before each use.
Troubleshooting the Fit and Stitches
- The band feels too tight: Move the button closer to the free end if enough felt remains around its stitches. If the band is still short, cut a longer pair of strips.
- The loop slips off: Shorten the loop by reopening a few edge stitches, adjusting its tails and resecuring them. Test against the actual button before closing the edge again.
- The felt puckers: Loosen or redo the tight stitches; the border should hold the layers together without gathering them.
- The loop pulls loose: Reopen the short edge and reinforce each tail with close stitches that catch the cord itself.
Bring the Stitched Details to Your Holiday Table
Try your finished holder beside the plates and napkins you already own before choosing colors for a complete set. A cream star can echo a pale tablecloth, while a wooden button works well with simple natural accents. Use the projects below to coordinate your napkin folds, fabric decorations and serving details without adding too much to each place setting.
- Christmas Napkin Folds for Your Table
- Fabric Decorations for a Handmade Christmas
- Felt Holly Rings with Elastic Loops
Which felt and thread colors would you pair with your holiday napkins? Share your plans or questions in the comments. If you make a sample, tell us how you adjusted the band or button position for your table.




















0 Comments