18 Easy Craft Ideas for Adults to Inspire a Creative Afternoon
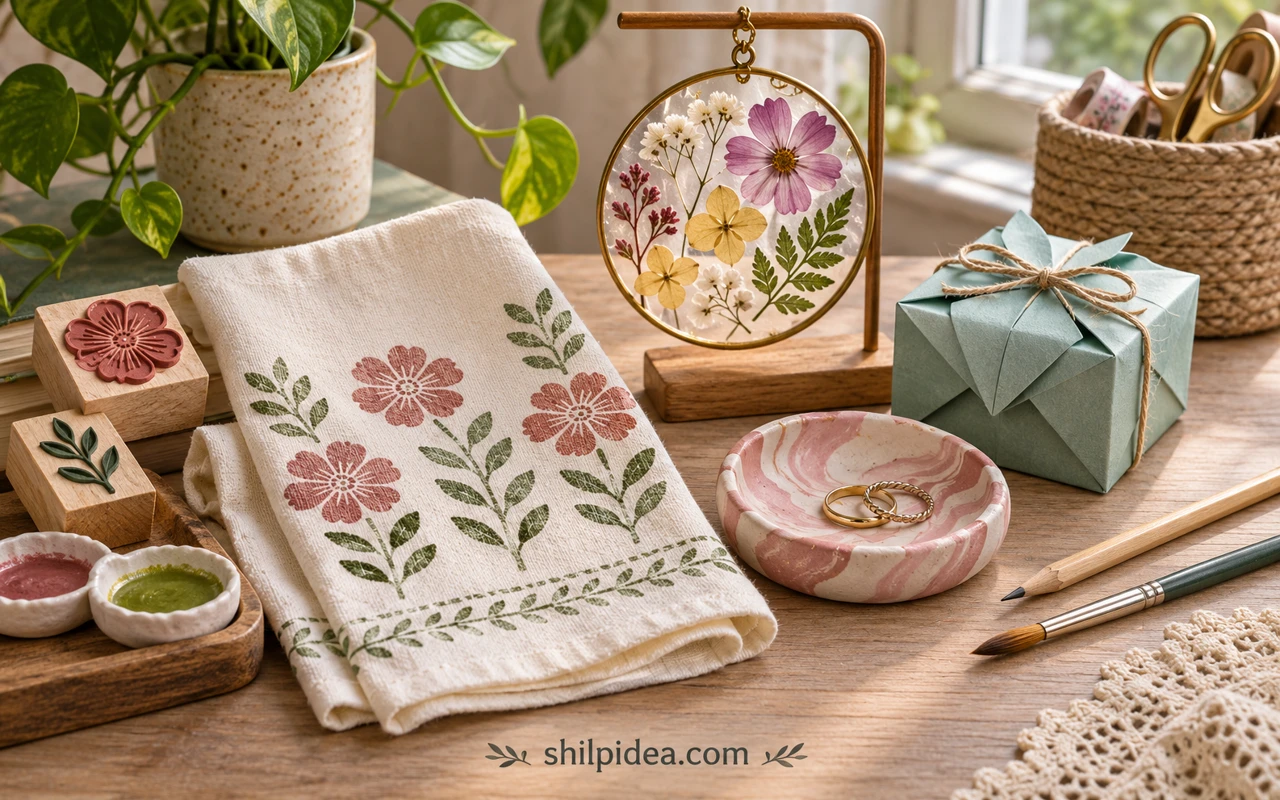
A creative afternoon is easier to start when the project fits on one table. Pick a finish or material you are curious about, and give yourself room to make a test piece first.
Choose one technique to try, such as stamping or layering a few paper shapes. These crepe paper flowers are another way to practice with small pieces.
If you like working with things you already own, a scrap of fabric or an empty container gives you a starting point. This reused tin centerpiece shows what a small change can do.
1. Stamp a Pattern onto a Tea Towel

A plain towel becomes a kitchen accent when one simple shape repeats across the cloth. Alice and Lois used a potato stamp for the black triangles. Use the paint intended for your fabric, test how much paint transfers on a scrap, and do a few practice impressions before spacing out the main pattern.
Make This at Home: Potato Stamp Dish Towel
2. Swirl a Marbled Ring Dish
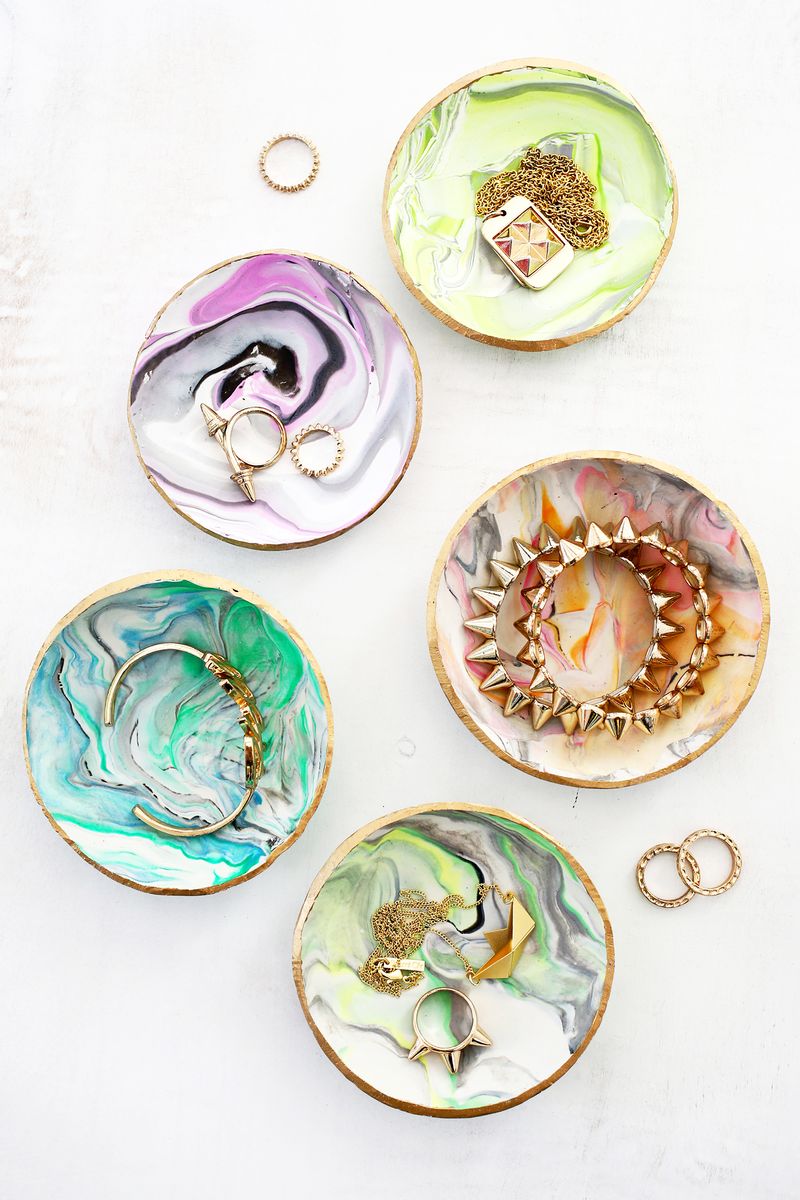
Marbling turns short pieces of colored polymer clay into a dish with a pattern that changes as you roll it. Keep one shade dominant and stop folding once you see broad ribbons of the other colors. Shape the rim gently so it can catch rings. Follow the clay package instructions for baking and cooling. If you have clay left, try these small clay projects.
Make This at Home: Marbled Clay Ring Dish
3. Frame Pressed Flowers in a Suncatcher
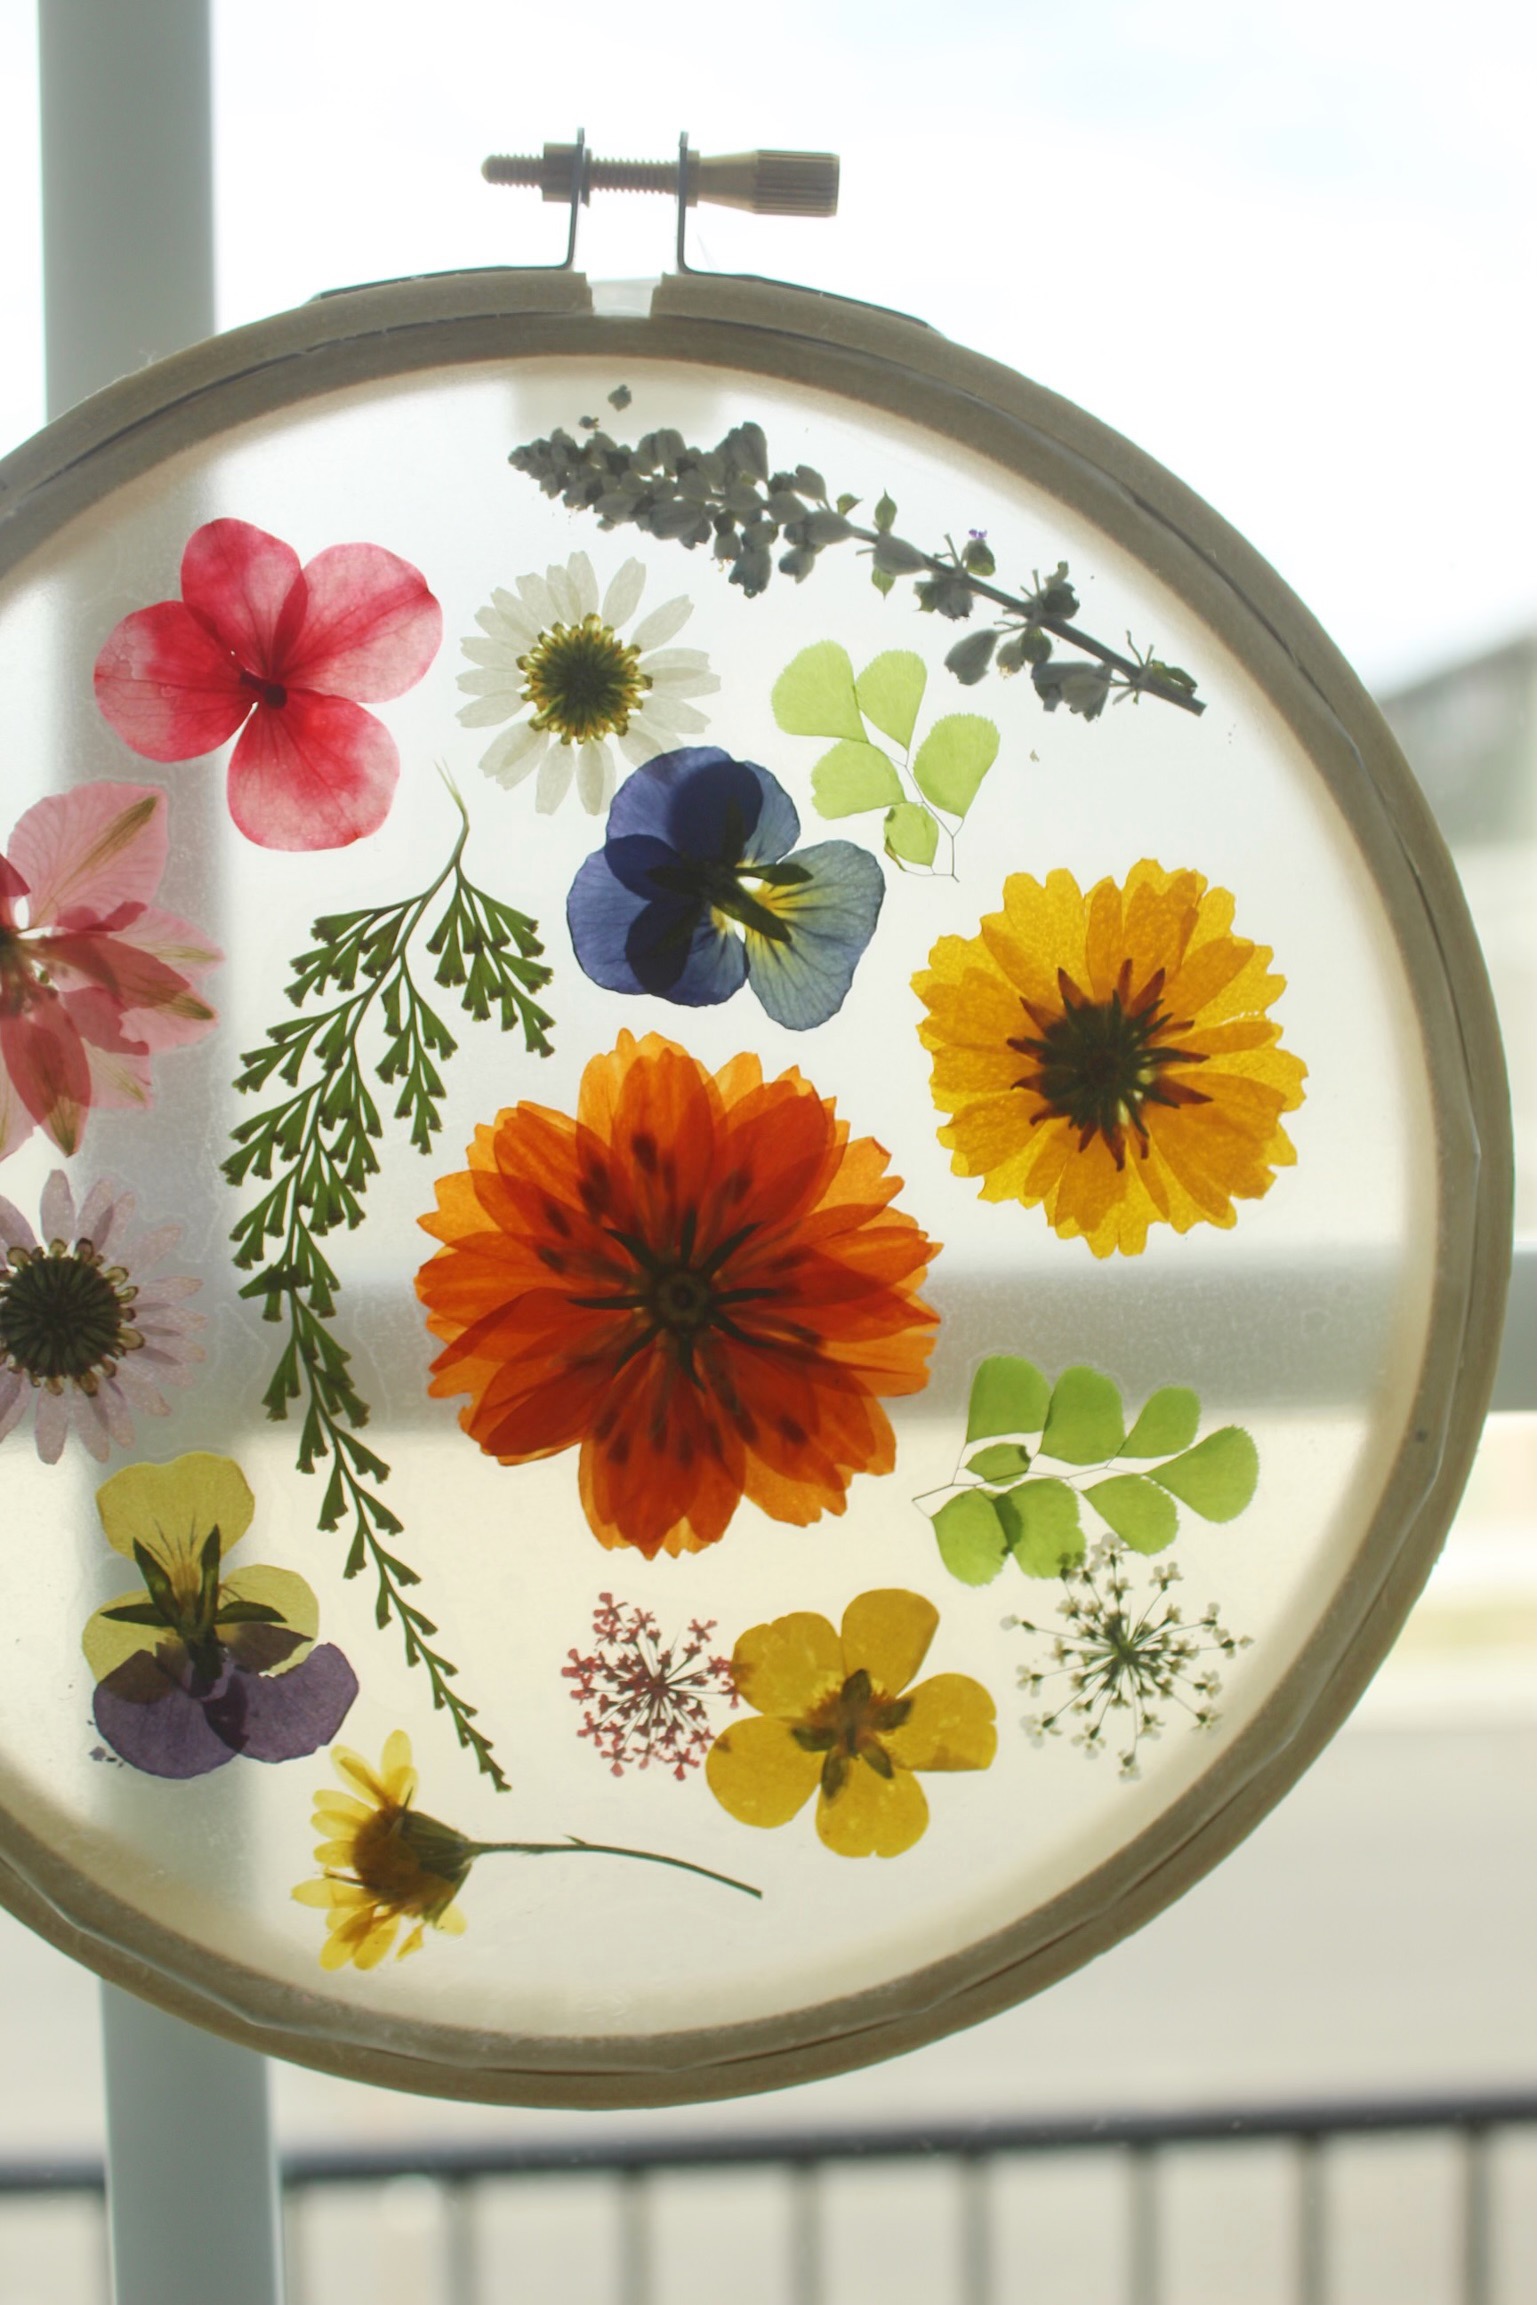
Give each flower a little space so the light can pass between stems and petals. A few bright flowers of different sizes give the circle a clear focal point. Start with fully dried material and lay out the pattern before closing the clear layers. This flower pressing guide explains how to prepare flat blooms.
Make This at Home: Pressed Flower Suncatcher Tutorial
4. Fold a Tiny Origami Present Box

Fold a small box from crisp paper and use a contrasting color to make the folded wrap detail stand out. The scale works well for a light pendant, handwritten note or paper keepsake. Try the folds first with ordinary scrap paper so you can sort out the corners before using your favorite sheet.
Make This at Home: Origami Present Gift Box
5. Make a Corner Bookmark

A triangular paper corner slides over a page, keeping the bookmark from slipping straight out when you tip the book. Decorate the face with an initial or a narrow stripe of patterned paper. Check your first fold on a book and keep thicker embellishments near the outside edge so the pages can close.
Make This at Home: Stamped Corner Bookmark Project
6. Roll Paper Beads for a Bracelet

As you roll strips from their wide ends, the pattern shows up as tiny changes of color. Pick a page with a few strong stripes and clip triangles of the same length to make a set. Allow the finish to dry before stringing the beads with simple spacers. Set the bracelet aside before getting it wet.
Make This at Home: Rolled Paper Bead Jewelry
7. Build a Picture from Magazine Scraps

Sort the clippings into a few piles by color, then fill in one large silhouette on a board or canvas. A tree works because the trunk and crown remain recognizable when the individual pieces are small. Leave the last few pieces loose until you can step back and see where the outline needs a clearer edge.
Make This at Home: Magazine Collage on Canvas
8. Make Coasters from a Fabric Scrap

A leftover scarf or printed fabric can make a small matching set without much material. Cut around a flower you want to keep, then build the rest of the square around it. Use a flat backing and let the finish dry as directed before trying a glass. A small test swatch helps you spot colors that bleed.
Make This at Home: No Sew Fabric Coasters
9. Decoupage a Terra-Cotta Pot

A floral napkin is thin enough to follow the curve of these little pots. Choose a motif that fits the height of the container, and use a few smaller pieces to fill gaps around the outside. Leave the drainage hole open and keep the painted paper outside the wet soil.
Make This at Home: Napkin Decoupage Flower Pots
10. Line a Tray with a Coloring Page

A finished coloring page becomes useful when it sits inside a shallow tray. Choose a fairly simple tray and plan the amount of border around the paper before trimming. Work on the longest edge first to keep the design straight. Use a suitable finish for your materials, let it cure, and keep food on dishes.
Make This at Home: Coloring Page Wood Tray
11. Give a Bottle a Chalky Finish

A chalky finish takes the shine off mismatched bottles and turns them into a set for dried stems. The example uses deep earthy colors that make the dry leaves stand out. Clean the bottle, test your paint mixture on a small patch, and work with light coats. Leave the rims free to keep the silhouettes tidy.
Make This at Home: Textured Painted Vase Technique
12. Mount a Tiny Clay Wall Pocket

A small clay pocket on a board gives dried or faux sprigs a place to sit above a desk or shelf. The pointed shape makes the display look light even in a group of three. Check how the clay and backing attach before hanging, and use short stems so the finish stays visible.
Make This at Home: Clay Vase Wall Hanging
13. Knot a Wall Hanging from Leftover Yarn
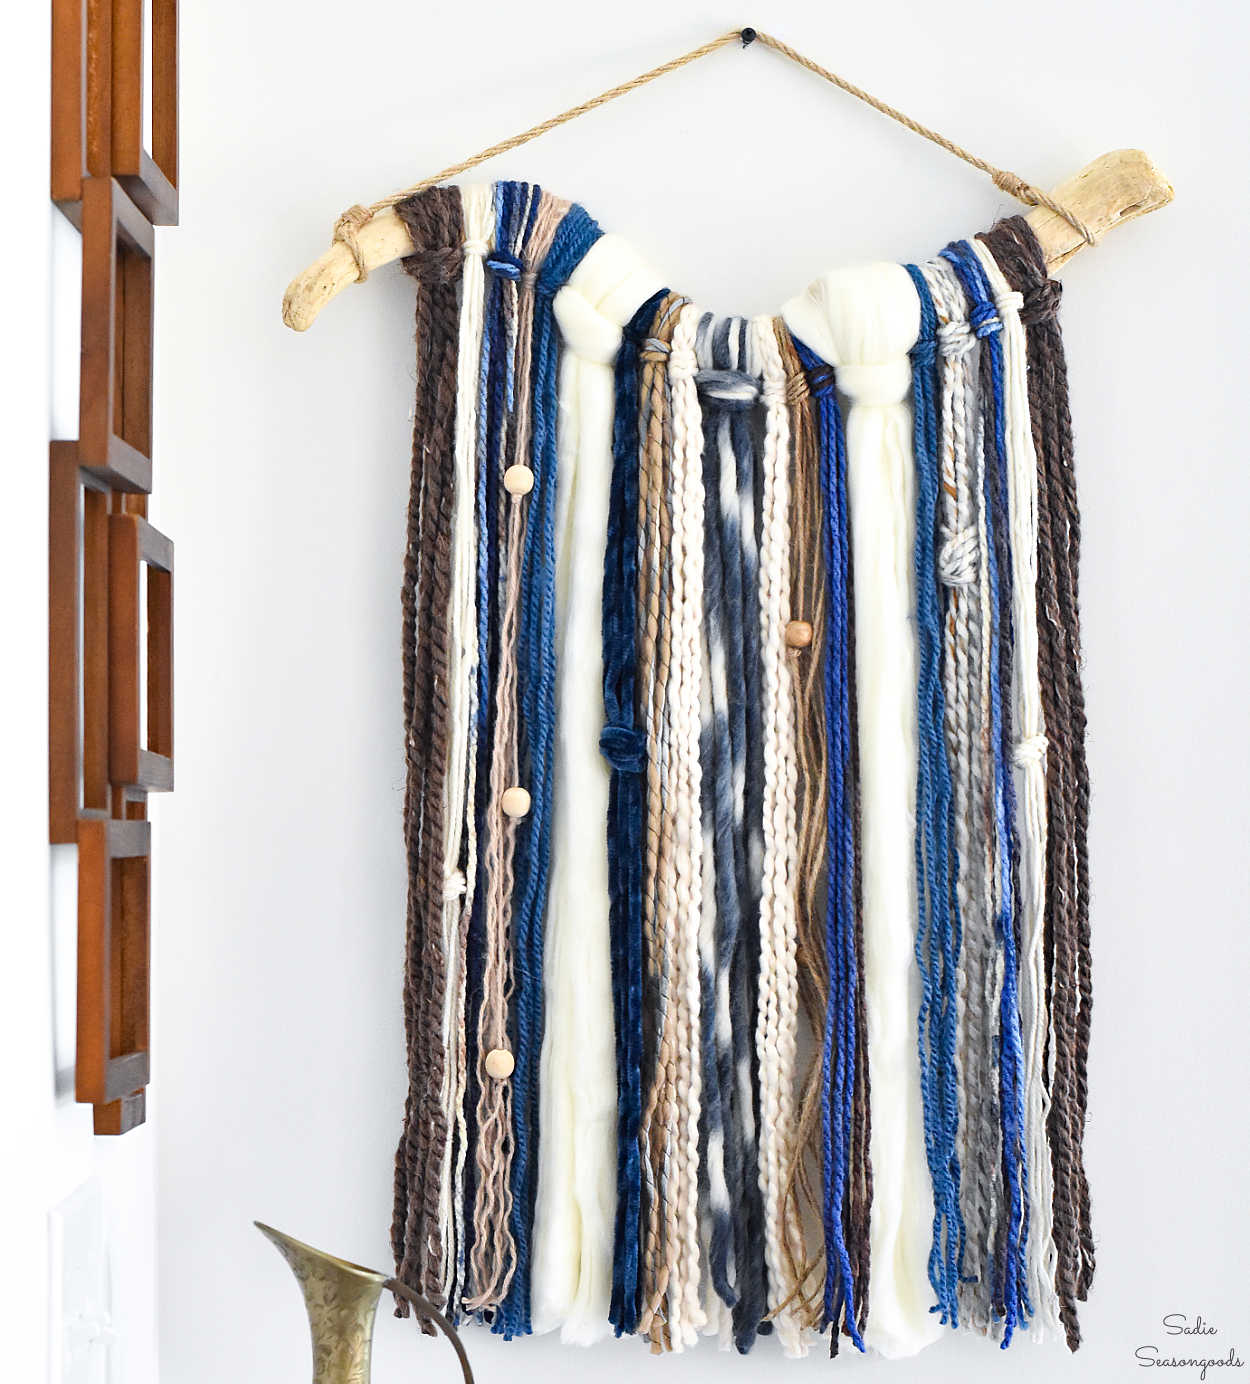
A smooth branch can support loose strands from several partly used skeins. Group similar weights at each side and balance thicker yarn with a few narrow threads. Leave the ends loose until you can hang the piece and see where it needs trimming. A limited palette pulls different textures into one readable design. See fabric decoration ideas for ways to use offcuts that are too short to hang.
Make This at Home: Leftover Yarn Wall Hanging
14. Wrap a Rope Tassel Key Ring

A small rope loop and a band of colored thread make it easy to find your keys in a bag. Pick one pair of thread colors for each person, then wrap the band firmly before trimming the fringe. Slip the ring onto the loop first if the opening will be hard to reach once wrapped.
Make This at Home: DIY Rope Tassel Keychains
15. Sew a Small Lavender Sachet

Use fabric leftovers to make a pocket for dried lavender, then tuck it in a drawer or pass it along with a gift. Work with a tightly woven fabric so the filling stays inside. Leave one side open until you are happy with the amount of lavender, and close it firmly with small stitches.
Make This at Home: Vintage Lavender Sachet Project
16. Stitch a Small Floral Hoop

The stitched bouquet gives a small hoop enough color to work on a bedside shelf. If you are new to embroidery, begin with a few stems and one flower from the pattern and save the rest for later. Keep the fabric taut and choose just a few floss colors so the stitches stay easy to follow.
Make This at Home: Floral Embroidery Hoop Art
17. Group Wine Corks into a Trivet

Sorting the corks by length makes the final square easier to keep even. Lay them out before gluing and place the less worn sides along the outside so the edge looks tidy. Use a glue intended for the materials and purpose, then check that the finished piece is stable on the counter before placing anything on it.
Make This at Home: DIY Wine Cork Trivet
18. Paint Daisies on Smooth Stones

Simple white petals and contrasting centers turn stones into small accents for a pot or a shelf. A single flat stone gives you enough room to get the shape right before you try painting several. If you plan to put the stones outdoors, choose materials rated for outdoor use and let the finish dry as directed.
Make This at Home: Daisy Painted Rock Tutorial
Pick One Craft to Finish This Afternoon
Choose a project that fits the space and supplies you have, then cut or sort what you need before you sit down. Leave extra time if your piece needs to dry or cure. If you finish early, make a second colorway or work up a small variation to give away. These projects offer a few places to go next.
Which material do you already have ready to use? Share the project you would try first in the comments. If you have a favorite way to use scraps, tell us what has worked for you.

















0 Comments