20 Wood Wall Decor Ideas for a Natural Look
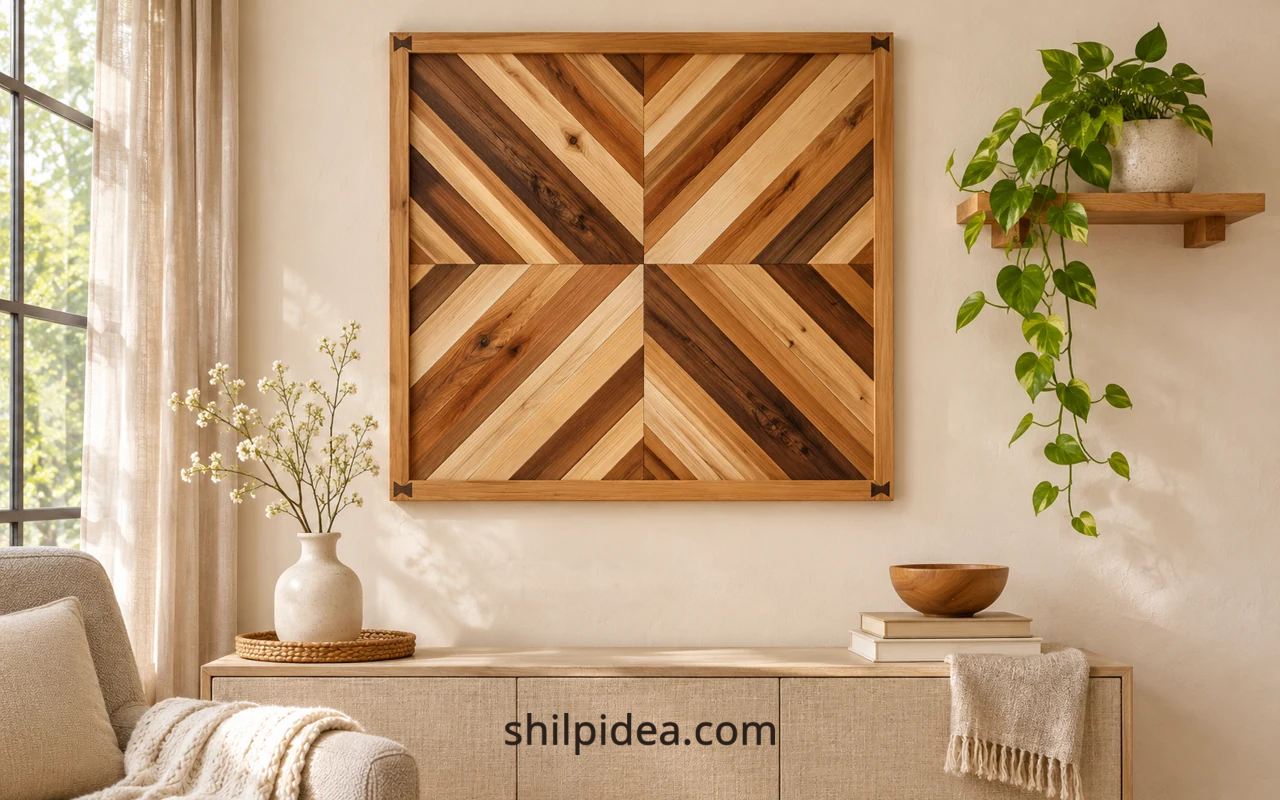
Wood wall decor adds grain, depth, and warmth to a room, even when you choose just one piece. A framed panel, useful shelf, or small hanging can make a blank wall feel more considered.
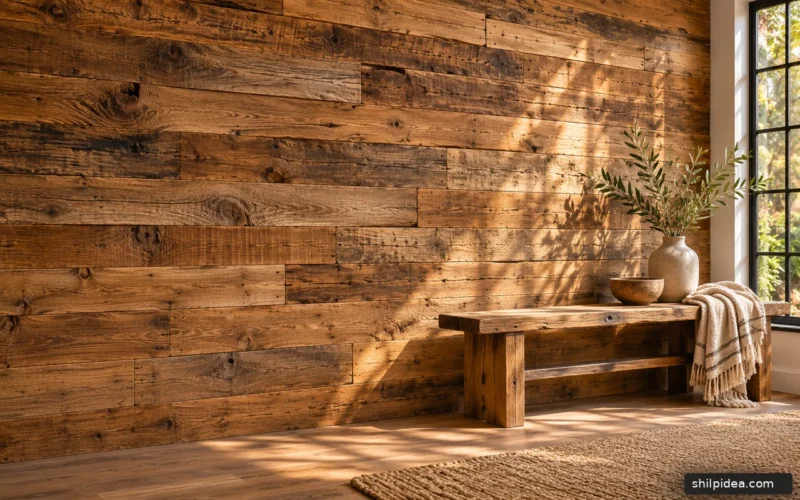
Begin with the space you actually have. These rustic wood walls help you compare a single accent with a larger feature.
The 20 ideas below combine artwork and practical displays. For high or awkward spaces, pair the smaller pieces with these tall wall ideas.
1. Frame a Geometric Wood Panel

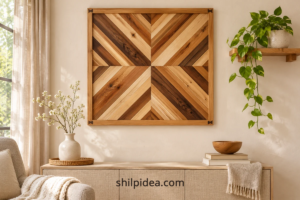
A framed geometric panel brings the grain and shadow of wood into a room without covering the whole wall. MellowPine uses narrow strips with open gaps, so the dark background becomes part of the pattern. Give a piece like this some clear wall around its frame. If you want to make one, follow the linked measured plan rather than estimating the angled cuts from the photo.
Make This at Home: Geometric Wood Strip Art Plan
2. Hang Linked Wooden Shapes

Linked circles and half-circles create a lighter alternative to a solid wooden panel. Wall Echoes combines the shapes with small metal connectors, allowing the hanging to read as a vertical sculpture. It suits a narrow wall beside a doorway or console. Leave enough space below the lowest shape, and avoid hanging it where moving doors or curtains will knock the pieces.
3. Pair Driftwood With Shells

Driftwood and shells give a small wall hanging an irregular coastal texture. MONA’s piece uses fine strings between two branches, with the natural shapes doing most of the decorating. Keep the wall behind it simple so the pale details remain visible. For an arrangement inspired by it, choose clean, dry materials and a secure hanging point rather than relying on a lightweight decorative cord alone.
4. Make a Peg Rail Part of the Decor

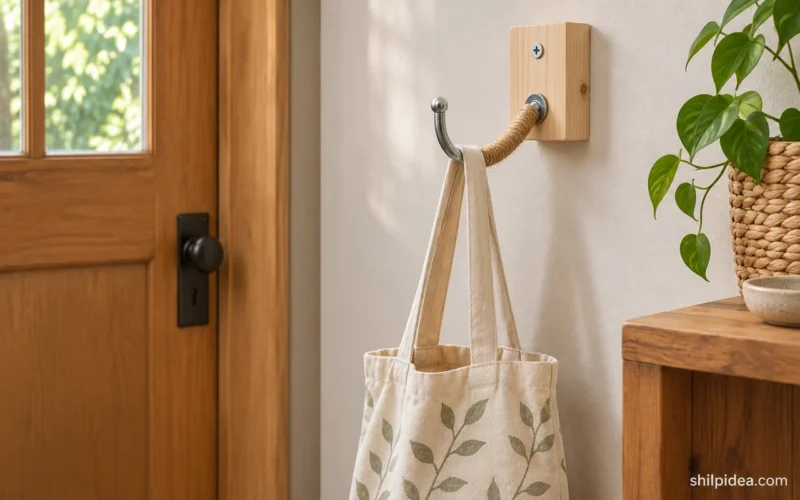
A plain oak peg rail is attractive even before anything is hung on it. Shelfmakers keeps the board and rounded pegs simple so the grain stays visible. Add only a few items, such as a basket or linen bag. Match the fixings to the wall and intended load rather than treating the rail as decoration alone.
5. Layer Pictures on Wooden Ledges
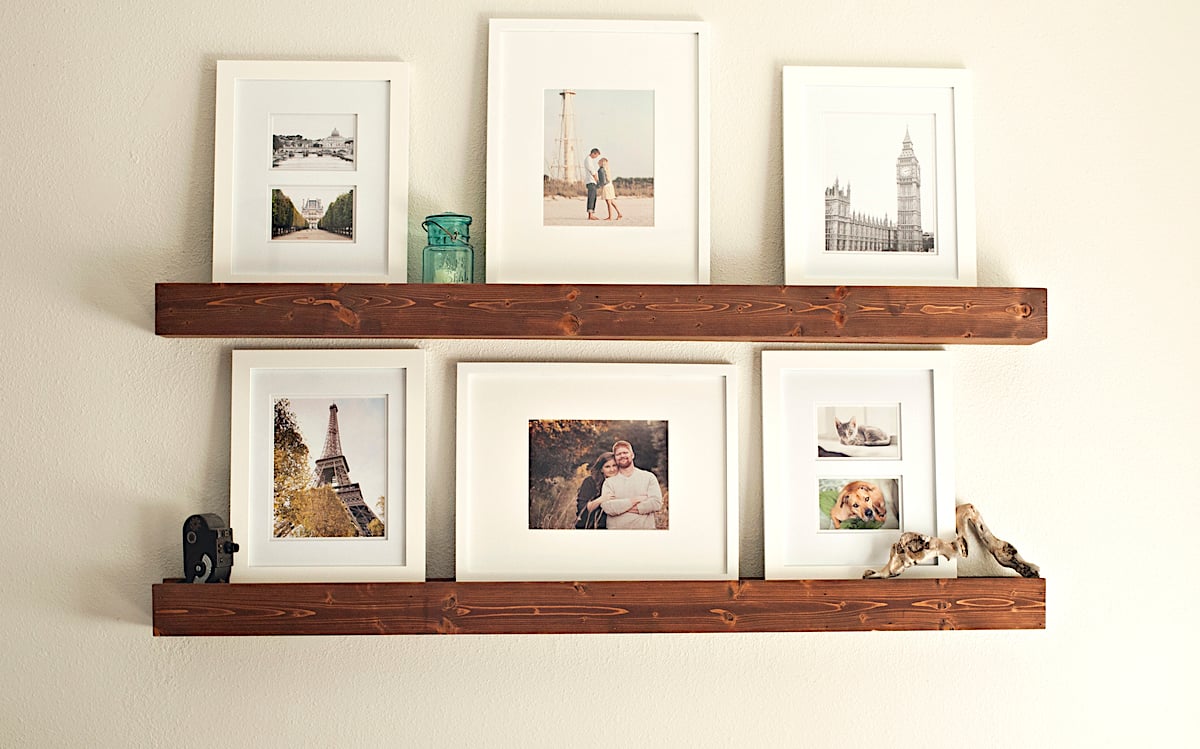
Wooden picture ledges make it easier to change a wall display without moving every hanging point. Ana White’s example pairs deep brown ledges with light frames, creating a useful contrast. Overlap a few pictures, but vary the frame height so the display stays readable. A shallow ledge works for photographs; check the shelf design and mounting before adding heavier objects or plants.
Make This at Home: Wooden Beam Picture Ledge Plans
6. Style One Reclaimed-Wood Shelf
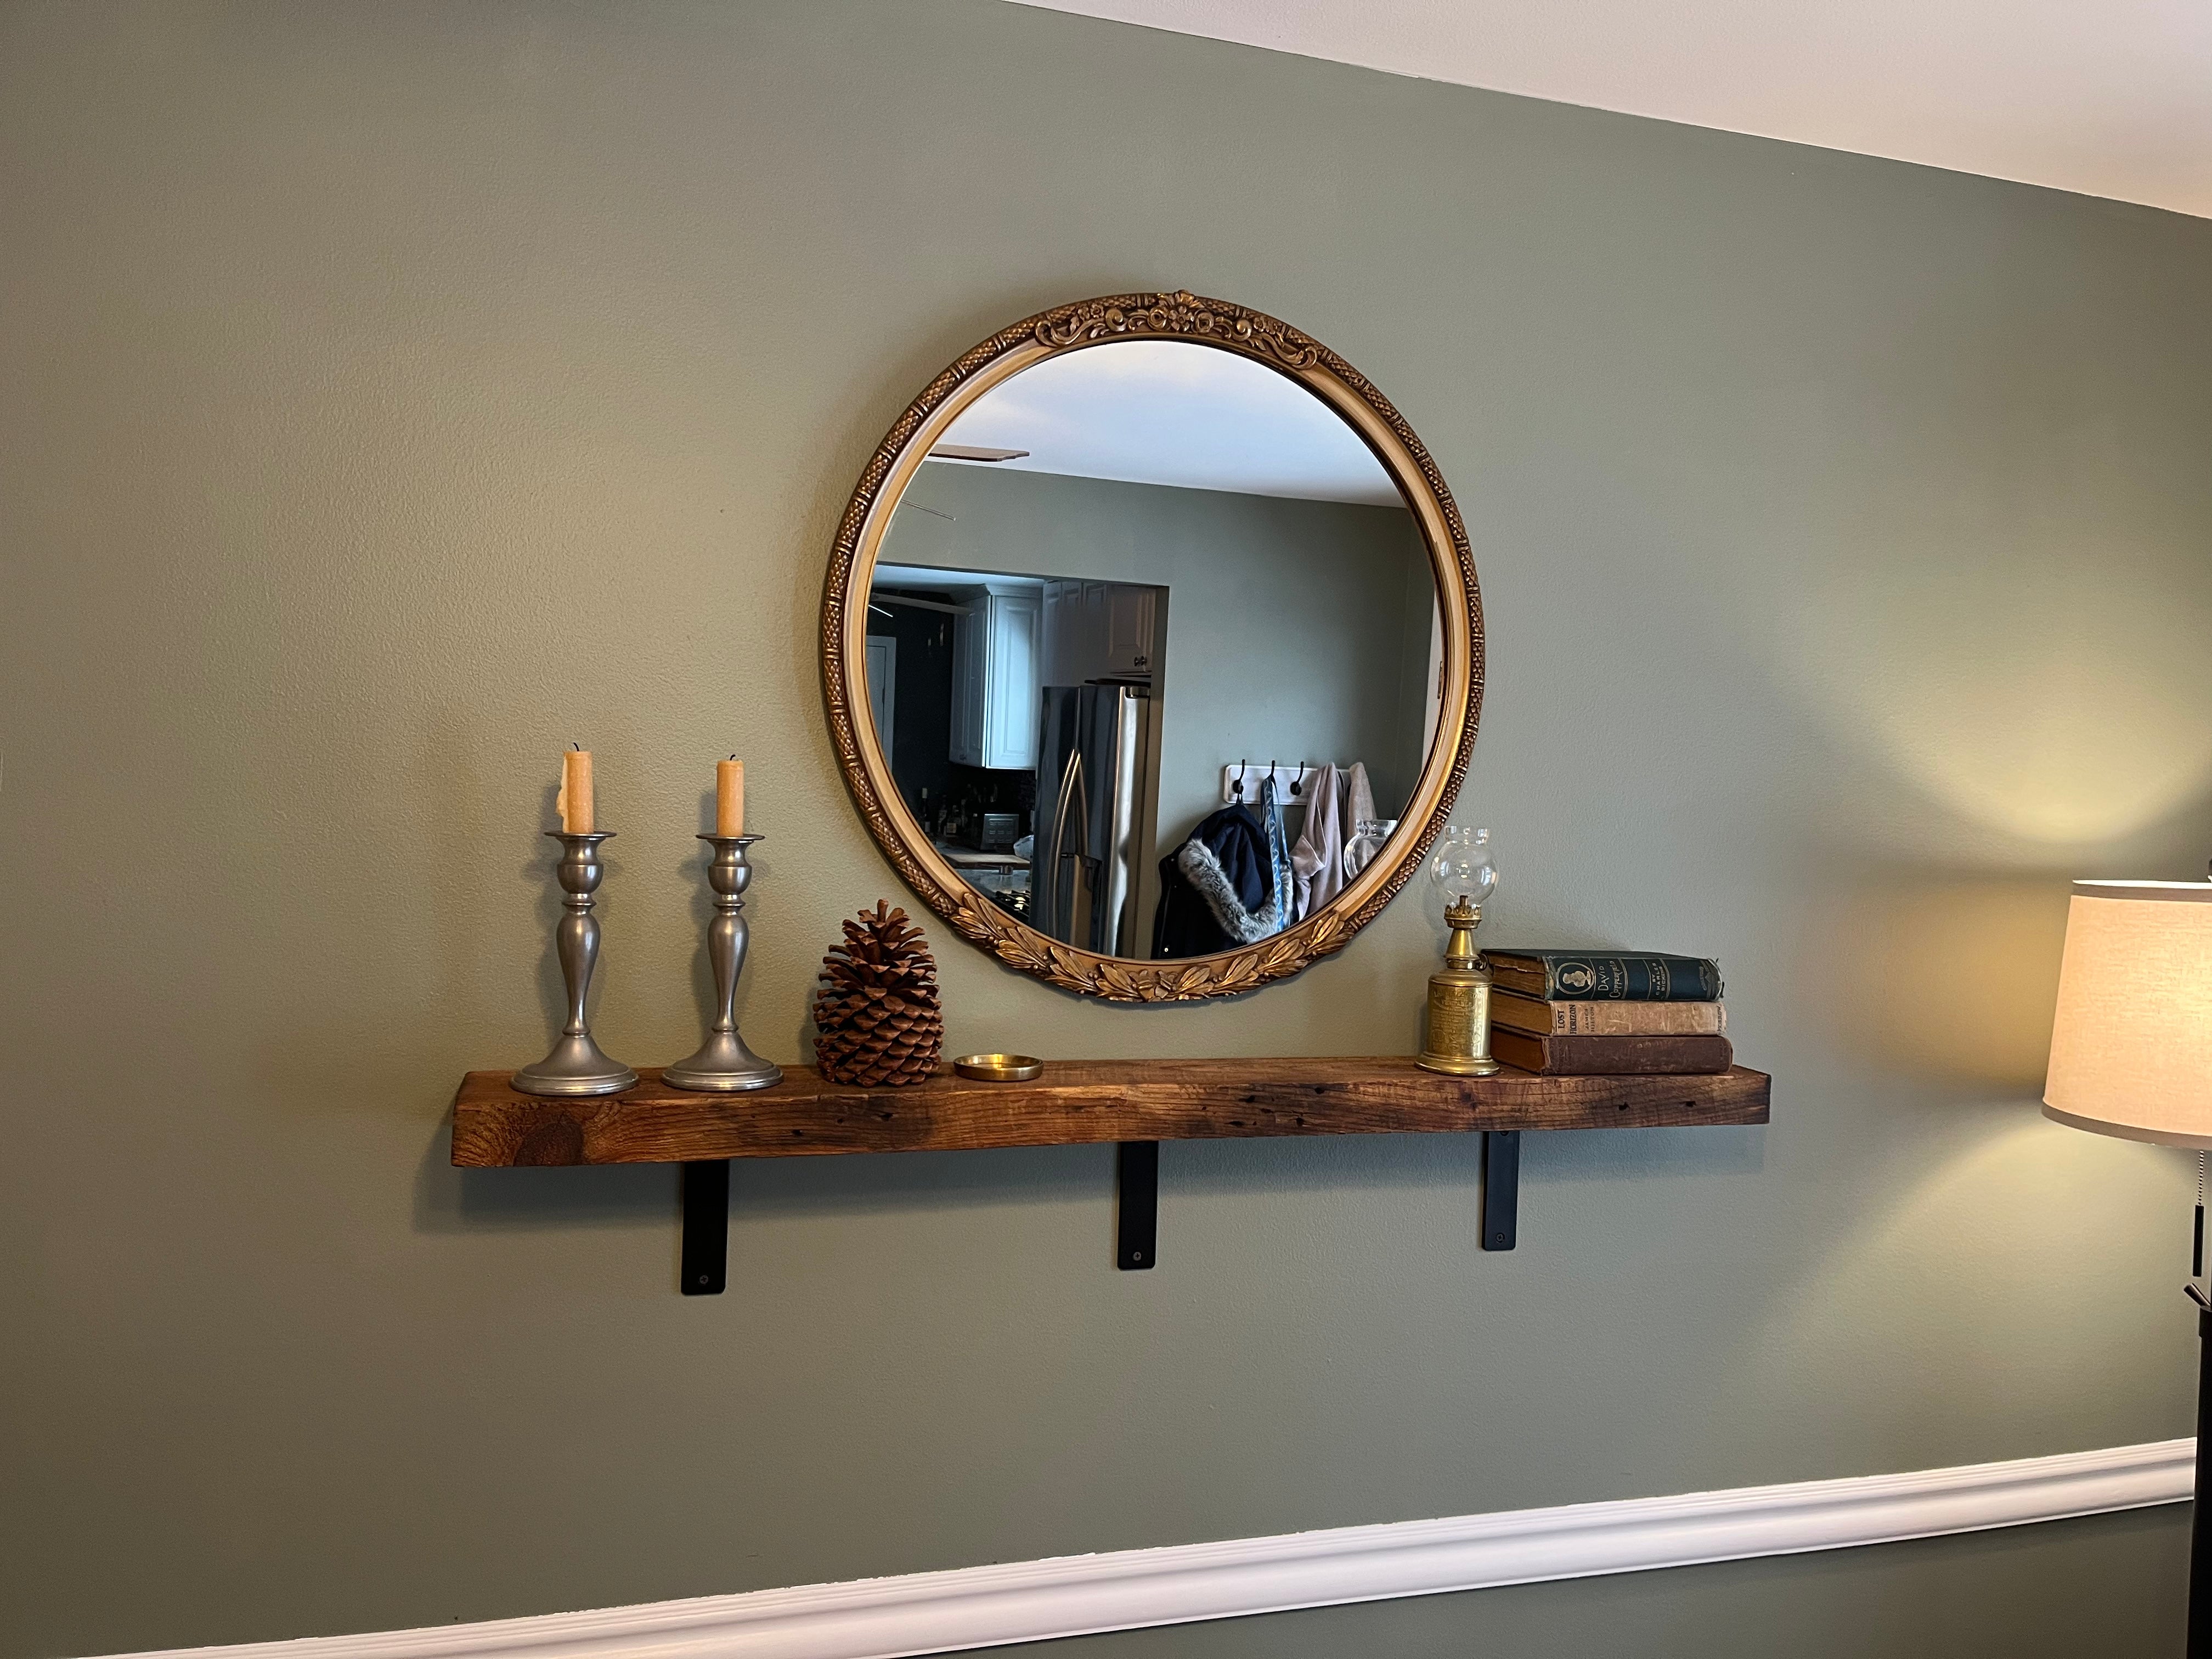
One reclaimed shelf can give a blank wall a warm horizontal line. Here, Modern Timber Craft pairs rough wood with black brackets and a round mirror above. Keep the objects on top limited so the wood remains visible. This approach suits a console or dining corner where another large artwork would feel busy. These rustic wood walls show how related textures change a room.
7. Choose a Wood-Shim Sunburst Mirror
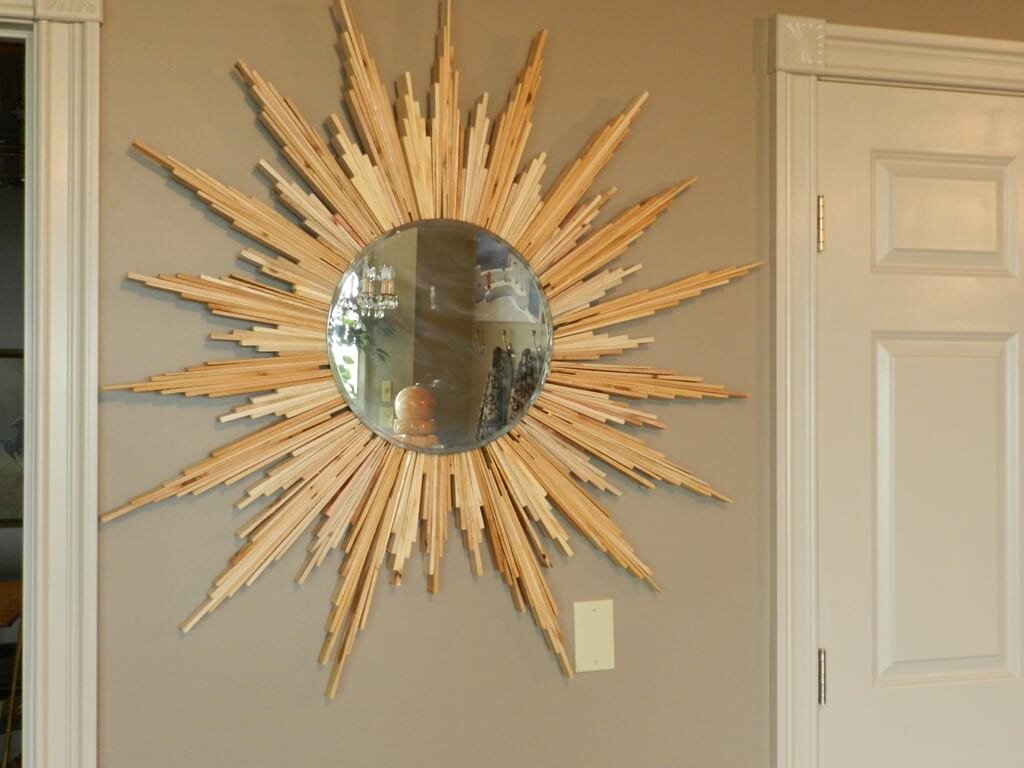
A sunburst mirror uses wood as a sculptural frame, with the uneven rays adding texture around the reflective center. Kelly Bernier’s example keeps the finish natural instead of painting the whole piece metallic. Check the full ray diameter when planning its position, since it needs more wall space than the mirror alone suggests. Use the project’s specified backing and appropriate hanging hardware for its finished weight.
Make This at Home: Natural Wood Sunburst Mirror Tutorial
8. Let a Wooden Clock Show Its Grain

A wooden clock lets a useful household object become part of the wall decor. This Dremel example uses cutout numerals and a simple round face, keeping much of the grain visible. Choose a clock size that you can read from the usual seat. If building one, verify the mechanism’s shaft length against the actual thickness of the wooden face before cutting or assembling the parts.
Make This at Home: Minimalist Wooden Wall Clock Tutorial
9. Suspend Photos From a Branch
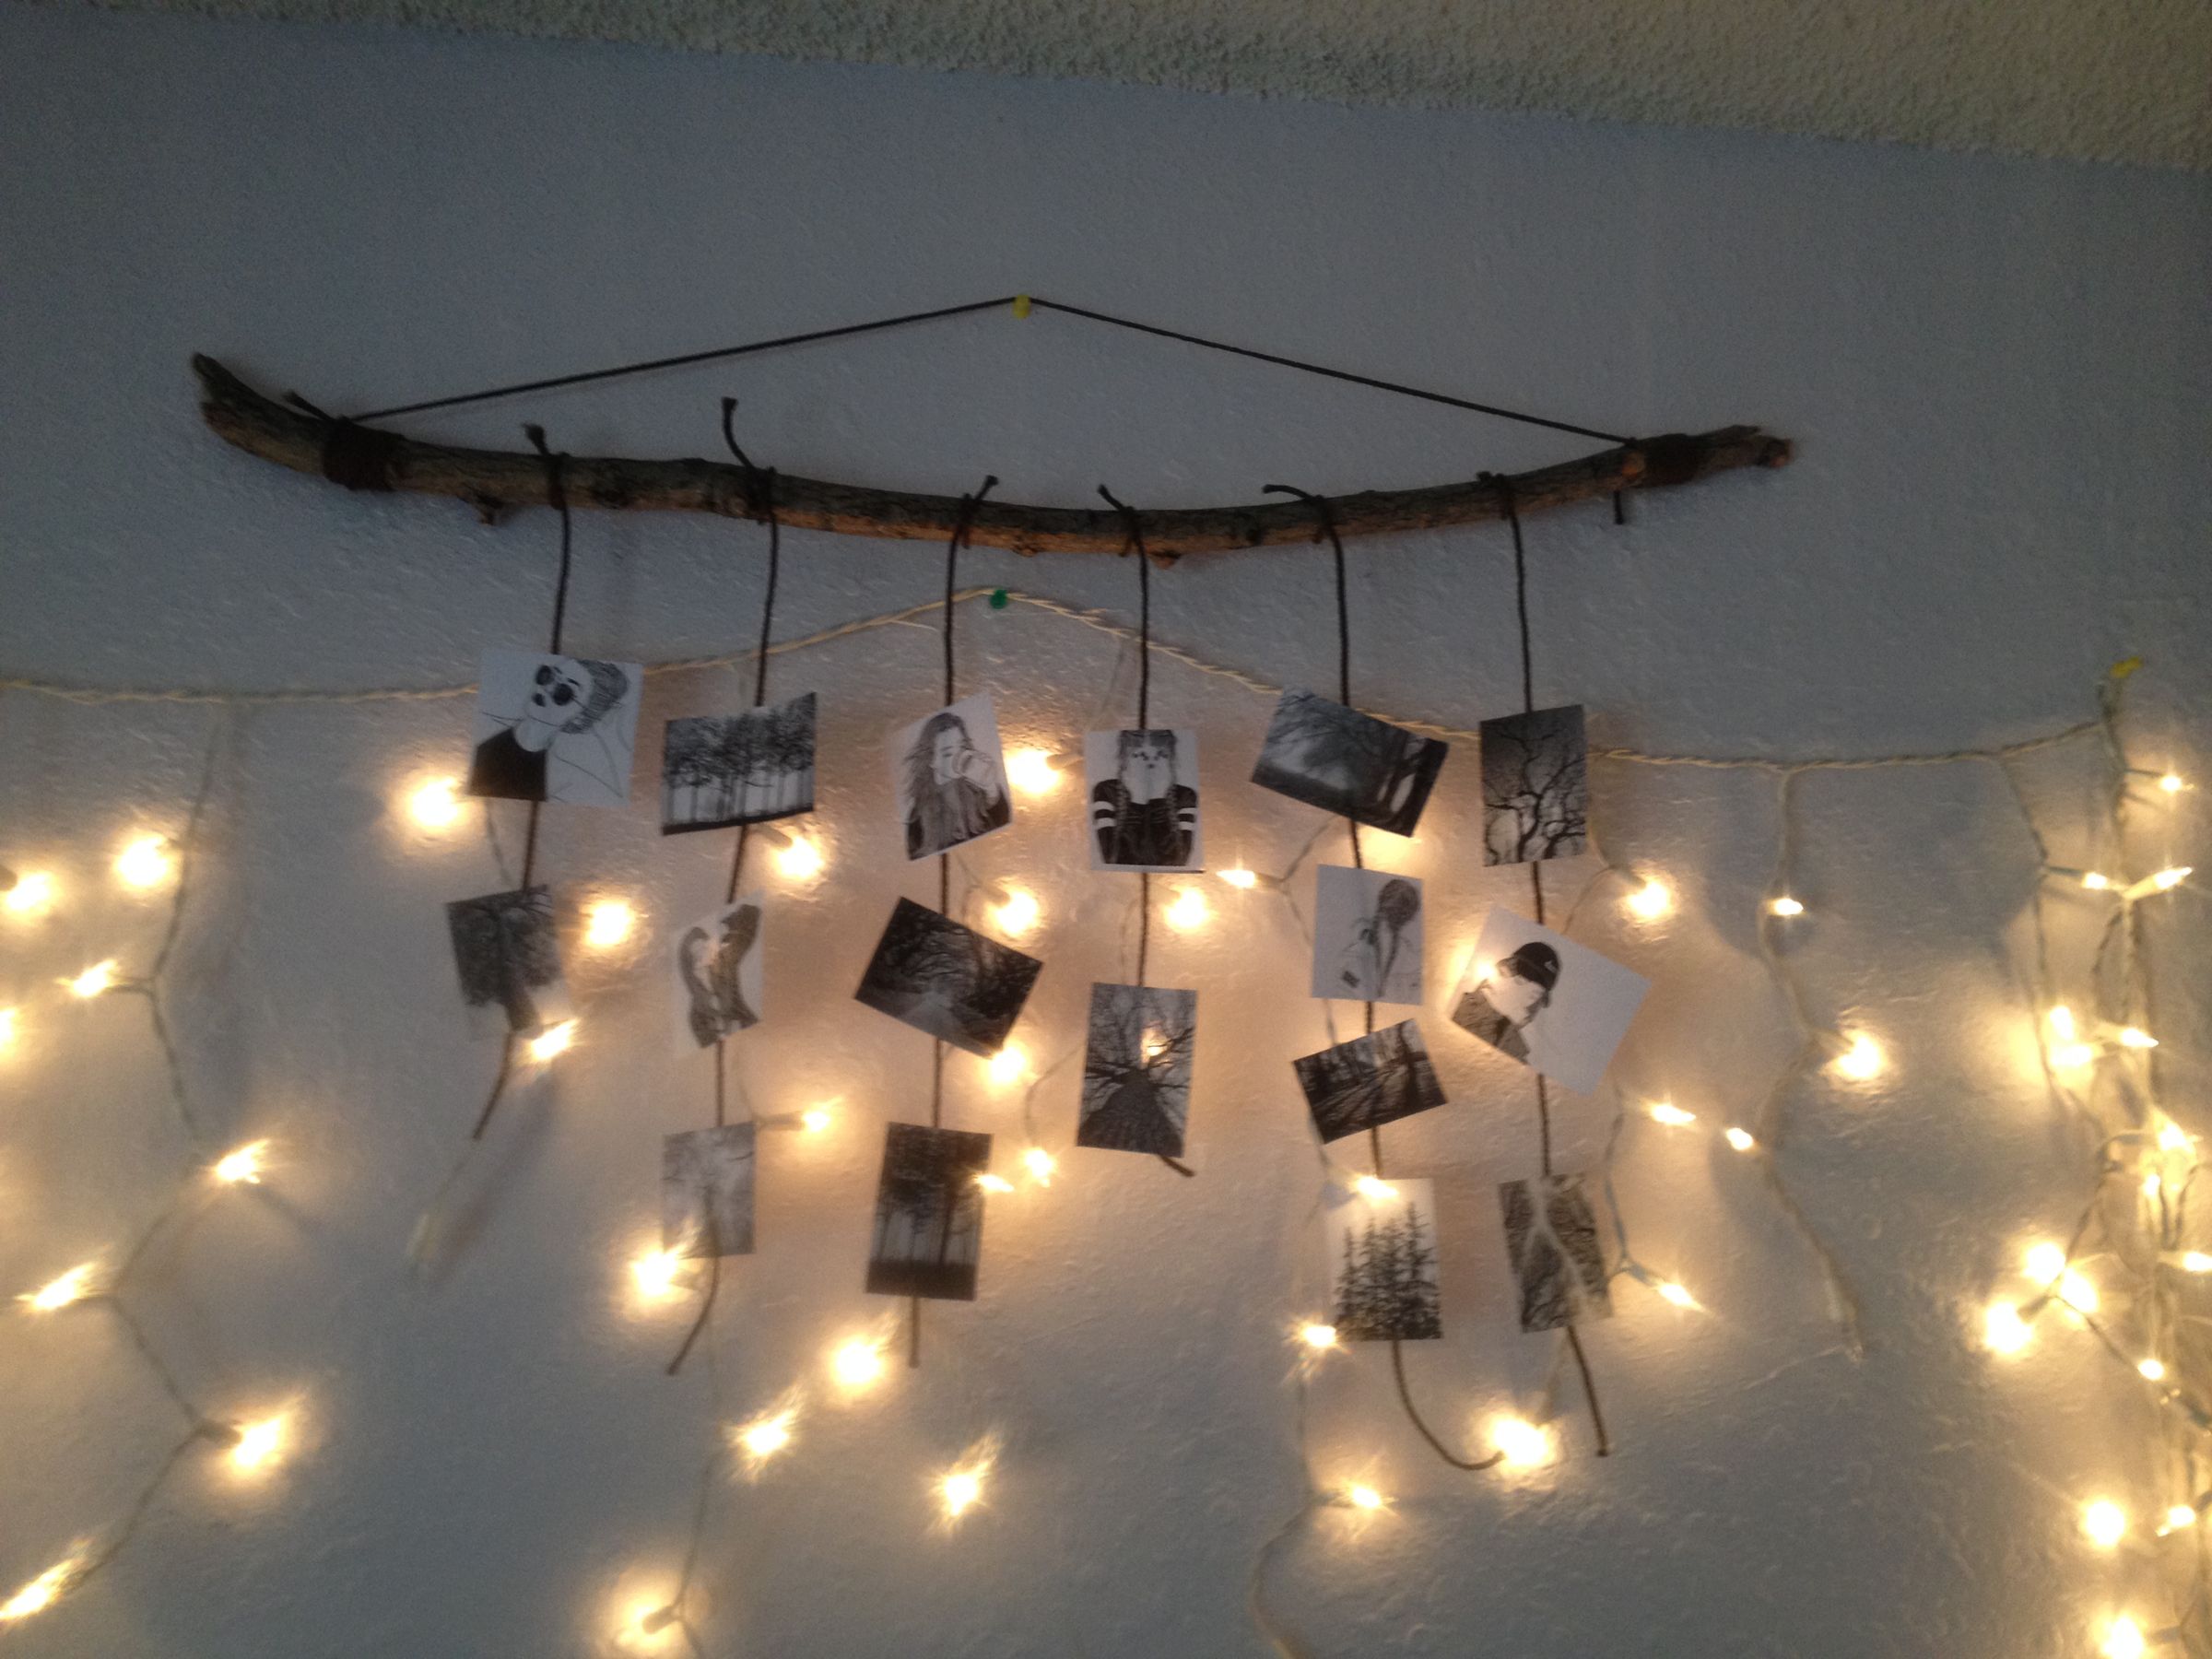
A branch can act as a natural rail for photographs on hanging cords. The dark wood and black-and-white images in this Instructables example make the display feel connected, while the small lights soften its outline. Plan the photo spacing before attaching them. Use cool-running lights suitable for indoor decorative use, keep wires secure, and avoid positioning the arrangement above a heat source. For other personal arrangements, compare these personalized wall displays.
Make This at Home: Branch Picture Collage Project Tutorial
10. Use Slim Wooden Poster Rails

Slim wooden poster rails add a natural edge without hiding a print behind a large frame. The magnetic set shown here holds the top and bottom of a map, with a cord at the upper rail. Measure the paper width before choosing the bars. For valuable or delicate artwork, check whether the specific hanger is suitable for the paper and finish rather than assuming every magnetic rail is archival. Check whether the hanging cord can be replaced, too, if the supplied length puts the poster at the wrong height. The simple bars make seasonal prints easy to swap while keeping the wood finish consistent with nearby furniture.
11. Cover a Wall Section With Vertical Slats

Vertical slats create a larger architectural feature than a single hanging artwork. This installation shows how the warm strips stand out against a dark backing. Try a measured section behind a console or desk before choosing an entire room. Keep outlets, switches, and ventilation accessible, and plan the fastenings carefully. A decorative slat wall should not cover services that need to remain usable.
12. Frame Greenery With Wooden Wall Boxes

Small wooden wall boxes frame plants with a warm, simple outline. The different orientations in this LaLaGreen display make a loose composition without using identical rows. Treat wood as a decorative outer holder unless the product is designed as a growing container. Use a suitable inner pot and protect the wall from water; remove plants for watering when needed and choose a position with appropriate light.
13. Build a Changeable Pegboard Display

A wooden pegboard combines a repeating hole pattern with movable shelves and hooks. It can work as a display in a craft corner as well as practical storage. Leave some holes empty so the board does not disappear under supplies. For a more compact project, explore this pegboard craft station, and check the mounting and load limits before arranging tools or containers.
14. Group Offcuts Into a Raised Mosaic

Raised offcuts make a wall panel feel more like a shallow relief than a flat picture. This mosaic combines blocks of different lengths and depths, using the natural finish changes for contrast. A simple rectangular outline keeps the many pieces from feeling scattered. If making a similar piece, use clean, sound wood and a suitable backing; old paint, unknown treatments, and hidden fasteners need careful assessment.
15. Give a Blank Wall a Wooden Map

A wooden map makes a broad wall into a travel-themed focal point. WeLoveCut uses several tones and layered shapes so the continents remain readable against a light background. Measure the complete layout, including separate islands and extra symbols, before placing any pieces. Keep nearby furniture simple. The map can carry the wall visually without needing a second collection of small pictures around it.
16. Preserve Flowers in a Wood Shadowbox
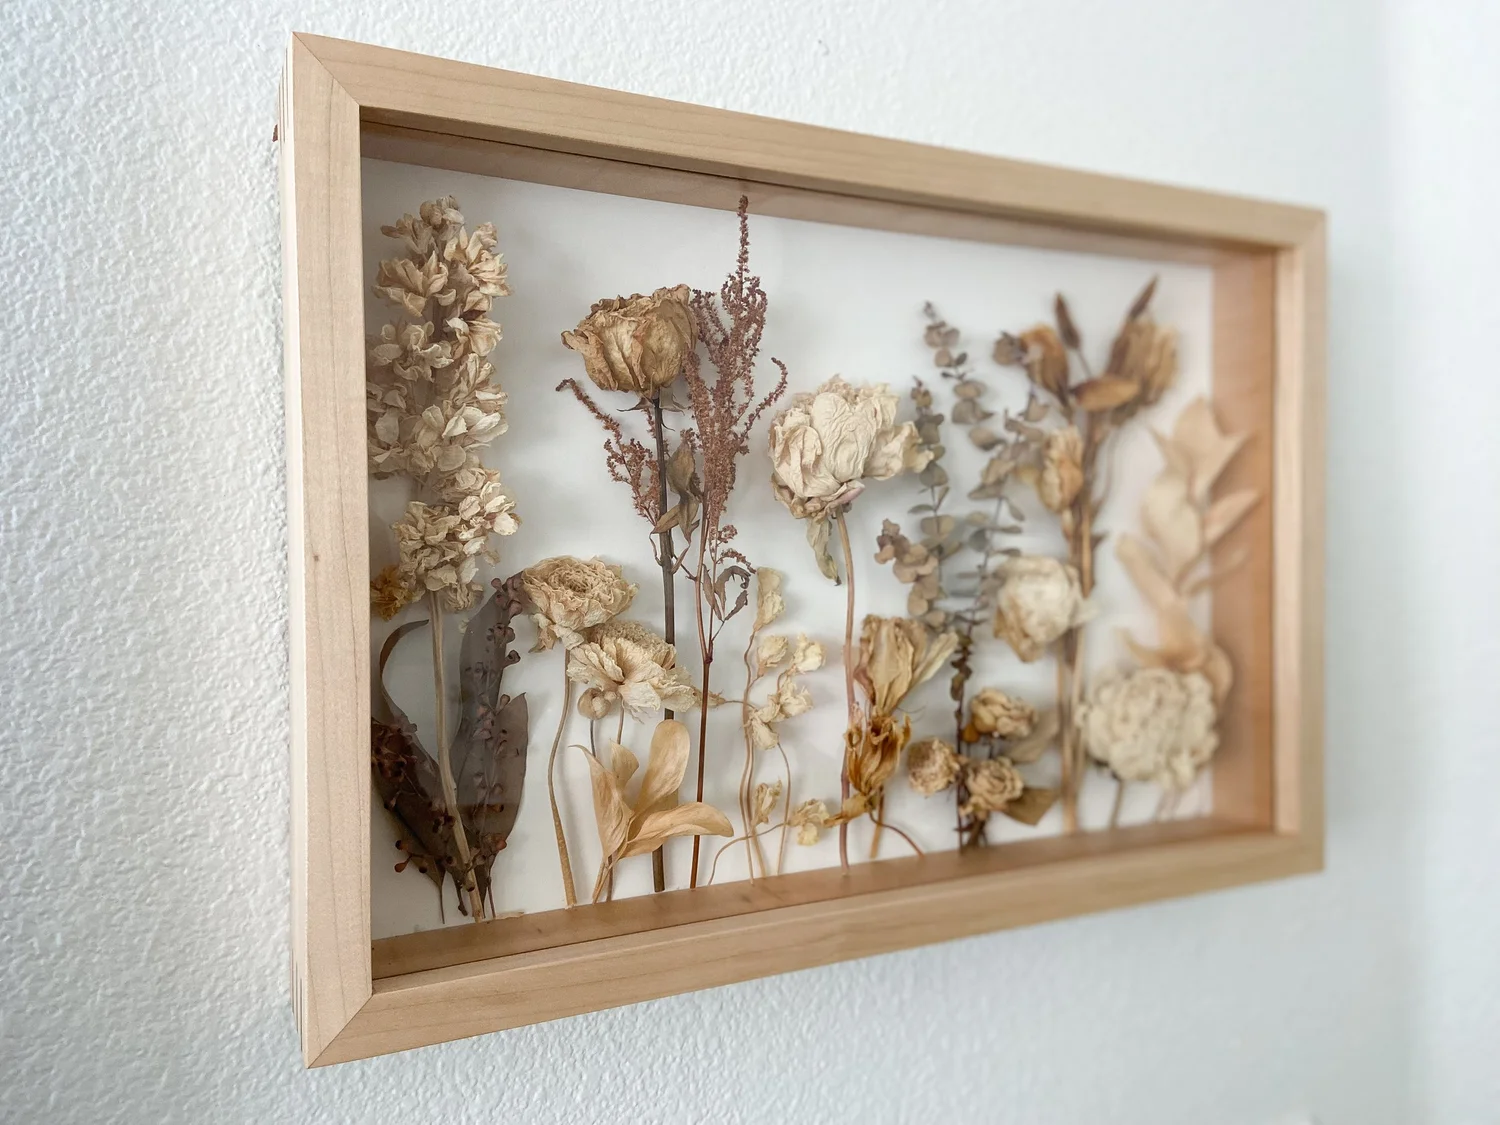
A wood shadowbox gives dried flowers a defined edge and a little depth. The Pressed Petal Co. uses a pale frame that connects the botanical arrangement to the wall without competing with the stems. Hang a piece like this where the details can be seen up close. Follow the maker’s display and care instructions, especially around humidity and direct sun, rather than treating it like an ordinary washable picture.
17. Hang Lantern Jars From Wooden Backplates

Wooden backplates and suspended glass jars make a pair of rustic wall lanterns. LowerArkCrafts uses dark chains against warm wood, giving each jar a strong outline. Use battery lights for a similar decorative effect and keep the fixtures clear of walking routes. Choose secure jar supports and wall fixings; the glass and chain add weight, so a photo cannot tell you which mounting method is suitable.
18. Add a Floral Wooden Monogram

A floral monogram adds a personal detail while leaving much of the natural wood visible. CraftCuts layers a fine botanical outline over a letter-shaped backer, creating depth without a large color palette. A single initial works beside a desk or within a small picture grouping. Keep the cutout edges clear of busy patterned wallpaper so the flowers and letter can both be recognized.
Make This at Home: Layered Wildflower Wooden Letter Tutorial
19. Layer Wood Tones Into a Mountain Scene
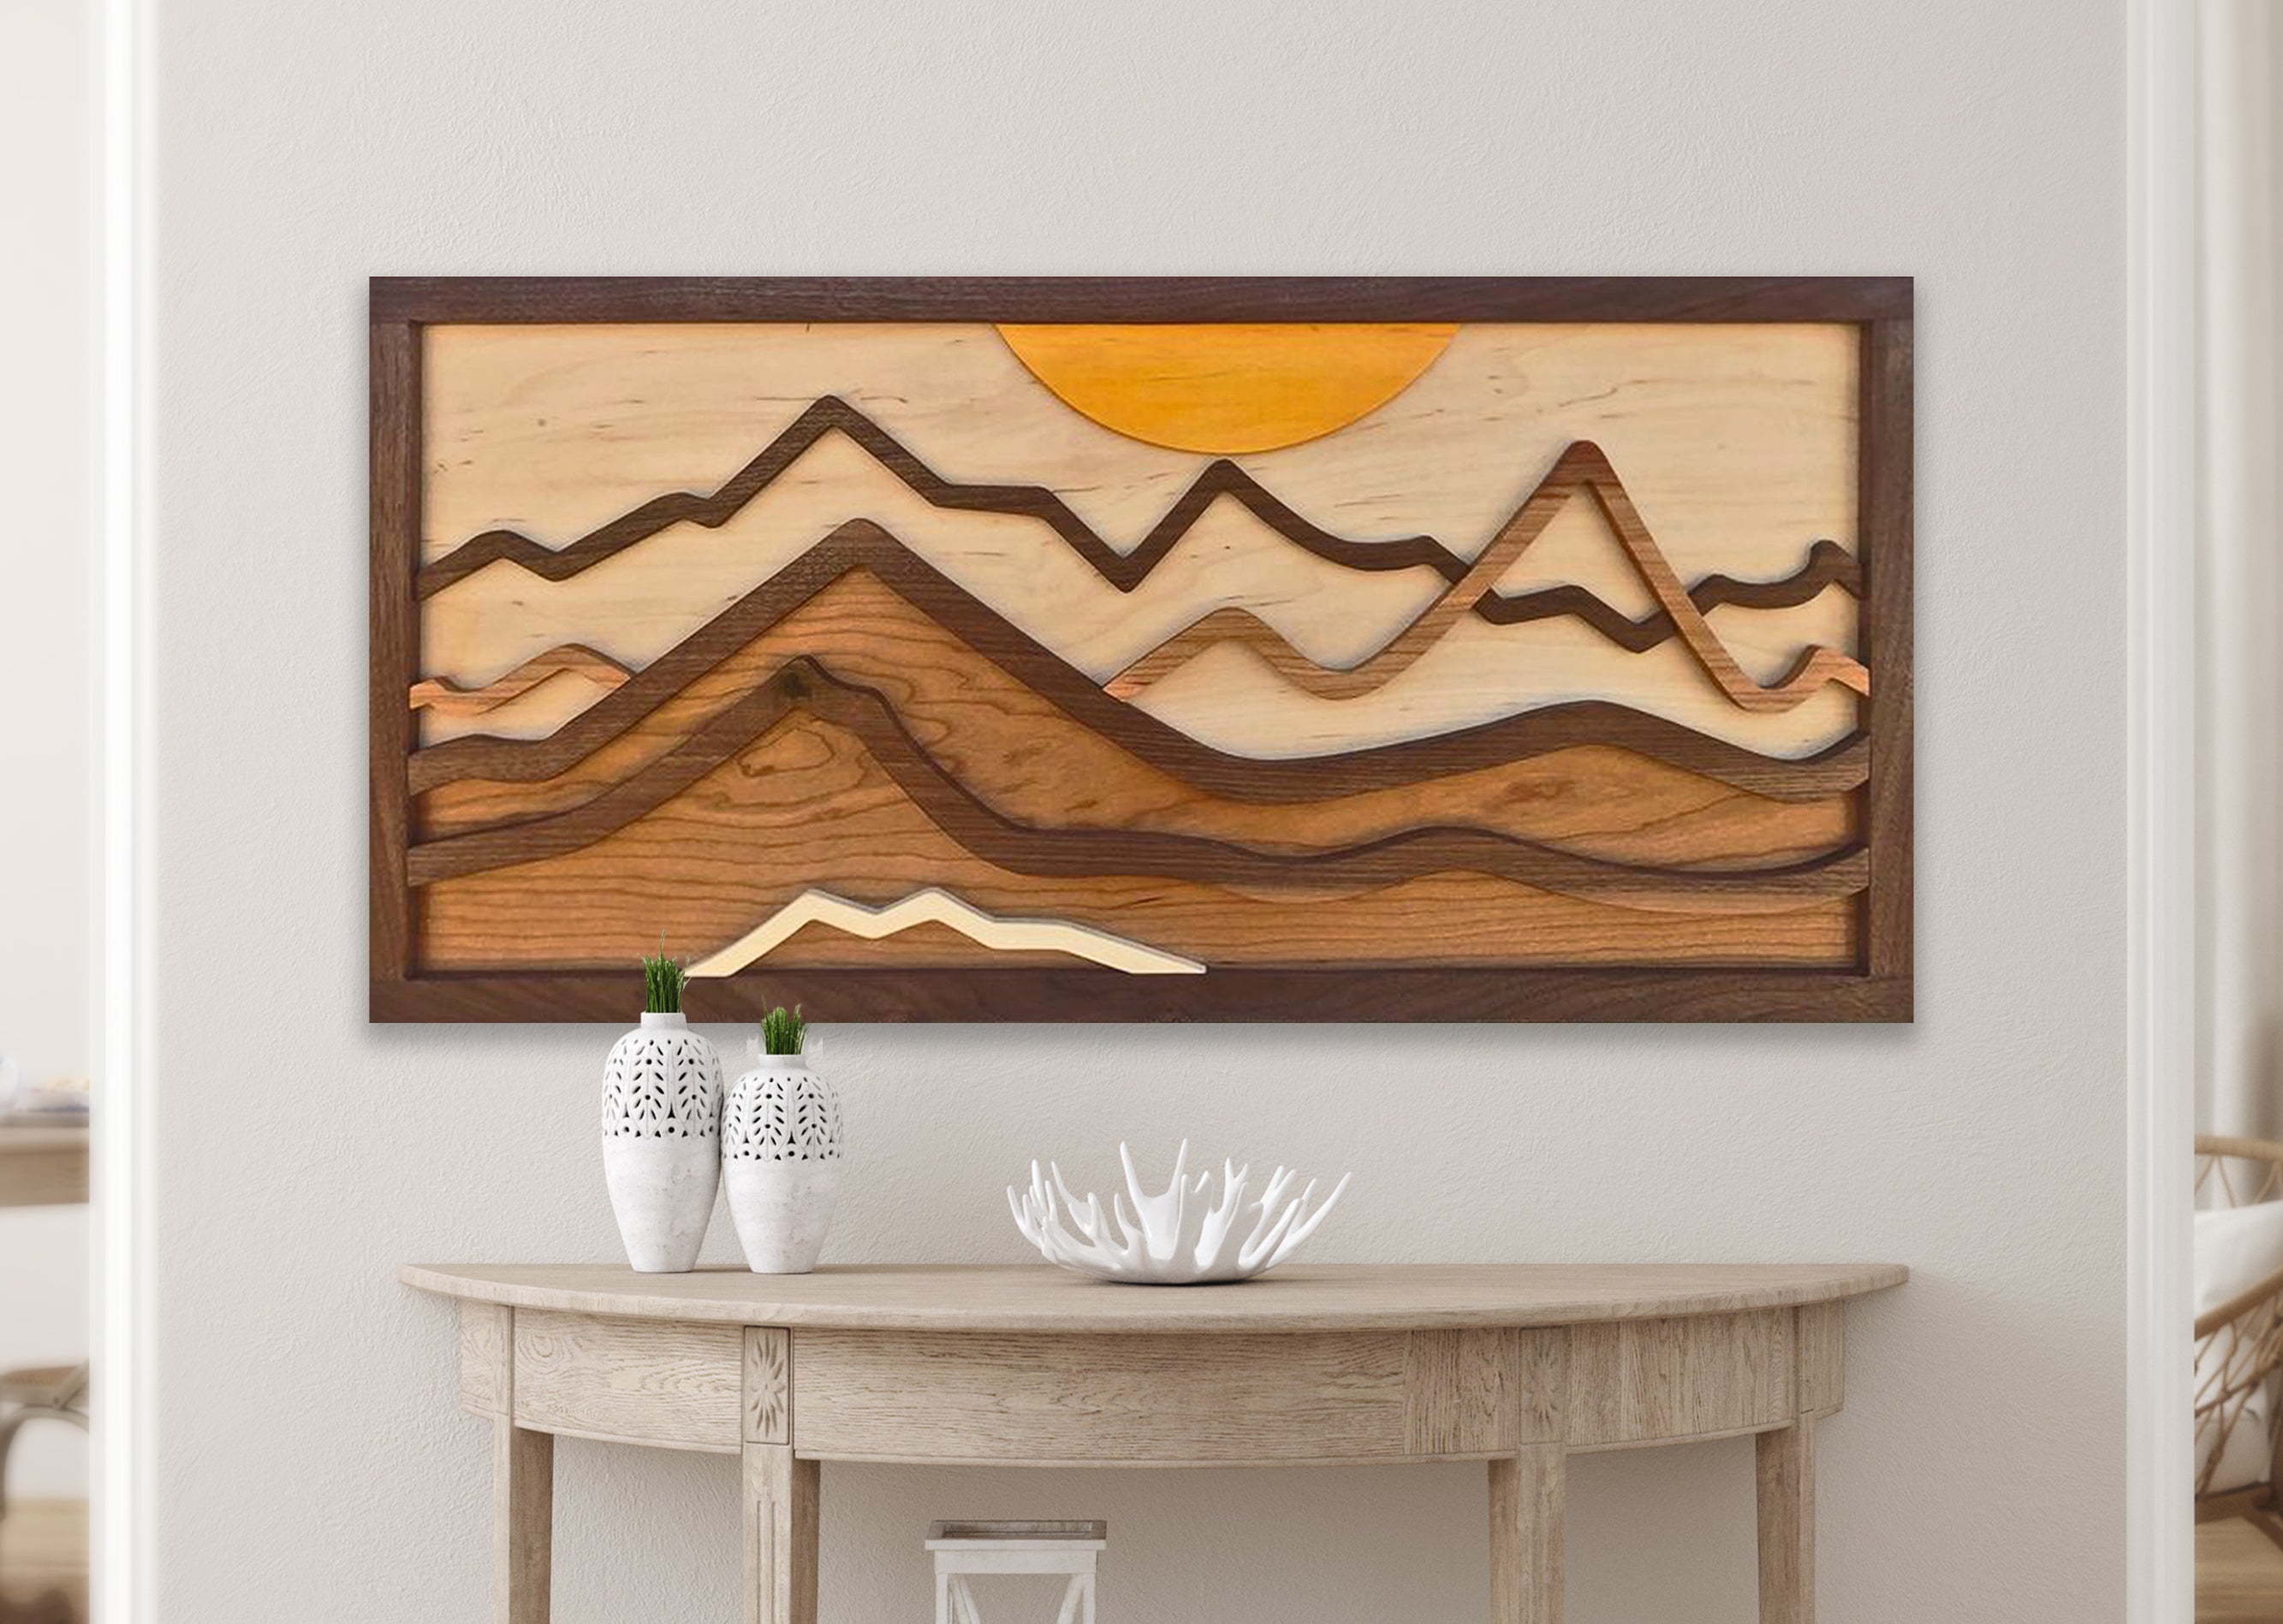
Layered wood tones can suggest a landscape without filling the panel with paint. Broken Deer Woodworking combines mountain shapes, grain changes, and a half-sun in a dark frame. Give the landscape room above a console or mantel, where its long format can be seen as a whole. Repeat one wood tone nearby rather than trying to match every shade in the artwork. Its warm tones also suit a rustic dining room.
20. Gather Wood Slices Into a Round Mosaic
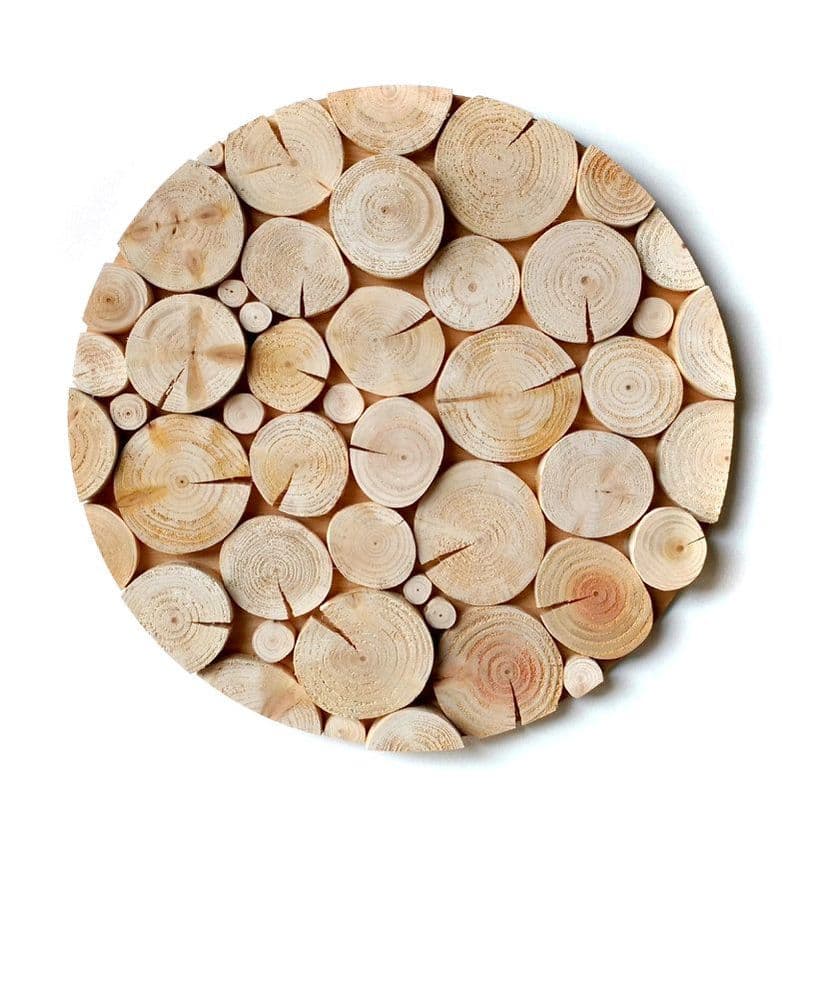
Wood slices show the rings and changing colors that make the material interesting. The Log Basket arranges different sizes on a round backing to create a textured mosaic. Its outline contrasts well with square furniture and straight picture frames. Check the actual weight and hanging instructions before choosing a location; a dense log-slice panel can be much heavier than a similarly sized canvas.
Choose the Wood Texture That Fits Your Room
Start with the wall’s size and the job you want the piece to do: add a focal point, hold pictures, or organize a corner. Compare the wood finish with the furniture already nearby, then leave enough blank space for the shapes to show. The related ideas below can help you connect your new display with the rest of the room.
- Rustic wood walls with natural texture
- Decorating tall walls without visual clutter
- Personal wall displays with meaningful details
- A practical pegboard for craft supplies
- French country dining with rustic warmth
- Plant shelf displays for smaller spaces
Would you choose a wooden artwork, a useful shelf, or a small natural hanging for your wall? Share your decorating plans in the comments. If you have already styled a wood piece, tell us what helped it work with your room.
















0 Comments