How to Add a Removable Lined Backing to Existing Curtains
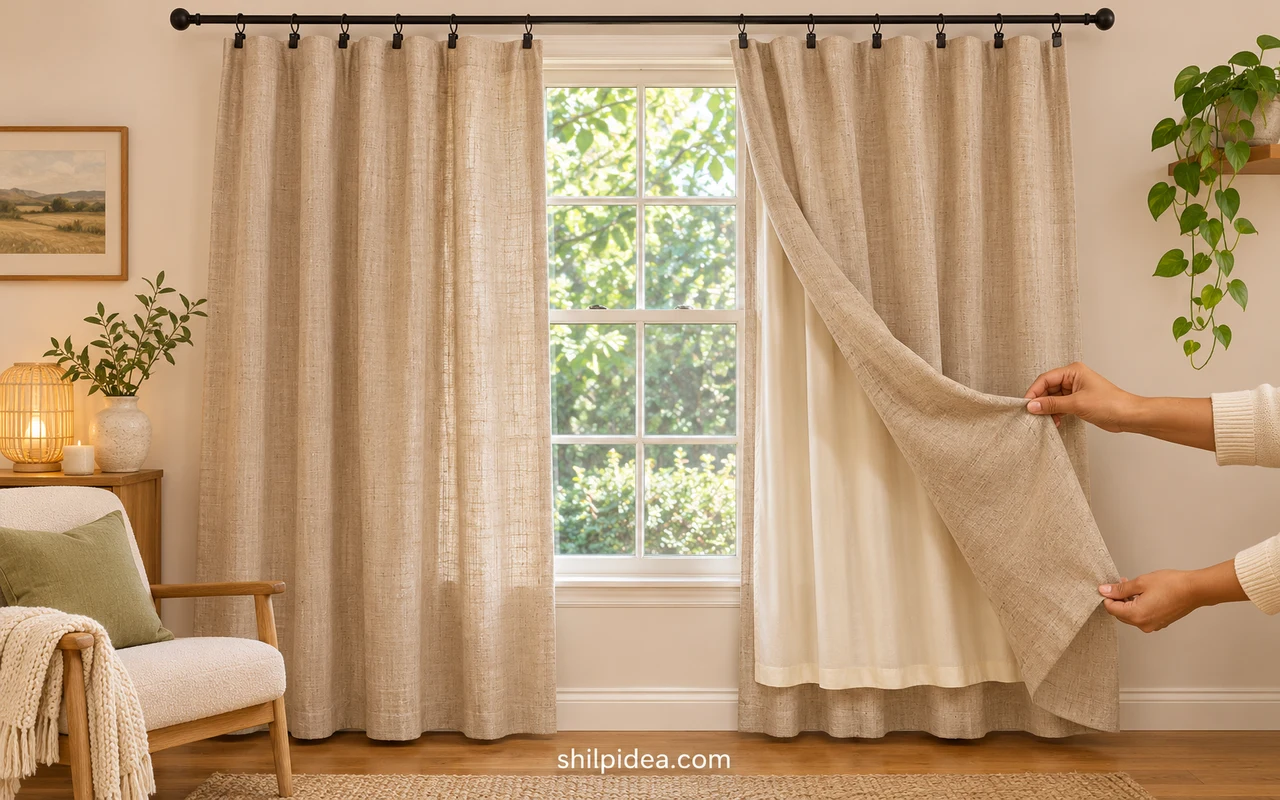
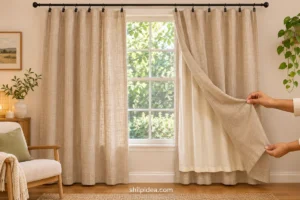
A removable curtain lining adds a separate fabric layer behind curtains you already like. This guide makes one hemmed lining panel that shares the curtain’s existing clip rings, so the layers can be unclipped for separate care.
The method suits sturdy, flat-top curtains hung with spring clips. Start with these curtain styling ideas if you are still choosing your window setup.
You will measure, sew, and test one panel before making its partner. Choose a lining that complements the soft textures in these hygge living rooms.
Materials and Tools
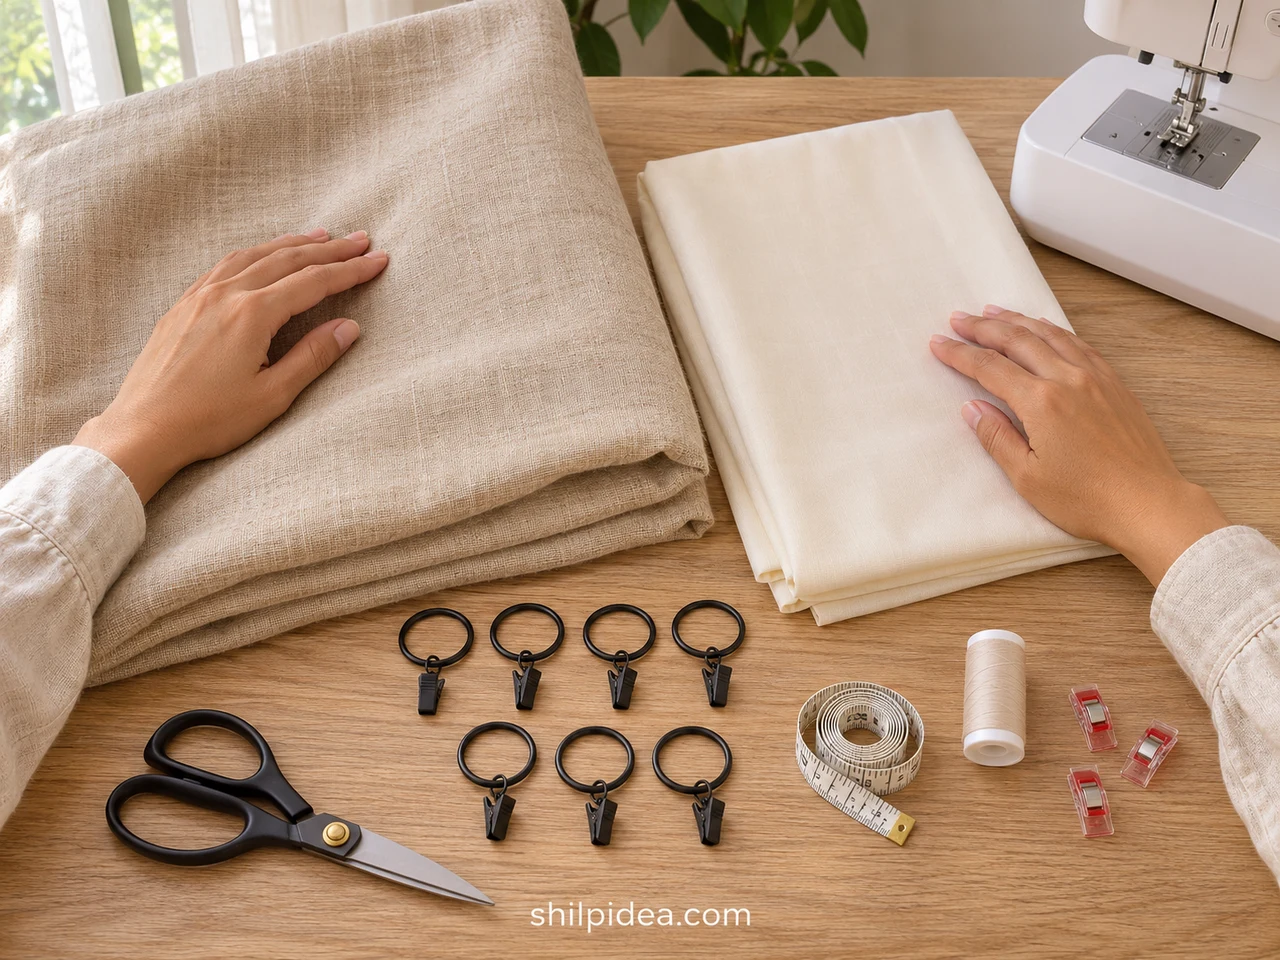
Gather these supplies for one curtain panel, then repeat for the other side.
- Existing clip-ring curtain – Use a sound, flat-top fabric panel with a firm hem that the clips already grip securely.
- Lightweight drapery lining – Choose a stable woven lining suitable for sewing; the worked example needs a usable rectangle 50.00 inches wide × 87.00 inches long after any required pretreatment.
- Compatible ring clips – Use clips that can hold both folded fabric layers securely, with hardware suitable for the combined curtain and lining weight.
- Sewing machine and thread – Fit a needle appropriate for your lining, and test the stitch on folded offcuts first.
- Tape measure, ruler, marker, and scissors – Measure the curtain flat, mark the lining’s wrong side, and cut square to the fabric grain.
- Iron, pressing cloth, and sewing clips – Use an ironing board and a heat setting permitted by the lining’s care instructions.
Check the Curtain Heading Before You Begin
This is a sewn lining with a removable clip attachment, not a no-sew project. It is intended for lightweight lining behind a curtain already hung from clip rings. Each clip must grip both top hems together. Do not clip only the front curtain and expect the backing to stay up.
Grommet, rod-pocket, back-tab, and pleated-hook curtains need a different attachment arrangement. For comparison, Dunelm’s curtain-lining hanging guide shows dedicated hook-and-ring methods. Do not use those measurements interchangeably with the flush-top method below.
Choose lining for the result you need and follow its specifications. Plain lightweight lining is not automatically blackout or thermal fabric, and this project does not promise a particular reduction in light, heat loss, or noise.
Precautions Before You Begin
Check the fabric and hanging setup before cutting a full panel.
- Confirm that the rod, brackets, rings, and clips can support the combined weight; repair loose hardware first.
- Test a clip on folded scraps of both fabrics. Stop if it slips, damages the fabric, or cannot close properly.
- Follow each fabric’s washing and pressing instructions; do not preshrink dry-clean-only or coated lining by guessing.
- Keep fingers clear of the needle and remove sewing clips before they reach the presser foot.
- Use stable access when rehanging curtains, and maintain the required clearance from heaters and other heat sources.
1. Measure the Curtain and Cut the Lining
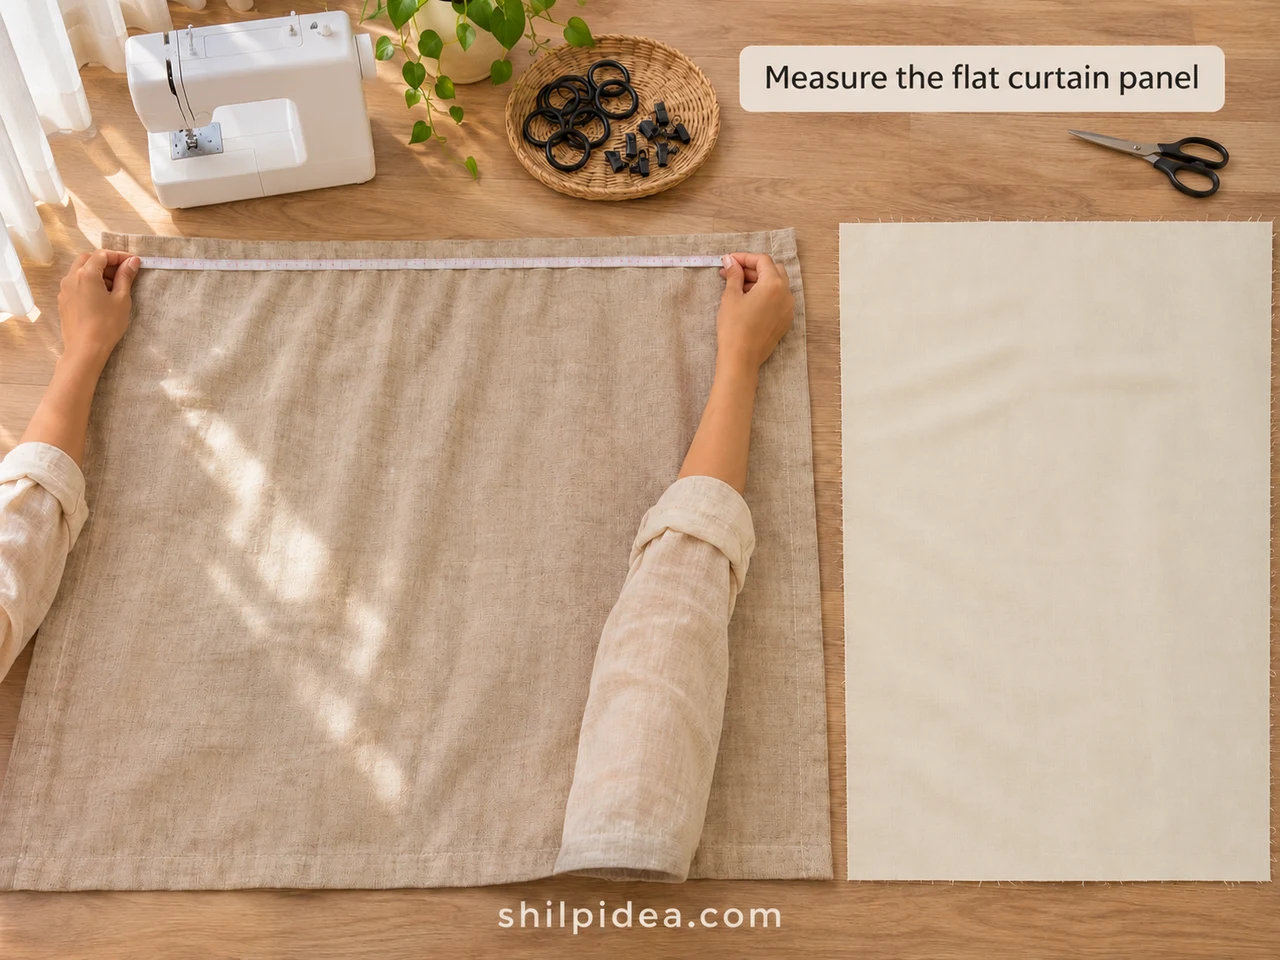
- Measure the finished curtain – Take down one panel and lay it flat without stretching. Measure its full finished width and its length from the top fabric edge to the bottom hem, excluding rings and clips.
- Calculate the lining size – Make the finished lining 2.00 inches narrower and 1.00 inch shorter than the curtain. Both top edges will align; the difference leaves a 1.00-inch inset at each side and bottom.
- Add hems and cut – Add 2.00 inches to the finished lining width for side hems, and 4.00 inches to its length for top and bottom hems. Square the grain, mark the rectangle, and cut one panel.
Use the flat curtain width, not the window width or the gathered width on the rod. Measure each existing curtain separately if the pair has stretched or shrunk differently. The example below uses a finished curtain measuring 50.00 × 84.00 inches.
| Measurement | Width × length, in inches |
|---|---|
| Existing finished curtain | 50.00 × 84.00 |
| Target finished lining | 48.00 × 83.00 |
| Total hem allowance | 2.00 × 4.00 |
| Cut lining rectangle | 50.00 × 87.00 |
For other sizes: cut width = curtain width, and cut length = curtain length + 3.00 inches. These shortcuts apply only to this guide’s hem depths and flush-top attachment. Check usable fabric width after removing unsuitable selvages; a wider curtain may need joined lining widths or a wider fabric.
Before moving on: The example cut piece is 50.00 × 87.00 inches. The measurements already include the hems; do not add them twice.
2. Fold and Sew the Sides and Bottom
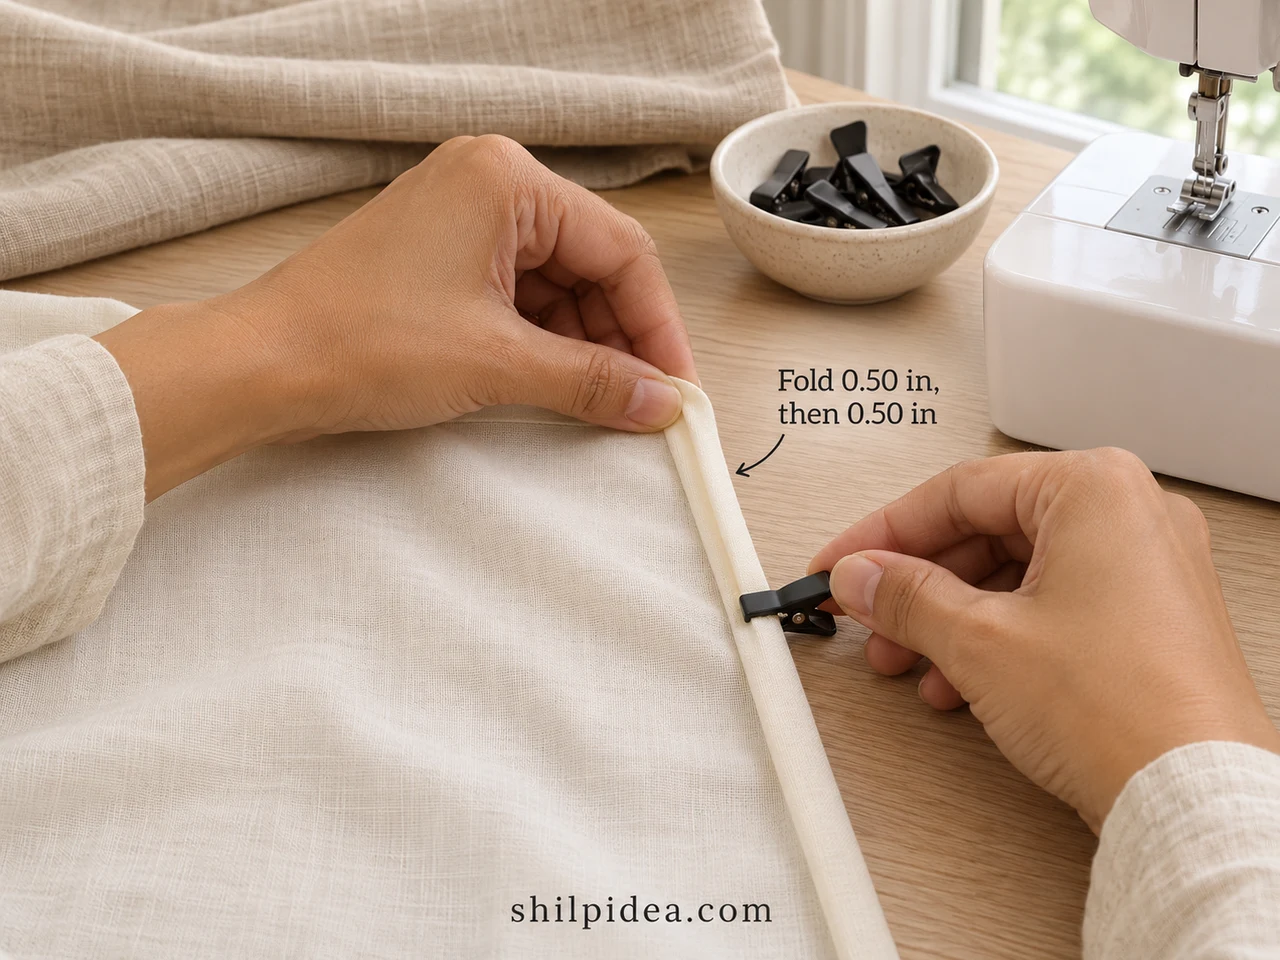
- Turn the side hems – With the lining’s wrong side up, fold one long edge inward by 0.50 inch, then another 0.50 inch. Press according to the care label and clip; repeat on the opposite side.
- Stitch the folded sides – Sew close to each inner folded edge, catching the full folded hem. Keep the fabric supported so its weight does not pull the seam, and backstitch at the beginning and end.
- Make the bottom hem – Turn the lower edge toward the wrong side by 1.00 inch, then another 1.00 inch. Press and stitch near the inner fold, sewing carefully across the thicker side-hem corners.
Each completed side hem uses 1.00 inch of the cut width; together they reduce the example from 50.00 to 48.00 inches. The bottom uses 2.00 inches of length. Leave the top unfinished until the next stage so you can check the remaining allowance.
Before moving on: The side edges and bottom raw edge are enclosed, and the example lining is now 48.00 inches wide.
3. Sew a Firm Top Hem
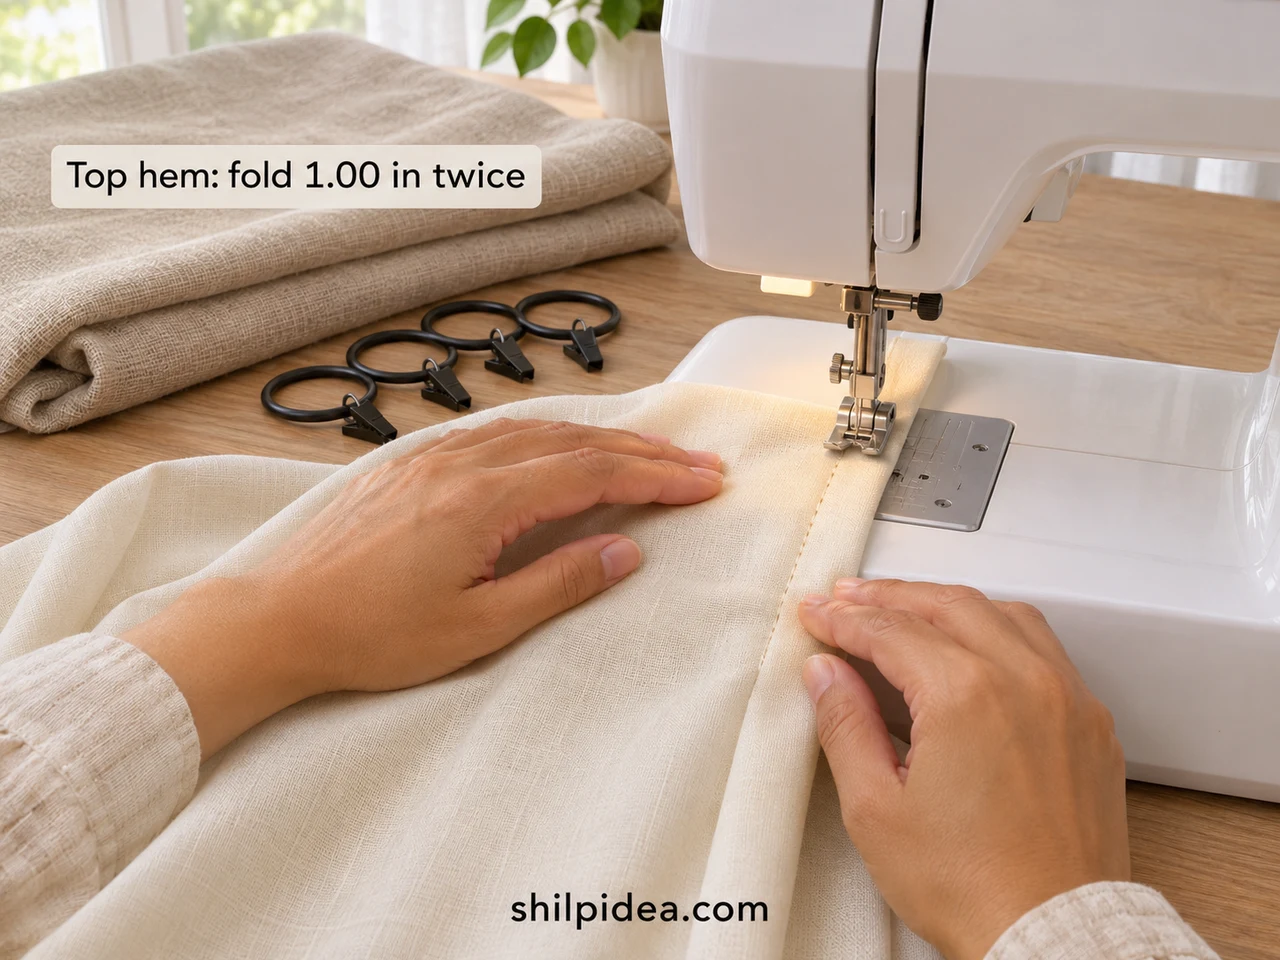
- Fold the heading – Turn the top edge toward the wrong side by 1.00 inch, then another 1.00 inch. Press the fold straight across the panel and clip it without stretching the fabric.
- Stitch and check the length – Sew near the inner folded edge and secure the seam ends. Measure the finished panel again; the example should be 48.00 × 83.00 inches, with no exposed raw edges.
- Test the finished thickness – Try a ring clip on the finished lining hem together with the existing curtain’s top hem. Check that the jaws close securely around both; choose a compatible attachment before proceeding if they do not.
The top hem provides a folded edge for the clips. It is not a rod pocket, and you will not thread the rod through it. Sew only the lining at this stage: keeping it separate from the decorative curtain is what makes removal possible.
Before moving on: All four lining edges are hemmed. The lining is still a separate panel, and the clips grip both top hems without slipping.
4. Align the Layers and Attach the Clips
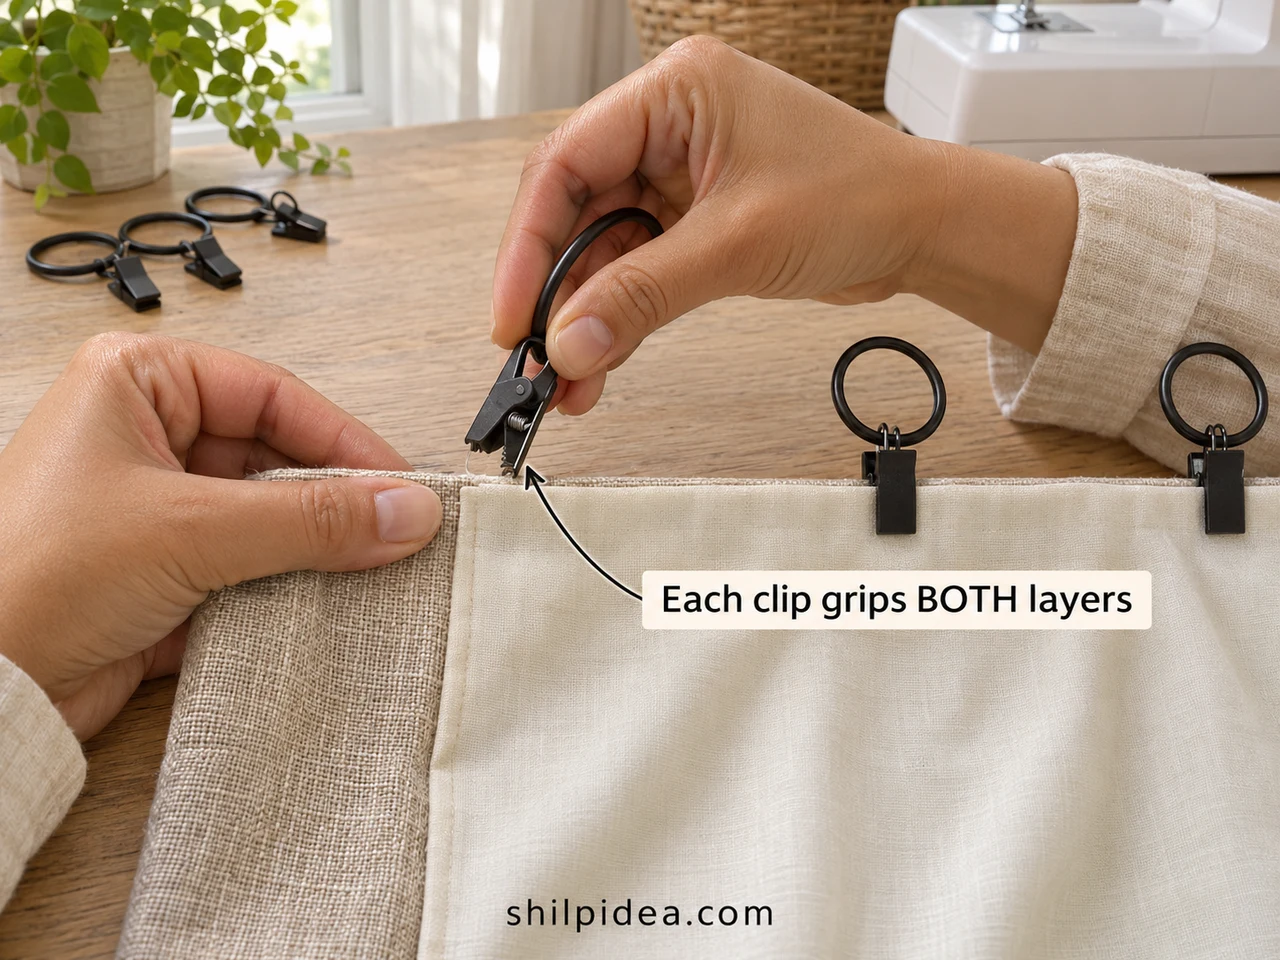
- Layer the fabrics – Lay the curtain face down. Place the lining over its back with the hemmed wrong side facing the curtain, unless the lining manufacturer specifies a different orientation. Align their finished top edges.
- Center the lining – Leave a 1.00-inch strip of curtain visible at each side and below the lining. Smooth both panels flat without stretching either layer, keeping their top edges flush.
- Clip both layers together – Attach each ring clip across both top hems at the same depth. Position outer clips inside the lining’s width, and distribute the remaining clips evenly using spacing suitable for your fabric and hardware.
Check every attachment by looking behind the top edge. A clip positioned outside the narrower lining catches only the curtain. Reposition it far enough inward to grip both layers. Follow the hardware maker’s guidance for clip quantity and loading; a fixed number is not suitable for every panel.
Before moving on: Every clip grips two panels. The lining’s sides and bottom remain free, with no stitches or adhesive joining them to the curtain.
5. Rehang, Test, and Check the Bottom Edge
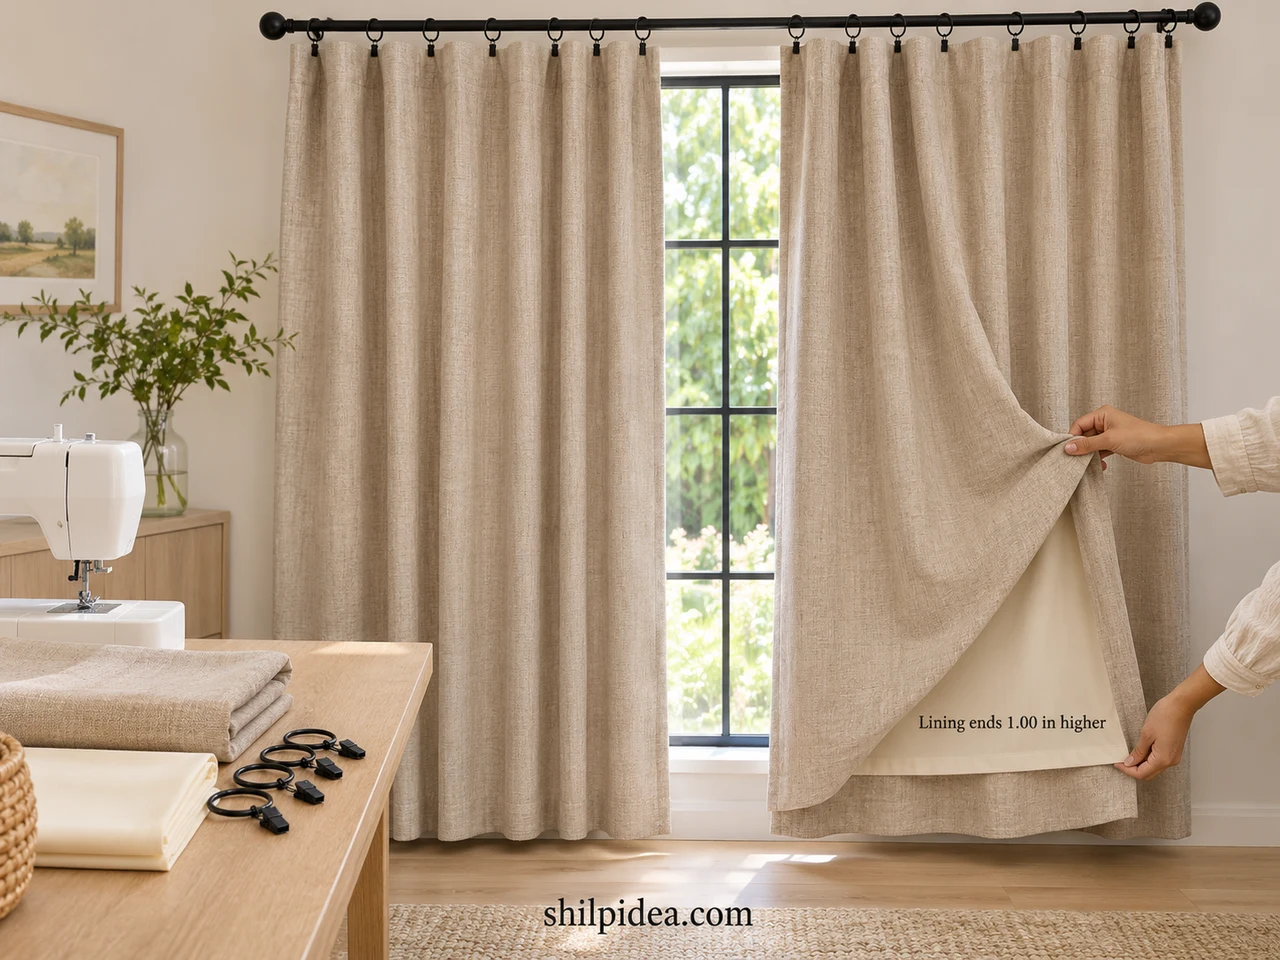
- Rehang with support – Support the fabric while returning the rings to the rod. Arrange the folds gently and confirm that all clips remain closed, the brackets are firm, and both panels hang freely.
- Check the fit and movement – Open and close the curtain slowly several times. Look for slipping, sagging between clips, exposed lining at the sides, or a lining hem below the curtain. Lower the panel to correct problems.
- Test removal on the table – Once the fit is right, take the panel down and support it flat. Open the clips to release the lining, then reassemble and rehang. This confirms you can separate the layers without pulling on the fabric.
The lining should finish 1.00 inch above the curtain’s lower edge when their top edges are aligned. Check the fit again after the fabric has relaxed. If you need to adjust the bottom, mark the actual hanging position, take the lining down, and resew the hem while it is supported flat.
Before moving on: The curtain travels smoothly, the lining stays hidden from the front, and the fastenings remain secure after gentle use.
Fix Sagging, Slipping, or Visible Lining
- Lining peeks out below: Verify the top edges are flush and the clips grip at equal depths. If the finished lining is too long, shorten its bottom hem.
- Edges show at the sides: Recenter the lining and check the side insets. If the front panel twists, reshape its folds before changing the lining width.
- Fabric sags between clips: Review the spacing and weight against the hardware instructions. Add compatible supports only within the rod’s rated capacity; use a different system if the weight is unsuitable.
- A clip slips or marks fabric: Take the panel down. Replace the attachment with a suitable one rather than adding glue or hanging a heavier lining from the same weak grip.
- The curtain feels stiff: The lining may be too heavy or bulky for the existing curtain. Try a lighter suitable woven lining and retest the folded hems.
Remove and Care for the Lining
Support the curtain on a table before opening its clips. Clean the curtain and lining separately according to their individual care instructions, and remove all hardware first. Measure the dry lining again before rehanging, since shrinkage can change the fit. Store spare lining loosely folded in a dry place, and check the clips periodically for worn jaws or rough edges.
If the extra fabric inspires another small room update, use suitable decorative offcuts for framed fabric art. Keep lining scraps for stitch and heat tests instead of assuming they will behave like the curtain fabric.
More Fabric and Window Updates to Try
A removable lining is one practical part of a room refresh. Once the curtains hang well, you can repeat a fabric color in a framed swatch, add a small sewing project, or adjust the textiles near your favorite chair. These guides and idea collections offer useful next steps without needing to replace everything around the window.
- Explore Easy No-Sew Curtain Styling
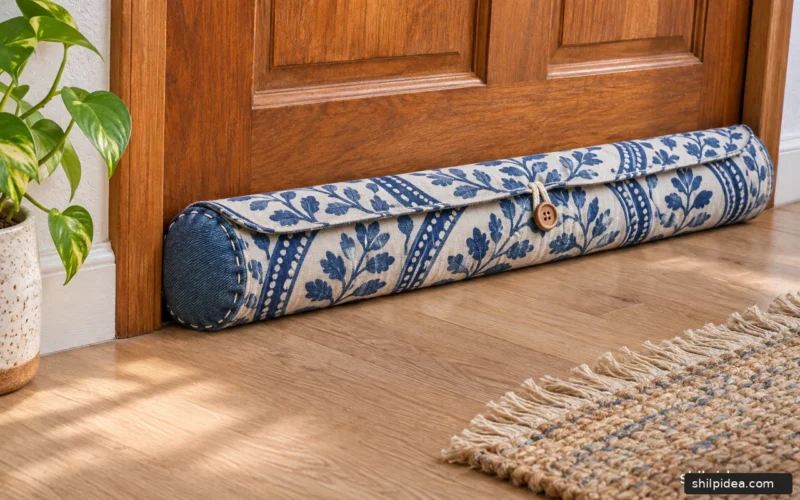
- Sew a Reversible Denim Draft Stopper
- Frame Fabric Samples for Wall Art
- Refresh Picture Frames with Paint
- Style a Softer Hygge Living Room
Which curtains would you like to add a removable lining to? Share your fabric choice and heading style in the comments, or tell us what helped your layers hang neatly if you have tried a similar project.



































0 Comments