18 Rustic Wood Decor Ideas for Your Home
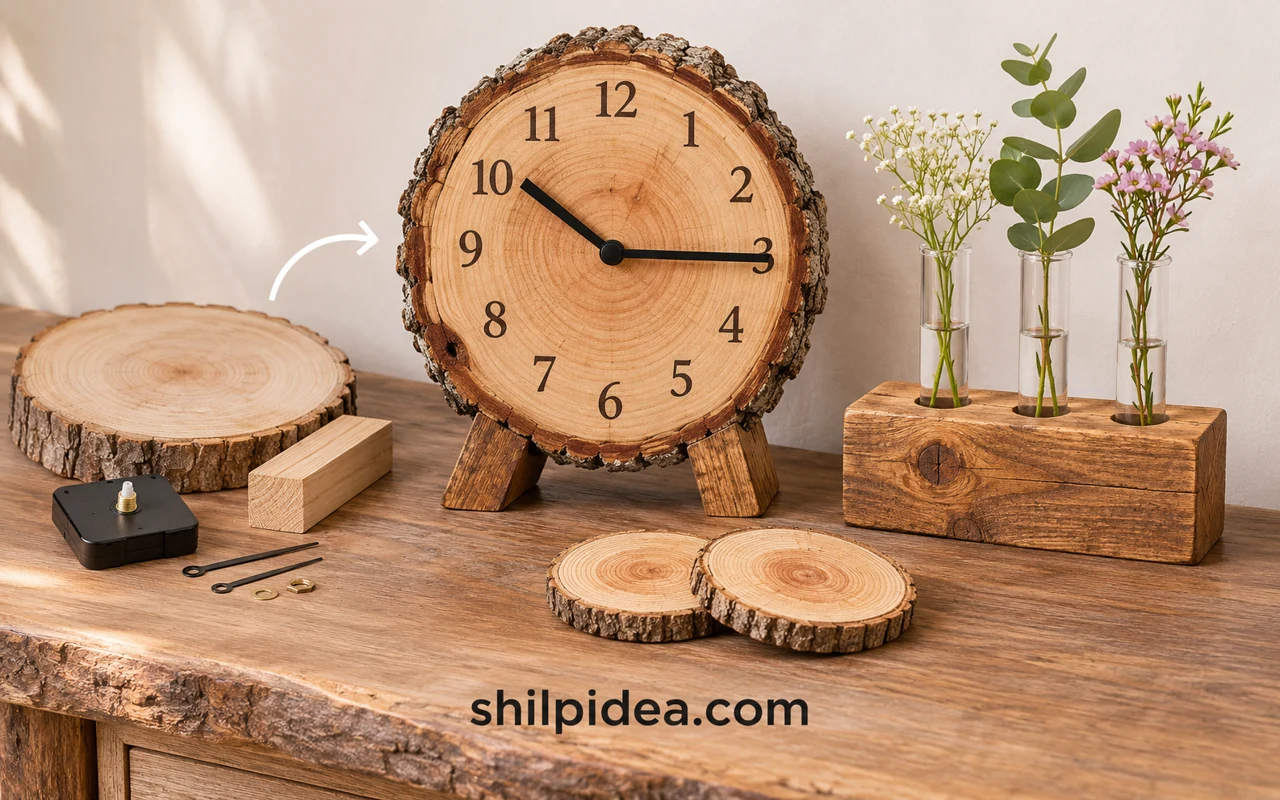
Rustic wood decor ideas bring visible grain, uneven edges and handmade detail into a home. This collection ranges from small tabletop projects to wall displays and furniture, helping you choose a scale that suits your room.
Start with clean, dry wood and a practical place for the finished piece. Our rustic wooden lamp ideas show how natural timber can work alongside everyday lighting.
Compare the designs, then follow matching maker instructions where available. If a timepiece suits your space, explore our wooden clock designs for another direction.
1. A Branch-and-Wood-Slice Wall Tree

Thin branches and clusters of small wood rounds create a tree-shaped wall feature with a light, spreading canopy. The contrast between narrow twigs and solid slices makes the outline readable from across the room. Use this photograph as layout inspiration, then plan a secure backing or mounting system for your wall. Choose prepared, dry wood and avoid projecting branches where someone could catch clothing or brush against sharp ends.
2. Three Framed Woodland Panels

These matching frames contain branch shapes and pale wood slices arranged like tree canopies. Separating the composition into panels gives the natural materials a defined border, making the display easier to place above a console or along a hallway. Sketch the group at full scale before arranging any pieces. Keep the frames level and use fittings appropriate for their finished weight; the photograph does not reveal the hidden attachment method.
3. A Framed Wall Shelf for a Small Plant

MirrorForest’s shelf pairs a tall rectangular timber frame with a small projecting ledge. The open center lets the wall show through, so the piece feels lighter than a closed cabinet. It is a useful design reference for displaying one trailing plant or a compact decorative pot. Check the shelf’s stated mounting instructions and capacity, and keep the plant in a removable waterproof container to protect the wooden surface.
4. Scrap-Wood Pumpkins for a Seasonal Shelf

Donna Dodson turns scrap boards into chunky pumpkin shapes with a worn painted finish. Their flat bases let them stand among greenery without needing a large display area. This is a seasonal project that can come out again when fall returns. Follow the maker’s cutting and assembly sequence, then vary the height of the pieces for a group that feels collected. Keep the wood dry and store the finished decorations away from damp conditions.
Follow the Maker’s Method: Make Rustic Scrap Wood Pumpkins
5. Log Holders for an LED Candle Arrangement

Short bark-covered logs create different heights inside this winter centerpiece. The natural outer texture works well with a simple tray and a few sprigs of greenery. Marty Walden’s project explains the drilled holders; for a flame-free home display, use correctly sized battery-operated LED tealights. Leave their switches accessible and check that the logs sit flat. Do not place burning tealights directly inside combustible wooden recesses.
Follow the Maker’s Method: Make Rustic Log Candle Holders
6. A Three-Tier Wood-Slice Display Stand

Personally Andrea combines wood slices with glass candlesticks to make a tiered display. The different diameters create room for a small collection without covering the whole tabletop. Review the maker’s assembly method, keep the arrangement balanced and choose lightweight objects for the upper tiers. If using it for packaged treats or cups, protect the unfinished surfaces as needed; the decorative stand is not evidence of a food-safe finish or a tested load rating.
Follow the Maker’s Method: Build a Tiered Slice Stand
7. A Bark-Edged Wood-Slice Side Table

A thick slice with a natural bark edge becomes a small table on hairpin-style legs. Lia Griffith’s project keeps the irregular outline visible, so a single piece adds texture beside an upholstered chair or sofa. Check the slab’s condition and the suitability of the leg attachments before building. The full instructions are offered as a premium project, so review the access requirements before choosing it as your next make.
Follow the Maker’s Method: Explore the Wood Slice Table
8. A Live-Edge Console on Slender Legs

Jen at Rustique Restoration leaves the walnut slab’s uneven outline as the main feature of this console. Dark hairpin legs give it an open base, which suits a narrow wall or a spot behind a sofa. Her account describes preparing and finishing the slab before fitting the legs. For complementary lighting, browse our pallet lamp ideas. Measure the available depth before buying wood, and plan stable support and suitable fixing hardware for its actual thickness and weight.
Follow the Maker’s Method: Finish a Live Edge Console
9. A Tree-Trunk Bookshelf for a Reading Corner

A central trunk supports staggered shelves in this cabin-inspired reading nook. The irregular arrangement gives a collection of books a sculptural setting, while the vertical footprint leaves floor space around a chair. Treat the image as inspiration for a custom piece rather than a complete DIY plan. The trunk, shelf connections and wall anchoring need to be designed for the intended contents; keep heavy books on securely supported lower shelves.
10. A Cable-Spool Table with Book Storage

This reused cable spool has compartments beneath its circular top for books and small objects. The worn surface keeps its earlier industrial role visible instead of disguising it beneath a heavy decorative finish. Start only with a spool of known condition, remove protruding fixings and check the entire piece for damage before adapting it. Use a protective tray beneath a plant, and keep the storage openings easy to reach.
11. A Wood-Slice Clock with a Leaf Border

Cindy at DIY Beautify combines an oval wood round with a pale painted face, clear numbers and a wood-burned leafy border. The contrast helps the hands remain readable while the bark still frames the clock. Check the movement’s spindle length against the slice thickness before drilling. Her guide covers the decorative stages and assembly; the burning tool requires careful adult handling on an appropriate work surface.
Follow the Maker’s Method: Make a Wood Slice Clock
12. Arrow-Patterned Wood-Slice Coasters
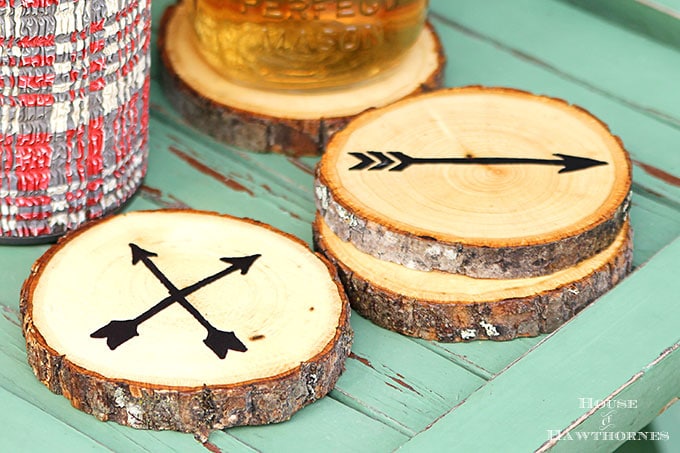
Pam Kessler uses small wood slices and simple black arrow designs to make a coordinated coaster set. The marking technique gives a graphic result without requiring a wood-burning tool. Choose flat, prepared slices so cups sit securely, and follow the maker’s sealing directions rather than assuming bare wood will handle repeated spills. Add suitable protective feet beneath the rounds to reduce scratches, and wipe moisture away after use.
Make This at Home: Decorate Wood Slices as Coasters
13. A Timber Block with Glass Bud Vases

Caitlin McGrath drills a wooden block to hold slender test tubes at varied heights. The wood supplies the rustic texture, while the glass keeps flower water separate from the timber. Start with a stable base and space the holes before drilling so the tubes have adequate support. Her original project secures the glass into the block; consider how you will empty and clean the tubes when planning your version.
Follow the Maker’s Method: Build Wooden Test Tube Vases
14. A Driftwood Rail for Hanging Plants
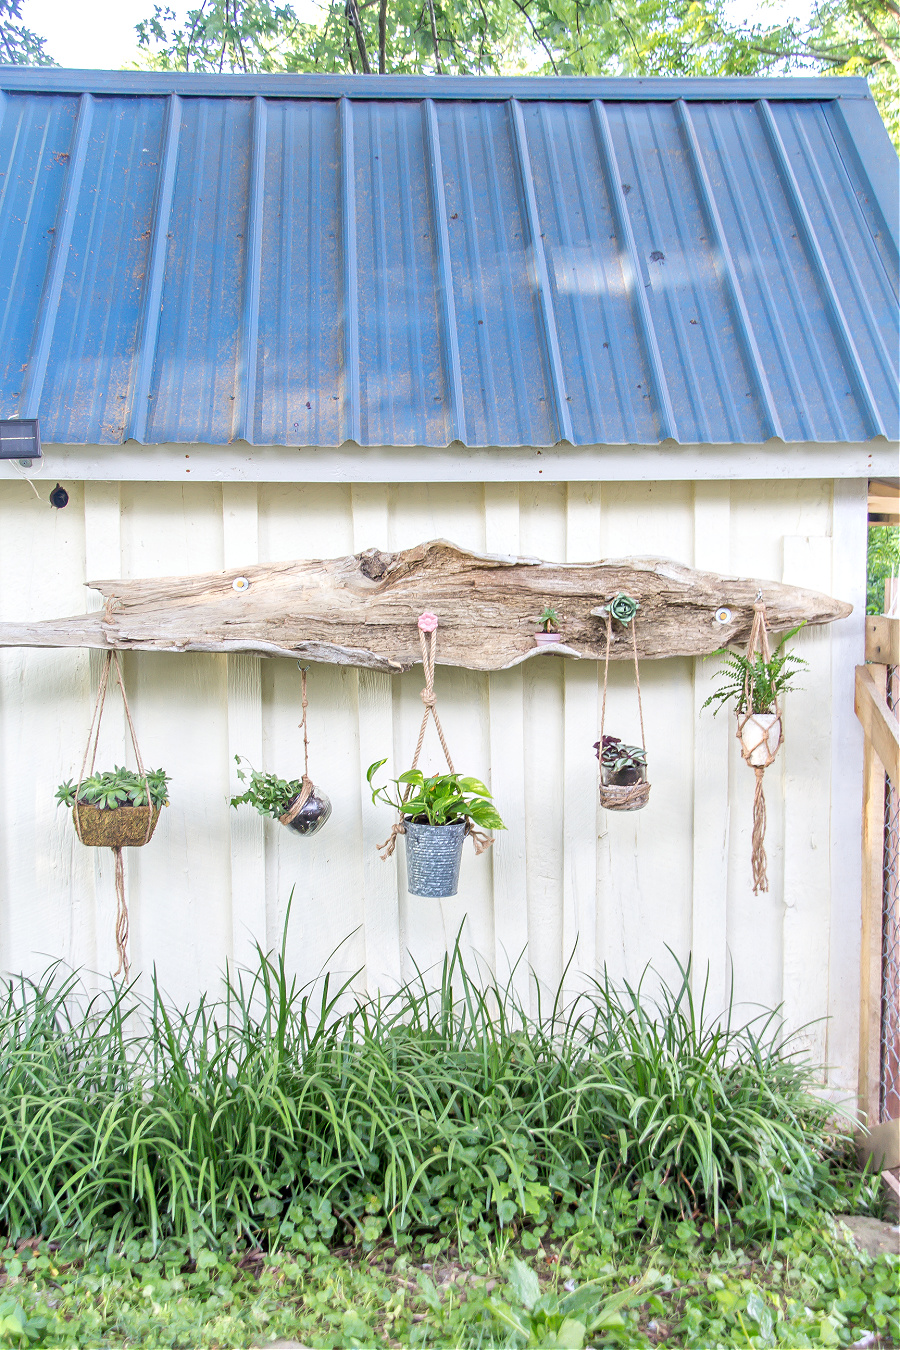
Tonya Staab uses driftwood as a rail for hanging small planted containers, with different hooks and drawer pulls creating attachment points. The uneven wood becomes part of the display rather than an obstacle to hide. Follow the project’s fixing method and check support for the pots when wet. Choose plants suited to the setting, manage drainage away from the wall, and check local collection rules before gathering driftwood.
Follow the Maker’s Method: Make a Driftwood Plant Rail
15. A Photo Transferred onto a Wood Block
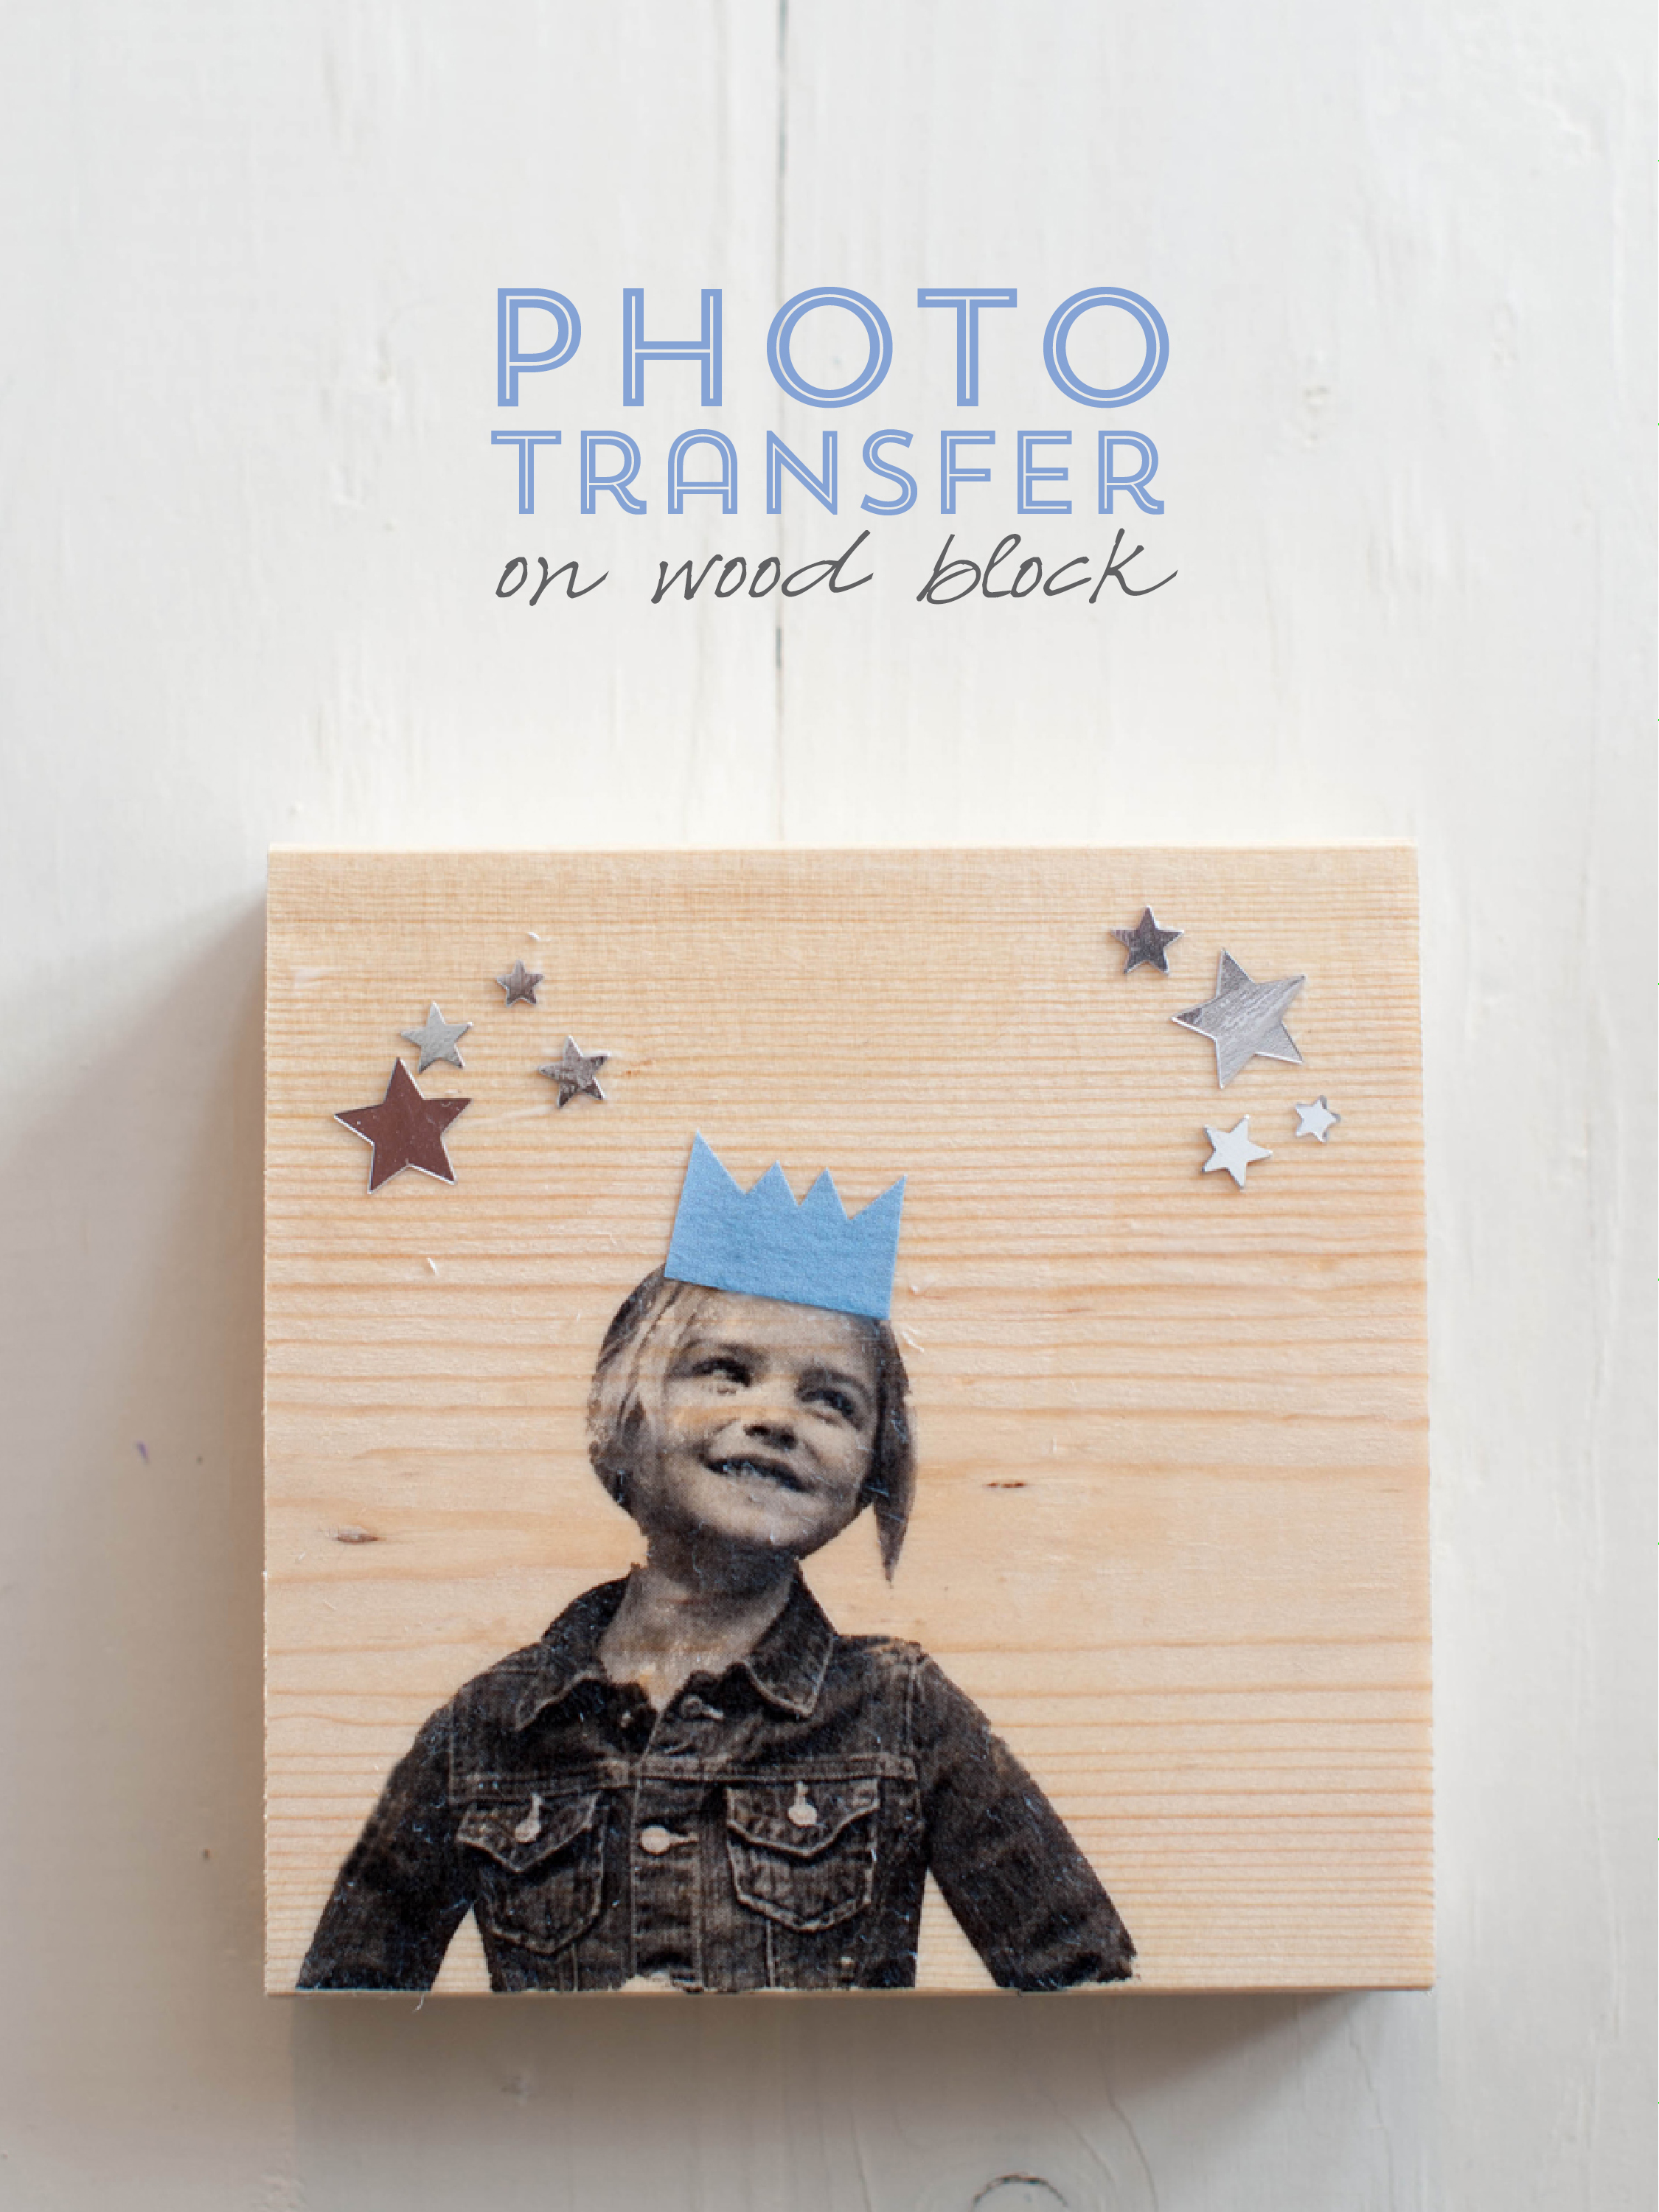
Melissa Fenlon’s project transfers a printed photograph onto a sanded wooden block, leaving the grain visible through the image. It gives a small shelf or desk a personal accent without a conventional glass frame. Use the print type and transfer medium specified in the guide; different printing methods are not interchangeable. Work gently when removing the paper, and check the final orientation before transferring a picture that includes writing.
Follow the Maker’s Method: Transfer Your Photos onto Wood
16. A Mirror Framed with Weathered Boards
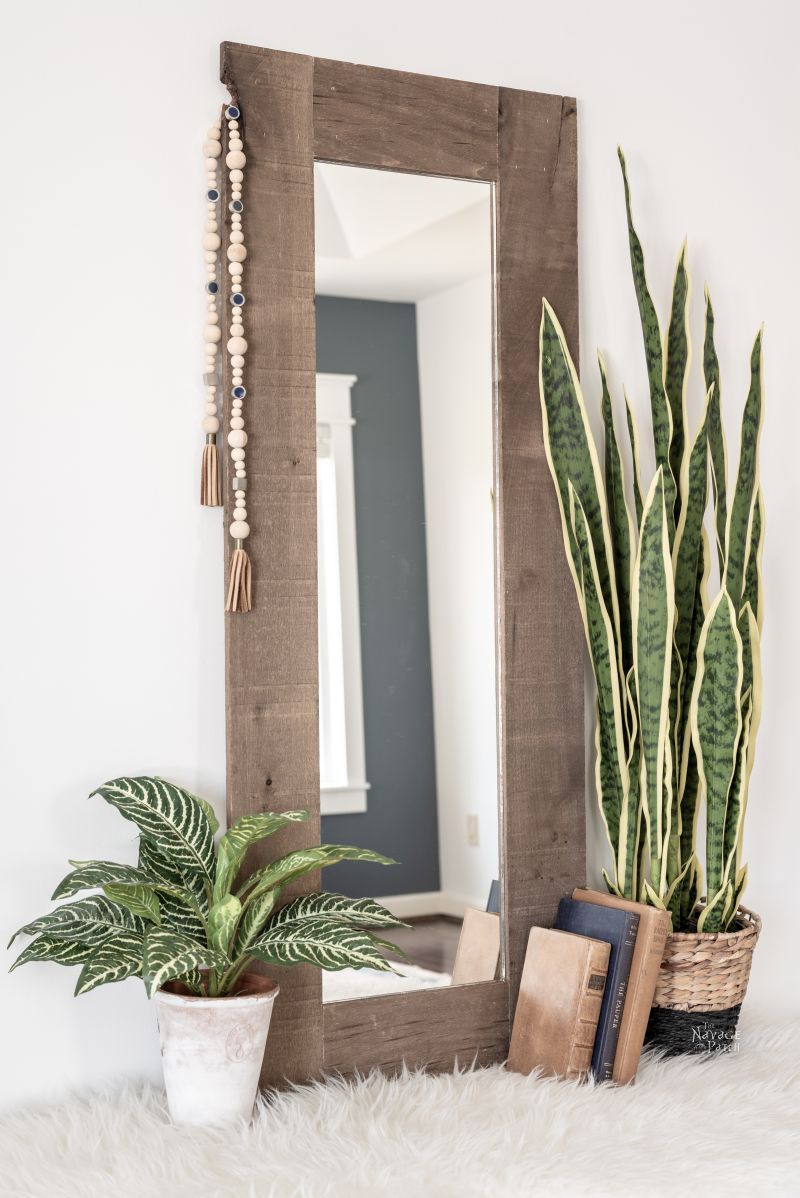
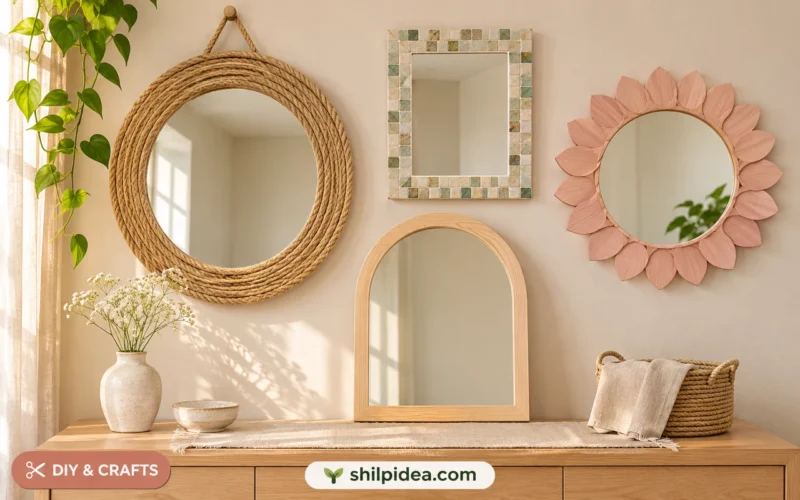
Greg at The Navage Patch surrounds a rectangular mirror with broad, weathered-looking timber. The simple border lets the wood texture take the lead and can connect a modern room with other natural finishes. Review the frame construction and mirror-retaining method before selecting materials. Glass adds weight, so choose suitable backing, fittings and wall support, and keep the finished frame securely mounted rather than casually leaning it where it could fall.
Follow the Maker’s Method: Build a Rustic Mirror Frame
17. Wood-Slice Rosettes on a Wreath

Laura Putnam layers thin wood pieces into rosettes and combines them with faux succulents on a wreath. The close-up shows how the overlapping slices create a flower shape while keeping the wood grain visible. Follow the maker’s assembly sequence and use prepared pieces that suit the technique. Build on a firm wreath base, keep glue away from visible edges where possible, and choose a sheltered display position.
Follow the Maker’s Method: Make a Wood Rosette Wreath
18. A Branch-Hook Rack on a Wooden Board

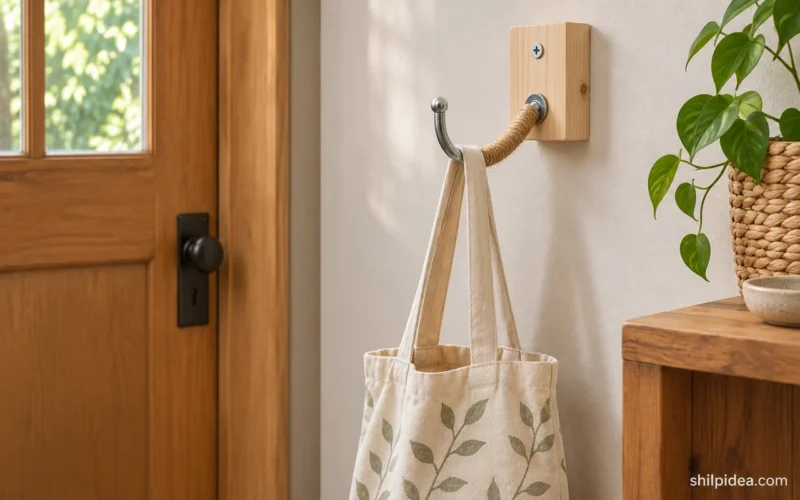
Stephanie Rose turns pruned branches into hooks, then fixes them to a simple timber board. Their forked shapes give the rack character and leave room for coats, bags or light accessories. Select sound branches with useful natural bends, smooth exposed edges and follow the maker’s fastening method. Mount the finished board for its actual location and intended use; decorative branches do not provide a universal weight rating.
Follow the Maker’s Method: Make Your Own Branch Hooks
Bring Natural Wood into Your Next Room Update
Choose one piece that answers a real need, whether that is a place for a plant, a small display or useful storage. Repeat a wood tone or texture already in the room, then leave enough space around the project for its shape to stand out. Start with a smaller make if you are still learning, and plan safe supports before moving on to furniture or heavy wall features.
- Wooden Lamp Ideas with Rustic and Natural Designs
- Wooden Lamp Designs for Creative Homes
- Wooden Clock Designs for Home
- Pallet Lamp Ideas for Rustic Home Decor
- Sea Glass Decor Ideas for a Coastal-Inspired Home
Which rustic wood idea would you try first? Tell us whether you prefer a small decorative project or a useful piece for your room. Share your favorite design in the comments.





















0 Comments