22 Nostalgic 90s Christmas Decor Ideas with Handmade Details
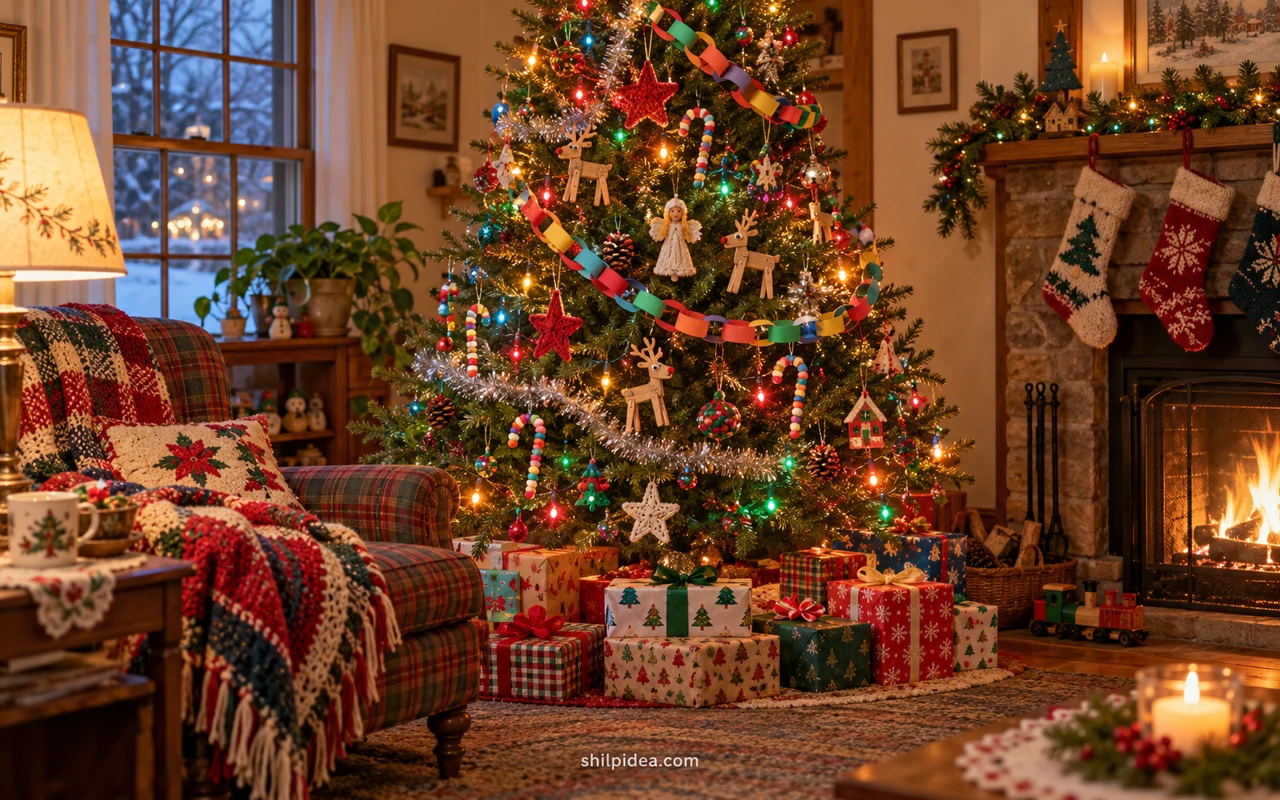
For many of us, a nostalgic Christmas means bright lights, paper chains and a tree filled with things made at the kitchen table. The charm comes from the memories each decoration carries, not from every ornament matching.
Bring that feeling into a craft evening with these ideas and our collection of beaded Christmas ornaments.
These modern creator projects offer ways to revisit a colorful 90s mood, from classroom-style crafts to playful throwback baubles. Choose the details that connect with your own Christmas memories.
1. Bring Back the Classic Paper Chain
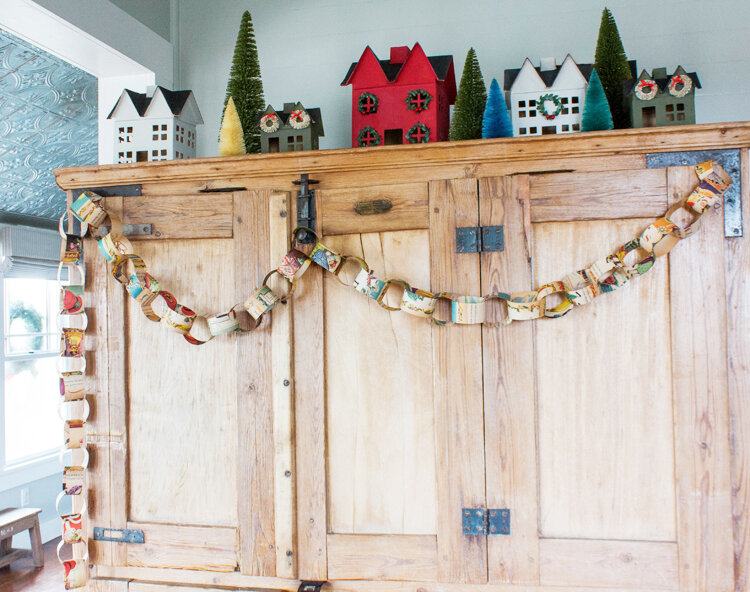
A paper chain immediately changes the mood of a room: it feels casual, cheerful and made by hand. Keep the links a similar size so the chain hangs evenly, then let the color choices stay playful. Use it along a mantel or doorway where it can be seen without brushing against people. A shorter chain also works around a small display.
Get the tutorial: Bring Back the Classic Paper Chain by Elizabeth / Country Peony.
2. Hang Colorful Fuse-Bead Ornaments
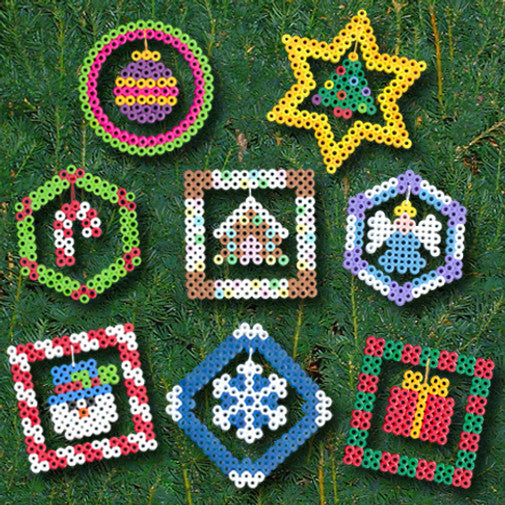
Fuse-bead ornaments bring a pixel-like look that fits a playful throwback tree. Choose a few different silhouettes and give them room between larger decorations. Adults should handle the heating stage according to the bead manufacturer’s directions. The finished pieces can also become gift toppers, making the handmade theme part of the wrapping as well as the tree.
Get the tutorial: Hang Colorful Fuse-Bead Ornaments by Perler.
3. Turn a Bauble into an Eight-Ball Ornament

An eight-ball-inspired ornament gives a Christmas tree an unexpected game-room detail. The clear black-and-white shape is recognizable among brighter decorations, so you do not need many of them. Use the linked creator project for the making method and choose a sturdy ornament base. Keep the lettering simple enough to read when the ornament is hanging among the branches.
Get the tutorial: Turn a Bauble into an Eight-Ball Ornament by Aww Sam.
4. Add a Little Clothespin Reindeer
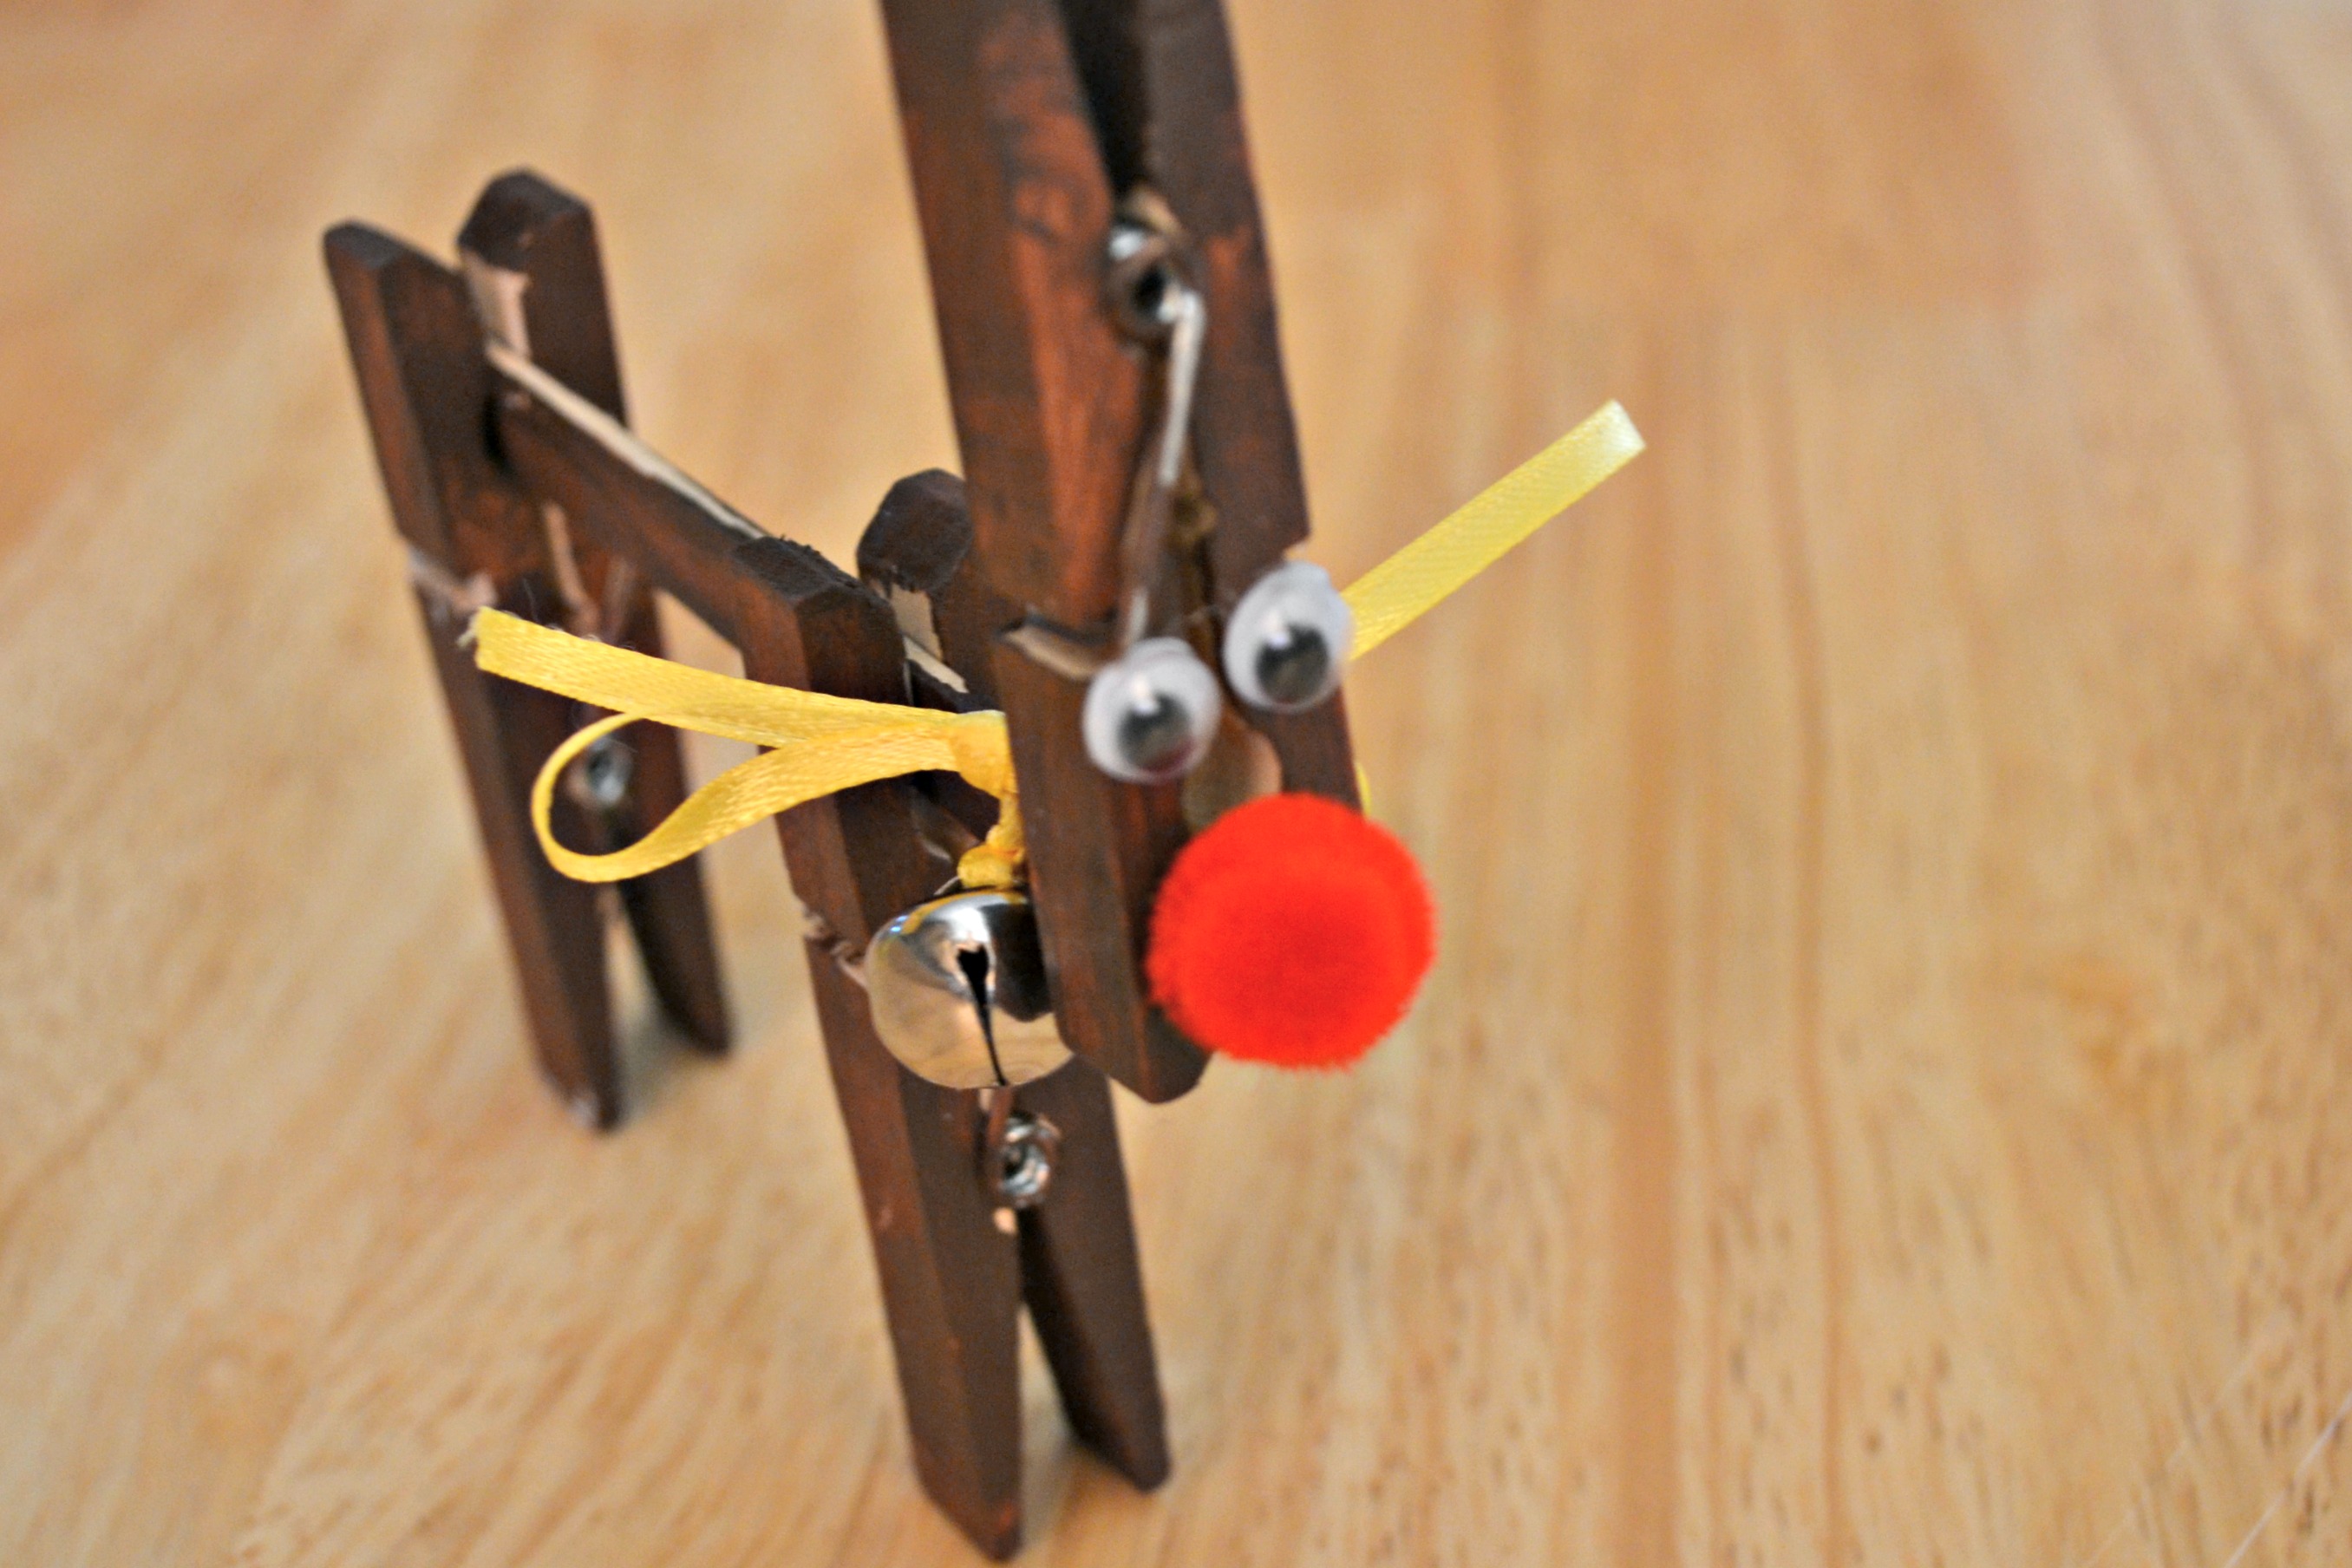
Clothespin reindeer have the charm of a craft-table afternoon. The small wooden pieces make a simple shape that can be dressed with a ribbon and a tiny bell. Keep the face uncomplicated and make sure small parts are securely attached. These are decorations rather than toys for very young children, especially when beads or bells are part of the design.
Get the tutorial: Add a Little Clothespin Reindeer by KiwiCo.
5. Use Folded Paper Ornaments for Soft Color

Honeycomb-style paper ornaments add volume without needing a heavy object on the branch. The folded edges create the detail, while a few muted colors can balance a tree filled with brighter keepsakes. Check that the hanging loop is attached securely and store the ornaments where they will not be crushed. They can be especially useful on a smaller tabletop tree.
Get the tutorial: Use Folded Paper Ornaments for Soft Color by The Ponds Farmhouse.
6. Dress a Clothespin Snowman in a Tiny Scarf

A narrow wooden snowman gives you a small canvas for a painted face and a scrap-fabric scarf. The scarf makes the figure feel dressed without adding much weight. Repeat one scarf material across a few ornaments if you want them to belong together. Let the faces vary a little; that small handmade difference is part of the decoration’s appeal.
Get the tutorial: Dress a Clothespin Snowman in a Tiny Scarf by Serendipity Refined.
7. Make Gingerbread-Look Cinnamon Ornaments
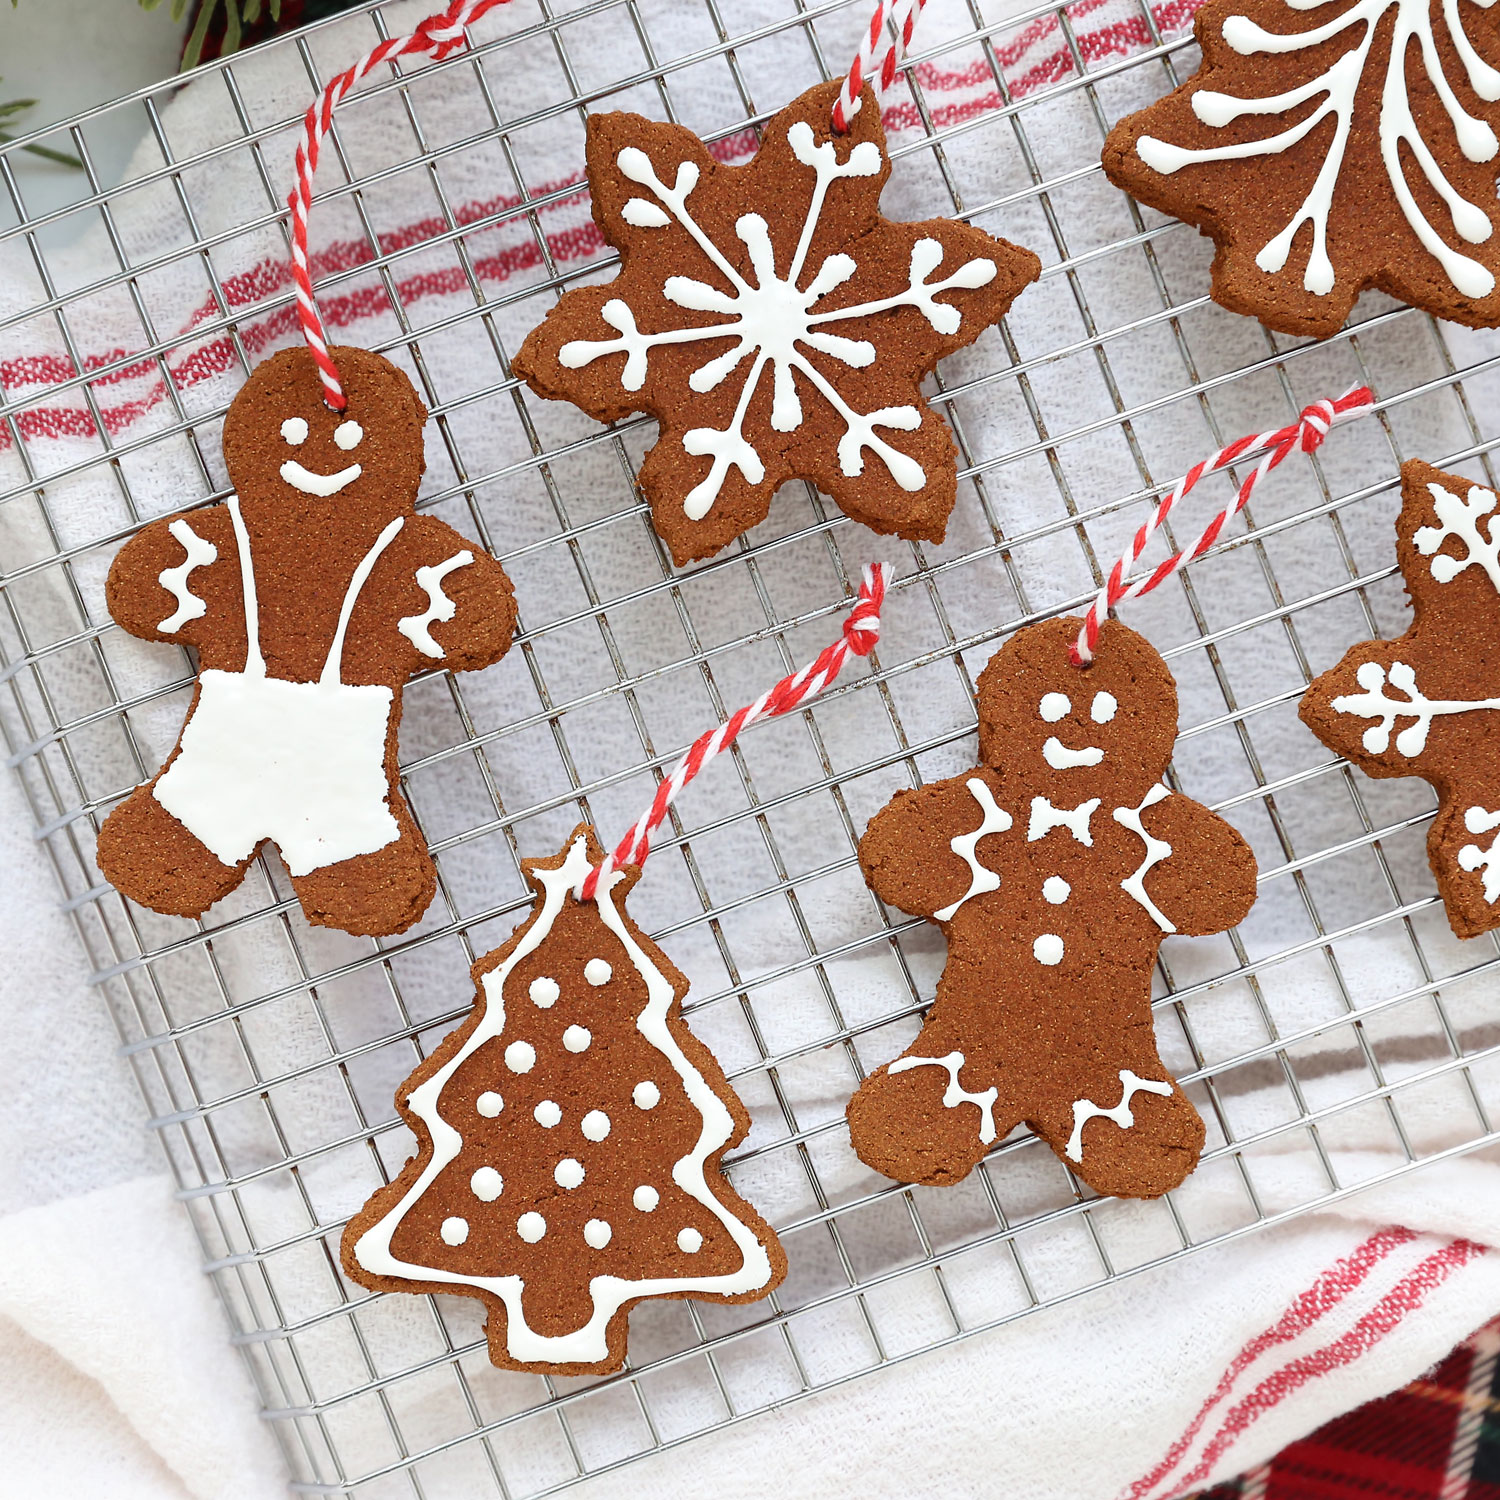
Gingerbread-shaped cinnamon ornaments bring a familiar cookie-like outline to the tree. Treat them as decorative craft pieces, not food, and label them clearly when gifting. Simple white details can define the shapes without covering the warm brown surface. Use a secure hanging hole and leave enough drying time according to the creator’s recipe before placing them with other decorations.
Get the tutorial: Make Gingerbread-Look Cinnamon Ornaments by It’s Always Autumn.
8. Create a Waterless Snow-Globe Display

A small waterless scene can bring the feeling of a snow globe to a shelf or side table. The clear cover makes a miniature tree or other scene feel like a little world of its own. Keep the arrangement simple enough to see through the container. Display glass pieces where they are stable and out of reach of small children or pets.
Get the tutorial: Create a Waterless Snow-Globe Display by Single Girl’s DIY.
9. Wrap a Family Initial in Colorful Yarn

A yarn-wrapped letter makes the tree feel personal without needing a photograph or a long message. The yarn texture softens the shape, while a tassel or small embellishment can finish the bottom. Use a manageable size so the initial does not pull down a branch. It can also become a reusable name marker on a Christmas present.
Get the tutorial: Wrap a Family Initial in Colorful Yarn by Country Living.
10. Build a Wreath Around Shiny Baubles

A shiny ornament wreath can bring a whole cluster of cheerful color into one place. The mix of bauble sizes creates depth, and the supporting tinsel helps the arrangement feel full. Keep heavier pieces securely attached to the base. If the wreath is used on a moving door, choose materials that will tolerate the repeated movement without knocking together.
Get the tutorial: Build a Wreath Around Shiny Baubles by Semigloss Design.
11. Try a Candy Cane with Beads and Lace

A beaded candy cane has a different texture from a plain red-and-white ornament. The lace detail gives this version a softer, handmade finish. Keep the overall curve recognizable and use a hanging loop that balances the shape. If you are making several, use the same construction method while varying the materials enough to reflect the supplies you already have.
Get the tutorial: Try a Candy Cane with Beads and Lace by Needlepointers.
12. Wrap Candy Cane Shapes in Fabric Scraps

Fabric-wrapped candy canes are a useful way to bring a favorite print onto the tree. The narrow strips give the shape texture without requiring a large piece of cloth. Choose patterns with small details so they remain visible on the finished ornament. These pair well with other handmade beaded ornaments for a mixed-material craft night.
Get the tutorial: Wrap Candy Cane Shapes in Fabric Scraps by Dianne / Hidden Springs Homestead.
13. Draw Small Characters on Purpose-Made Shrink Plastic

Shrink-plastic ornaments turn a small drawing into a firmer little keepsake. Use craft material intended for the process and follow its instructions, with an adult handling the heat. Choose clear outlines that will still read after shrinking. A simple snowman or penguin can feel playful without requiring detailed drawing skills or a perfectly matched set.
Get the tutorial: Draw Small Characters on Purpose-Made Shrink Plastic by One Little Project.
14. Paint a Set of Wooden Holiday Characters

A group of painted clothespins can become a small collection of different Christmas characters. Keep a common scale and a few repeated colors so the figures feel connected. The narrow shape encourages simple faces and bold details. Display them together on a small branch or use one on each parcel, checking that any added hanging loops are secure.
Get the tutorial: Paint a Set of Wooden Holiday Characters by Happy Hooligans.
15. Wrap Cardboard Stars in Soft Yarn

A yarn star adds a quieter texture among shiny baubles and smooth paper decorations. Let the wrapping create the pattern instead of covering it with several extra embellishments. A few stars in different sizes can work as a small group. Keep the hanging loop centered so each star faces the room rather than turning sideways in the branches.
Get the tutorial: Wrap Cardboard Stars in Soft Yarn by The Works.
16. Fold a Bell from Patterned Paper

A paper bell supplies a familiar Christmas shape with the lightness of a folded decoration. The pattern can be bold or subtle, depending on the rest of your tree. Keep the fold lines neat enough that the shape opens evenly. A simple hanging string is usually enough; the pleats already give the ornament plenty of surface detail.
Get the tutorial: Fold a Bell from Patterned Paper by The Works.
17. Hang a Paper Rosette Near the Tree

A paper rosette has a broad face that shows a favorite pattern clearly. Hang one on a nearby wall, over a gift display or among other paper decorations rather than crowding it into a small tree. The fan folds create most of the visual effect. A larger rosette can help connect a small ornament collection with the surrounding room.
Get the tutorial: Hang a Paper Rosette Near the Tree by The Works.
18. Make a Ring from Interlocking Paper Links

An interlocking paper ring offers a more compact alternative to a long chain. The repeated folds give it a geometric rhythm, especially when several cheerful colors are used together. Keep the paper weight consistent so the pieces fit neatly. Hang a ring where its open center is visible, or use it as a light accent on a wrapped present.
Get the tutorial: Make a Ring from Interlocking Paper Links by DIY Candy.
19. Choose a Sculptural Honeycomb Drop Ornament
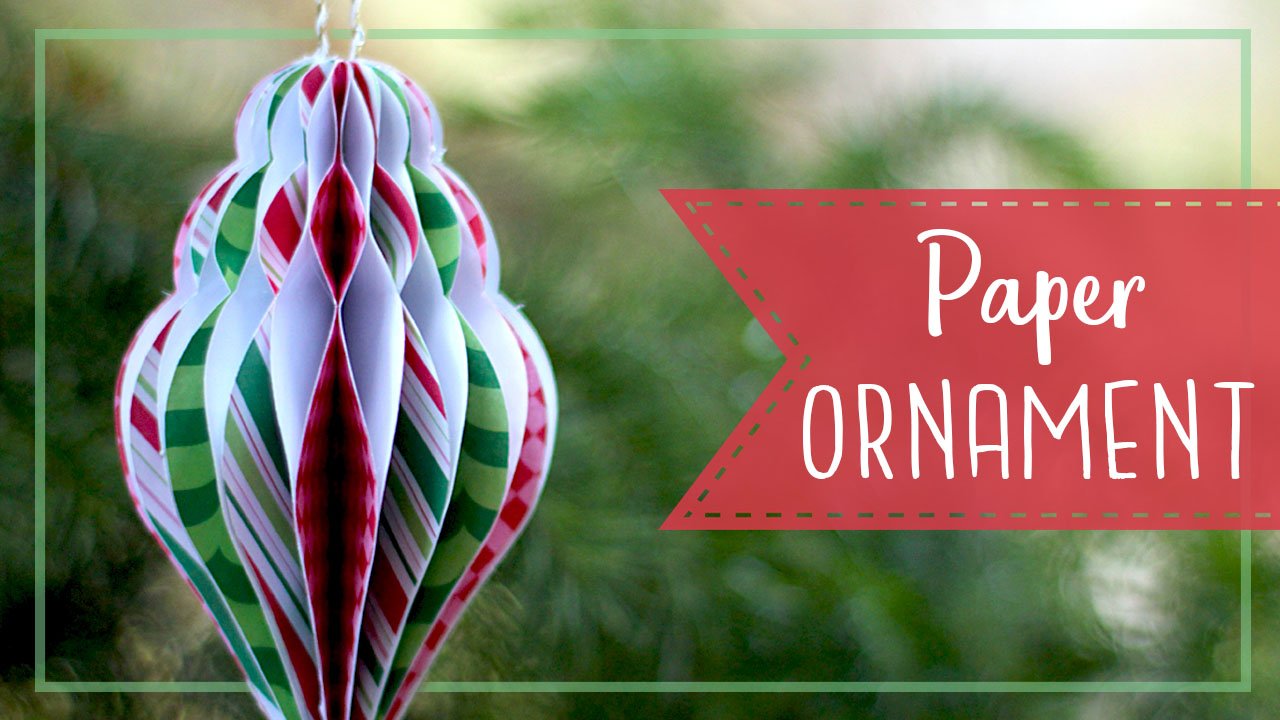
A pointed honeycomb ornament brings a different outline from a round bauble. The layered paper edges catch the light and make even a small piece feel detailed. Use the shape as a focal point among simpler decorations. Store it in a way that protects the folds, especially if you want to bring the same handmade collection out next Christmas.
Get the tutorial: Choose a Sculptural Honeycomb Drop Ornament by EssyJae.
20. Add a Bright Smiley-Face Bauble

A simple smiley-face ornament can carry a playful color through the tree without needing a complicated pattern. Keep the face bold and leave enough clear space around it so it remains recognizable at a distance. A yellow accent can work with both multicolored decorations and a pink tree. Use the creator’s method as a starting point for a sturdy finished piece.
Get the tutorial: Add a Bright Smiley-Face Bauble by Aww Sam.
21. Use a Favorite Childhood Toy as a Tree Accent

A lightweight toy-inspired accent can make a nostalgic tree feel more personal than a perfectly coordinated ornament set. The playful textured pieces in Aww Sam’s tree suggest a way to bring those memories into the display. Check weight, hanging security and the condition of any older materials. Keep sentimental or fragile objects in a protected position.
Get the tutorial: Use a Favorite Childhood Toy as a Tree Accent by Aww Sam.
22. Build a Playful Display Around a Pink Tree

A pink tree provides a strong backdrop for black, yellow and rainbow-colored ornaments. The overall effect works because the decorations share a playful mood, even when they do not match. Keep a few shapes repeated so the tree still has a rhythm. A small version can become a focused nostalgic corner without taking over the entire living room.
Make the Nostalgia Feel Like Your Own Christmas
A few familiar materials can connect the whole room: a paper decoration near the tree, a handmade ornament on a gift or the same ribbon tied around several packages. These collections offer more small details to mix with your keepsakes and new family projects.
- Beaded Christmas Ornament Ideas for a Holiday Craft Night
- Hand-Painted Christmas Ornament Ideas for Beginners
- Velvet Bow Ideas for Christmas Trees and Holiday Gifts
Which decoration brings back your favorite Christmas memory? Tell us in the comments, or share the handmade idea you would like to bring back this year. We would love to hear about the little traditions and craft projects that made your family’s tree feel special.
















0 Comments