How to Shape a Paper-Flower Bouquet with Layered Petals
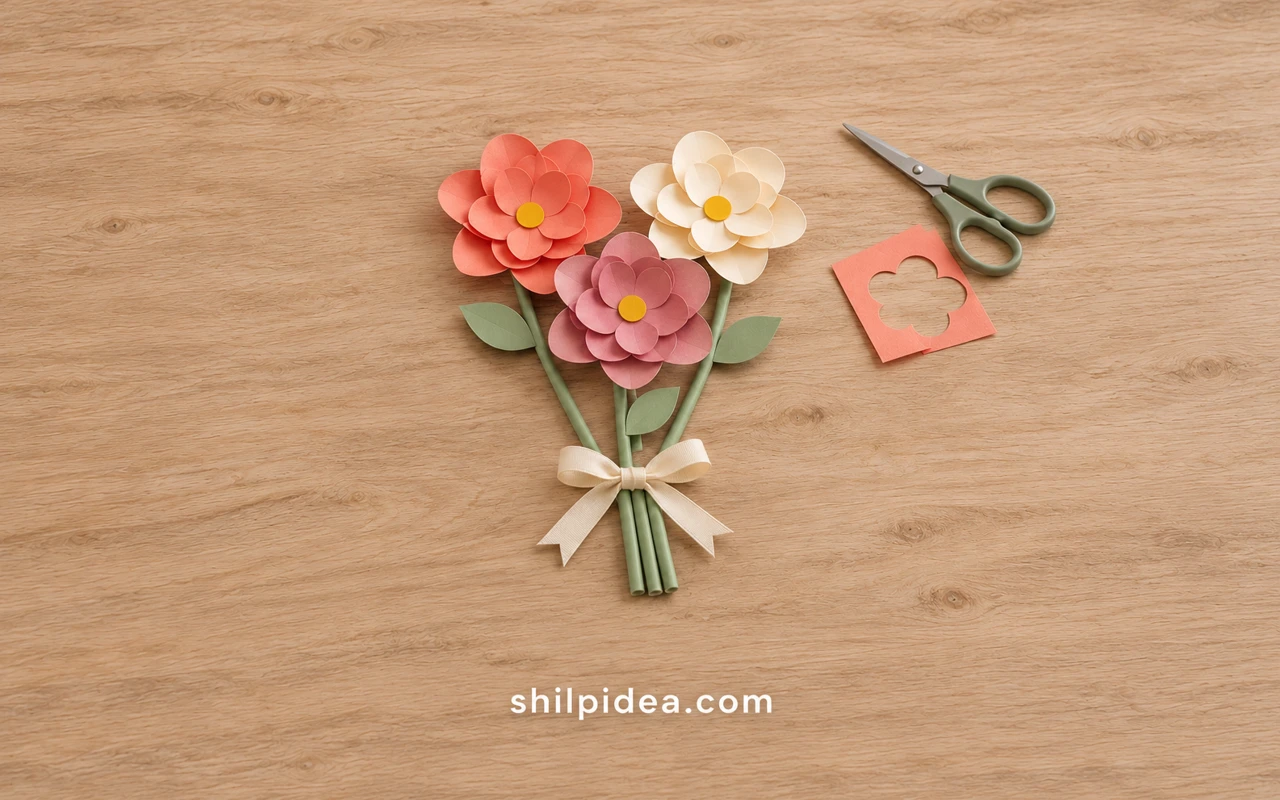
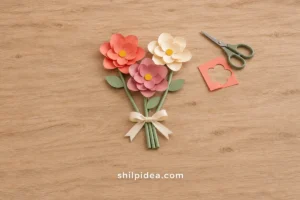
A small paper flower bouquet can brighten a desk or become a handmade gift. This project uses three graduated petal layers for each flower, with gently curved edges that give flat paper a more open shape.
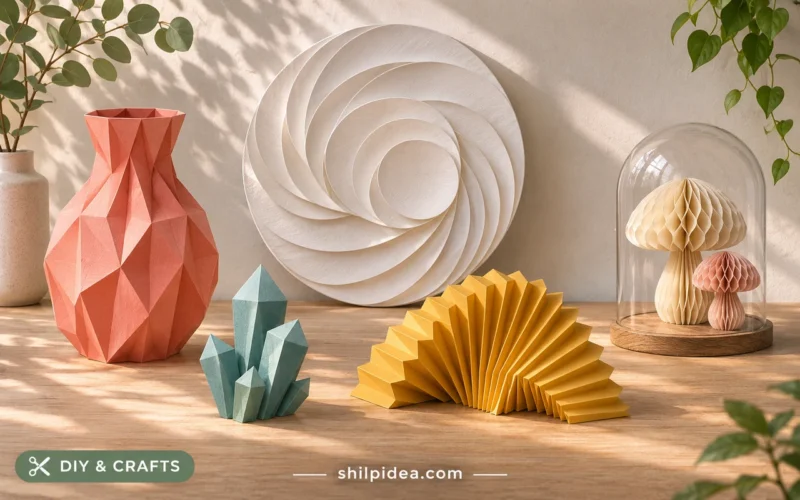
Make one coral, one ivory, and one dusty-rose flower on paper-straw stems. For more ways to combine simple shapes and color, explore our colorful craft ideas.
Set up a clear work surface using our craft corner ideas, then follow the illustrated stages below.
Materials and Tools
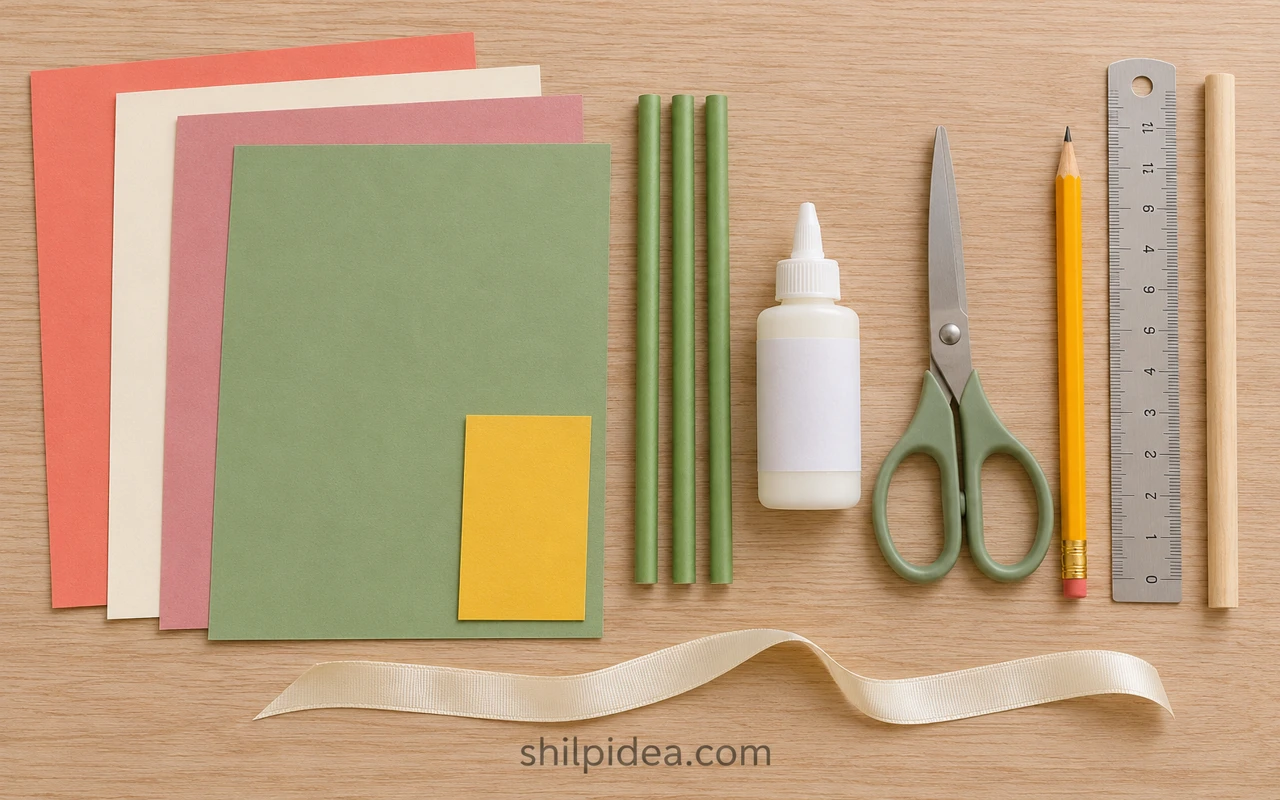
This proposed method makes three flowers; start with one sample to check how your paper and adhesive behave.
- Paper – One letter-size or A4 sheet each of coral, ivory, dusty rose, and sage-green lightweight cardstock or heavy craft paper, about 120–160 gsm, plus a small yellow scrap.
- Paper straws – Three straight green paper drinking straws, about 8–8½ inches (20–22 cm) long and ¼ inch (6 mm) wide.
- Tacky craft glue – A paper-compatible adhesive for the layers and straw tabs; follow its instructions for initial hold and full drying.
- Scissors – A sharp craft pair for clean rounded edges and short straw slits.
- Pencil and ruler – For drawing the graduated outlines; round lids or a compass can help mark the starting circles.
- Smooth dowel – A rounded wooden dowel or pencil barrel for gently curling the petal tips.
- Ribbon – About 18 inches (45 cm) of narrow cream ribbon for the final bow.
- Drying support – A short, stable jar or vase packed with clean scrap paper to hold the stems upright while the joins set.
Precautions Before You Begin
A little preparation helps protect both the paper and the stem joins.
- Keep fingers clear while cutting the small straw tabs; an adult should handle this part when crafting with children.
- Use small amounts of glue so the paper does not become saturated or buckle, and follow the adhesive label.
- Support each flower until the stem join has an initial hold, then let it dry fully before arranging the bouquet.
- Keep the finished paper flowers dry and away from candles, heaters, and other heat sources.
1. Cut the Graduated Petal Layers
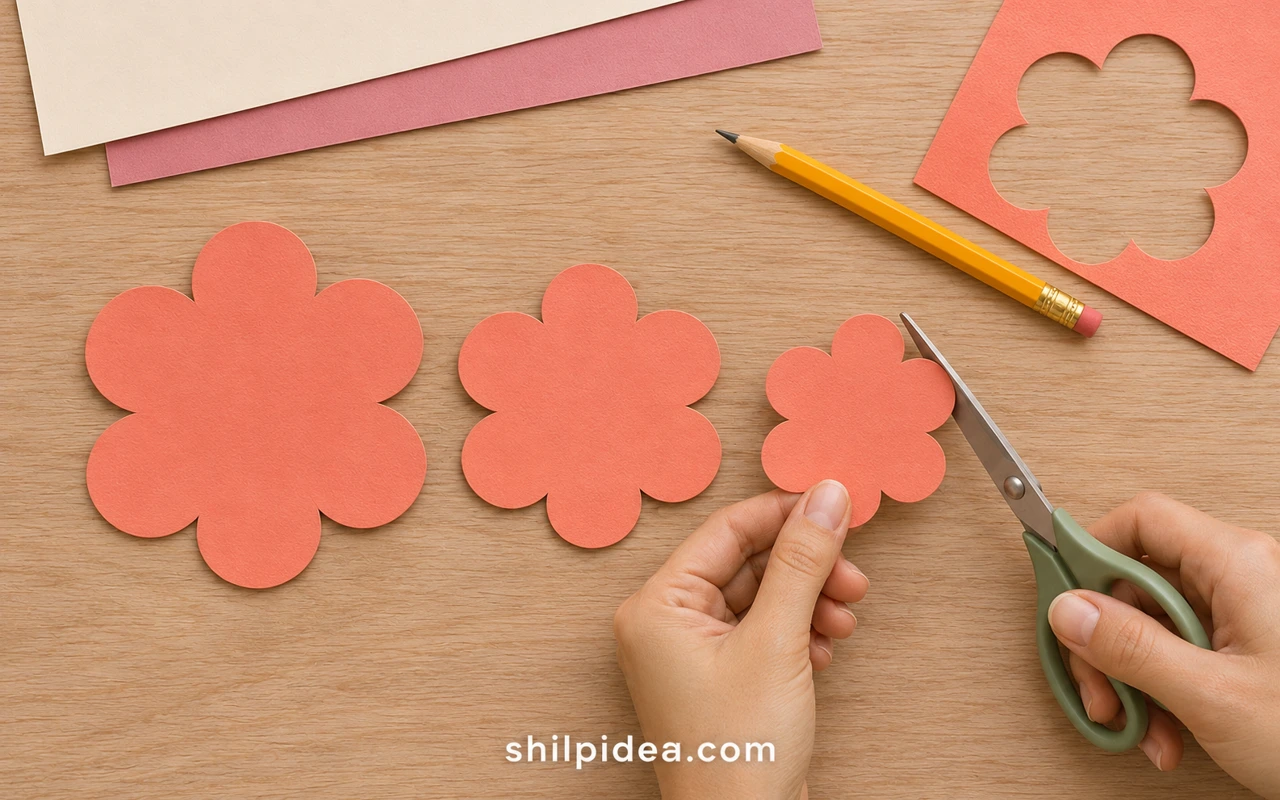
- Draw the outlines. For each flower, mark circles about 3½, 2¾, and 2 inches (8.9, 7, and 5.1 cm) across. Sketch six broad rounded lobes within each outline, leaving an intact central area about ¾ inch (2 cm) across.
- Cut the pieces. Cut the nine petal shapes: one of each size in each flower color. Cut three ½-inch (1.3 cm) yellow circles and three 2-inch (5 cm) green leaves. Save offcuts for our paper sculpture ideas.
2. Curl and Cup the Petals
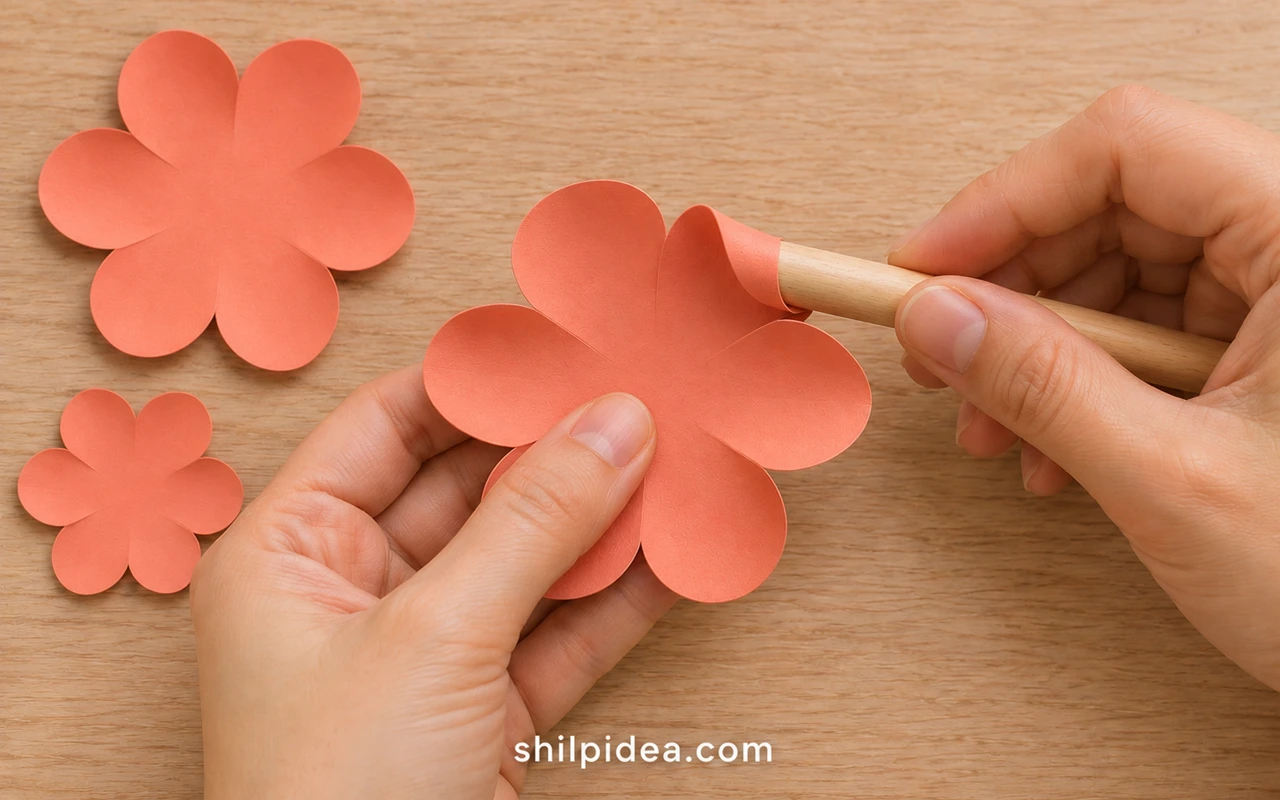
- Give the petals dimension. Support the flat center and roll each petal tip lightly around the dowel. Bend the petal bases upward slightly without creasing or tearing the center. Use softer curves on the outer layer and a little more lift on the smaller layers.
3. Stack and Stagger the Layers
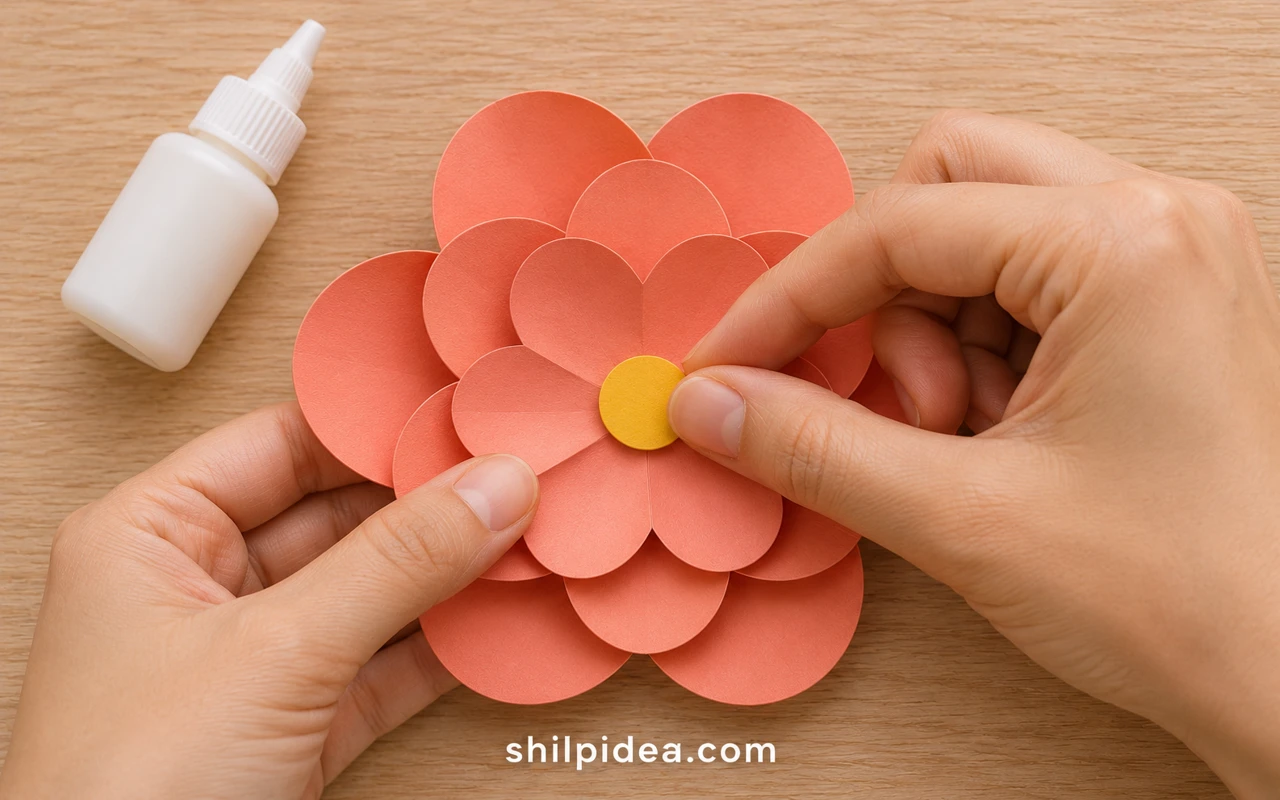
- Join the three layers. Place the largest shape underneath. Add a small glue dot to its center, then position the medium layer so its tips fall between the larger petals. Repeat with the smallest layer, pressing only the central area.
- Add the center. Glue one yellow paper circle over the middle. Keep it flat and leave the petal edges free. Repeat the same layering sequence for the ivory and dusty-rose flowers, then let the layers set according to the glue label.
Smitha Katti’s small paper flower tutorial also uses glue at the center and gentle shaping to give layered cardstock depth. The straw attachment below is a separate proposed adaptation.
4. Attach and Support the Straw Stems
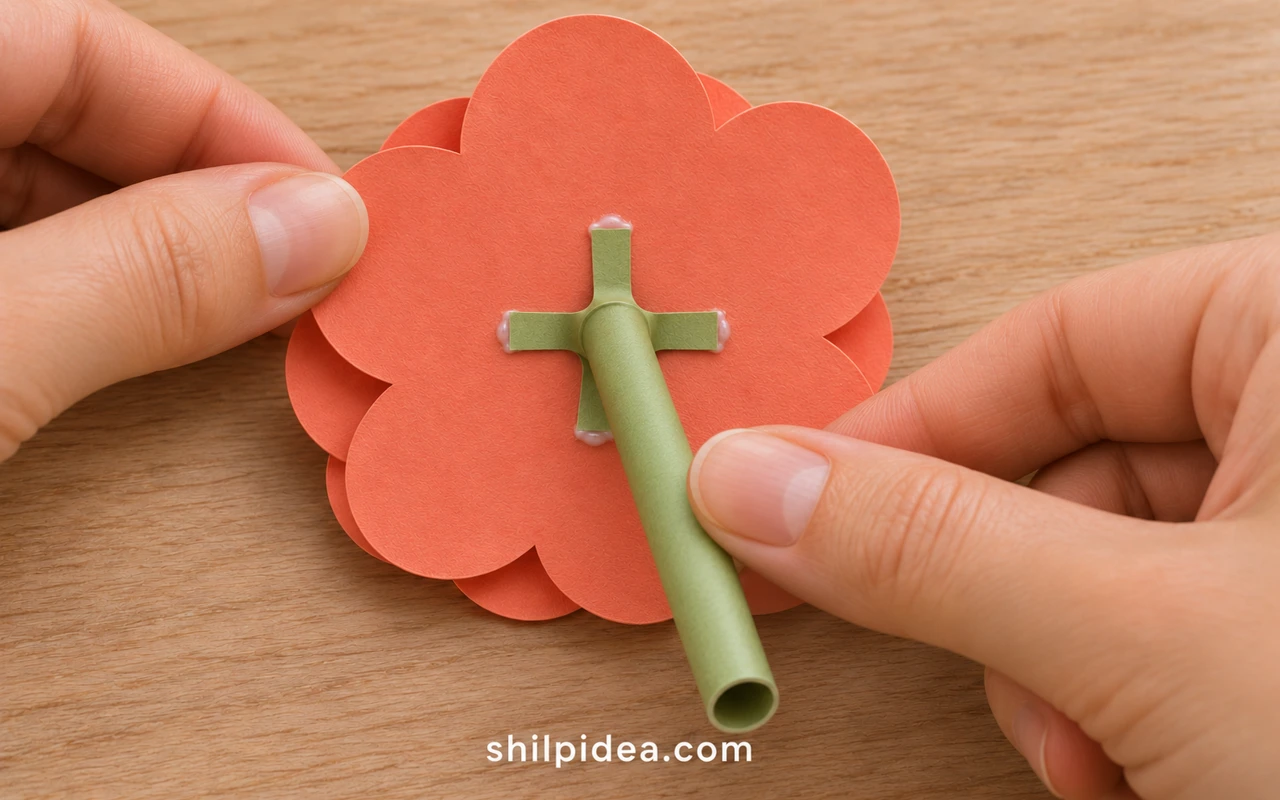
- Make four tabs. At one end of each straw, cut four evenly spaced lengthwise slits about ⅜ inch (1 cm) deep. Gently spread the short sections outward into four tabs. Keep the rest of the straw intact.
- Attach the flower. Apply a thin layer of tacky glue to the outward-facing tabs. Press them flat against the underside of the largest petal layer, directly beneath its center. Hold the straw perpendicular to the flower until the adhesive has an initial grip.
- Let the join set. Stand the straw upright in the prepared support, keeping the flower level and clear of nearby petals. Leave it for the adhesive’s full drying time. If the joint shifts, support it again and allow more time before adding the other flowers.
5. Gather and Tie the Bouquet
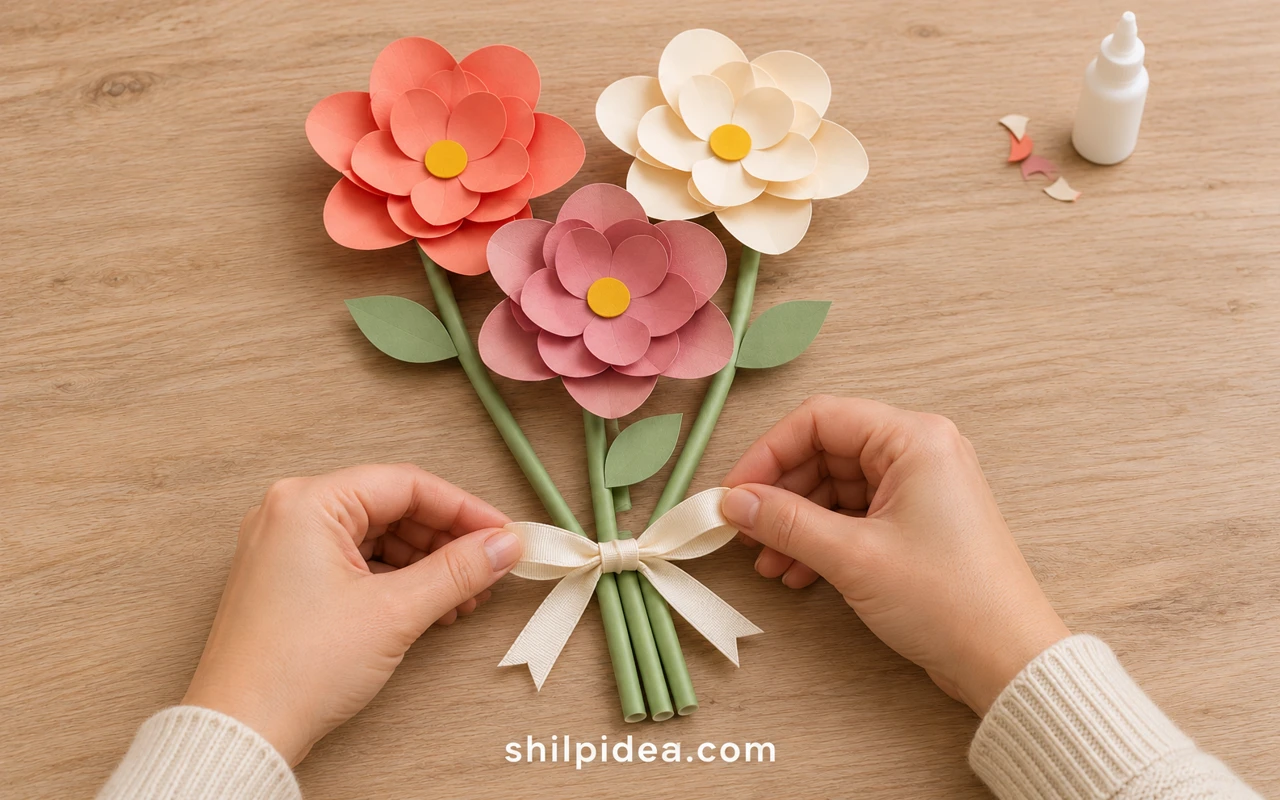
- Add the leaves. Fold a short tab, about ¼ inch (6 mm), at the base of each green leaf. Glue one tab around each straw below the flower head, with the leaf facing outward. Let these small joins dry.
- Balance the three flowers. Bring the stems together with one flower slightly higher and the other two spread to either side. Adjust the height by sliding whole stems rather than bending the dry flower-to-straw joints.
- Tie and display. Tie the cream ribbon around the stems below the leaves, snug enough to hold without crushing the paper straws. Support the finished bouquet in a small dry vase, or wrap the stems loosely when presenting it as a gift.
Finishing and Care
If a petal lies too flat, reshape its dry edge lightly around the dowel. If a layer lifts, add a tiny glue dot at the center and let it set before handling. Keep the bouquet indoors and dry, and brush away dust gently rather than wiping the paper with a damp cloth.
More Paper Projects for Your Next Handmade Gift
Once you have a color combination you like, carry it into another small handmade project. A paper picture, a decorative card, or a coordinated gift can share the bouquet’s palette without repeating its shape. These collections offer different ways to work with layers, curves, and simple materials, along with ideas for keeping your crafting space comfortable.
- Paper Sculptures with Creative Folded Forms
- Quilling Pictures for Cards and Walls
- Craft Corners for Small Creative Spaces
- Colorful Foam Projects with Layered Details
- Homemade Gifts for Cozy Winter Evenings
Which colors would you choose for your paper bouquet? Share your plans or questions in the comments. If you try the project, tell us how your paper and stem joins worked so other readers can learn from your experience.
















0 Comments