22 Bullet Journal Daily Spreads to Plan and Log Your Day
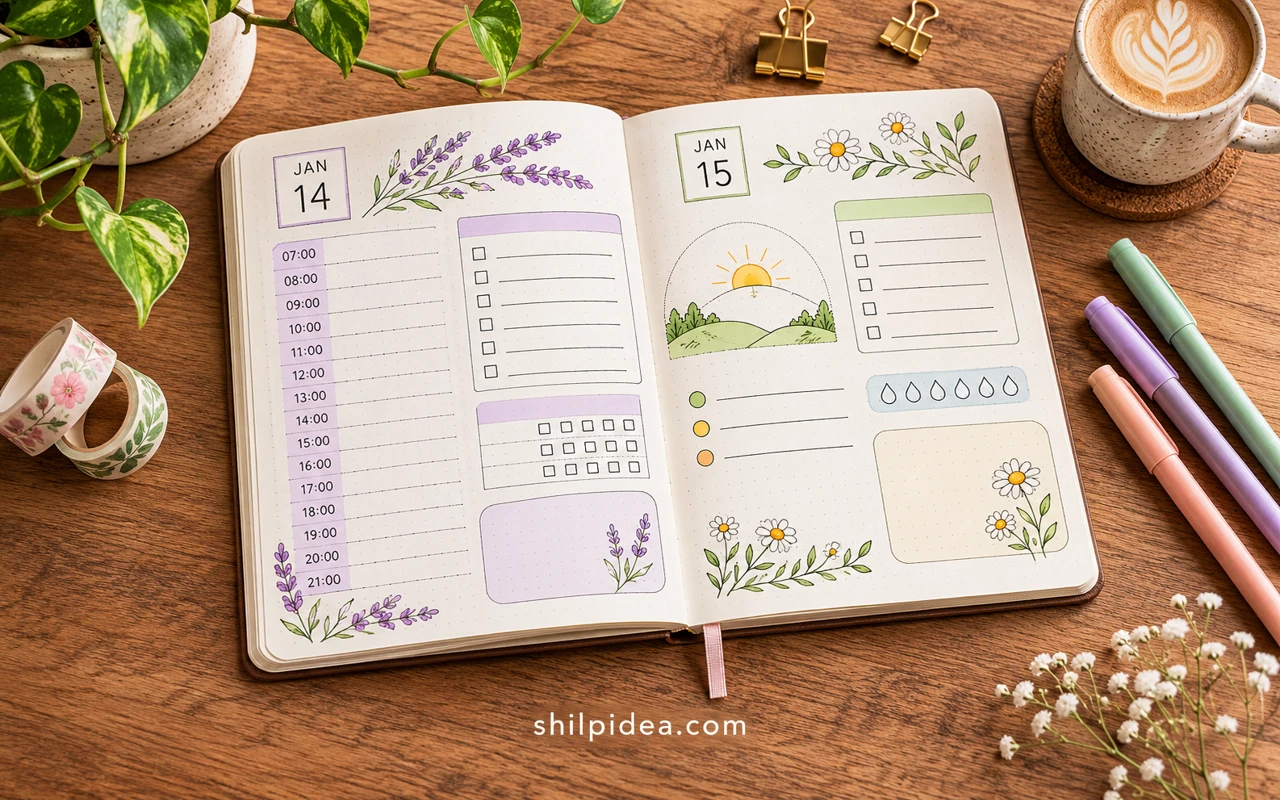
A bullet journal daily spread can be a short list, a diary entry, or a place to see several plans together. Start with the space you need to write and add the visual details around it.
You can try a border first on decorated paper bags or a scrap of similar paper. That gives you a quick way to see how a marker behaves before writing in the journal.
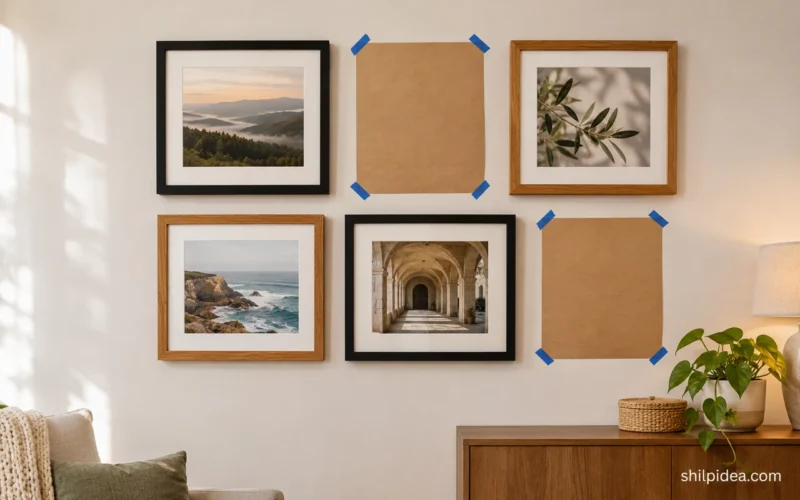
Save a few outtakes from framed fabric art if you like adding a thin paper accent in colors that already work together.
1. Let Each Day Start Where the Previous One Ends
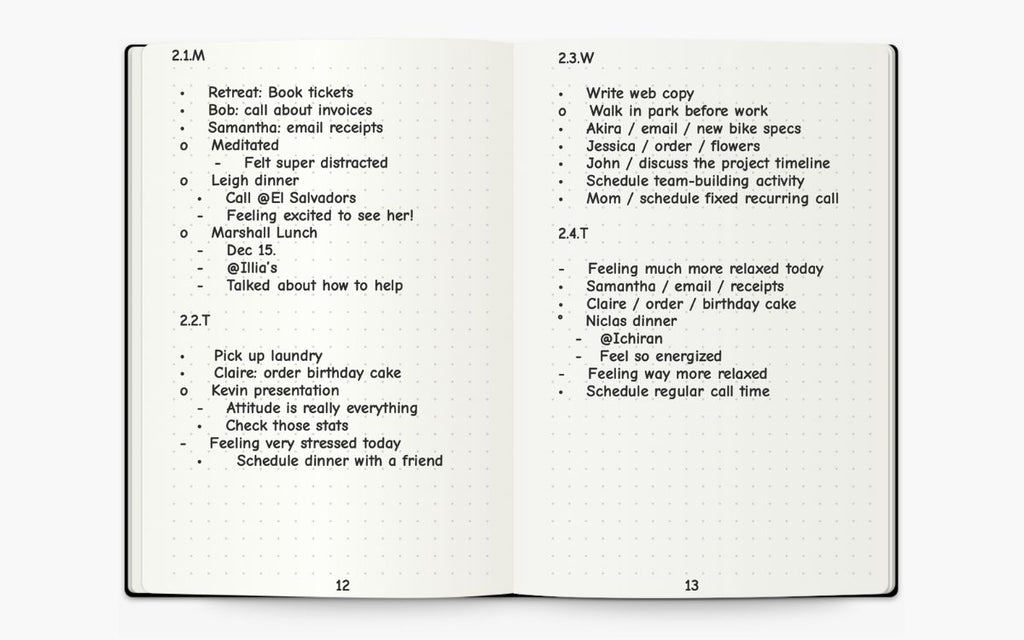
Write the date, then add tasks and notes as they come up. Starting the next date wherever the previous one ends helps you fit short days and busy days into the same notebook without guessing how much room you will need. Leave a line between dates so your eye can find each day later.
2. Keep a Soft Watercolor Wash Behind Daily Notes

Use a pale wash behind each day so your writing stands out once the page dries. You can vary the color from one date to the next or repeat the same wash for a quieter effect. Test the paper with a small patch first, and keep the strongest color near the edge where it won’t cover small notes.
3. Pin Your Morning Checklist Beside the Daily Log

Keep recurring morning tasks together so you can check them quickly before moving on to the rest of the day. Place the routine beside your date and main task list. If a recurring step takes longer than usual, make a note in the daily log so you can spot the pattern across several mornings.
4. Use a Dash of Color to Find the Right Day

Pick one bright color for dates or short reminders that need to jump out when you open your planner. Keep the lines of each box quiet so the accent does the work. If you fill in a whole page at once, add the color after writing so you can highlight what actually matters.
5. Turn a Daily Memory Into a Small Sketch

Draw one little sketch of a person, place, or object you want to remember, then use the rest of the page for lists and notes. Keep the sketch light if you plan to write near it. A short caption underneath will help you remember why you chose that detail when you flip back later. See also decorated paper bags.
6. Tell Part of Your Day in Comic Panels

You can use small panels to record a conversation, a quick errand, or the funny moment that broke up a long day. Draw just enough of the scene to make it recognizable. Leave one box for a sentence or speech bubble so a future reader can follow your memory at a glance.
7. Use Faint Rules to Separate Your Day Blocks

Thin rules break a spread into small sections without turning it into a heavy grid. Write the dates close to each divider so they line up as you scan down the page. If one day needs more space than the next, leave the first block taller and let the lighter rules absorb the difference.
8. Give Appointments Their Own Box

Keep a small rectangle for appointments and a larger area for work that may stretch or move. Put fixed times in the small box first, then list flexible tasks where you still have room. This layout makes it easier to change the order of your tasks while keeping the dates and times easy to find.
9. Start With a Light Two-Page Grid

A light grid across a spread gives each date a home before you know which day will be busiest. Pencil in the dividers and fill just the headers first. As the week unfolds, you can carry notes into the next available block or clip an extra slip into the binding for a busy date.
10. Separate Work Tasks From Your Daily Notes

Use a narrow section for the steps you repeat on workdays and a wider section for the things that change. That gives you room to capture a new task, meeting detail, or question without crowding the routine. At the end of the day, move unfinished items to the next date or an open list.
11. Put the Story of the Day Under a Handwritten Title

Put a short title above the day’s main event and use a loose frame to set it apart on the page. Keep the rest of the entry in smaller handwriting so the title stays easy to find. A simple pencil portrait or scene can mark a memory without taking up the space you need for practical notes.
12. Give Today’s Actions a Clear Starting Line

Write a date and a short list of the actions you have already decided to take. Leave a line for a new task that may come up later. This format is especially easy to use when you only have a few minutes to write and want the next action to be obvious.
13. Add a Small Lettered Header to Each Day

A little lettering at the top of a day gives the list a clear start without swallowing the whole page. Try using one pen for headings and a finer point for the tasks below. Break away from the list occasionally with a short thought or quotation in the space you have left.
14. Draw a Narrow Time Bar Beside the Notes

Use a narrow bar to see when an appointment sits in the day while keeping the main writing area free. Put fixed events on the bar, then write flexible tasks in the surrounding space. Use a short mark for an event that has a time but does not need a block.
15. Use Small Stickers to Mark Daily Notes

A small sticker can identify a diary entry you want to find again when you flip through the notebook. Keep the decorations close to the margins and leave the middle of the page free for the actual note. If a day runs long, move the sticker to the bottom so it follows the writing.
16. Reserve a Small Block for Morning Priorities

Pick a few priorities you want to see before you start checking messages or adding new work. Put them together in a small block so the list still fits on busy days. Add one short line under it for the first action you will take, then keep the rest of the page open for regular notes.
17. Keep Lists Compact When Several Days Share a Spread

Keep each day’s list short enough to scan and use a simple line between dates. This layout is useful when your events fit in a few bullets and you want to see recent tasks at the same time. Move any longer reflection to a facing page or the next available block.
18. Keep a Timed Routine in Compact Columns

Put routine actions in slim columns if you need to compare how your mornings work on different days. Give each column a clear time or label and write one action per line. If a task runs over, use the space below the column to note what delayed it and what you can move tomorrow.
19. Give a Blue Daily Page Several Small Panels

A blue accent brings a page of compact panels together. Keep the longest space for your main list, then add smaller boxes for things you only need to mark once, such as a weather note or reminder. Decide which two or three panels you’ll really use before drawing extra ones.
20. Leave a Corner for a Botanical Sketch

A little botanical sketch gives a daily entry a visual marker. Draw it in a corner after you have written your tasks so you know how much room is available. Match the size of the illustration to the empty space and leave a clear margin around the writing. See also small framed artwork.
21. Link Time Blocks to Your Written Daily Tasks

Use a vertical time ladder to place events you need to show up for and give tasks a separate list. Keeping those two areas distinct makes it clear which items can move. Add a small mark beside anything you want to carry into tomorrow rather than redrawing the time ladder.
22. Sketch in the Space Beside Your Daily Plan Bar
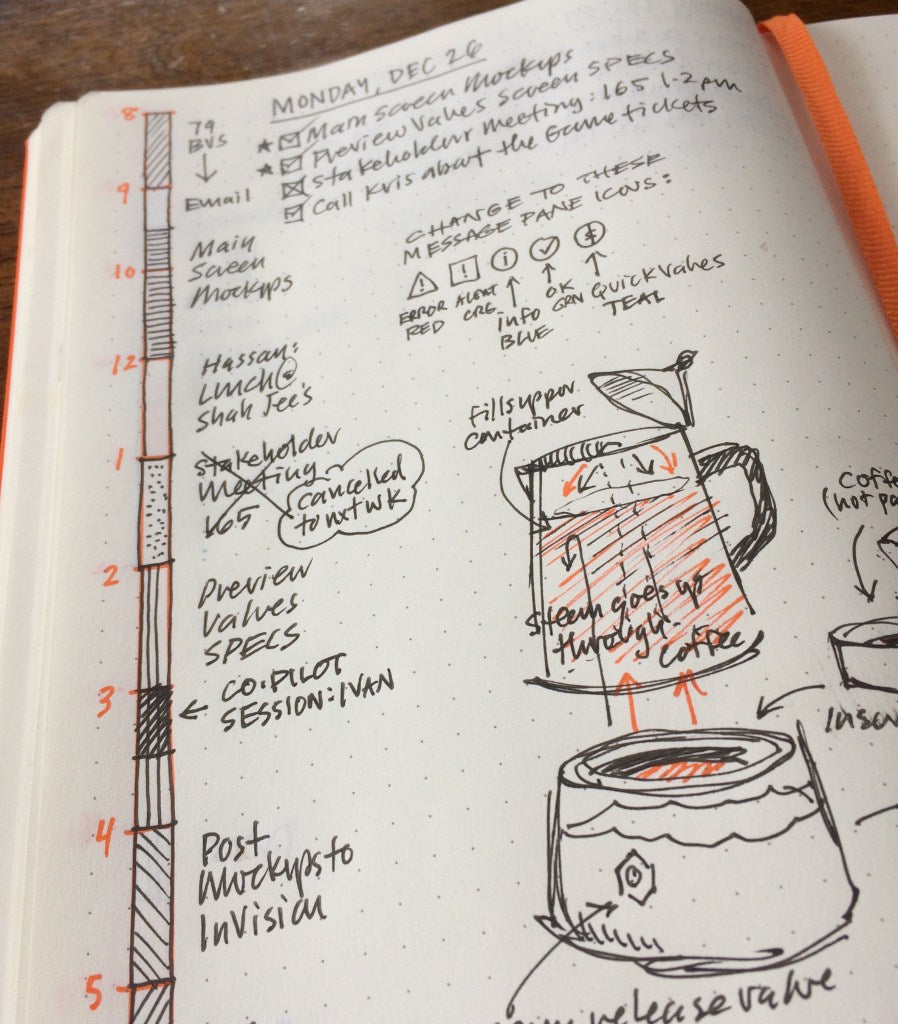
Use the open area next to your time bar for a quick sketch of something you learned that day. Label the drawing in a few words so it stays useful when you flip back. Leave practical tasks in their own list so a larger drawing will not interrupt the plan.
Choose What Is Worth Carrying Into Tomorrow
At the end of the day, look at the notes you would want to see again. A short recap may be enough to carry the important part forward, especially when you already moved open tasks to a new page. Explore the projects below if you would like to make a page marker, a paper pocket, or a place to save a keepsake.
- Make and Decorate Paper Bags
- Framed Wall Art from Fabric Samples
- Staircase Photo Walls for Family Memories
- Kitchen Wall Decor Beyond the Backsplash
- Decorative Projects for Old Jeans
What needs the most space in your own daily log? Tell us in the comments about a page that worked for you, including a detail you were glad you left room for.



























0 Comments