27 Crepe Paper Flower Ideas with Realistic Details
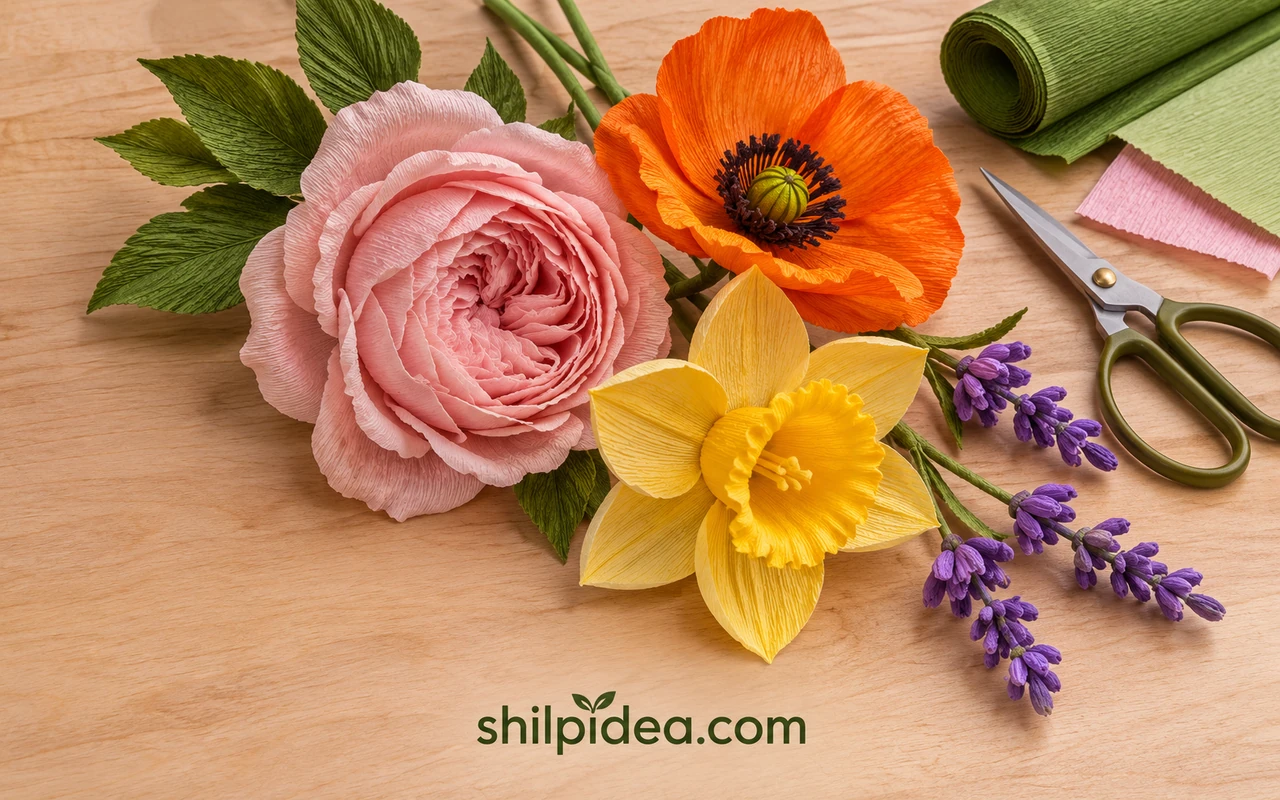
The shape of a petal can make a crepe paper flower recognizable before you even see its color. A tulip forms a narrow cup, a daffodil opens around a ruffled trumpet, and a garden rose loosens at the edges.
Start with stretchable crepe paper, sharp scissors, floral wire, and glue. For more ways to shape paper by hand, browse these paper flower designs.
These 27 ideas highlight the details that give each bloom its shape. Try a single stem first, or use the Lia Griffith paper flower profile as inspiration for a larger bouquet. The images are Shilpidea’s AI concept illustrations.
1. Garden Rose with Cupped Outer Petals
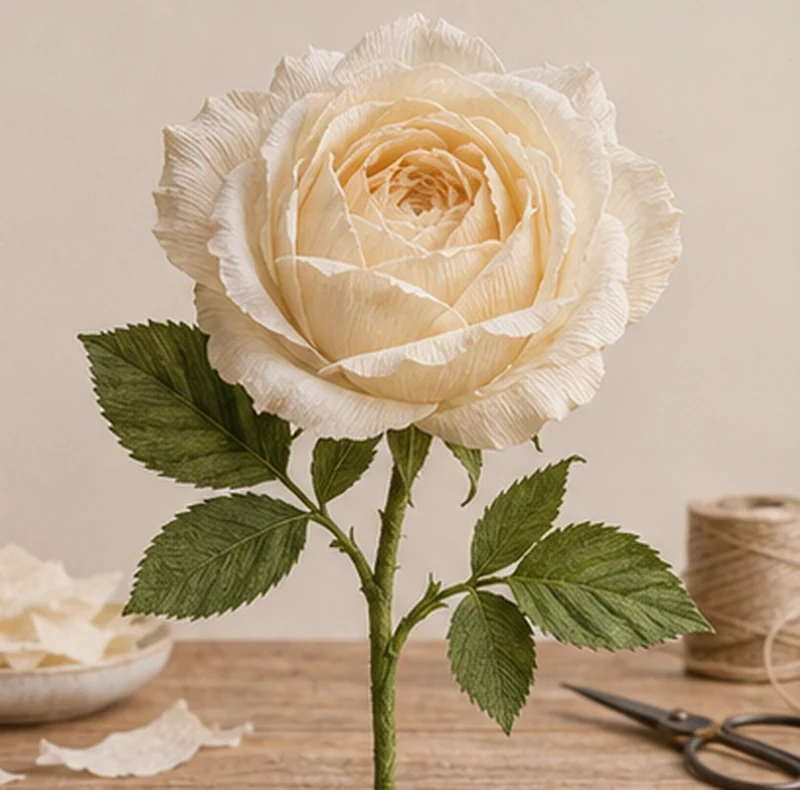
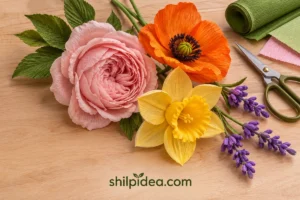
An ivory garden rose gets its depth from petals that wrap tightly at the center and open gradually at the rim. Roll a small petal around a wire loop, then add wider petals with their seams staggered. Cup the broadest petals across the middle with your thumbs. Curl back two or three outer edges over a skewer so the silhouette looks softer on one side.
2. Peony with a Fringed Center
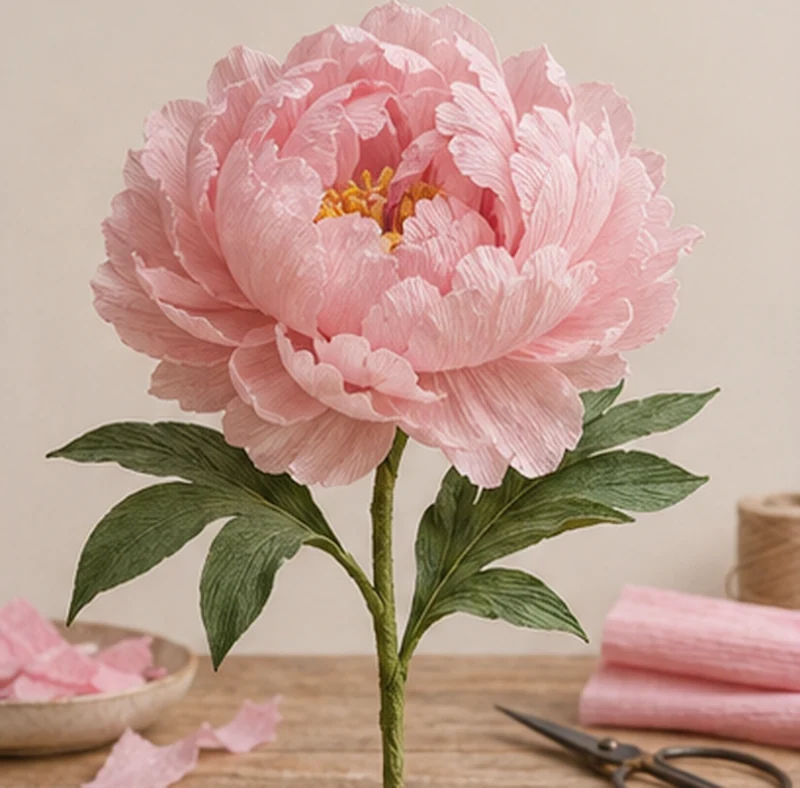
The pale pink peony gets its fullness from the change in texture between its center and its outer petals. Make a short, irregular fringe for the middle, then surround it with narrow, loosely crumpled petals. Add wider petals in a few overlapping layers. Turn the flower sideways as you work and trim any excess paper at the base so the neck stays slim.
3. Daffodil with a Ruffled Trumpet
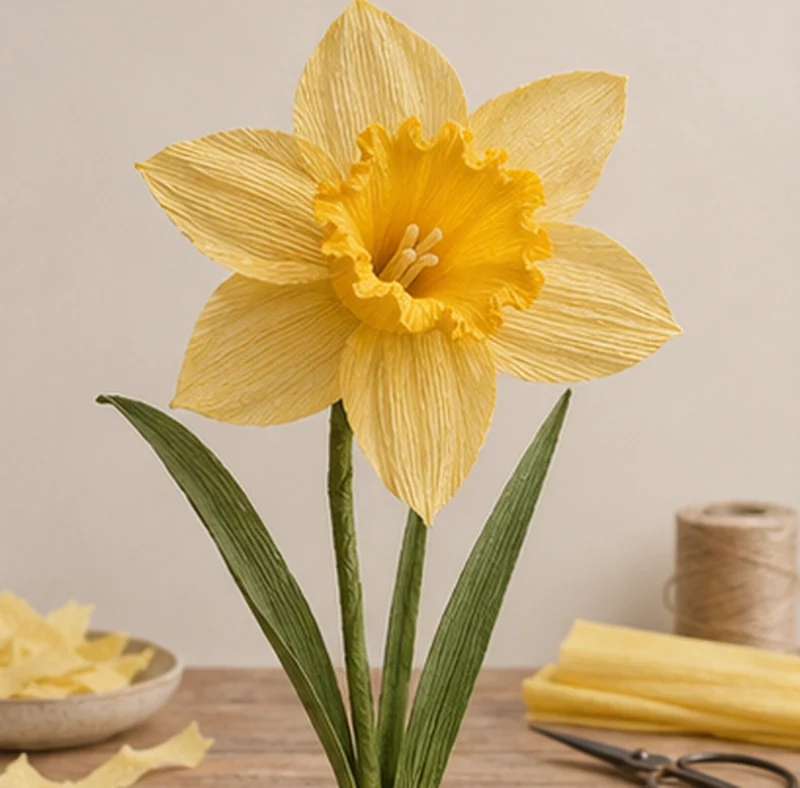
For a yellow daffodil, make the trumpet before you cut the rest of the flower. Join the short edges of a strip into a tube, keeping the base narrow, then stretch the open rim a little at a time. Arrange six pointed segments behind it. Try a warmer yellow for the trumpet and a paler shade for the outer segments so both shapes read clearly.
4. Ranunculus with a Tight Apricot Center
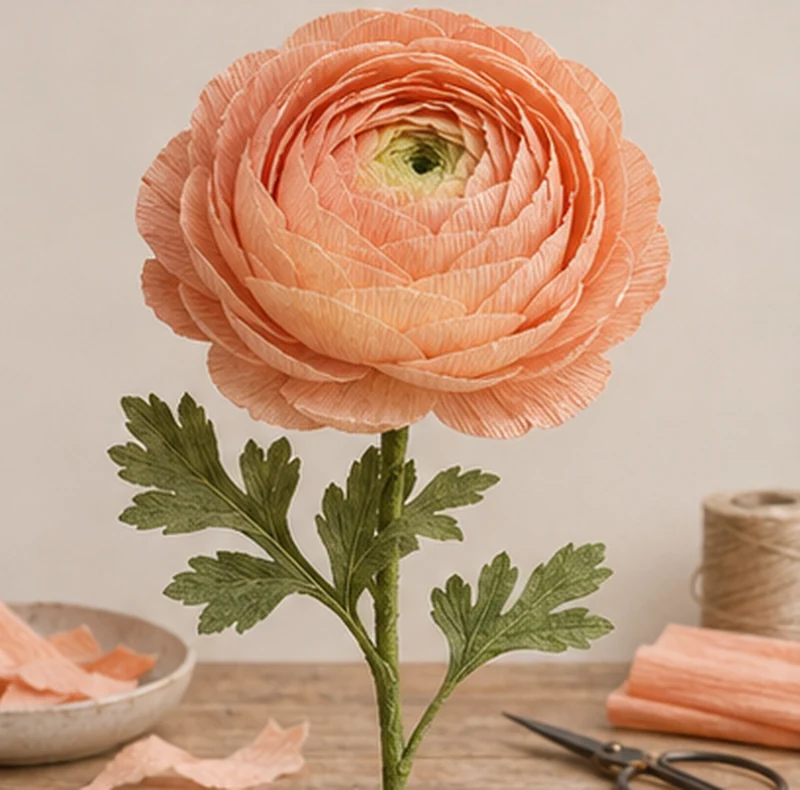
Cut several sizes of rounded apricot petals and keep them in separate piles. Wrap the smallest tightly around a compact core, then overlap each wider row over the seams below it. A ranunculus should still look domed in profile. If one row flares too far, cup its petals deeper before the glue sets, so they follow the curve of the flower.
5. Red Poppy with Charcoal Fringe
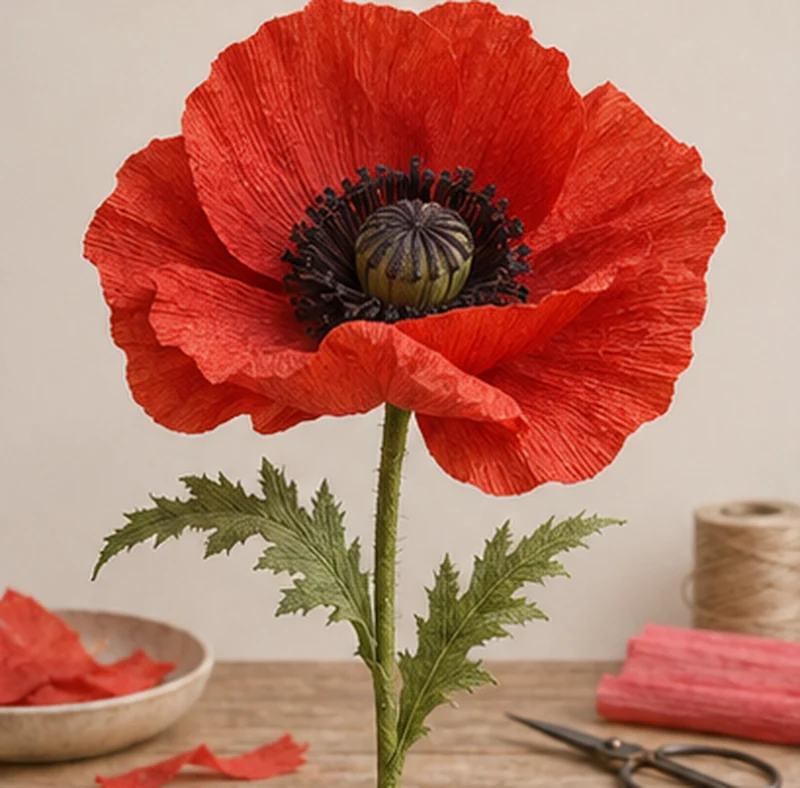
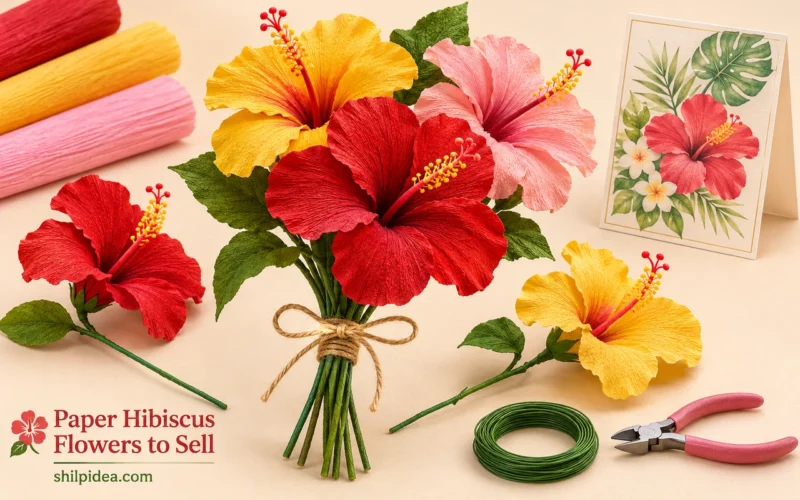
A small green center inside a ring of charcoal fringe gives this red poppy a focal point. Add broad petals with loose overlaps and keep some of the paper’s wrinkles near the rim. Place the darkest detail low enough that the petals partly frame it when viewed from the side. For another way to handle big, open petals, see these handmade paper hibiscus ideas.
6. Tulip with a Narrow Pink Cup
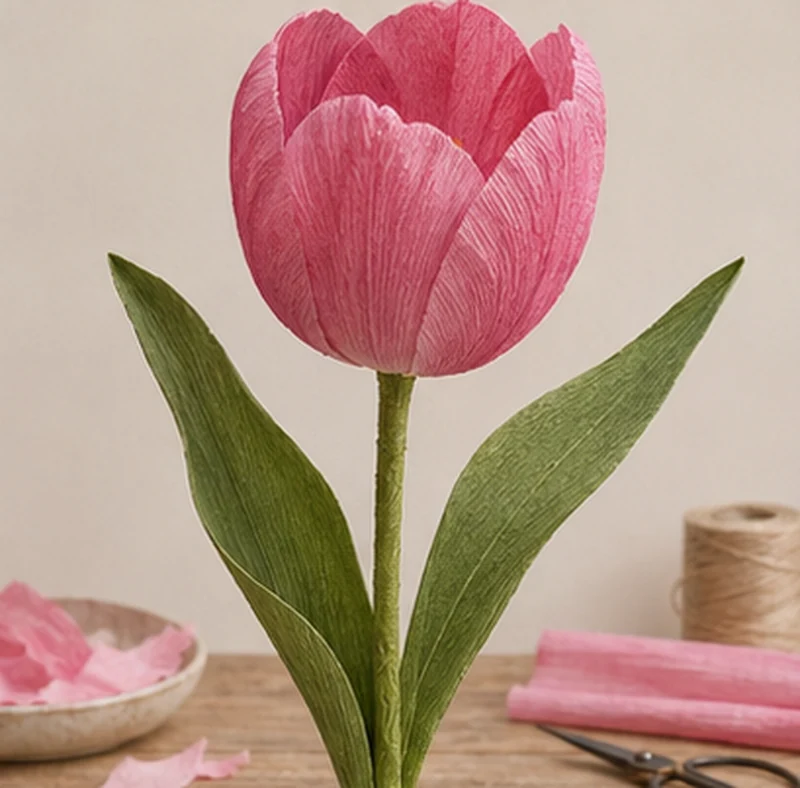
Use three pink petals around the center and three more across their seams to make a tulip cup. Stretch the middle of each oval sideways while keeping the tip and base firm. Dry-fit the outer petals before gluing so their upper edges stay close together. A long leaf that curves away from the stem gives the finished flower its familiar upright shape.
7. Sunflower with a Two-Tone Center
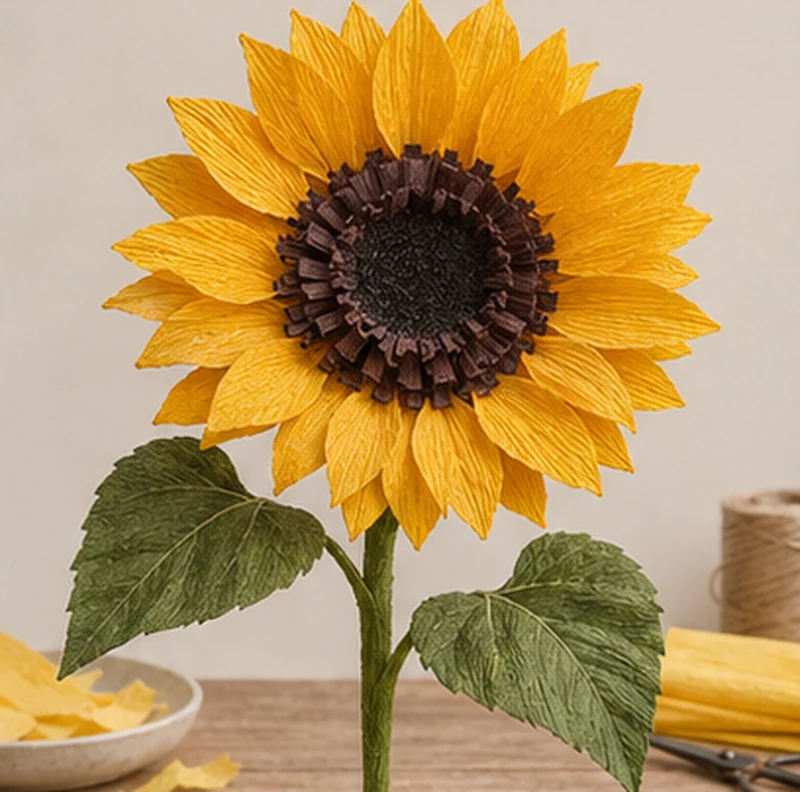
Roll finely cut dark brown fringe into a wide disk and add a short ring of lighter brown fringe around it. Glue narrow gold petals behind the disk, staggering a second row to fill the gaps. Before you finish the stem, hold the head sideways to see whether it needs sturdier wire. A slightly tilted face looks at home in a tall vase.
8. Daisy with Narrow Ivory Petals
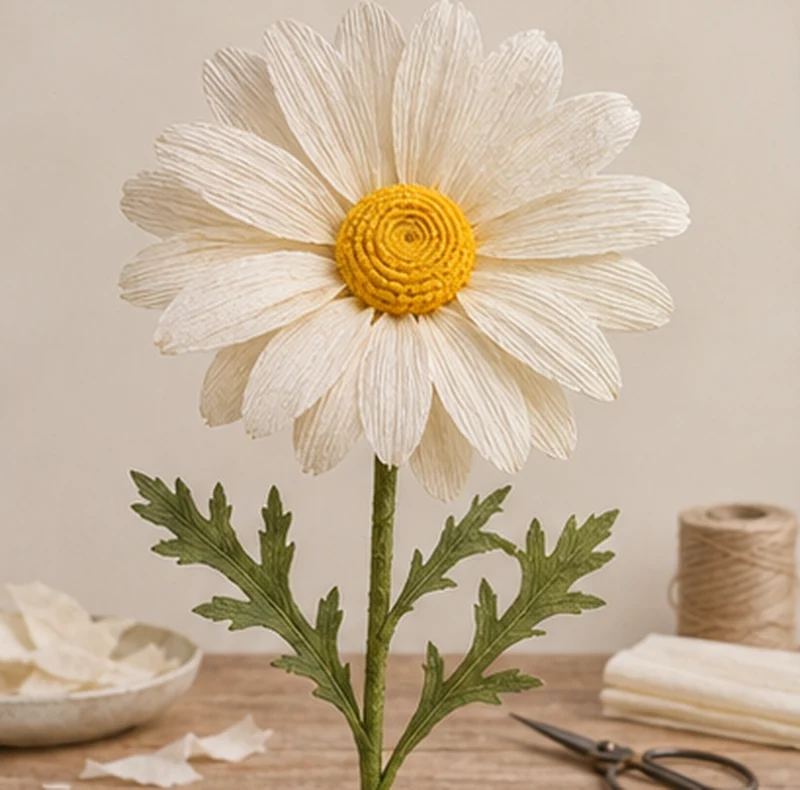
Cut slender ivory petals with subtly rounded tips, then arrange them around a small yellow coil. Keep most of the petals flat and give a few a slight downward bend so the rim has some movement. A faint crease down the center of each petal catches side light. Set one stem in a bud vase or pair it with a lavender sprig.
9. Crocus with a Low Lilac Cup
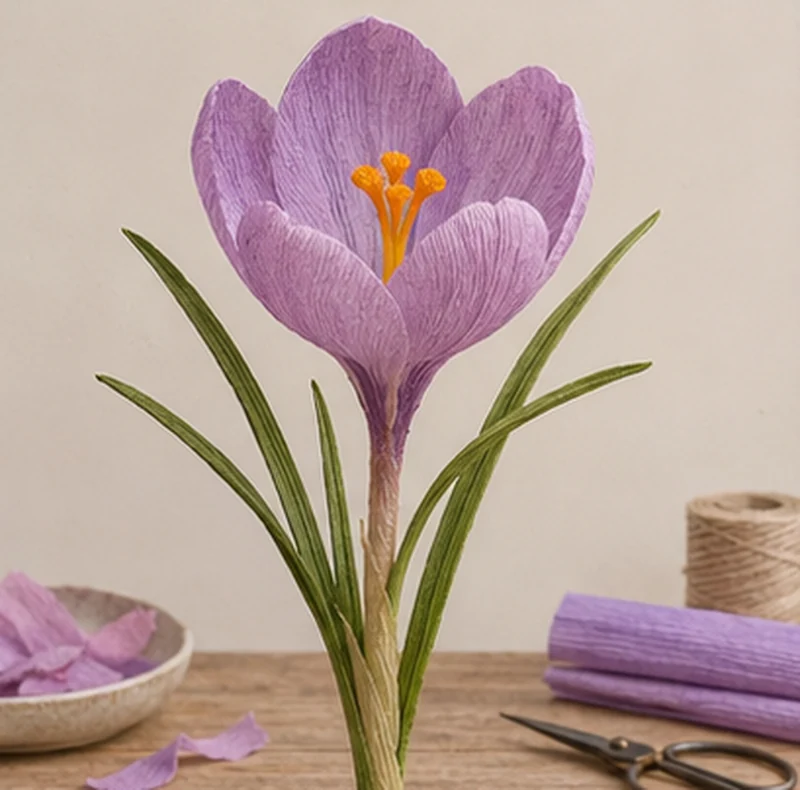
Short lilac petals and narrow upright leaves give a crocus the look of a flower just emerging. Shape the petals into a low cup around a warm orange center and pull one tip slightly outward to reveal it. Make three short stems with different degrees of opening. In a low pot or vase, that variation makes the grouping feel like a cluster of spring shoots.
10. Dahlia with Pointed Burgundy Petals
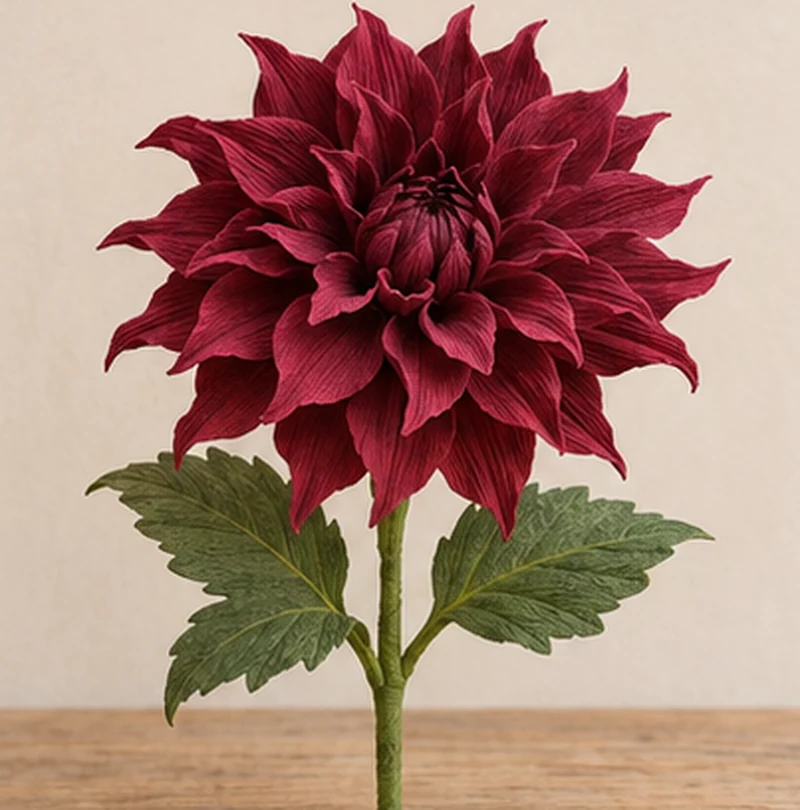
Crease narrow burgundy petals lengthwise and cup them at the base to give each one a raised ridge and a pointed tip. Start with a small central ring and line up each new point with a gap in the previous row. Work with the flower face up so you can catch uneven spacing before the next ring goes on. Use firmer crepe for the outermost points if they begin to droop.
11. Zinnia with Shallow Coral Layers
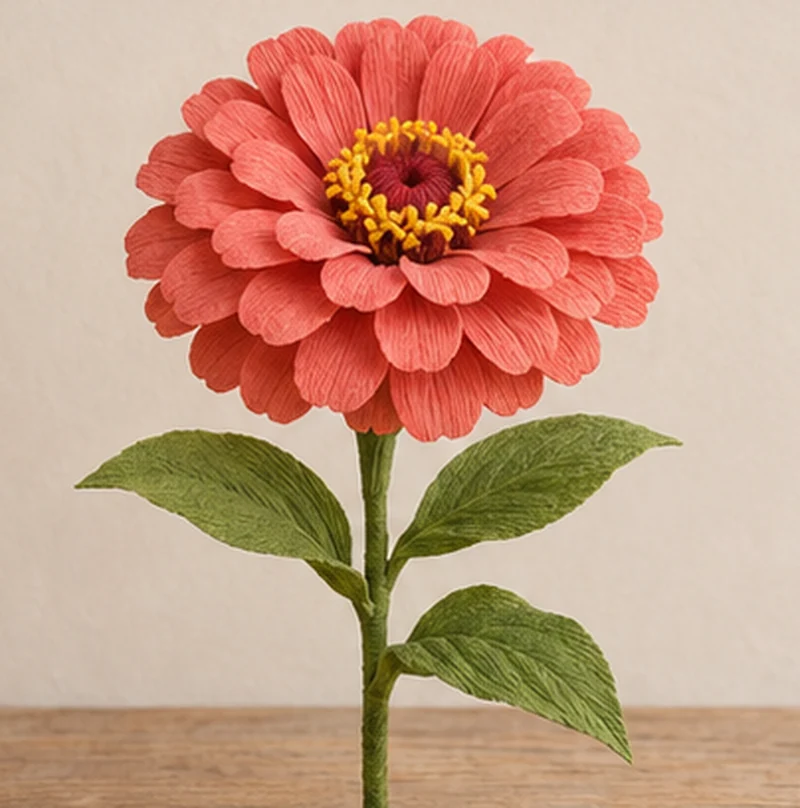
A coral zinnia has a broad face made from rows of short, rounded petals. Keep the first row small and add wider rows at similar heights to form a shallow disk. Cut a few tiny yellow pieces for the center and leave enough space between them for the coral to show through. View the head from the side before adding the last row to keep the profile low.
12. Marigold with Crinkled Yellow Fringe
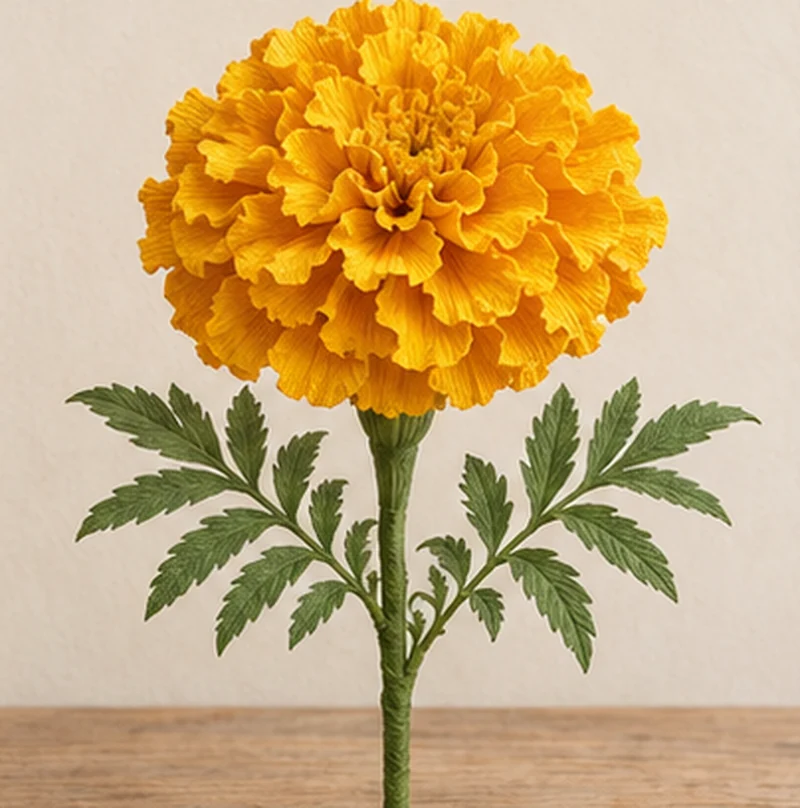
For a full yellow marigold, cut fringe into two or three strips of crepe with a solid band along one edge. Make slightly uneven cuts and crumple a few tips between your fingers before rolling. Wrap the shortest fringe first, followed by taller strips. Fan the paper outward and tease a few sections apart to soften the circular line left by the roll.
13. Lavender with Spaced Purple Buds
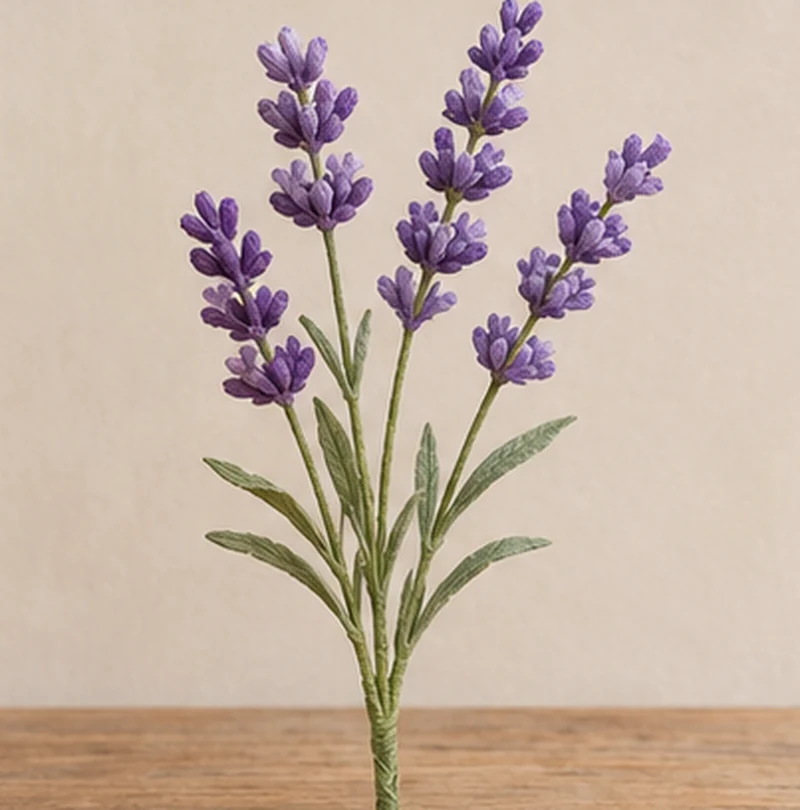
Gather tiny folded pieces of purple crepe into short groups and tape them onto a fine green stem. Start just below the tip with the smallest buds and work downward, adding fuller groups as you go. Leave small gaps between them so the stalk still shows. Make several stems of different heights for a bunch that looks loose in a narrow jar.
14. Hydrangea with Four-Lobed Blue Florets
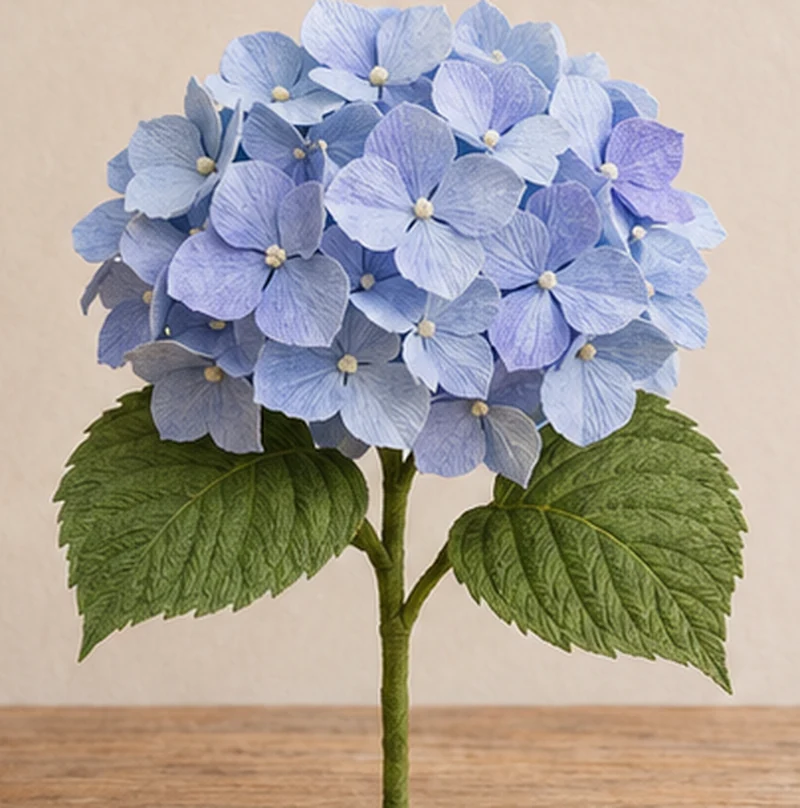
Build the blue hydrangea from small groups of four-lobed florets. Cup each lobe lightly and secure the florets to short pieces of covered wire, then gather those clusters into a shallow dome. Mix two close shades of blue within each cluster so the color changes gradually across the head. Leave a little room between neighboring florets to keep their shapes legible.
15. Cream Lily with Curled Tips
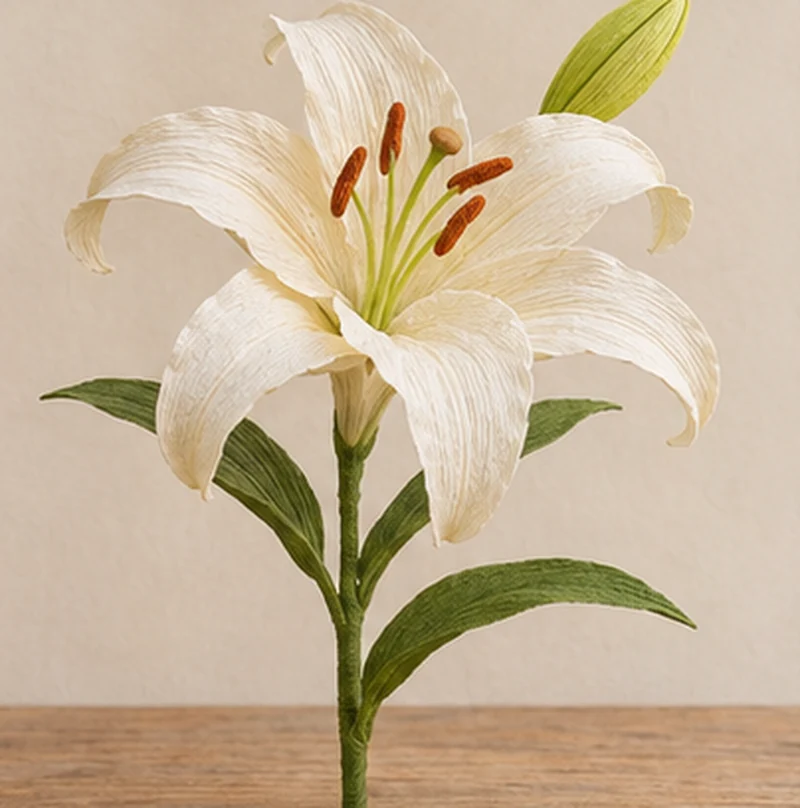
Give each cream lily segment a gentle center crease and roll the tip outward over a skewer. Start with one small curl, then deepen it if the bloom still looks stiff. Add slim stamens with small darker tips and leave them visible above the throat. Trim extra paper from the bases before securing the flower so the head connects neatly to the stem.
16. Cherry Blossoms on a Forked Branch
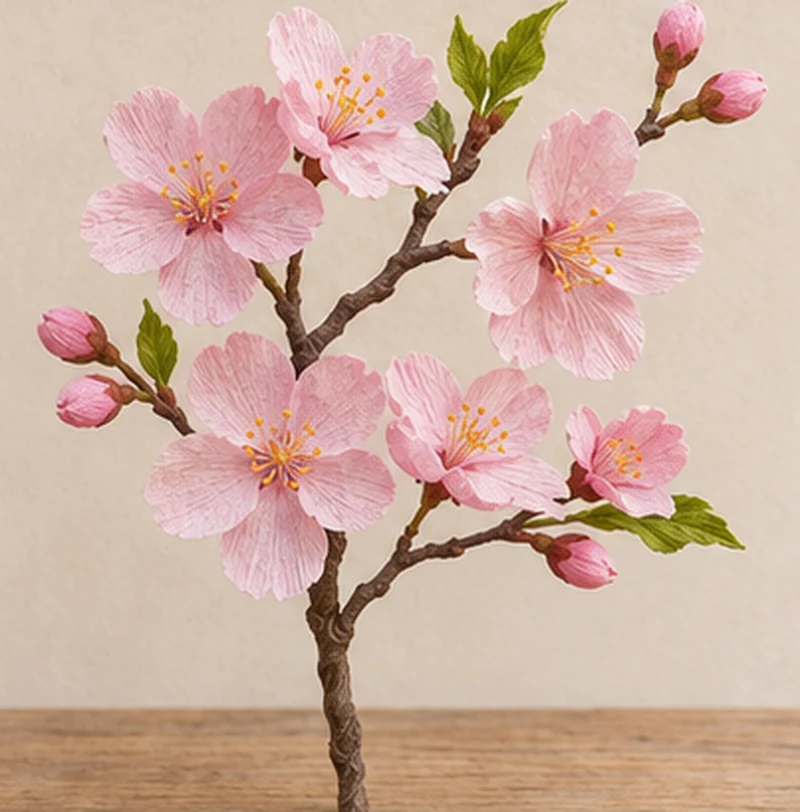
A forked brown branch makes a better starting point for cherry blossoms than a straight row of wire. Attach small five-petal blossoms at turns and forks, leaving a few stretches bare between groups. Place pale pink buds near the tips and turn some flowers sideways. Check the arrangement from across the table before adding a final bloom, while the branch is still easy to adjust.
17. Mimosa with Rounded Yellow Clusters
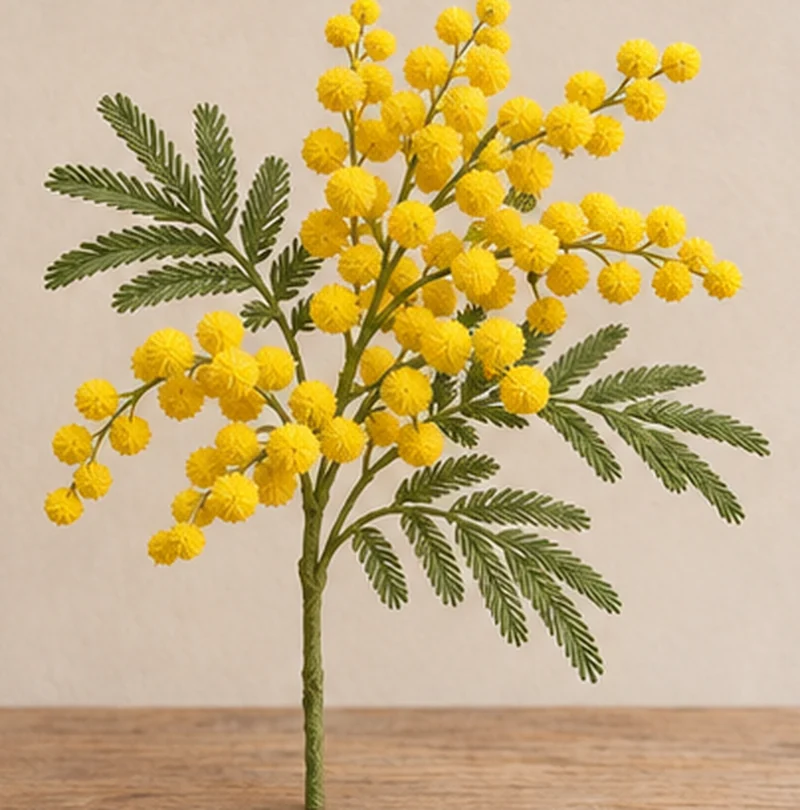
Roll small pieces of yellow crepe into loosely textured balls and glue them to short pieces of fine wire. Gather the wires into uneven groups and wrap the branches in olive-green paper. Keep the smallest balls near the ends and allow the wires to separate slightly between clusters. This gives the spray a light outline that works beside larger flowers in a vase.
18. Baby’s Breath with Fine Forked Stems
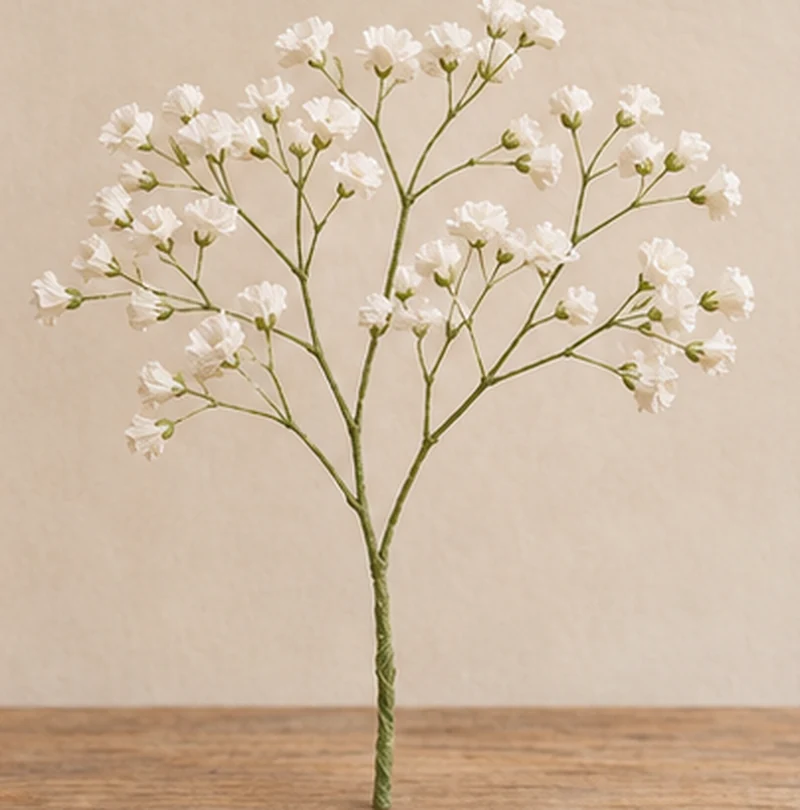
Make several fine wire forks and add a tiny off-white floret to each tip. Bend the branches after you have gathered them so the flowers sit at different heights. The white dots should look scattered when viewed from a distance, with green stems visible between them. One small sprig also fits under ribbon on a gift with a quilled paper tag.
19. Calla Lily with a Swept White Curve
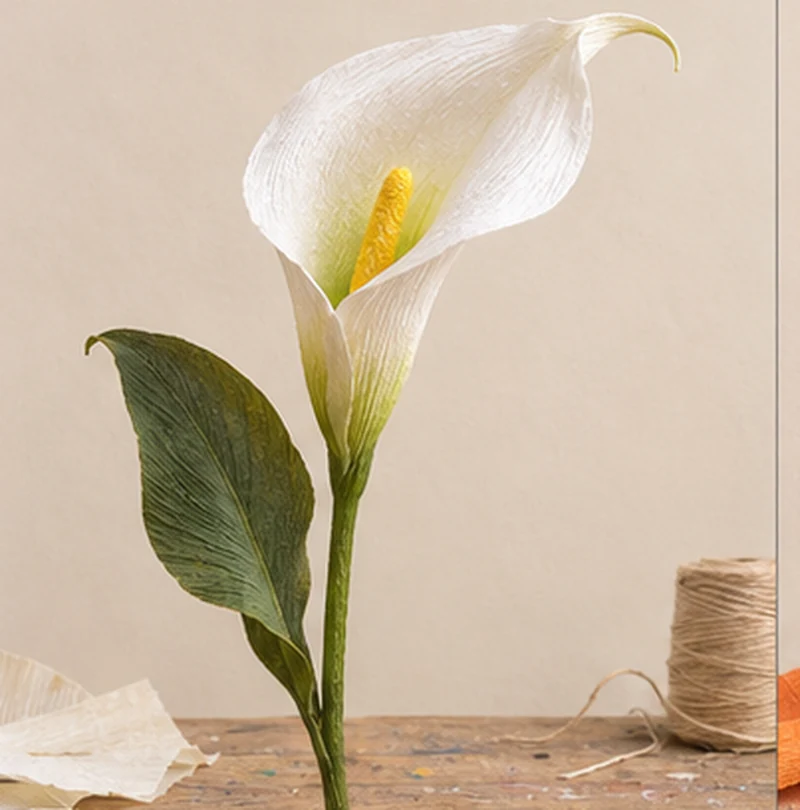
Cut one wide white piece of crepe for the calla lily and place a slender yellow center inside. Bring the lower edges together around the stem, overlapping them to form a tapered throat. Gently turn the upper lip back over a skewer. Hold the bloom at eye level to check the curve, then display it alone in a slim vase where the full outline shows.
20. Tiger Lily with Painted Speckles
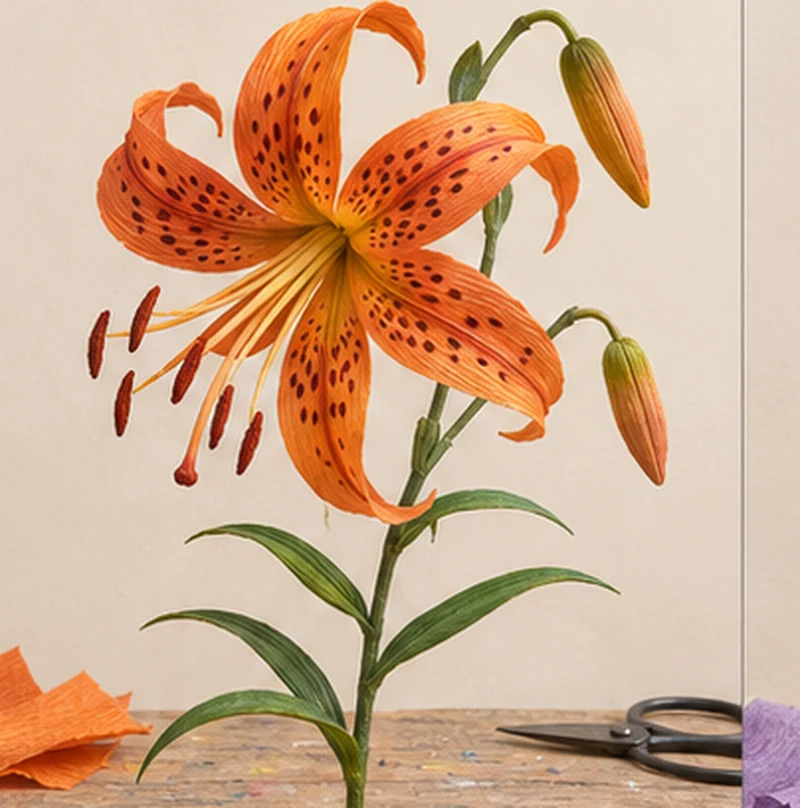
Brush irregular brown speckles onto orange crepe segments before you assemble the tiger lily. Concentrate most of the marks near the throat and scatter a few smaller dots higher up. Try a nearly dry brush on scrap first and let the pieces dry before curling their tips. Shape the segments back and outward so you can see both the spotted interiors and the curl from the side.
21. Anemone with a Dark Fringe Ring
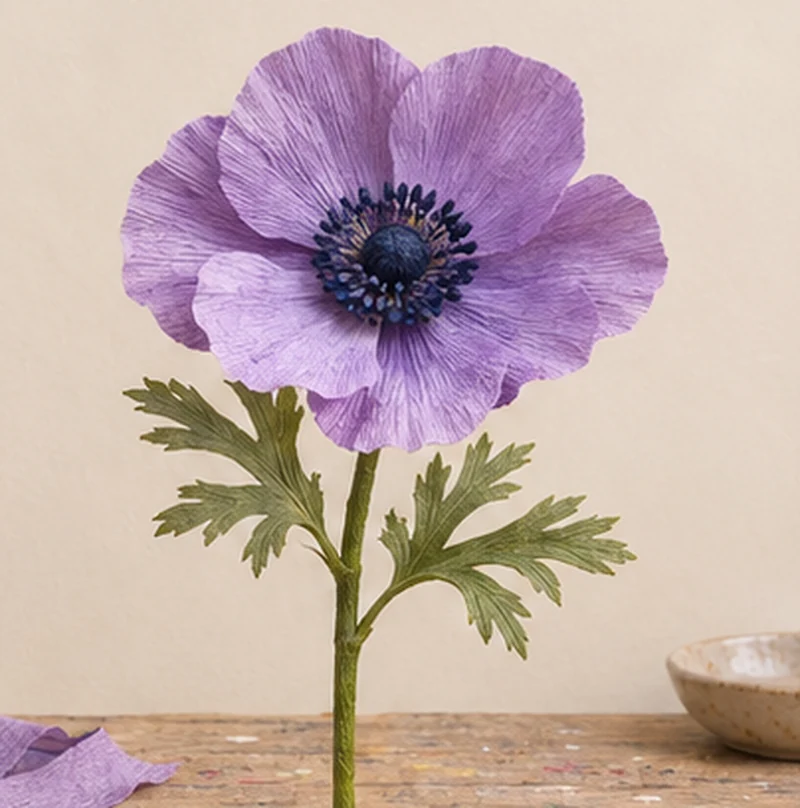
Set a low center of deep blue or charcoal crepe inside broad lilac petals to make a paper anemone. Trim the dark fringe short so the center stays visible without crowding the petals. Gently stretch a few petals sideways near the rim, then place them at different angles. The face should look open and shallow when you set it beside a more deeply cupped bloom.
22. Cosmos with Gaps Between White Petals
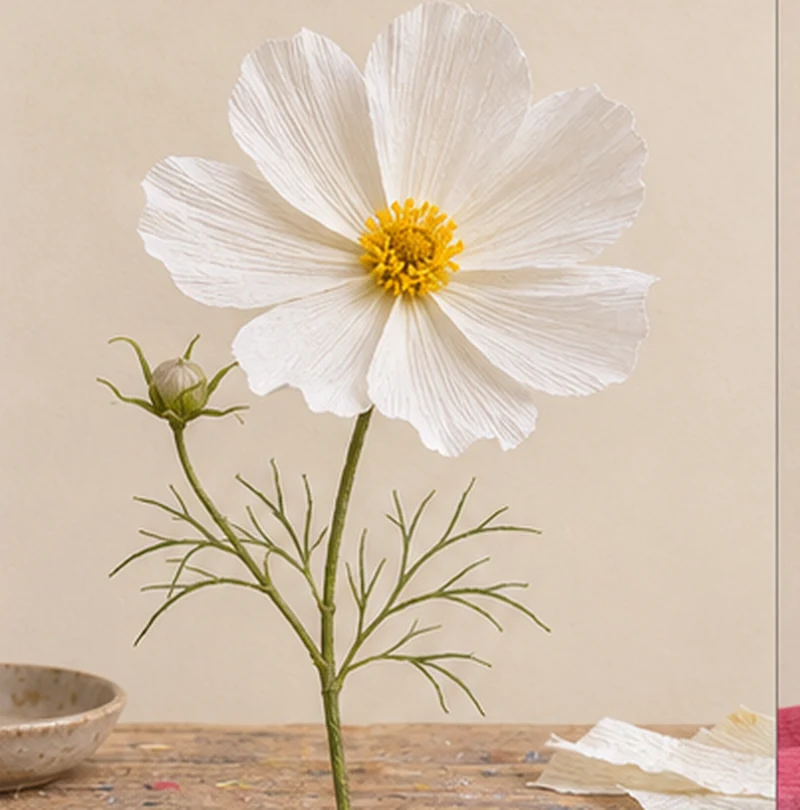
Make a white cosmos with broad petals, a slight scallop at each tip, and a low yellow center. Overlap the narrow bases while leaving slivers of space at the outer edge. A slight dip in two petals gives the silhouette some movement. Set a single stem at an angle near the outside of a bouquet where the open shape can catch the light.
23. Camellia with Broad Overlapping Petals
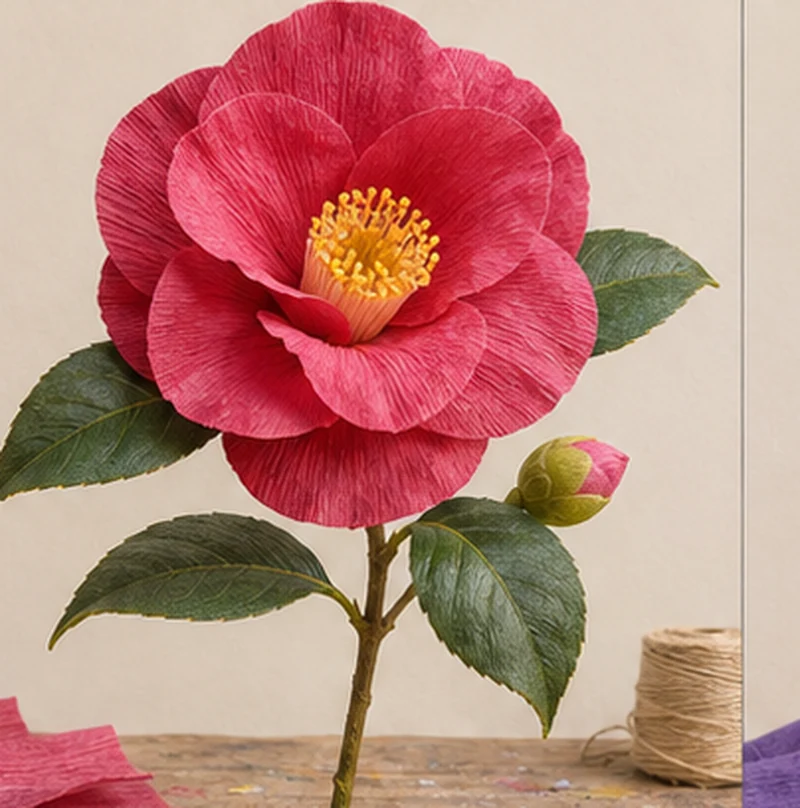
Choose rounded petals with smooth edges for a layered deep pink camellia. Offset each row so the broad petals overlap and the seams disappear under the next layer. Try slightly darker crepe near the center and keep the outer rows shallow. Add a pair of firm, pointed green leaves just below the flower head to frame the bloom without covering the lower petals.
24. Iris with Upright and Drooping Petals
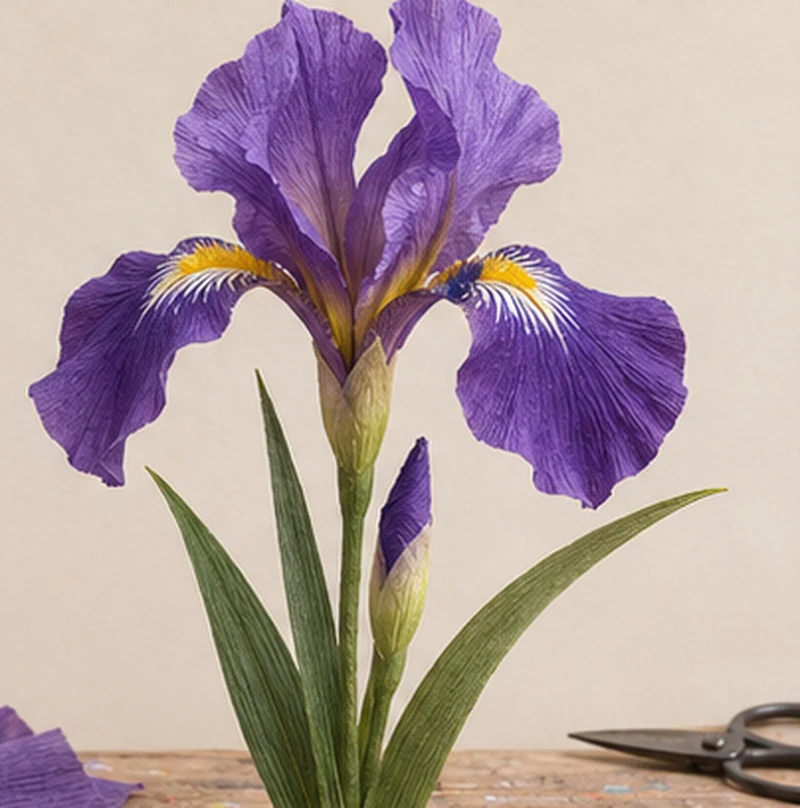
Cut three relatively narrow upright segments and three wider segments that bend outward and down. Set the upright pieces first, then attach the wider ones between them. Try a small streak of lighter purple near the base of each lower piece. Turn the iris as you assemble it to see whether the top and bottom tiers remain clear from the side.
25. Sweet Peas with Ruffled Petals
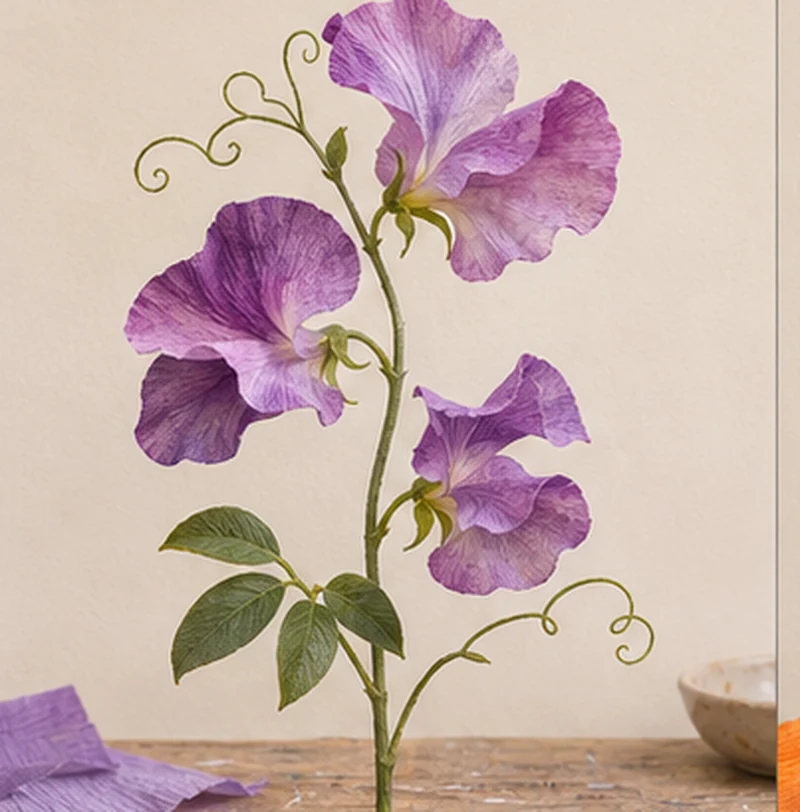
Thin crepe lets sweet pea petals twist and ruffle on a small stem. Use a broad back petal and a folded center for each blossom. Set the fuller blooms toward the lower end of the spray, turn each at a slightly different angle, and finish with a closed bud. Pinch the bases before taping them to keep the stem slim.
26. California Poppy with Four Orange Petals
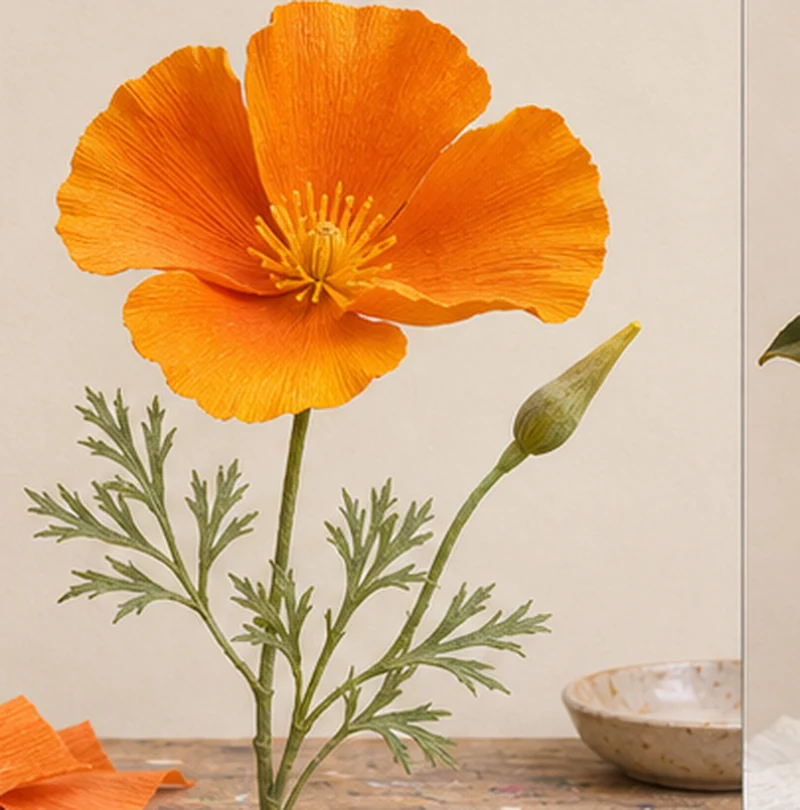
Four broad orange petals are enough to make the shallow bowl of a California poppy. Stretch only the lower middle of each petal, then overlap the bases around a small golden center. Let the upper edges part slightly. Make a second stem with the cup tilted toward the rim of the vase so the shape is visible both from above and from the side.
27. Magnolia with Ivory Blooms on a Branch
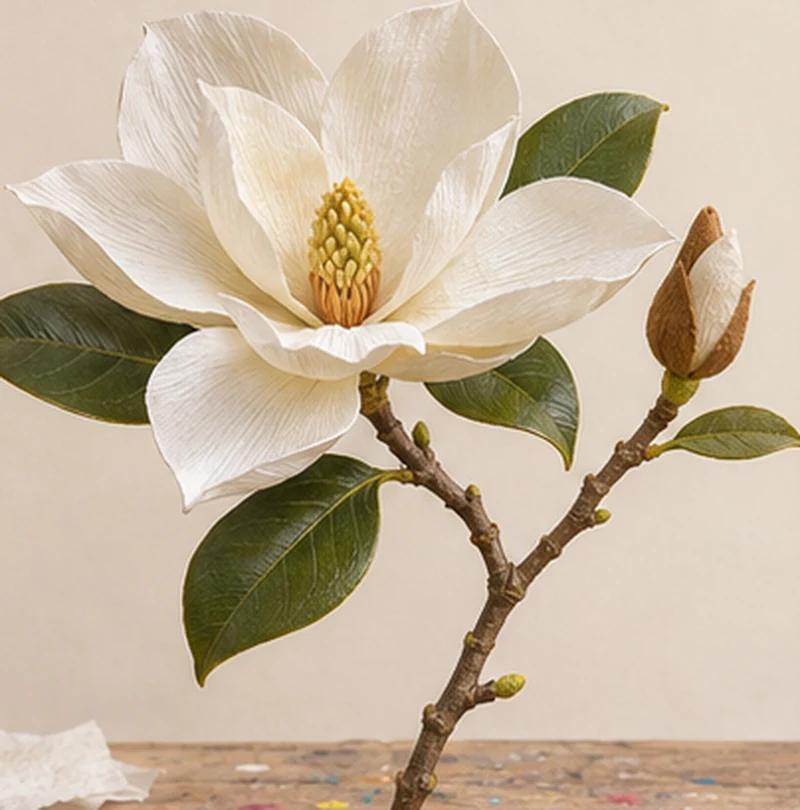
Use firmer ivory crepe for the broad petals of a magnolia, and cup the lower halves so the tips turn outward. Attach open blooms near the forks of a brown branch and save the tips for closed buds. A few dark leaves behind the flowers give the pale petals a clear outline. Test how the branch sits in its vase before fixing the largest bloom.
Test the Paper Before Cutting a Full Set
Cut one sample petal with the ridges running from base to tip, then stretch the middle sideways between your thumbs. If the paper thins or the edges flatten too much, use a lighter touch on the next piece. When a bloom looks bulky from the side, trim the petal bases and stagger them before wrapping the stem. Lia Griffith’s beginner guide shows how to curl and shape crepe paper.
Display finished stems in a dry vase. If you’re adding them to an arrangement with fresh flowers, keep the paper stems in a separate dry insert so the wrap stays above the water.
Build a Bouquet Around One Paper Bloom
Pair a full garden rose or peony with airy baby’s breath, or let a magnolia branch stand on its own. For a fuller arrangement, mix in paper greenery and leave a little room around your largest bloom. Borrow ideas for spacing and height from these floral table arrangements.
- Paper flowers for handmade decorations
- Handmade paper hibiscus flowers
- Crepe paper poinsettias for Christmas
- Quilled paper gift tags for beginners
- Paper flower shapes and arrangements
Which bloom would you make first? Share your pick in the comments and save the collection for your next paper bouquet.

















0 Comments