18 Paper Quilled Gift Tag Ideas for Beginners
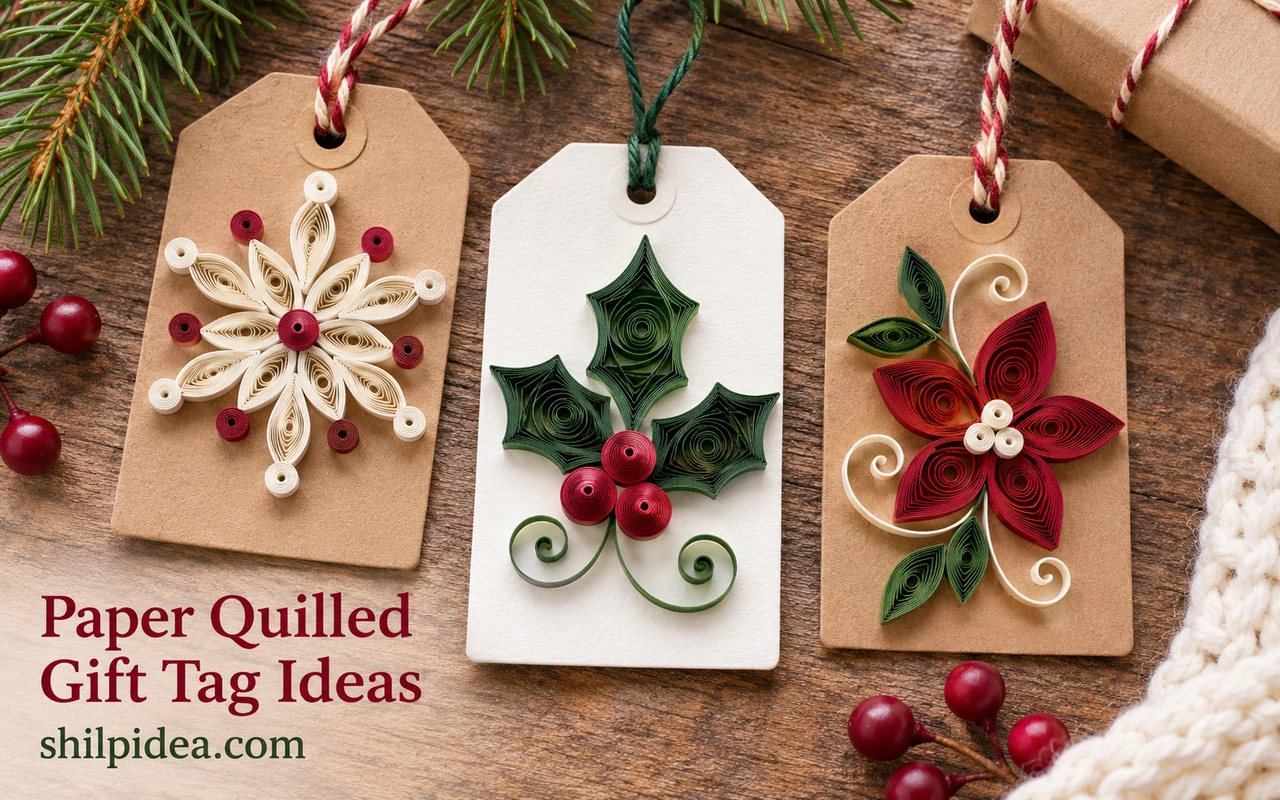
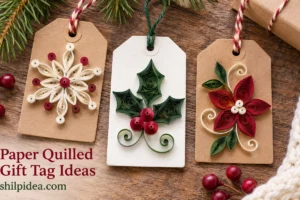
Paper quilling can turn a plain gift tag into a tiny keepsake. Start with one or two shapes and leave enough space for the recipient’s name.
If you’re learning to roll coils, practice the shapes in beginner quilling basics before attaching anything to a tag. Sturdy cardstock is an easy base.
Try a snowflake, flower, or small animal for the first tag. For another occasion, adapt a motif from these handmade quilling cards to fit the space you have.
1. A First Tag with a Simple Coil

Start with the basic tag layout in the example: a sturdy base, a ribbon or string through the top, and one compact quilled detail. Make the coil on a spare piece of paper first and wait for it to hold its shape. Place it low enough to leave the ribbon and name clear.
2. A Bright Flower on Colored Cardstock

Put a few open coils around a tight center to make a flower that reads clearly at a small scale. Try a tag color that contrasts with the petals so they’re visible from the side of a gift. Let the glue dry before tying the cord around a box or bag handle.
3. A Scalloped Tag with a Pearl Center
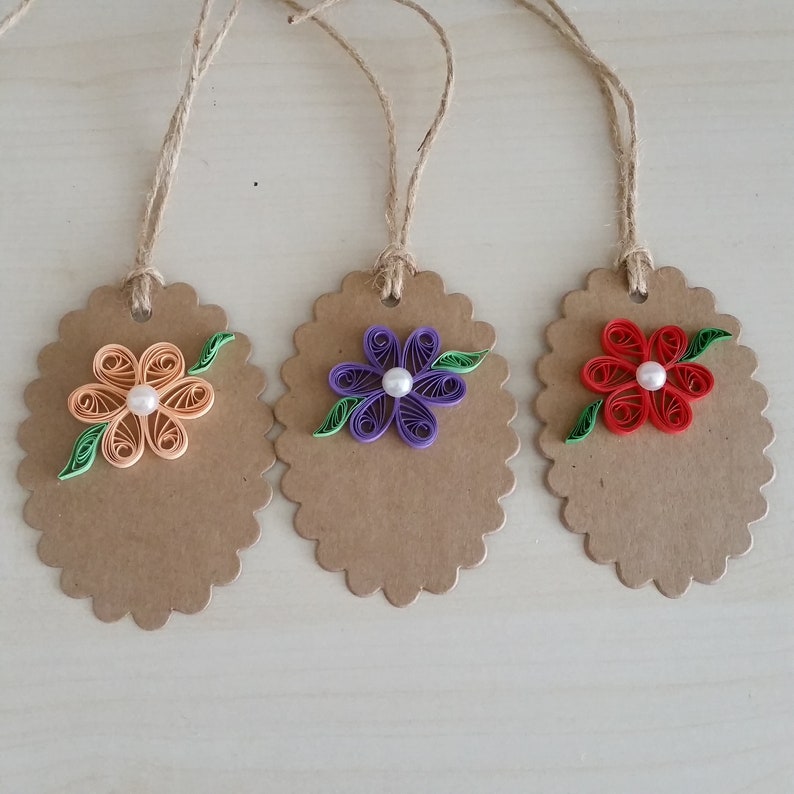
A scalloped kraft tag gives a flower a finished edge without needing a second paper layer. Keep the petal coils simple so there’s room for a small center bead. Reserve a raised bead for a gift you’ll hand over in person, since the embellishment can catch or crush in the mail.
4. A Wreath Around the Greeting

Use small petals and leaves to make a wreath around a foil or ink greeting. Write or stamp the words first so you know how much room to allow around them. Practice a crescent of three or four coils if a full ring looks too crowded on your smallest tags.
5. An Oval Tag with a Pastel Motif

An oval tag suits small flower and butterfly compositions because there are no corners competing with the design. Put the motif slightly below center and keep a narrow line for your greeting. Use one strip width throughout the tag to make the finished elements easier to glue at the same height.
6. A Butterfly That Doubles as a Keepsake

Borrow a butterfly from the spring pendant example and tie it over a written paper tag. Pair the teardrop wings in matching sizes before you glue them to the body. If you use it without backing, thread the cord through a sturdy paper loop and make a separate place for the name.
7. Animal Tags for a Set of Gifts
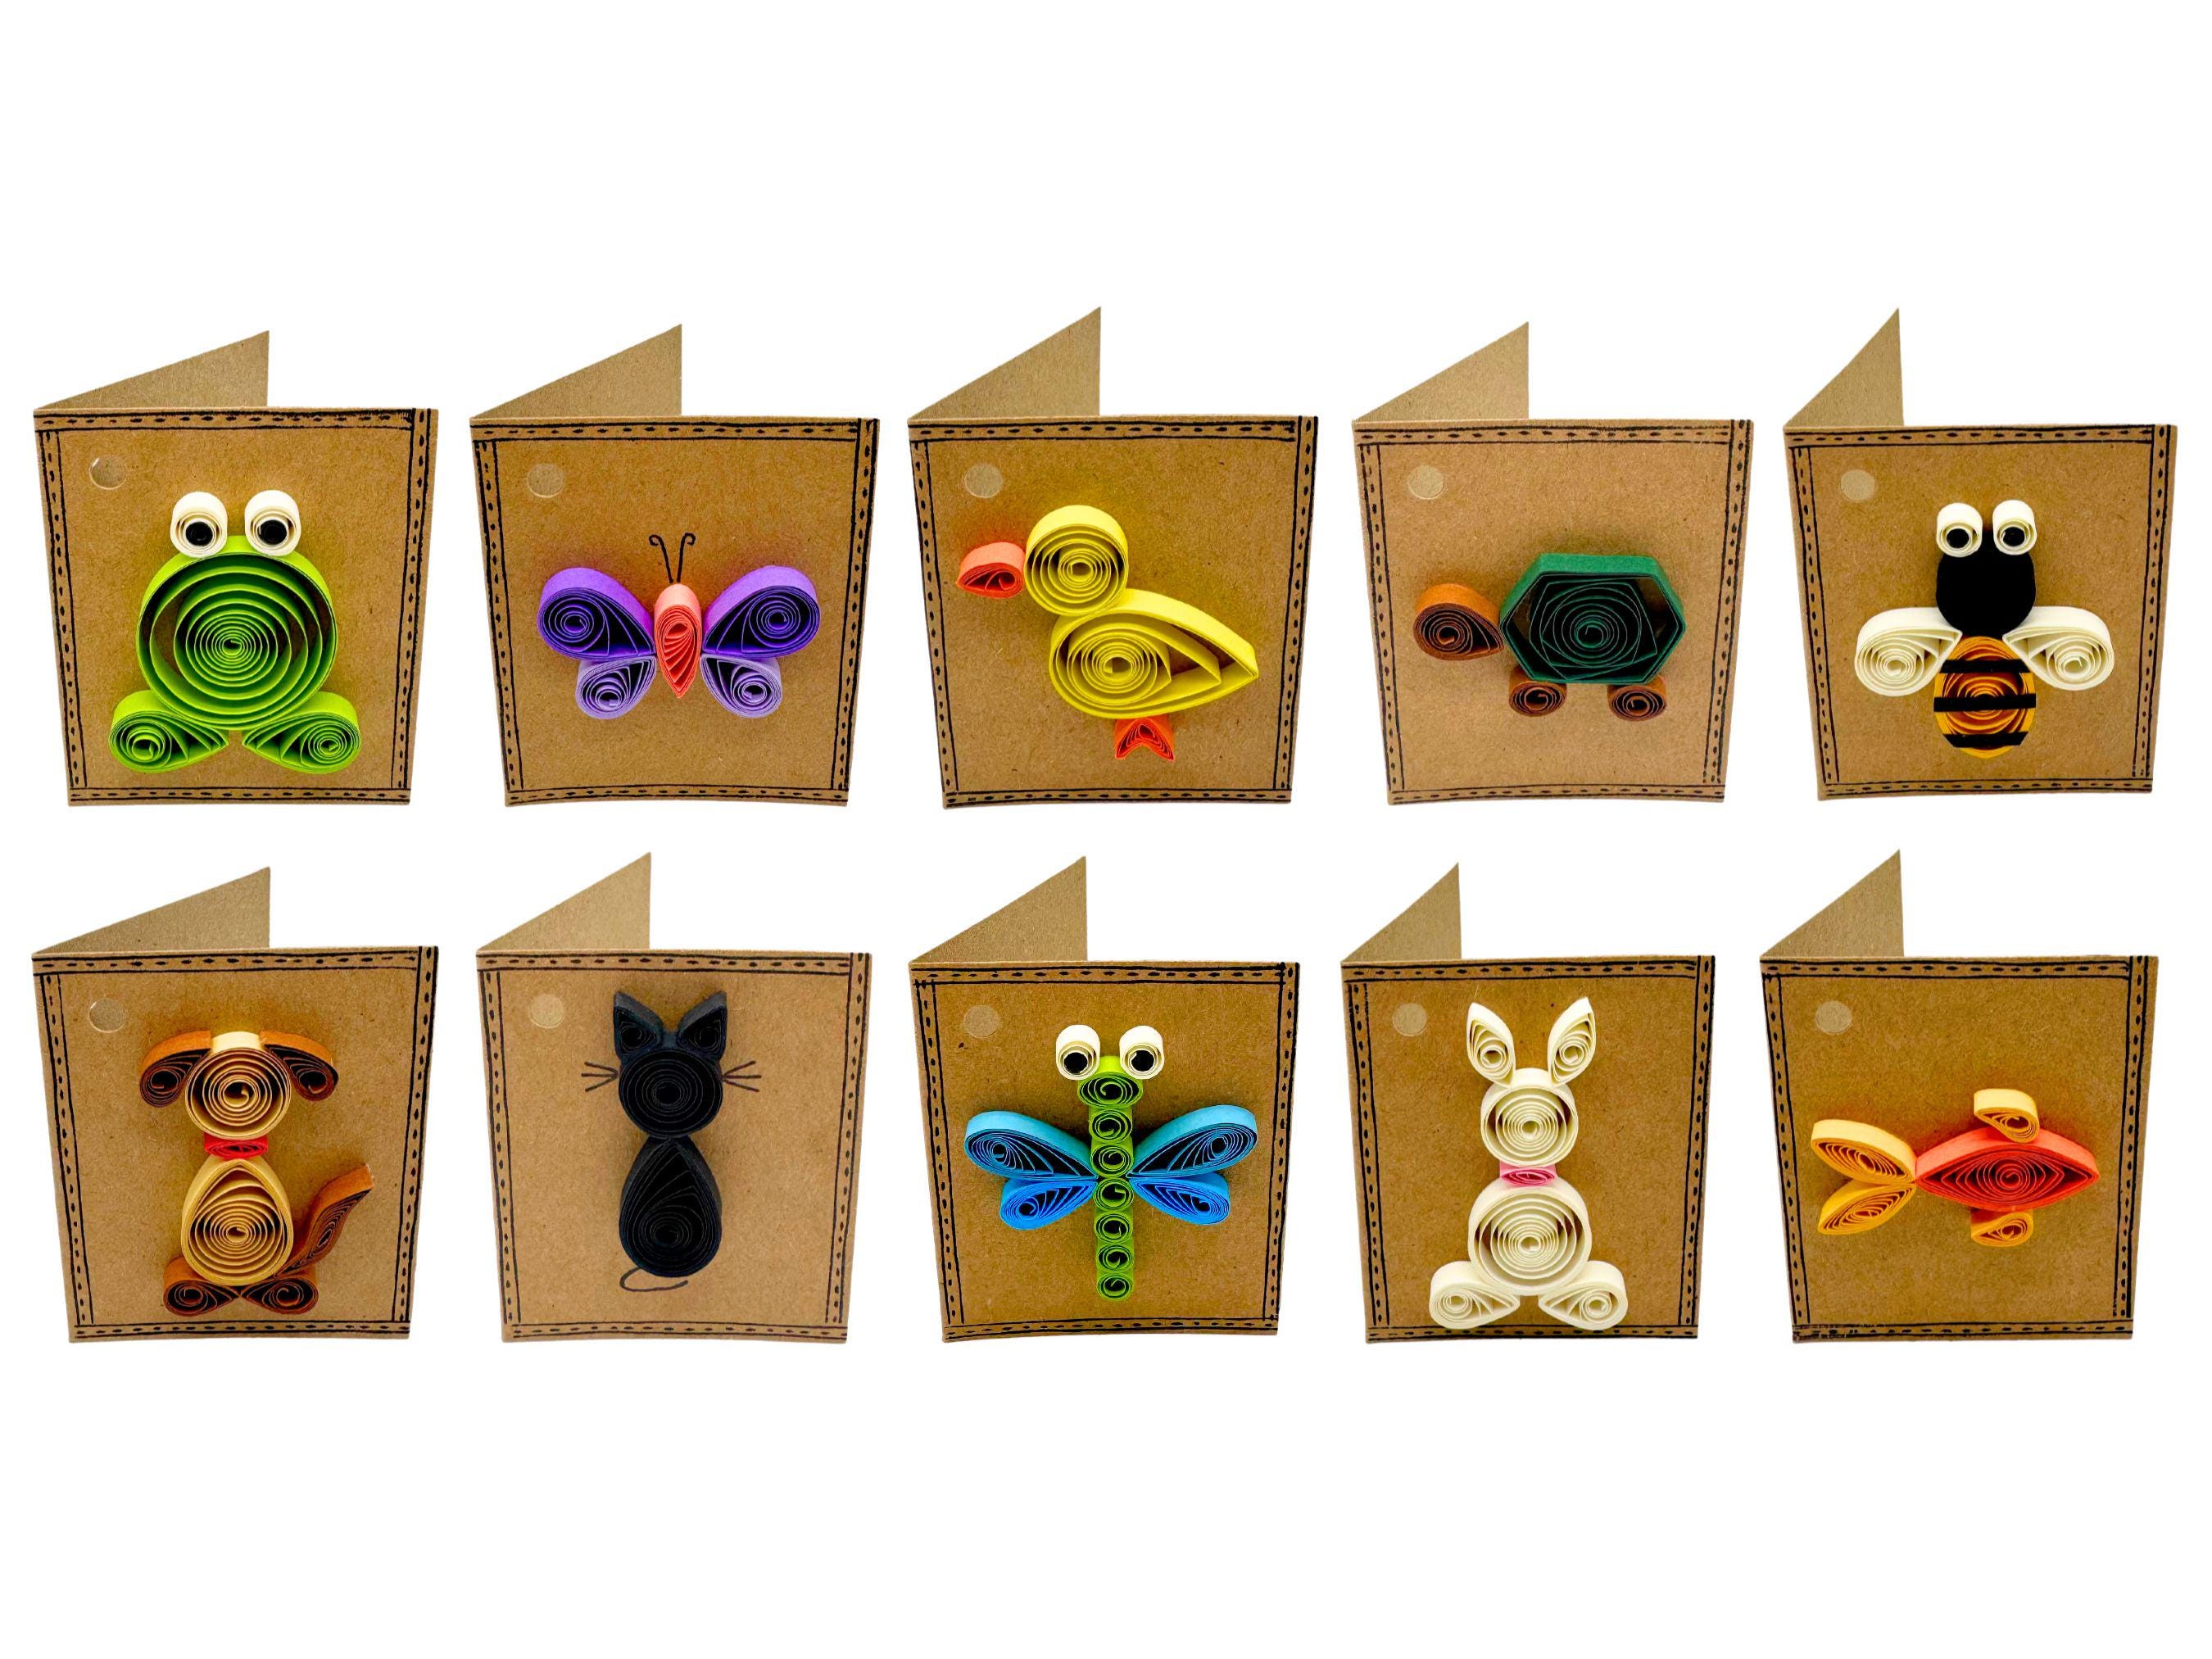
Small animals can help distinguish gifts when you’re wrapping a batch. Pick one outline you can make confidently before you try a whole set. Draw the body lightly on the tag and use just a few tight or pinched coils to make a frog, bee, or rabbit recognizable from a distance.
8. A Penguin on Kraft Paper

Roll a pale oval for the belly and surround it with darker paper to make a penguin. Add small accents only after you can recognize the main shape. A single handwritten greeting suits the kraft background, and a clear border makes the figure easier to see against textured wrapping paper.
9. A Snowflake on a Hexagon
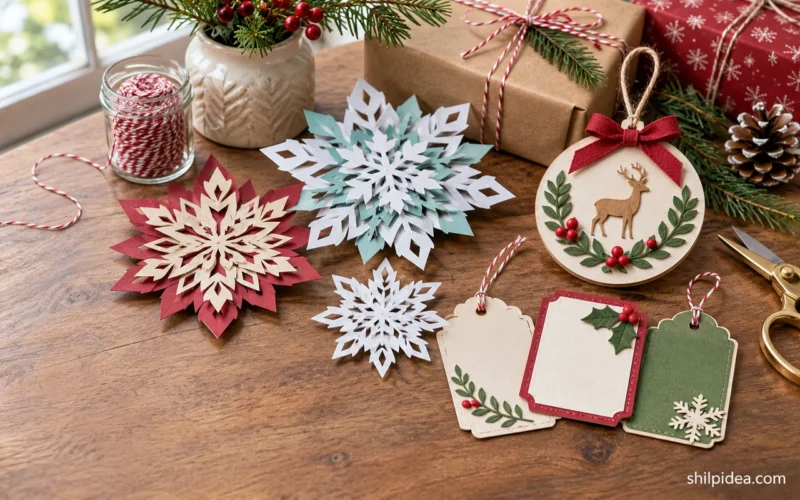
A hexagonal tag makes it easy to align the main branches of a snowflake. Glue the center before deciding where the outer curls go, and practice making a matching pair of coils. Pale blue and white work against a darker backing or a gift wrapped in simple solid-colored paper.
10. A Folded Snowflake Enclosure

A tiny folding card has the same job as a tag but gives you more room inside for a message. Keep the snowflake shallow enough that it won’t snag on the wrapping. Glue it to the front only, then add the tie near the spine instead of punching through the design.
11. A Simple Holiday Tag Set

A set looks coordinated when all the tags use the same base paper and strip width. Change the motif for each recipient and keep one consistent spot for names. Make the plain blanks and punch the holes in one sitting, then roll the paper details only after you know how many tags you need.
12. A Stacked Present or Tree Motif

The examples arrange small paper shapes into recognizable holiday silhouettes. Try squared coils for presents or build a little tree from wider shapes at the bottom. Keep the shapes pressed together while the glue sets and use short strips when you want to keep the whole design within a small tag.
13. A Candy Cane or Holly Motif

A candy cane and a holly sprig both work with a short row of simple shapes. Start by lightly penciling the curve or stem, then space the coils before using glue. Choose one motif for a narrow tag so the design still reads clearly after you tie it to the parcel.
14. A Tiny Row of Baubles

A row of ornament shapes turns a short tag into a miniature garland. Use a fine pen for the line connecting them and keep the paper balloons or baubles loosely spaced. Write the name before adding the raised parts so your hand has a flat surface for the letters.
15. A Sleigh Scene for a Larger Tag

Give a tiny sleigh room to breathe on a longer tag so the curved runner has a clear outline. Dry-fit the little gifts above it and remove any coil that makes the scene difficult to read. Write on the reverse if a name would crowd the paper detail on the front.
16. A String of Christmas Lights
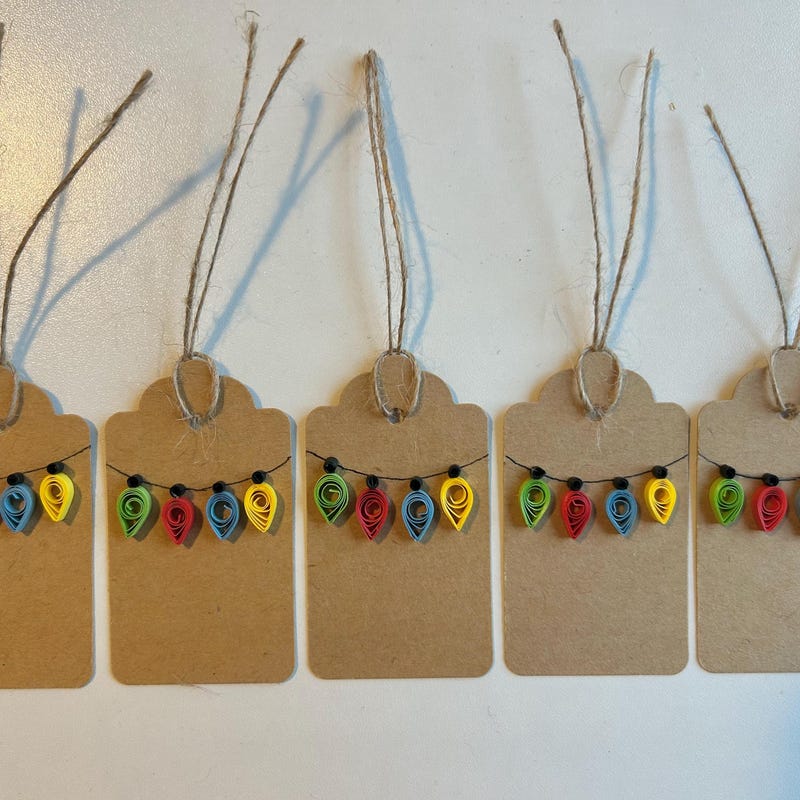
Tight coils in red, green, and blue suggest little bulbs along a dark ink line. Keep each one small enough that the gaps between bulbs stay visible. This idea is easy to scale across a set if you draw the line first and use strips of the same length for each light.
17. Spiral Flowers in Holiday Colors
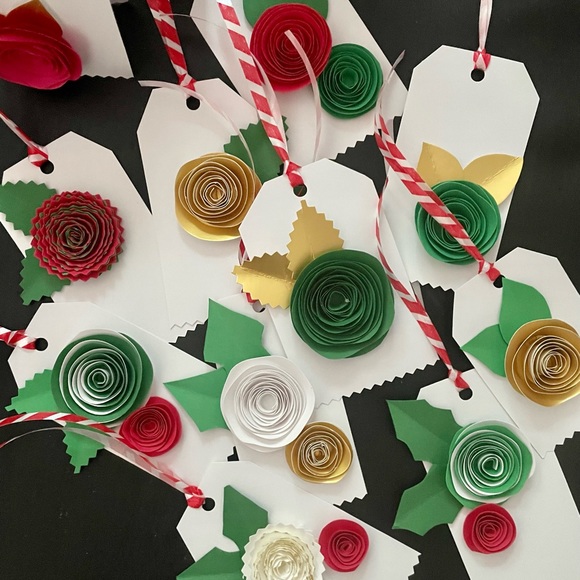
A simple spiral flower can fit both festive and everyday wrapping. Pair red or gold paper with a white backing and use a single green coil as a leaf. If you’re making several tags, roll a batch of petals before assembling them so you can group together coils of similar diameter.
18. A Gift-Shaped Quilled Accent

Use the gift ornaments as inspiration for an accent attached to a written tag. A square coil with a contrasting strip reads as a wrapped parcel even at a small size. Try a very light glue application, since extra adhesive can collect in the small open spaces and make the pattern harder to see.
Find New Motifs for Quilled Gift Tags
Start with a tag you can finish using just a few coils. A loose coil makes a good flower petal, and a pinched coil can become a leaf, a snowflake arm, or a butterfly wing. Practice the shapes on scrap cardstock, then use the projects below to find motifs that fit your tag and still leave room for a name.
- Learn Basic Paper Quilling Shapes
- Explore Handmade Quilled Card Designs
- Make Paper Quilled Snowflakes
- Shape Paper Coils into Butterflies
- Try Quilled Leaves and Greenery
Who are you making your next gift tag for, and what motif would suit them? There’s room for your idea in the comments, even if you’re just getting started. If a particular coil held up well on a wrapped gift, share how you attached it.




















0 Comments