18 Concrete Candle Holder Designs with DIY Tips
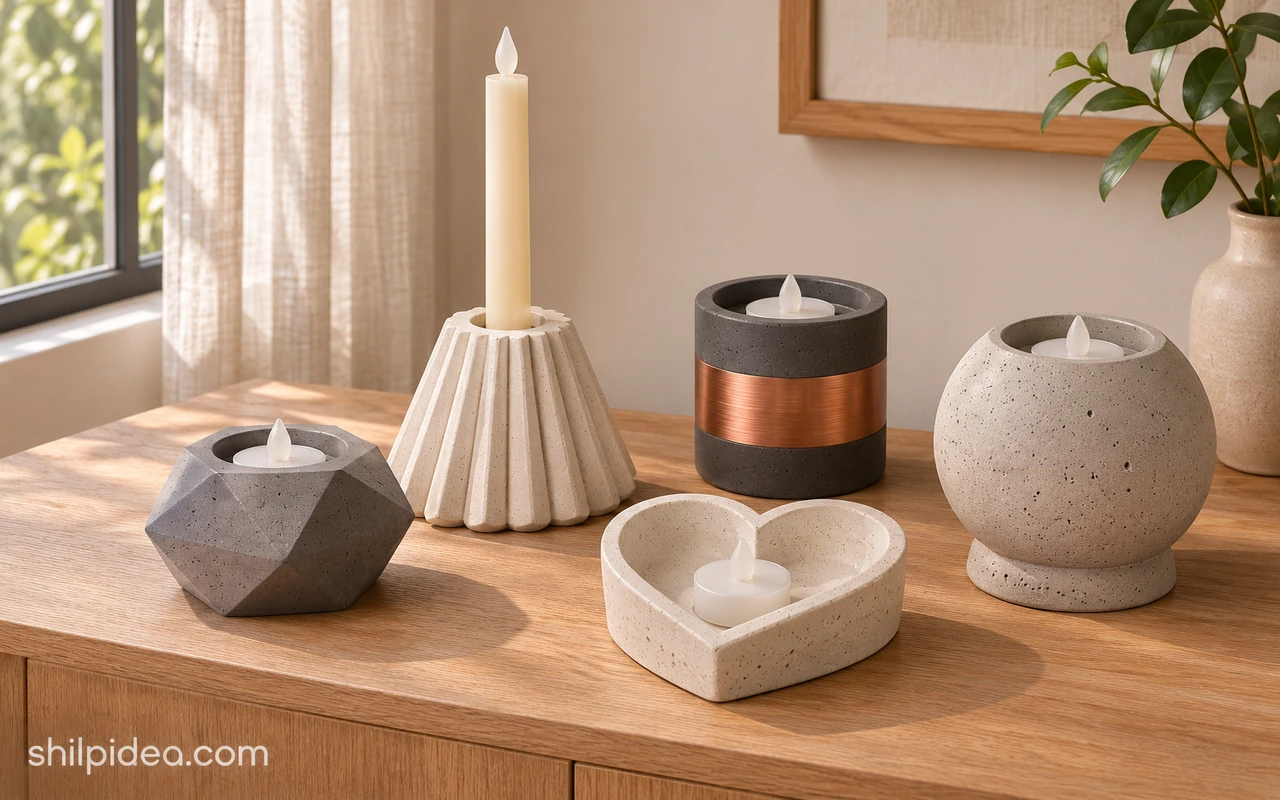
A concrete candle holder can be as simple as a low tea light cup or as sculptural as a pair of interlocking hearts. Start with the shape that suits your table, then choose the finish and the light it will hold.
These concrete holder ideas offer more ways to style the same material. For a small shelf, start with one low piece and leave breathing room around it.
If you already have battery tea lights, use one to check the recess size before casting. The same lights work with upcycled LED holders.
Before You Cast a Concrete Holder
Choose a fine casting mix and follow the package directions for water, demolding and curing. Wet cement can burn skin, and the dry powder can irritate your airways. Follow the product’s safety data sheet for dust controls and protective equipment. Wear suitable waterproof gloves and eye protection, as outlined in the HSE cement safety guidance.
Test-fit the battery tea light or flameless taper before choosing an insert. Use battery lights for these DIY designs, even if an original project photo shows a flame. For a wax candle, use a holder designed for open flames and follow the National Candle Association’s candle safety guidance.
1. Two-Piece Heart Cutout

Cast the two halves separately so they can stand side by side or frame the heart-shaped opening together. The seam becomes part of the design, so dry-fit the pieces on a flat shelf before styling them. Choose a mold with a flat foot on both pieces, and check the depth of each recess against the LED tea lights you plan to use.
2. Low Pedestal and Taper Stand

Pair a squat pedestal with a taller taper stand to vary the height on a console. Choose the flameless taper first and size the recess to its base, allowing enough room to remove the candle for battery changes. Keep the taller form broad at the bottom and check both holders for wobble before moving them to a narrow shelf.
3. Rounded Heart Tea Light Dish

A single rounded heart makes a softer shape than the tall cutout pair. Choose a shallow heart mold that leaves material around the circular recess, especially near the pointed end. Keep the LED cup centered for balance, and style the finished piece beside a vase or folded linen. A thin cork pad underneath can protect a polished tabletop.
4. Oval Multi-Light Tray

An oval tray lets you display several lights without juggling separate holders. Lay out the battery tea lights at even intervals before placing the inserts, leaving enough material between the recesses and along the edge. A two-light version suits a small side table, while a longer tray works down the middle of a dining table and keeps sightlines open.
5. Copper-Dipped Concrete Orb

A copper-colored lower half brings out the curve of a gray concrete orb. Look for a sphere mold with a flattened base so the casting stays put. Once the concrete has cured, mark the color boundary with flexible masking tape and keep paint on the outside. Use a shallow recess so a flameless tea light is easy to lift out.
6. Faceted Cup Holders

Use a faceted mold to create crisp planes that catch the light from different angles. Carry one color through a set, or cast the cups in soft contrasting tones so the shapes stay prominent. For small molds, check that the insert leaves enough concrete at the narrowest corners. Display them beside these concrete lamp designs to echo the same material across a tabletop.
7. Charcoal Cups with Copper Rims

Charcoal and copper create a strong contrast even on small holders. Keep the warm metallic finish near the rim so the matte sides remain visible. Mark the finish line on each piece at the same height for a coordinated trio. Use the holders with LED tea lights and check that the finish has dried before the lights go in.
8. Pillow-Shaped Tea Light Rest

A cushion mold can give concrete the look of soft fabric, complete with creases radiating from the center. Choose a flexible mold with a flat underside and avoid tugging at the corners before the mix is ready to demold. Leave the creases plain so shadows show them clearly. A compact LED tea light leaves more of the pillow shape visible.
9. Interlocking Yin-Yang Pair

These two curved pieces can sit together as one motif or separate into matching holders. Use contrasting colors so the join reads clearly from across the table. Check the fit after curing and leave a small gap if the edges rub, then place each LED light into its own recess. The pieces also work at opposite ends of a narrow tray.
10. House-Shaped Lantern

An open house silhouette frames a small light and gives its glow room to reach the side walls. Select a mold with a broad foot and enough thickness where the roof meets the walls. Place a battery LED inside, with enough clearance to reach its switch. Group it with low pieces from these concrete glass showpieces for a simple mantel arrangement.
11. Arched Bridge Tea Light Holders

A low arch raises the light while leaving a strip of tabletop visible underneath. The feet need to land evenly, so set the mold on a level work surface and check the casting before placing it on furniture. A set in graduated heights makes a compact centerpiece. Top each arch with a small LED light so the bridge shape stays easy to see.
12. Rainbow-Layered Cylinder
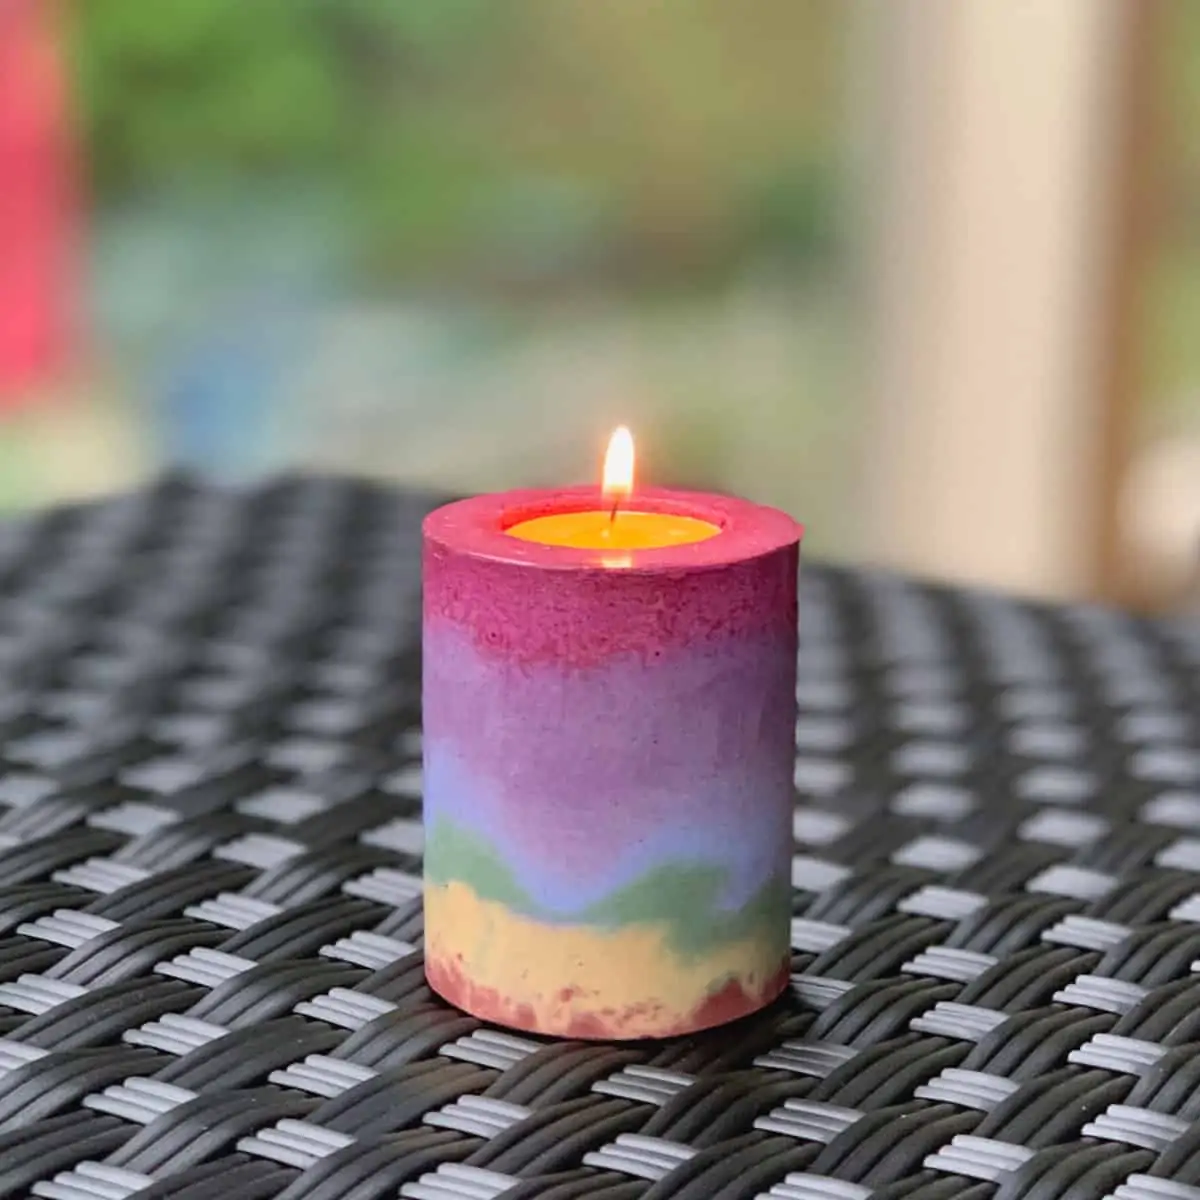
Stack several tinted batches to give a simple cylinder bands of color. Start with three hues if you want an easier trial and use pigments compatible with your casting mix. Keep the candle insert centered throughout the pour. The maker’s example uses a candle, and a small battery tea light gives the finished holder a similar glow without an open flame.
Make This at Home – Layered rainbow concrete holder
13. Marbled Pillar Holders
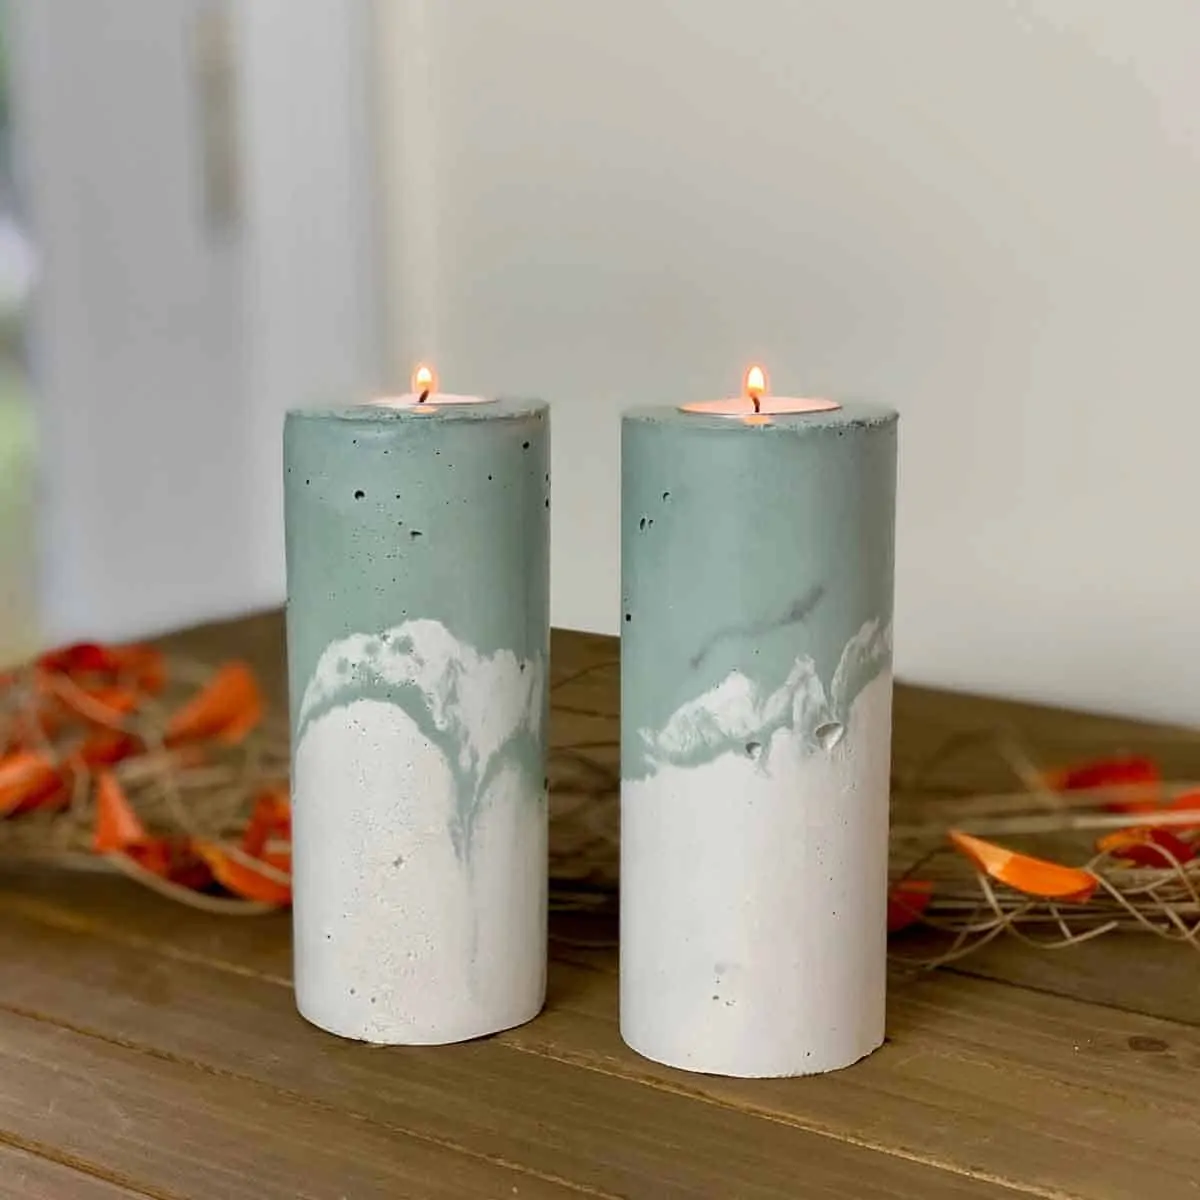
A diagonal meeting point between two mixes creates a marbled effect on a tall cylinder. Pick a broad, even mold base before trying extra height and cast a smaller test piece to see how your colors work together. Match the recess to a short flameless pillar or LED tea light. These stand well as a pair with their color transitions facing in opposite directions.
Make This at Home – Marbled concrete pillar holders
14. Numbered Advent Blocks
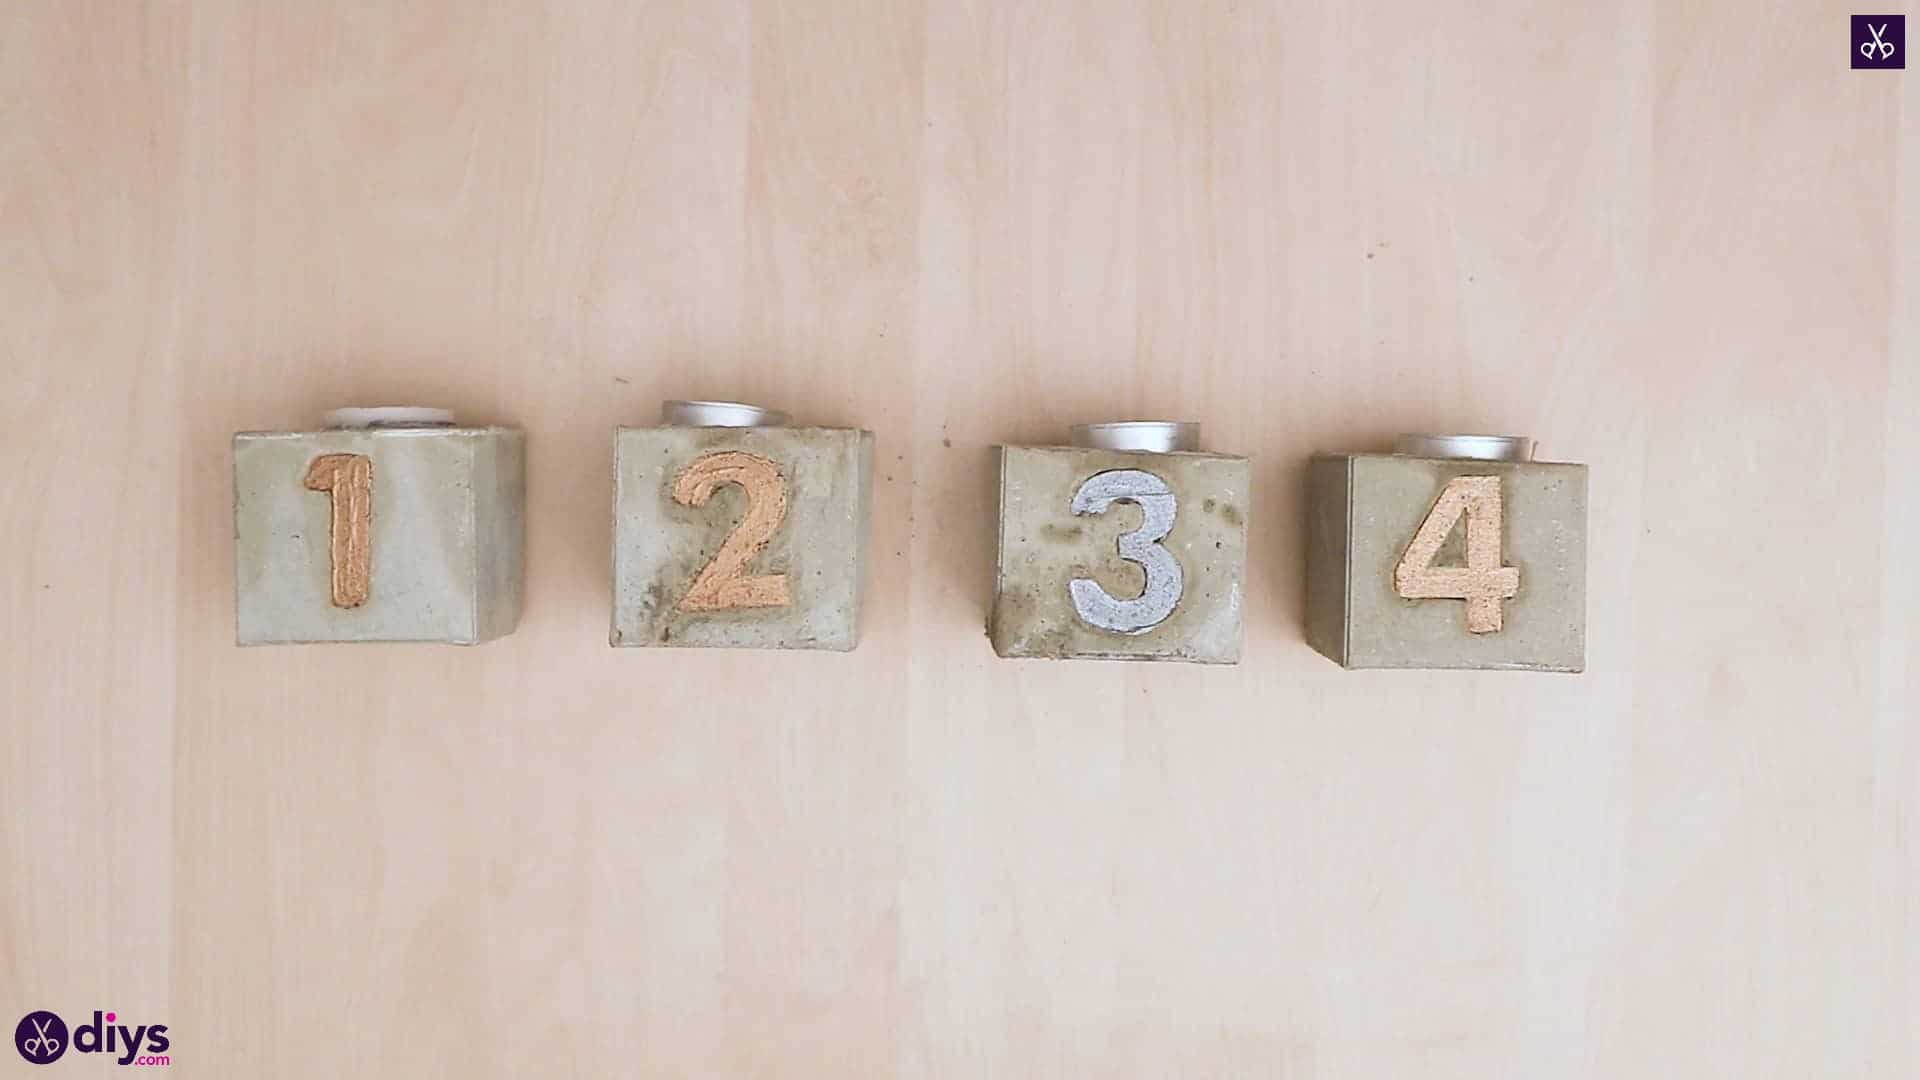
Cast four matching square blocks with a different number recessed in each front face. Paint the numbers after the blocks cure. Turn them out toward the room so the sequence is visible across a sideboard. Choose a mold with room for your LED insert and a clearly defined flat side for the lettering. The blocks can also stand unnumbered as a row of year-round accent lights.
Make This at Home – Numbered concrete Advent blocks
15. Cookie-Cutter Rhino Holder

A large rhino cookie cutter creates a playful outline with room for a small light. Pick a shape with a broad center and rounded details that leave solid material around the recess. If you use a flexible craft mold, peel it back gently around narrow points after the casting has set. Slide in a removable battery tea light.
Make This at Home – Cookie cutter candle holder
16. Two-Tone Holders from Round Tubs
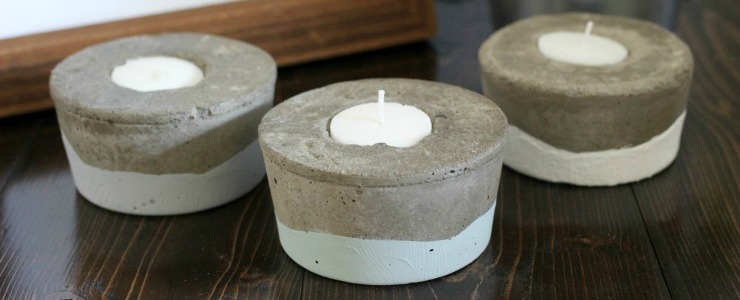
A flat-bottomed round tub gives a cast piece straight sides and a wide seat. After the concrete has cured, dip or paint the lower edge in a contrasting color to make the horizontal line. If you use different-sized tubs, choose one size of LED light so the recesses feel consistent. Cluster the holders with a concrete glass vase to vary the heights.
Make This at Home – Two-tone concrete tea lights
17. Pebble-Rimmed Round Holder

A band of small stones gives the top of a round holder texture. Lay out the stones in a ring before mixing so you can check the spacing around the LED recess. Choose flat-backed pieces that can sit low in the surface without hiding the light. Display it with plain concrete pieces so the stone colors stand out.
Make This at Home – Pebble rim casting method
18. Decoupaged Concrete Cup
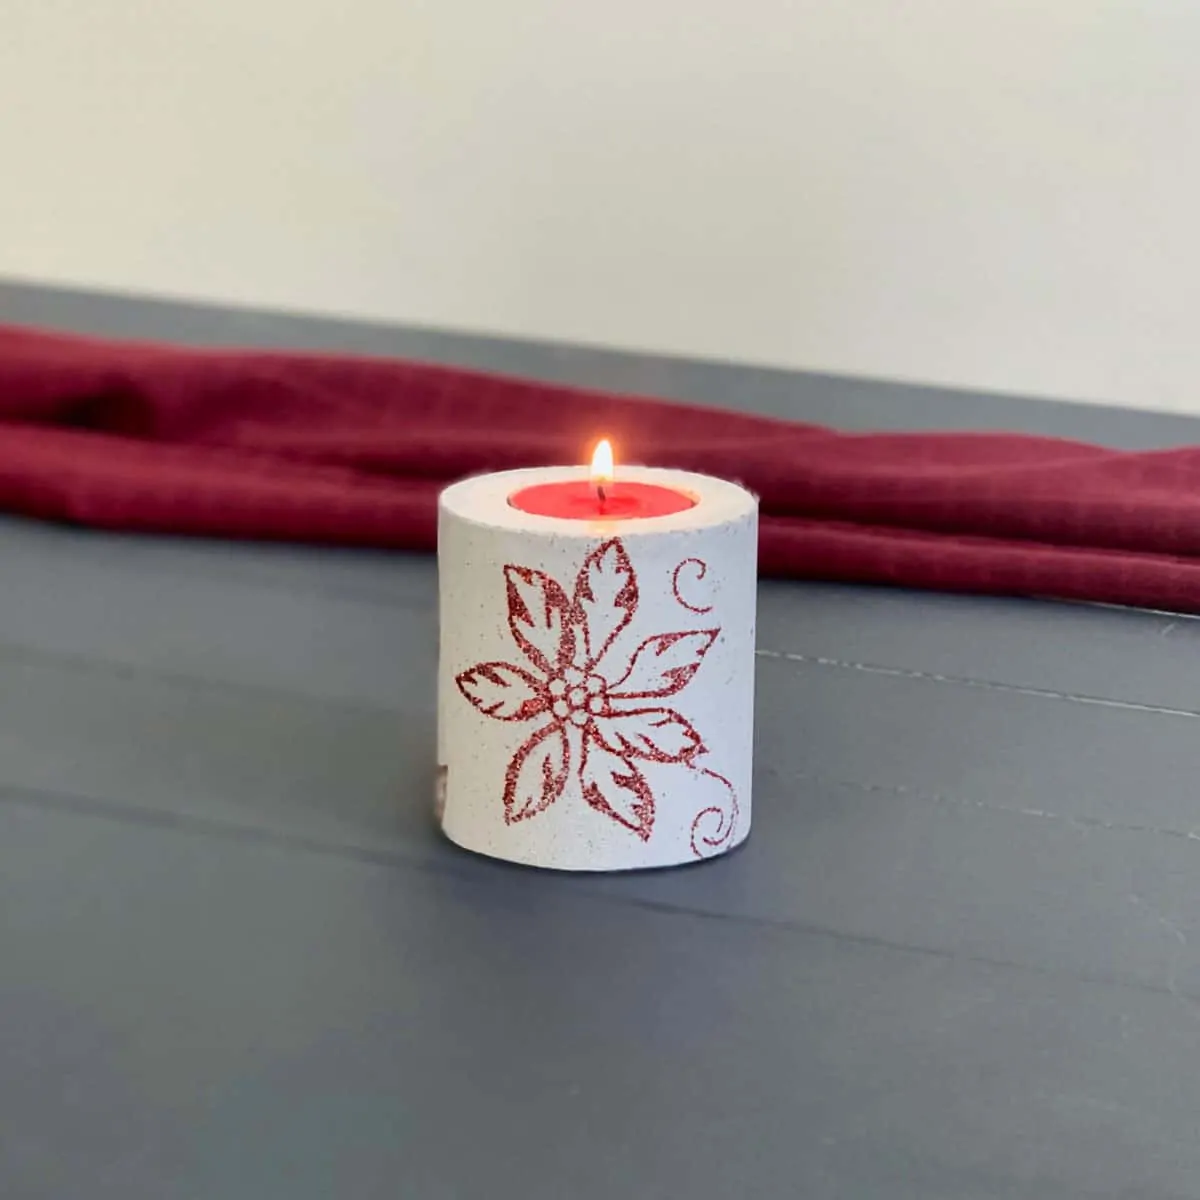
Give a simple concrete cylinder a decorative face by decoupaging a small fabric or mesh motif onto the outside, as the maker did with Christmas mesh. Keep the base bare so it sits flat and use a finish compatible with the cured concrete. Choose a wide recess for a removable LED light, and leave the back plain for a simpler look.
Make This at Home – Decoupaged concrete candle cup
Casting Photos and Finishing Tips
Keep your mold level while the mix sets. A recess that is too tight can trap the light, so test the insert before pouring. If the finished holder wobbles or has a crack across its base, set it aside and cast a replacement. Let the concrete cure as directed before applying any finish compatible with your mix.
See the original mold and finish photos
Design Mom’s photos show how different container shapes change the finished silhouettes. Centsational Style’s photos show the round container molds and the finished concrete cups. The original photos include wax candles. Use battery lights for the DIY versions above.


Follow the Maker’s Method – Cast simple cement holders

Follow the Maker’s Method – Make round cement holders
More Concrete and Candle Projects to Try
Pick one detail from the design you like and carry it into another piece. A smooth concrete cup pairs easily with a glass vase, while a painted rim can repeat the accent color in a lamp or a tabletop sculpture. If your favorite part is the warm glow, try another battery-light project with materials you already have.
- Concrete Candle Holders for Shelves
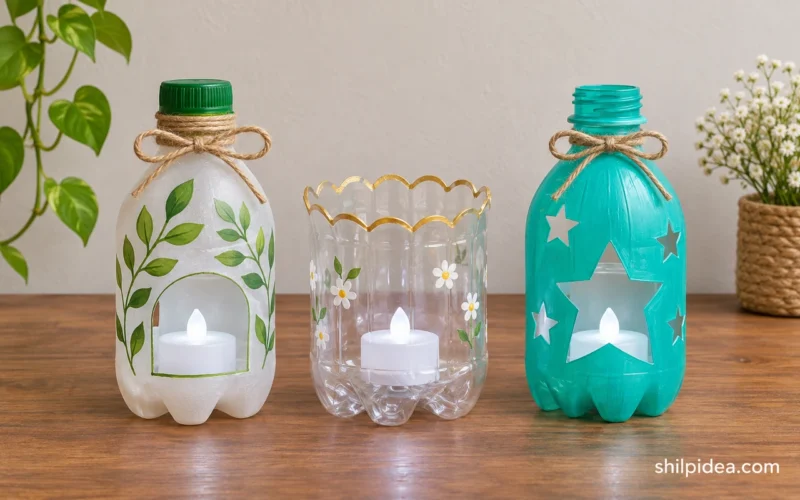
- Upcycled Plastic Bottle LED Holders
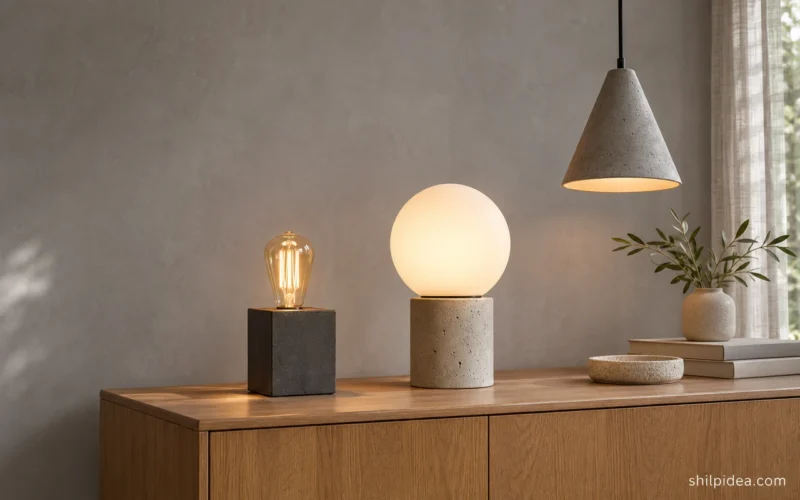
- Concrete Lamps for Tables and Pendants
- Concrete and Glass Tabletop Sculptures
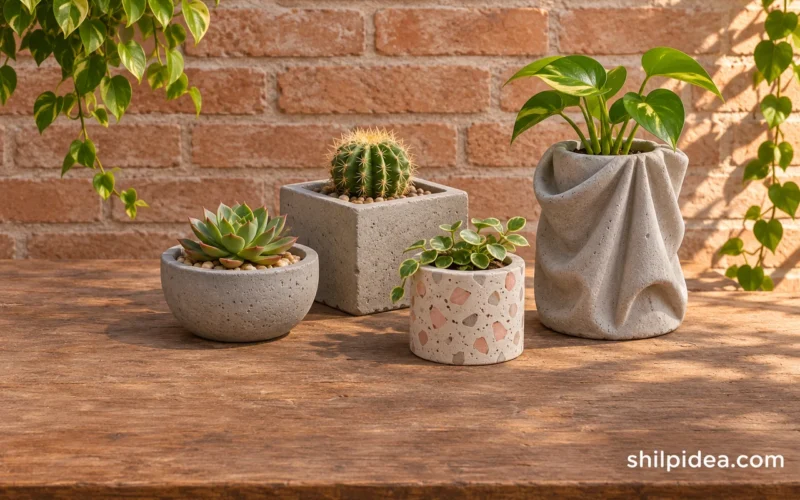
- Handmade Concrete and Glass Vases
Which shape would you cast first? Tell us what mold and finish you would pair, or share how your first casting turned out.






















0 Comments