27 Canvas Photo Display Ideas for Meaningful Wall Decor
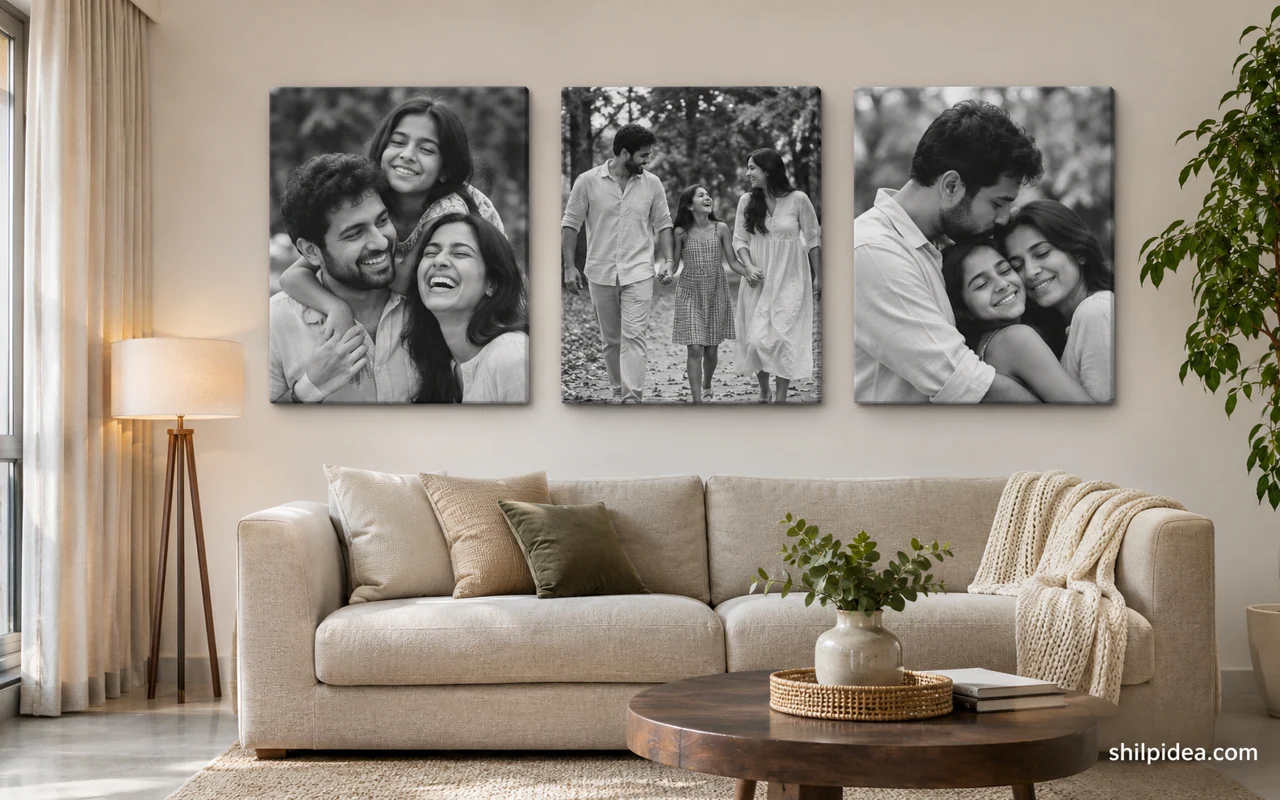
A photo earns its place on the wall when it brings a moment back to you. Canvas makes everything from a single portrait to a wall of everyday snapshots feel at home.
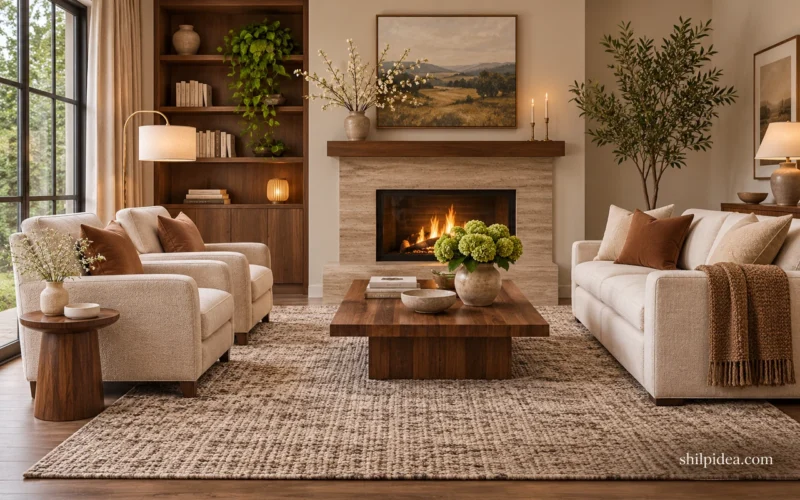
Choose the spot before choosing print sizes. The proportions in these small living rooms are a useful starting point for deciding whether your wall needs one focal piece or a compact group.
Sort your pictures by the story they tell, then print the strongest ones. If you’re pairing canvas with paper prints, cardboard photo frames can carry smaller pictures onto a nearby shelf.
1. Line the Hallway With Wrapped Portraits
A hallway gives you a chance to see familiar faces up close. Wrapped portraits keep the profile simple, so the display can feel continuous even when the photographs change. Start with a single row at a comfortable viewing height and leave a few inches at each end. Pick images with generous space around heads so a gallery wrap doesn’t cut into the portraits.
2. Give a Family Portrait the Main Wall

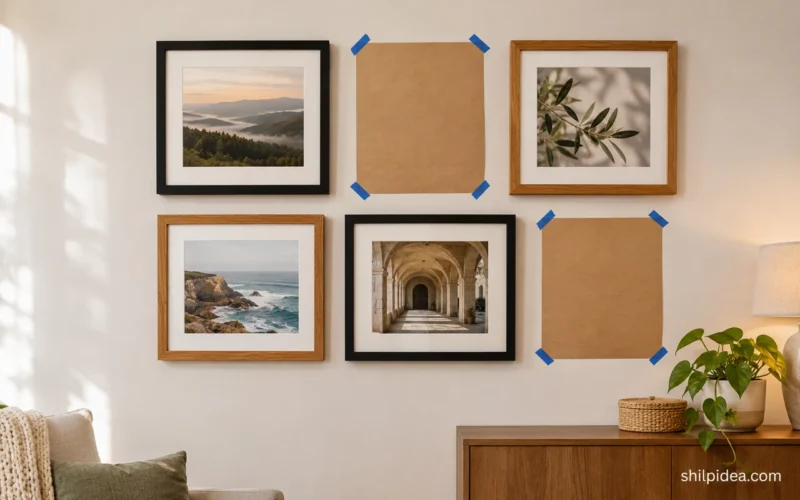
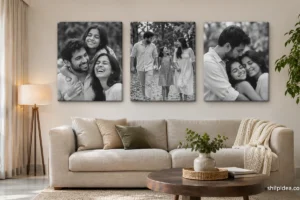
Choose a photograph with enough quiet space around the family to hold its own at a large scale. Try the portrait above a sofa, where the furniture below gives the print a clear visual center. Tape a paper outline in place first and view it from the room entrance. The print should feel substantial without crowding adjacent lighting or shelving.
3. Follow the Rise of a Staircase

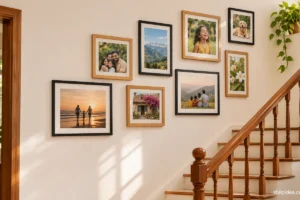
Use each stair tread as a reference point and work up the wall a piece at a time. A loosely stepped composition leaves room for different portrait sizes and new family photos later. Test paper outlines from both landings before hanging. These staircase decorating ideas also show why keeping the handrail area clear makes seasonal styling easier.
4. Print an Entire Family in Panorama

A wide group photograph suits a long canvas if everybody has breathing room at the edges. Start with an image that already has people spread across the scene, then crop some foreground instead of trimming the outer faces. Above a low cabinet, this shape draws the eye sideways and leaves room for a pair of small objects below.
5. Hang a Wedding Story Across Three Prints
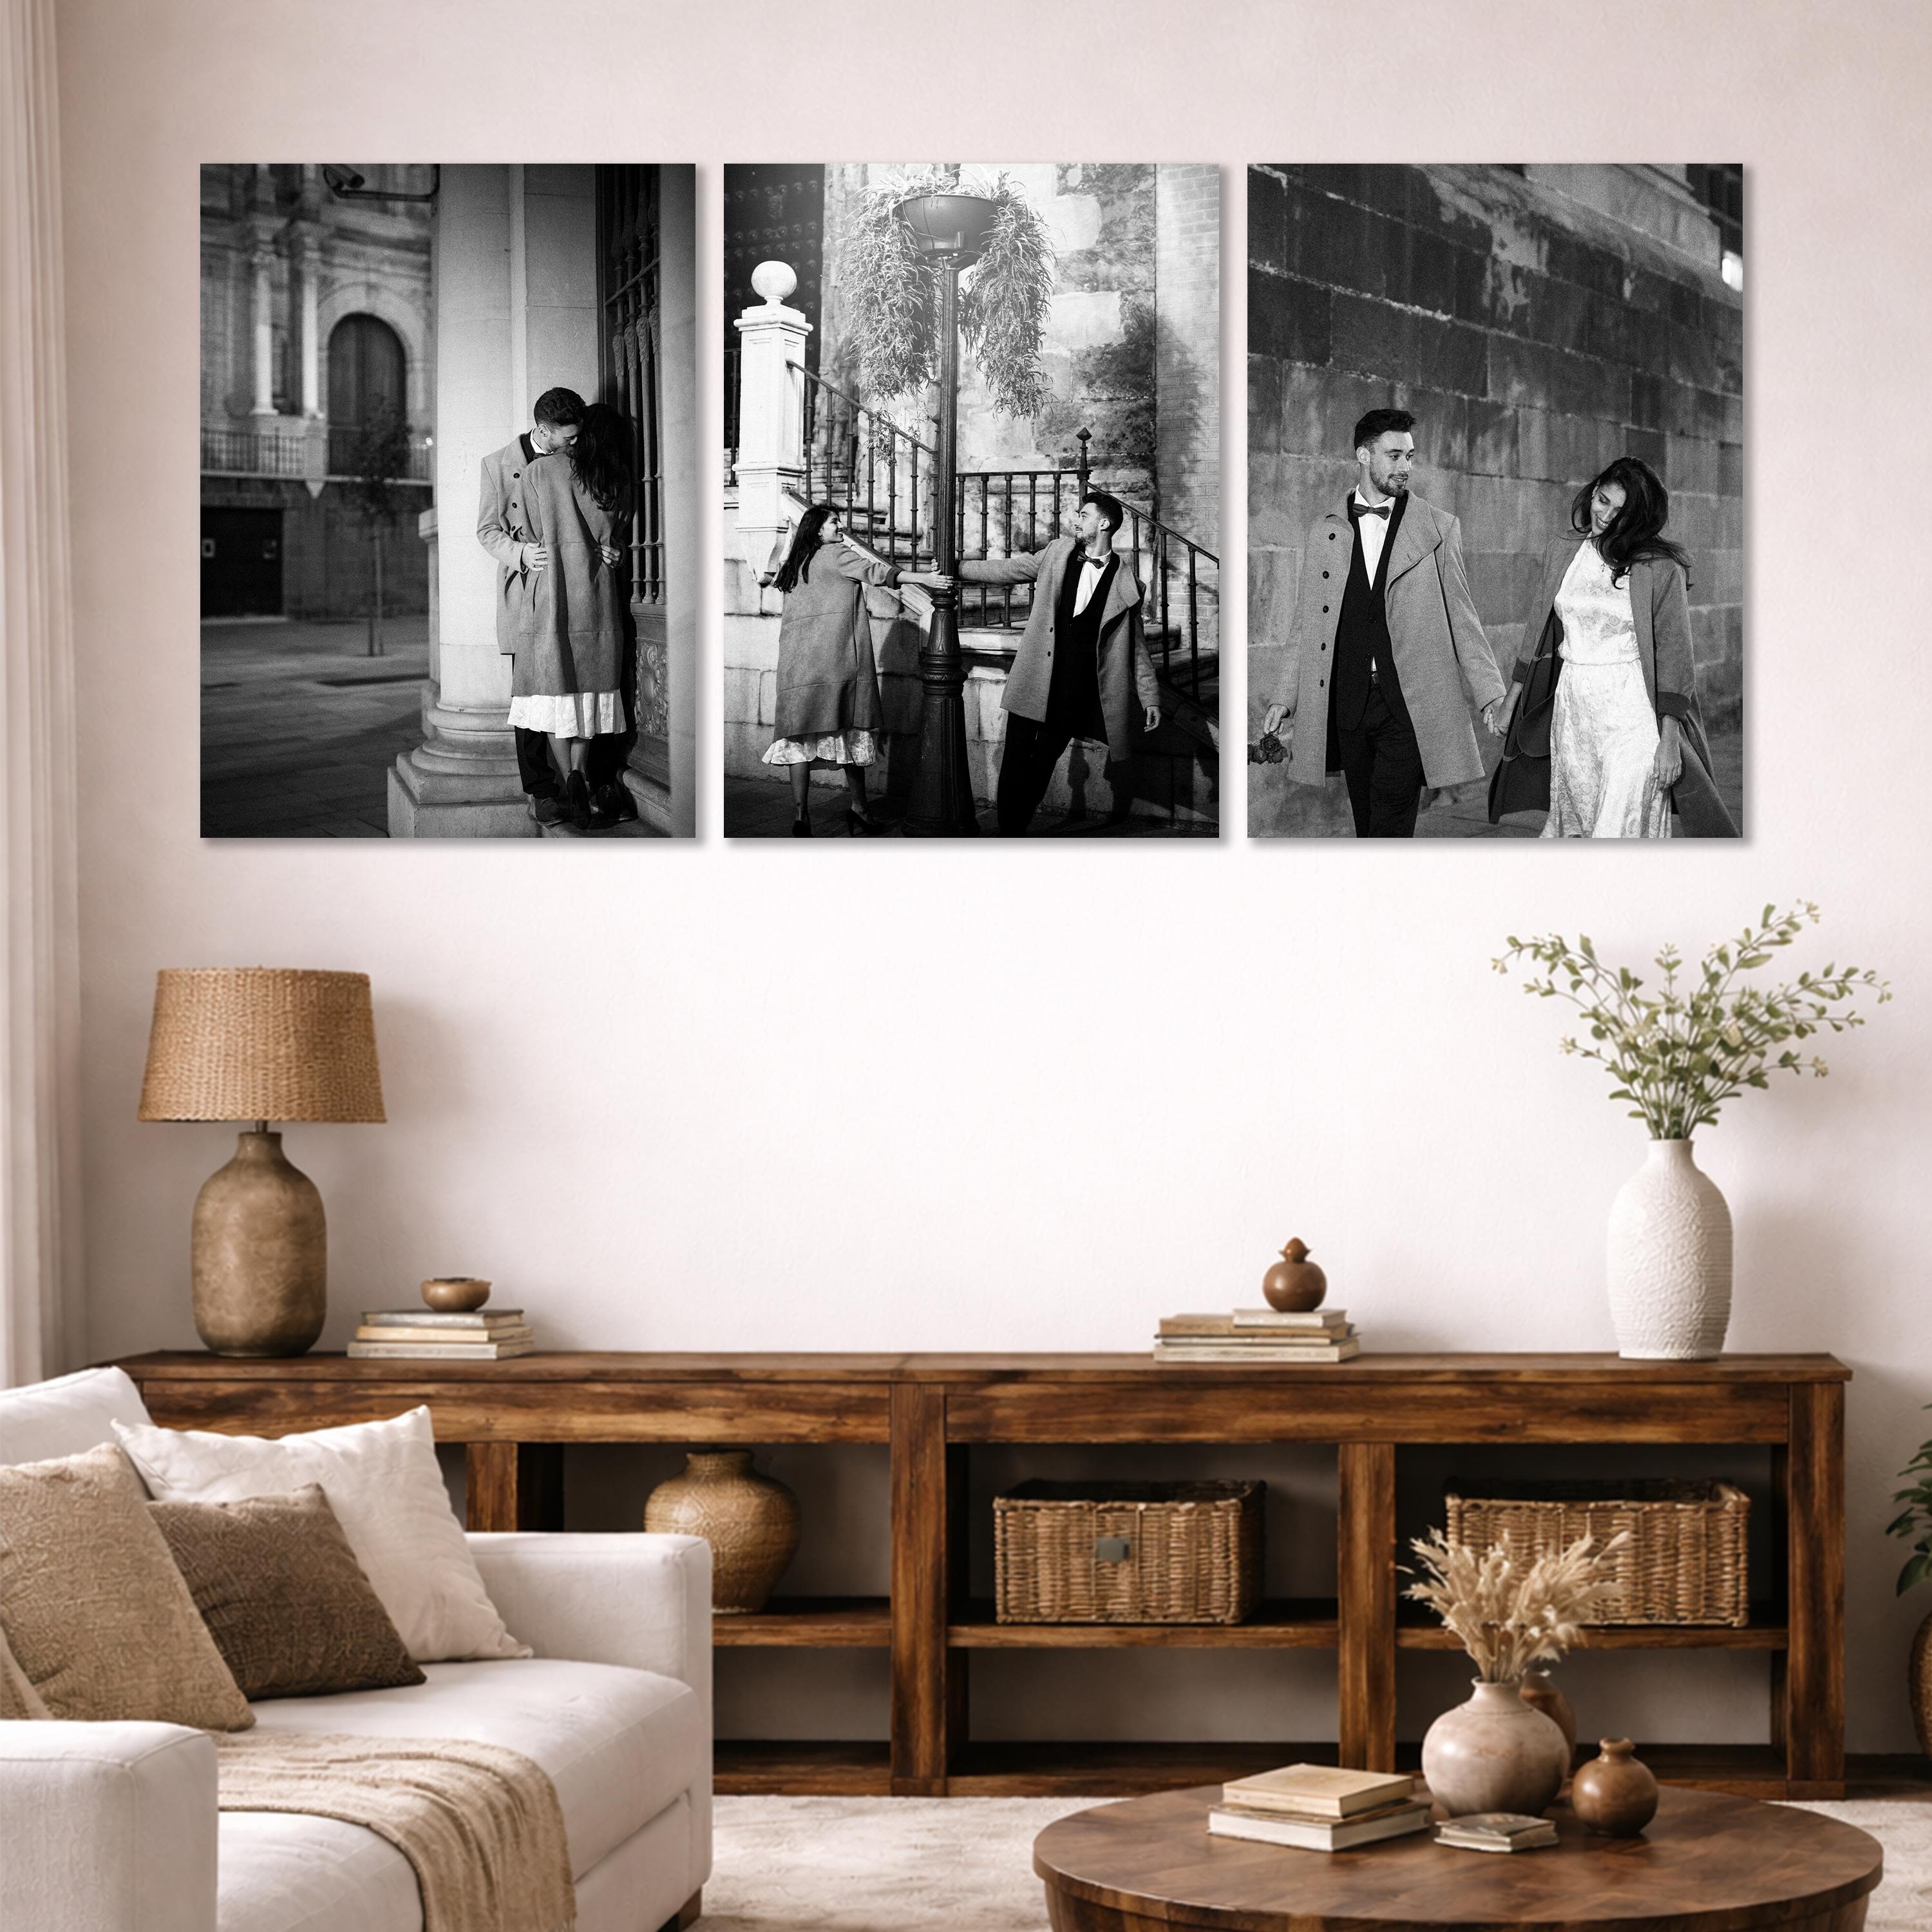
Pick three separate images that tell a short story together. An establishing shot, a closer view of the couple, and one candid moment give the eye a place to start and something new to notice in each panel. Order the prints in the same size and check all three crops together, especially if the photographer delivered a mix of wide and vertical frames.
6. Build a Wedding Cluster Around One Favorite
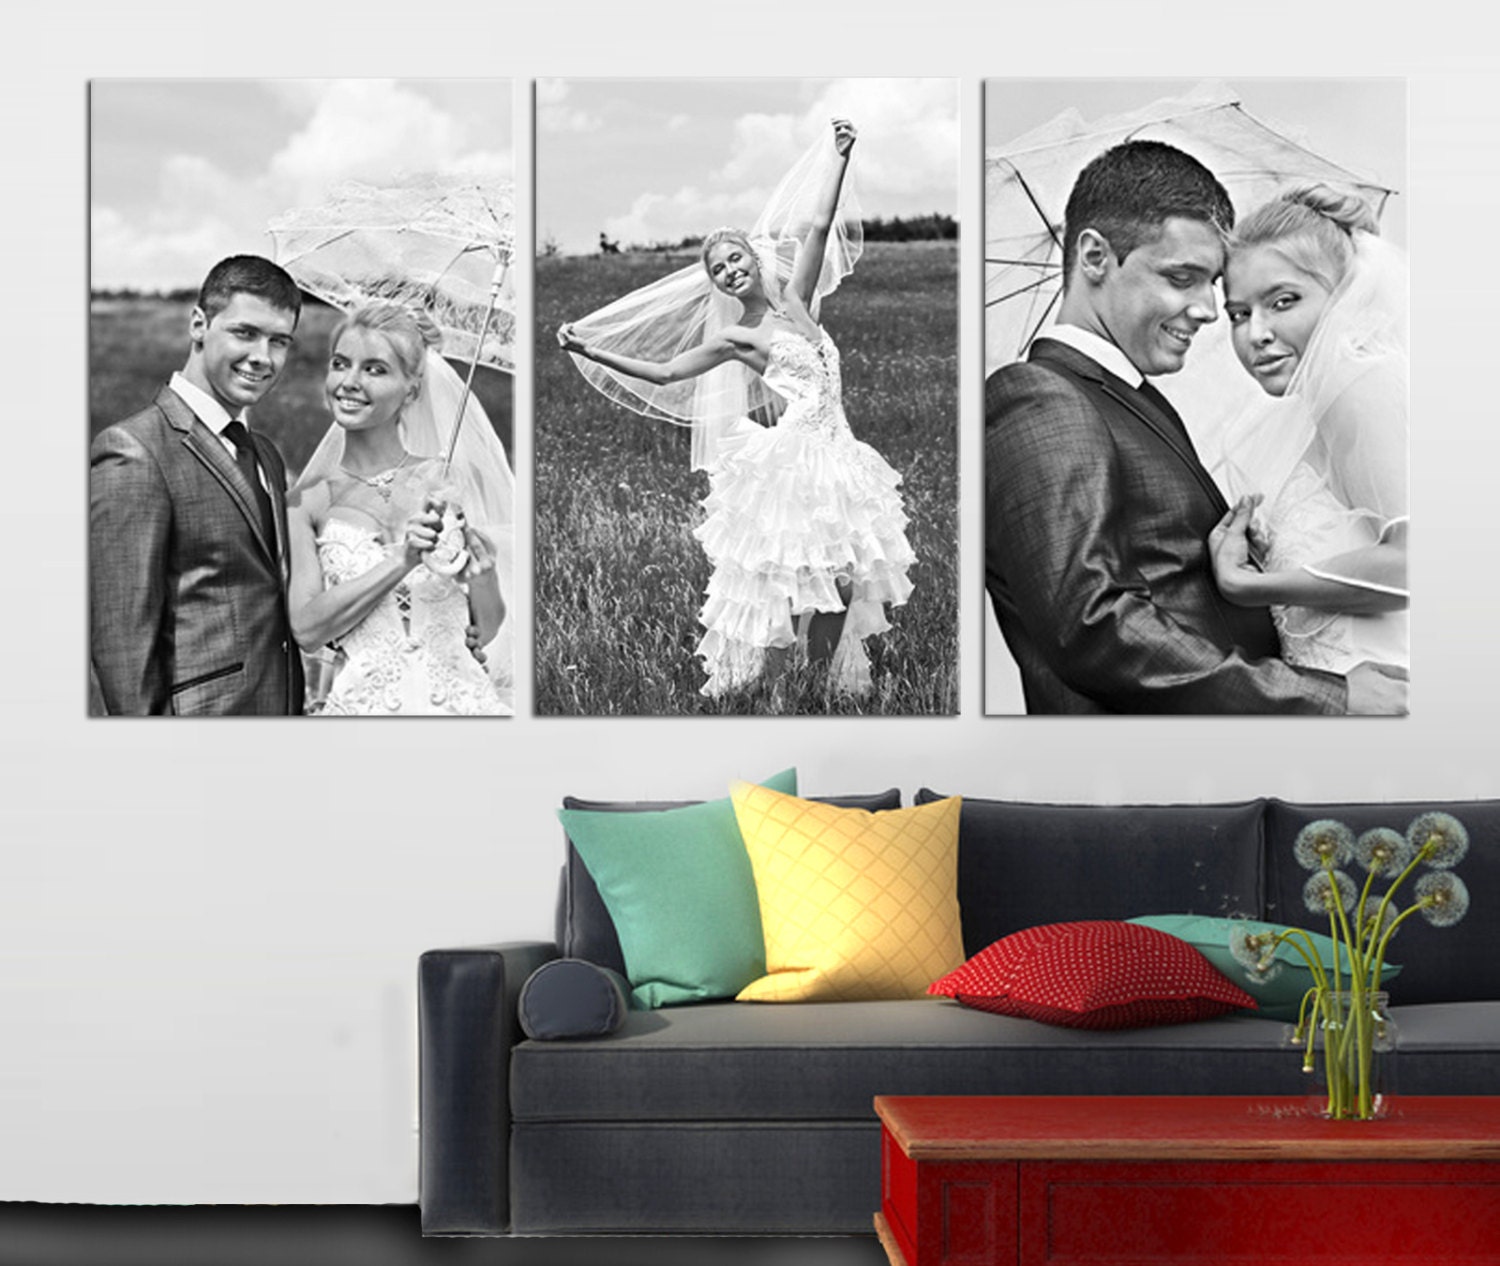
Put the image that matters most at the center of a clustered set and let the smaller panels add context. If the centerpiece already has bold color or a busy background, choose quieter companion pictures. Lay out the composition on a table first. Aim for consistent gaps where the prints meet, even when the outer silhouette is deliberately uneven.
7. Stretch a Beach Sunset Above Seating

The appeal of a beach panorama is the long line where water meets sky. Choose a frame of your own beach trip with a clear horizon and straighten it before cropping. A long canvas above simple seating lets that line do the work. Take a cue from cozy living room layouts and leave space around the print.
8. Turn a Mountain View Into a Long Canvas

A narrow mountain panorama can fit above a bench or low media cabinet where a tall print would feel crowded. Work from the uncropped original to preserve detail in distant peaks. Before ordering, check that the brightest section stays within the visible front of the print. This approach works especially well when the landscape has a clear band of color across the middle.
9. Break a River Scene Into Five Panels
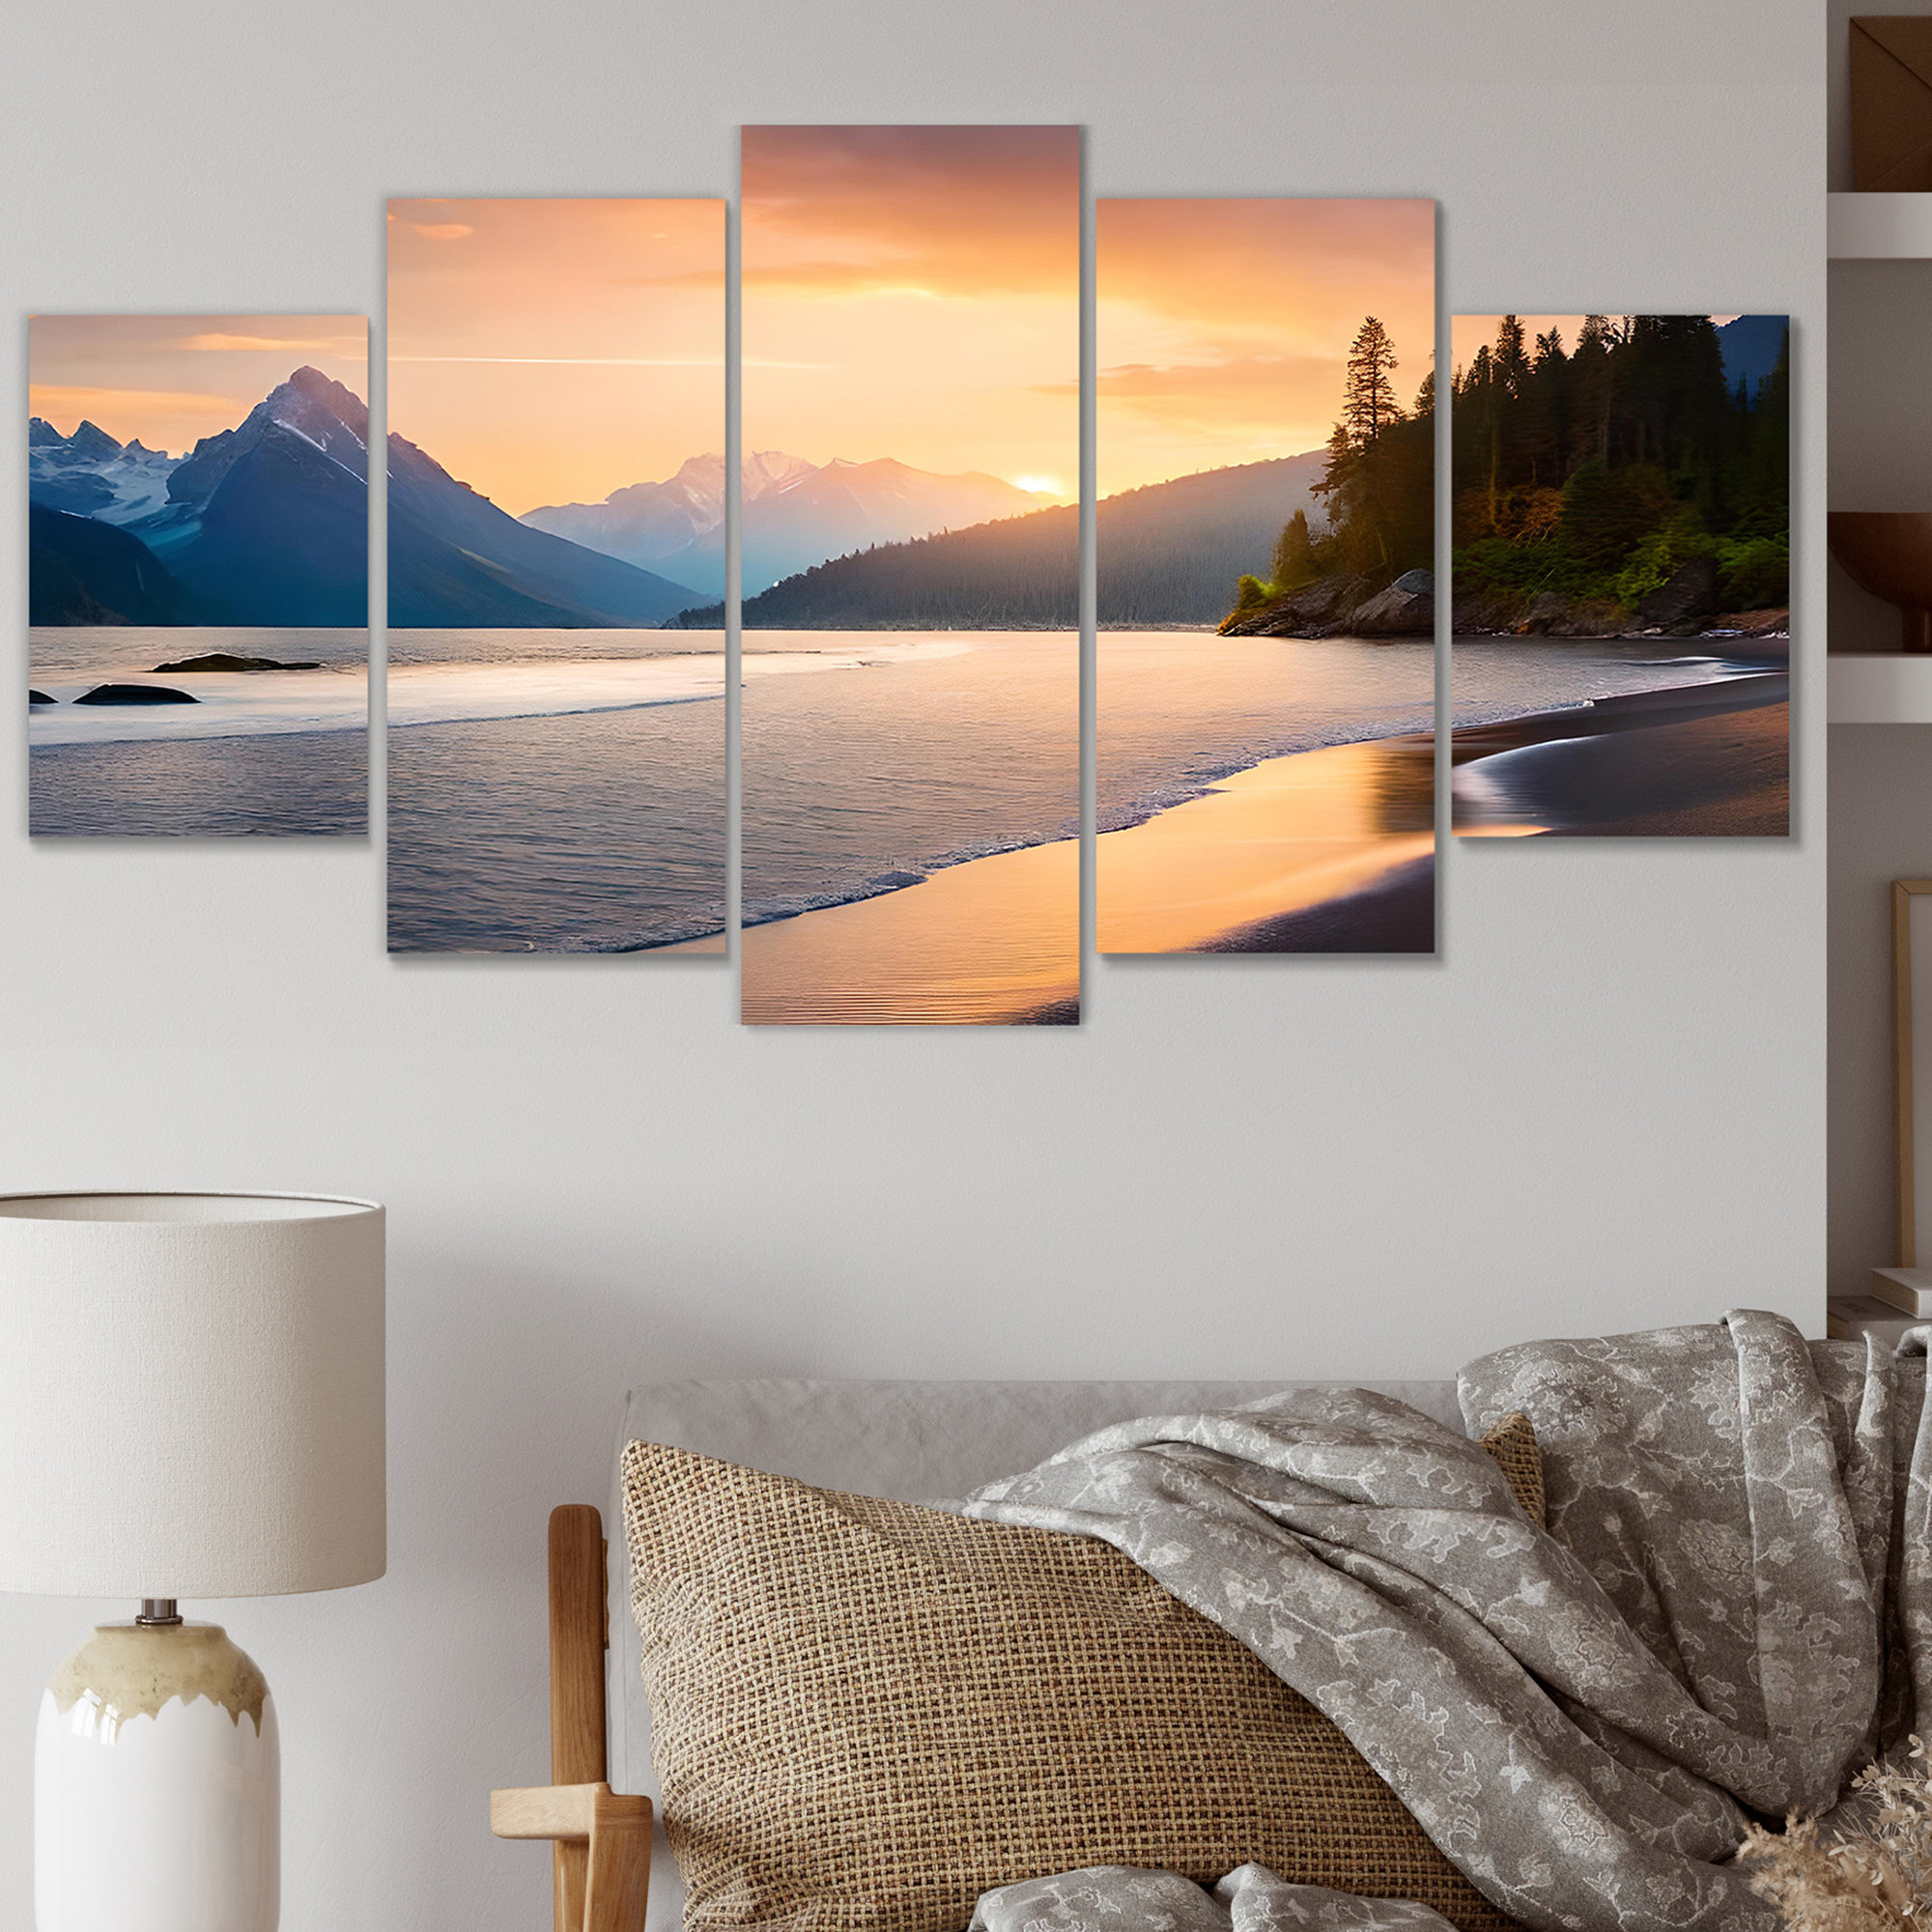
A winding river gives separate canvases a line to follow. Pick a photo whose curves remain easy to read when narrow gaps interrupt the image, and keep an important feature such as a cabin away from the breaks. Mark a common horizontal reference on the wall so the panels line up even if their top edges are staggered.
10. Keep a Narrow Sunset Print Simple
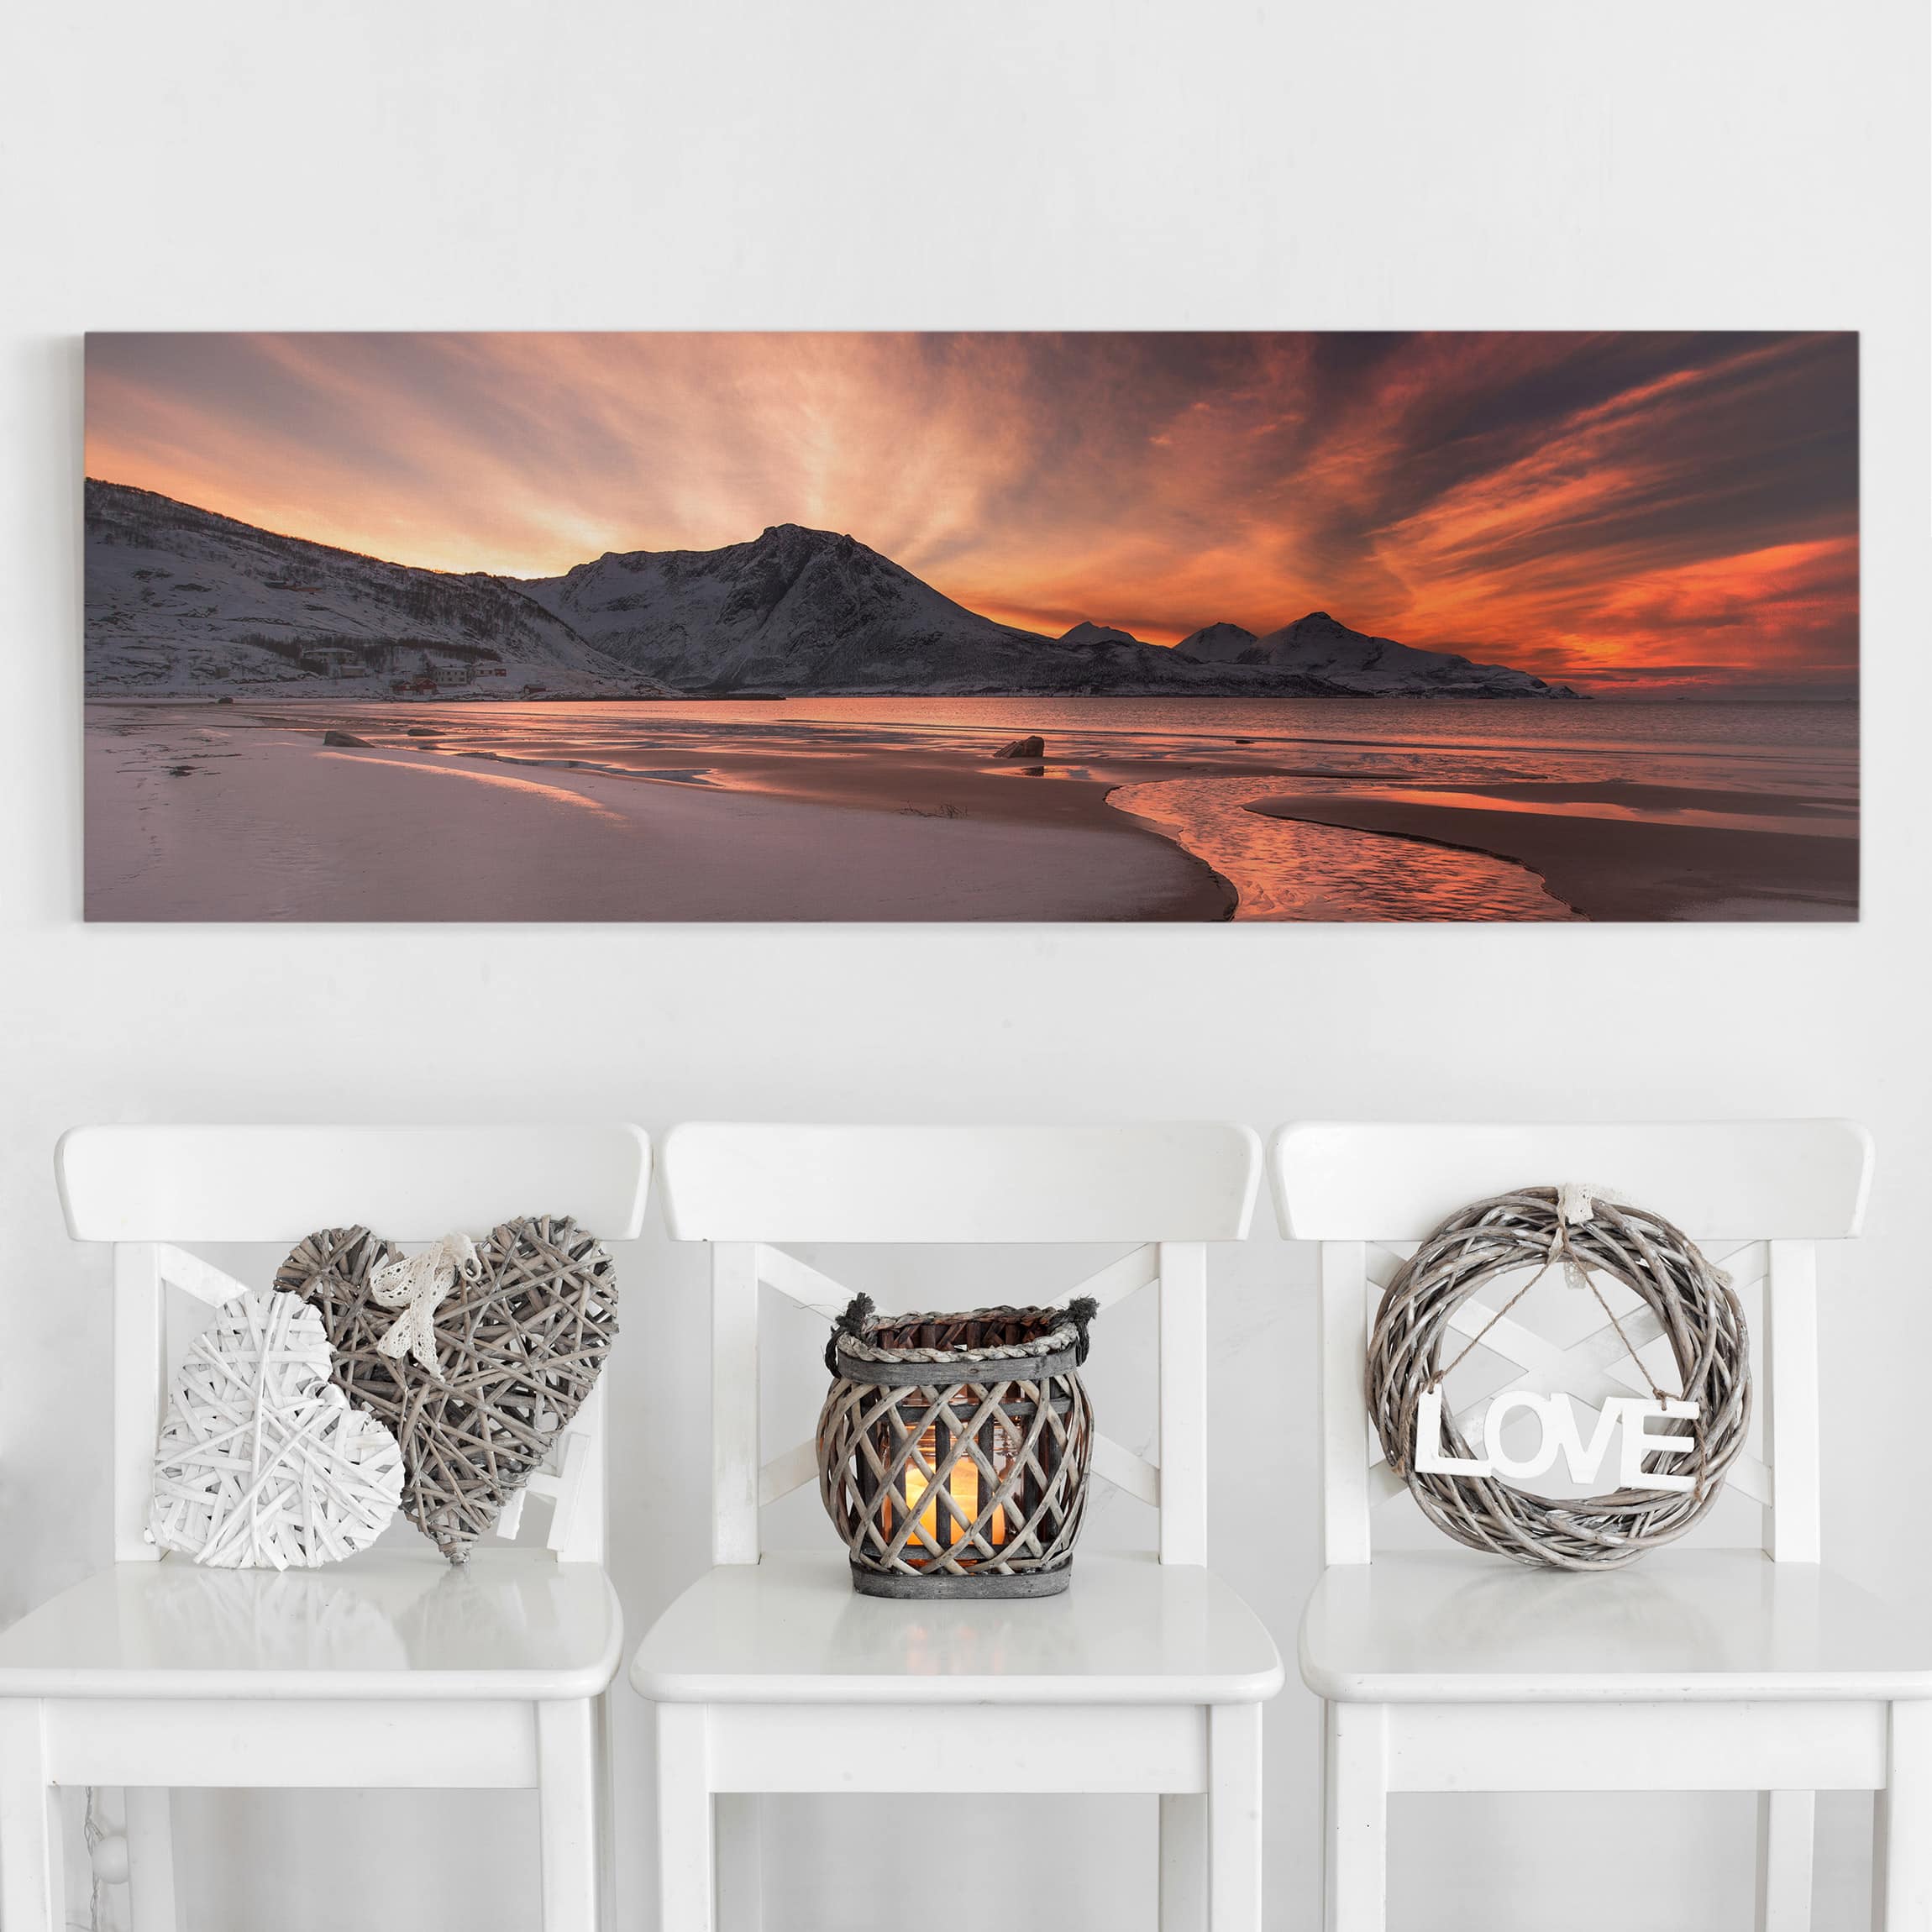
An extra-wide sunset canvas is enough color for a quiet entry or passage. Take measurements before ordering so the print leaves room around door trim and switches. For a similar look with your own photo, choose one with a visible foreground and a distant horizon. Print a paper proof first if you want to see how delicate sky colors reproduce.
11. Use a Pastel Beach Scene to Soften a Wall

A beach scene with pale pinks and soft blues works nicely where a more saturated photograph would dominate the furniture. Choose a snapshot taken just before the light fades, when the sand, clouds, and water each have their own shade. Keep the nearby objects quiet and echo one color from the sky in a pillow or throw.
12. Make a Pet Portrait the Focal Point

An expressive pet photo can hold a wall on its own. Choose a frame where the eyes are in focus and check the crop at the intended print ratio before buying. The edge wrap needs enough background to keep ears or whiskers intact. Try a straightforward composition at the end of a hallway, where you can see the portrait from several feet away.
13. Use Monochrome for a Quiet Pet Portrait

Black and white lets a pet’s face and texture carry the picture. Select a photo with visible detail in both light and dark areas, especially if your pet has a solid coat color. A small print can hold its own against a simple wall color. Let the grayscale contrast lead and bring in texture with a nearby basket or woven shade.
14. Add a Small Name to a Pet Canvas
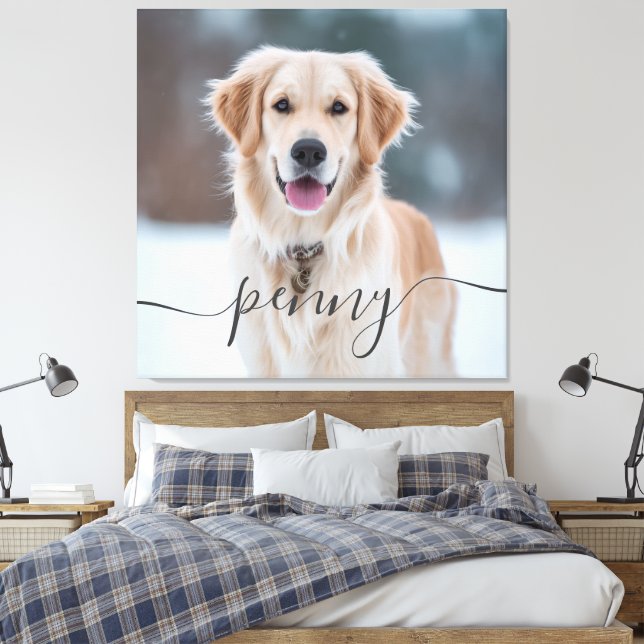
A small name or date can turn a pet photo into a keepsake. Leave an open patch of background for the text rather than placing it across the face. The lettering should be readable up close and secondary from across the room. This idea can fit on a shelf if you have limited wall space or want to keep the print beside a favorite object.
15. Set Five Favorite Photos in One Group

A multi-piece set gives more of your pictures space than a single large print. Start by choosing the image your eye should land on first, then pick supporting photographs with similar brightness. Make sure the strongest face or gesture has enough room within its own panel. Consistent spacing helps a mix of print sizes read as one family display.
16. Stagger Four Panels Across a Beach Photo

Use the beach as a wide backdrop so open sand and sky carry the composition between the panels. Place the people well inside the individual crop boundaries, then preview how the combined image will look with the recommended gaps. Give the staggered ends room on the wall. The changing heights work best when nearby furniture has a calm, straight outline.
17. Hang a Bright Vacation Canvas as a Color Cue

A vacation print can provide the palette for a whole corner. Choose the image first and pick a single recognizable color from it for a cushion, vase, or piece of pottery. Beach whites and blues are easy to repeat with textiles. If you’re working in a small space, try the colors against your wall before making additional purchases.
18. Stand a Mini Canvas on an Easel

A mini easel makes it easy to show one family snapshot without hanging anything. Use a close-up with an uncluttered background so the photo still reads at a few inches wide. Set it toward the back of a stable shelf with room for the easel feet. A second print can rotate in when you want the display to tell a different story.
19. Group Tabletop Canvases at Two Heights

Tabletop prints feel more intentional when one sits a little higher or farther back than the other. Choose two photographs that share a subject or color so the arrangement stays readable. Put the taller print behind and test the view from a seated position. Mix in simple photo frames if you have paper snapshots that belong to the same memory.
20. Put a Small Family Snapshot on Your Desk

Use a small canvas for a photo you want to see at close range every day. Choose a picture that remains recognizable without tiny background details. Place it where you can see it from your chair without blocking your monitor or workspace. A modest size also lets you move it to a bedside shelf when you feel like switching things around.
21. Fill a Long Wall With a Wide Canvas Group

A wide, low grouping makes sense above a long console or along a hallway. Plan the full outside rectangle before deciding where each print goes. Larger photographs can sit near the middle while little details travel toward the edges. If one part feels heavy, swap a dark print for a lighter image of the same size before hanging the set.
22. Give One Wedding Portrait Its Own Canvas
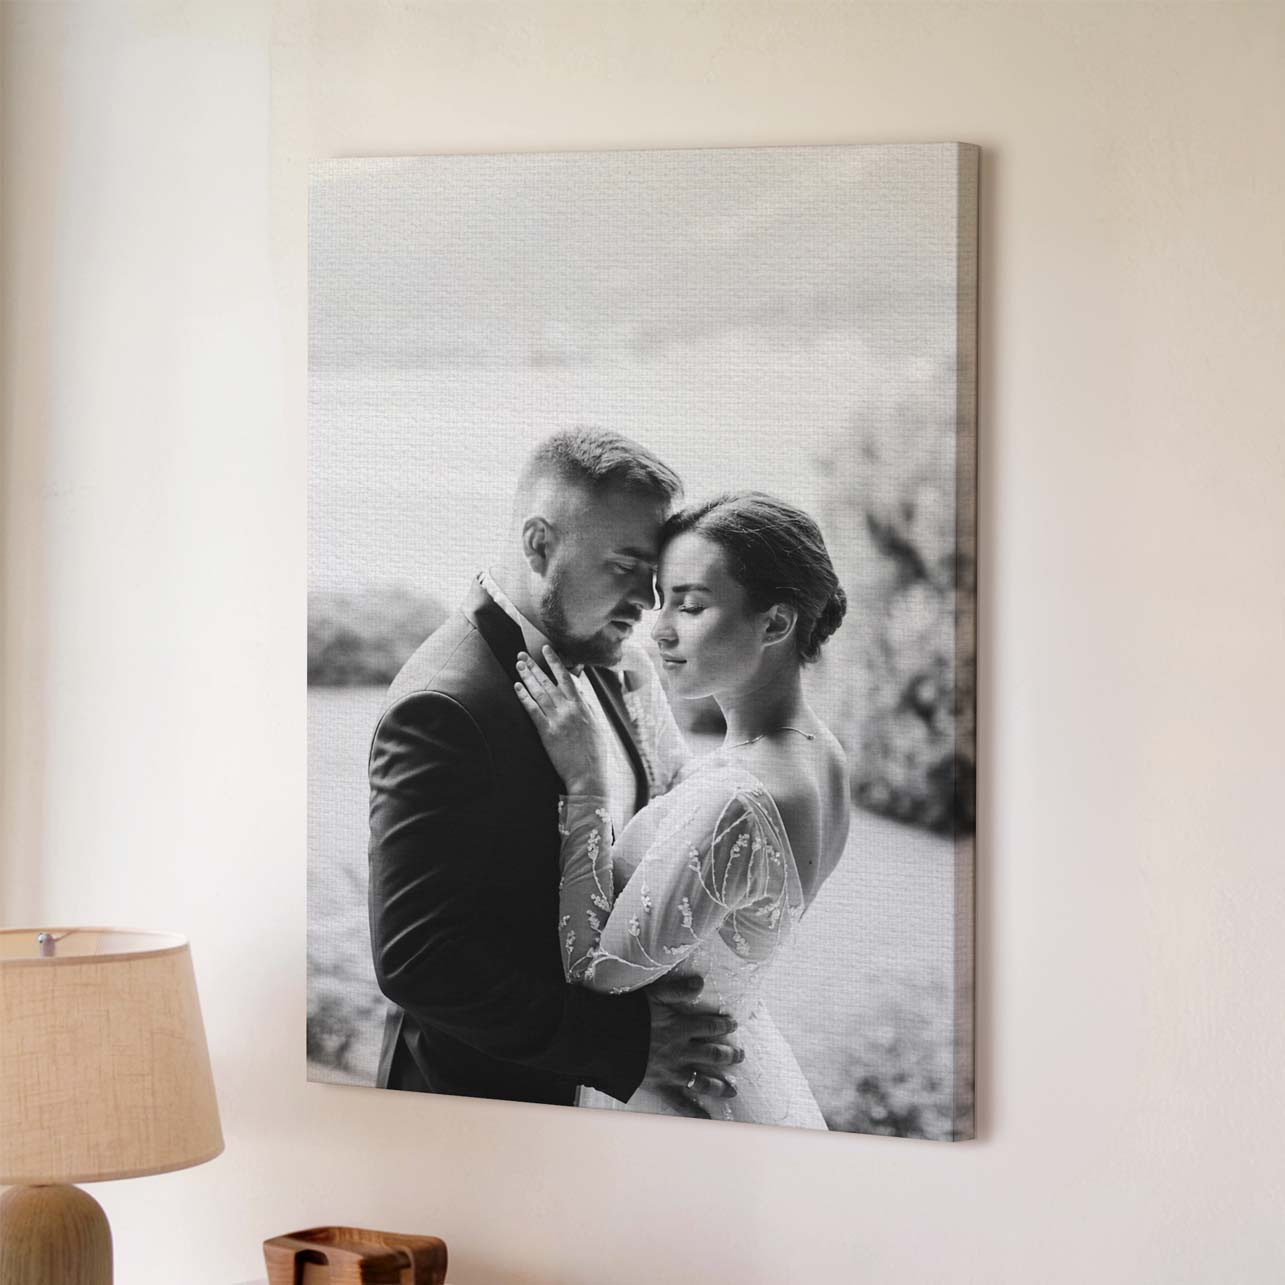
A single wedding portrait can carry a room when the gesture is strong and the background is simple. Look for a frame where you can see what the couple is doing from a distance. Leave room around the photo’s main figures and use a print size that fits the wall without touching the furniture or interrupting nearby architectural details.
23. Pair a First-Dance Photo With a Song Detail

A canvas that pairs a dance photograph with a song title makes a good anniversary display. Let the picture occupy most of the space and keep the words compact. A short line with the title and date is enough if the photograph already tells the story. Place it where people can read the detail. A small pressed flower display nearby can carry another memory from the day.
24. Use Square Canvases for Everyday Activities

A row or grid of small square prints can turn everyday play into a display. Look for close, readable details such as paint-covered hands, a bike ride, or the first flowers someone grew. Leave similar space around the action in each square. Photos from the same activity work well together, even when no one is looking at the camera.
25. Use Four Canvases for an Autumn Set
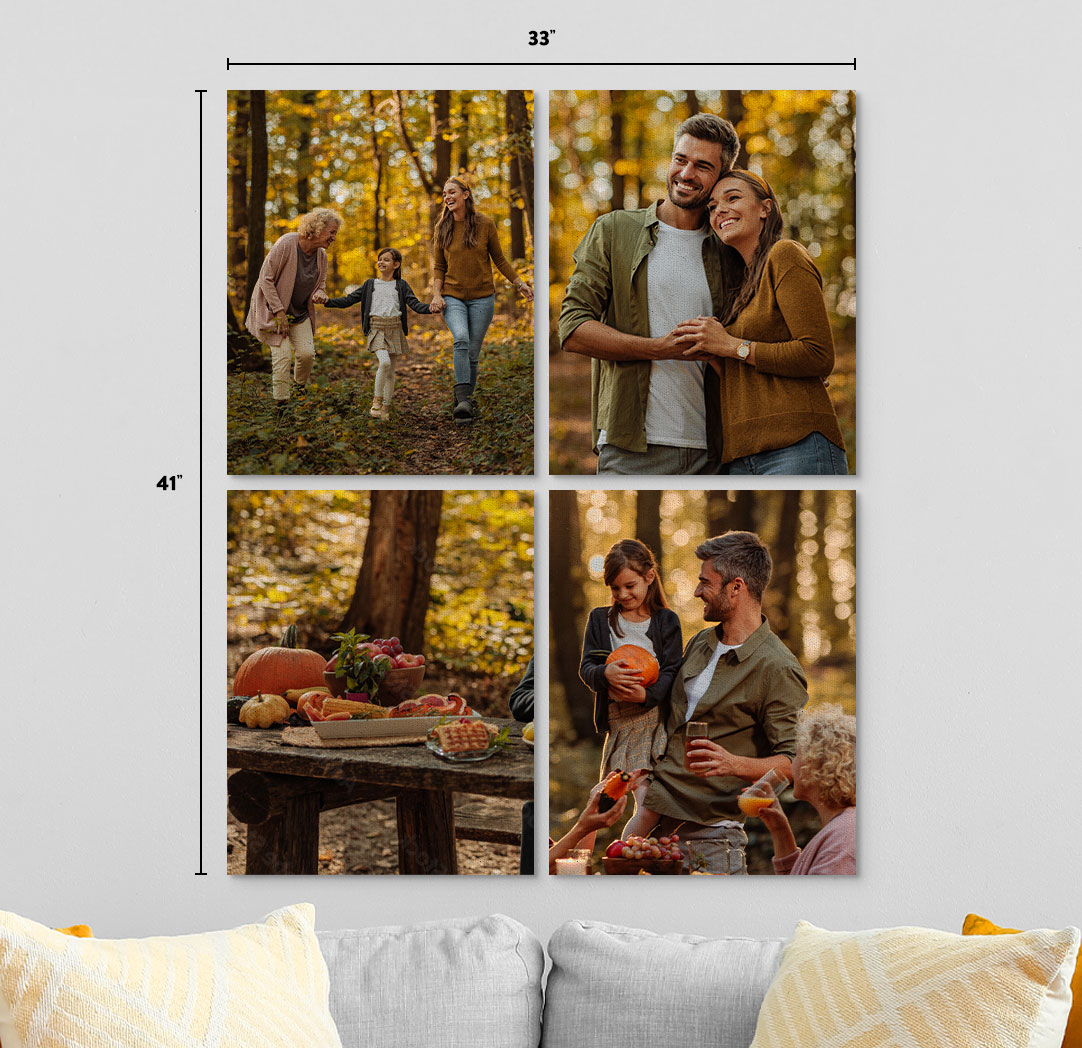
Use four photographs from the same fall outing to get a palette that comes together naturally. A path, a group picture, a close-up of leaves, and a candid frame give the display different scales. Leave each picture enough room to stand on its own. You can refresh the set with pictures from a new outing as the seasons change.
26. Repeat the Same Small Format Four Times
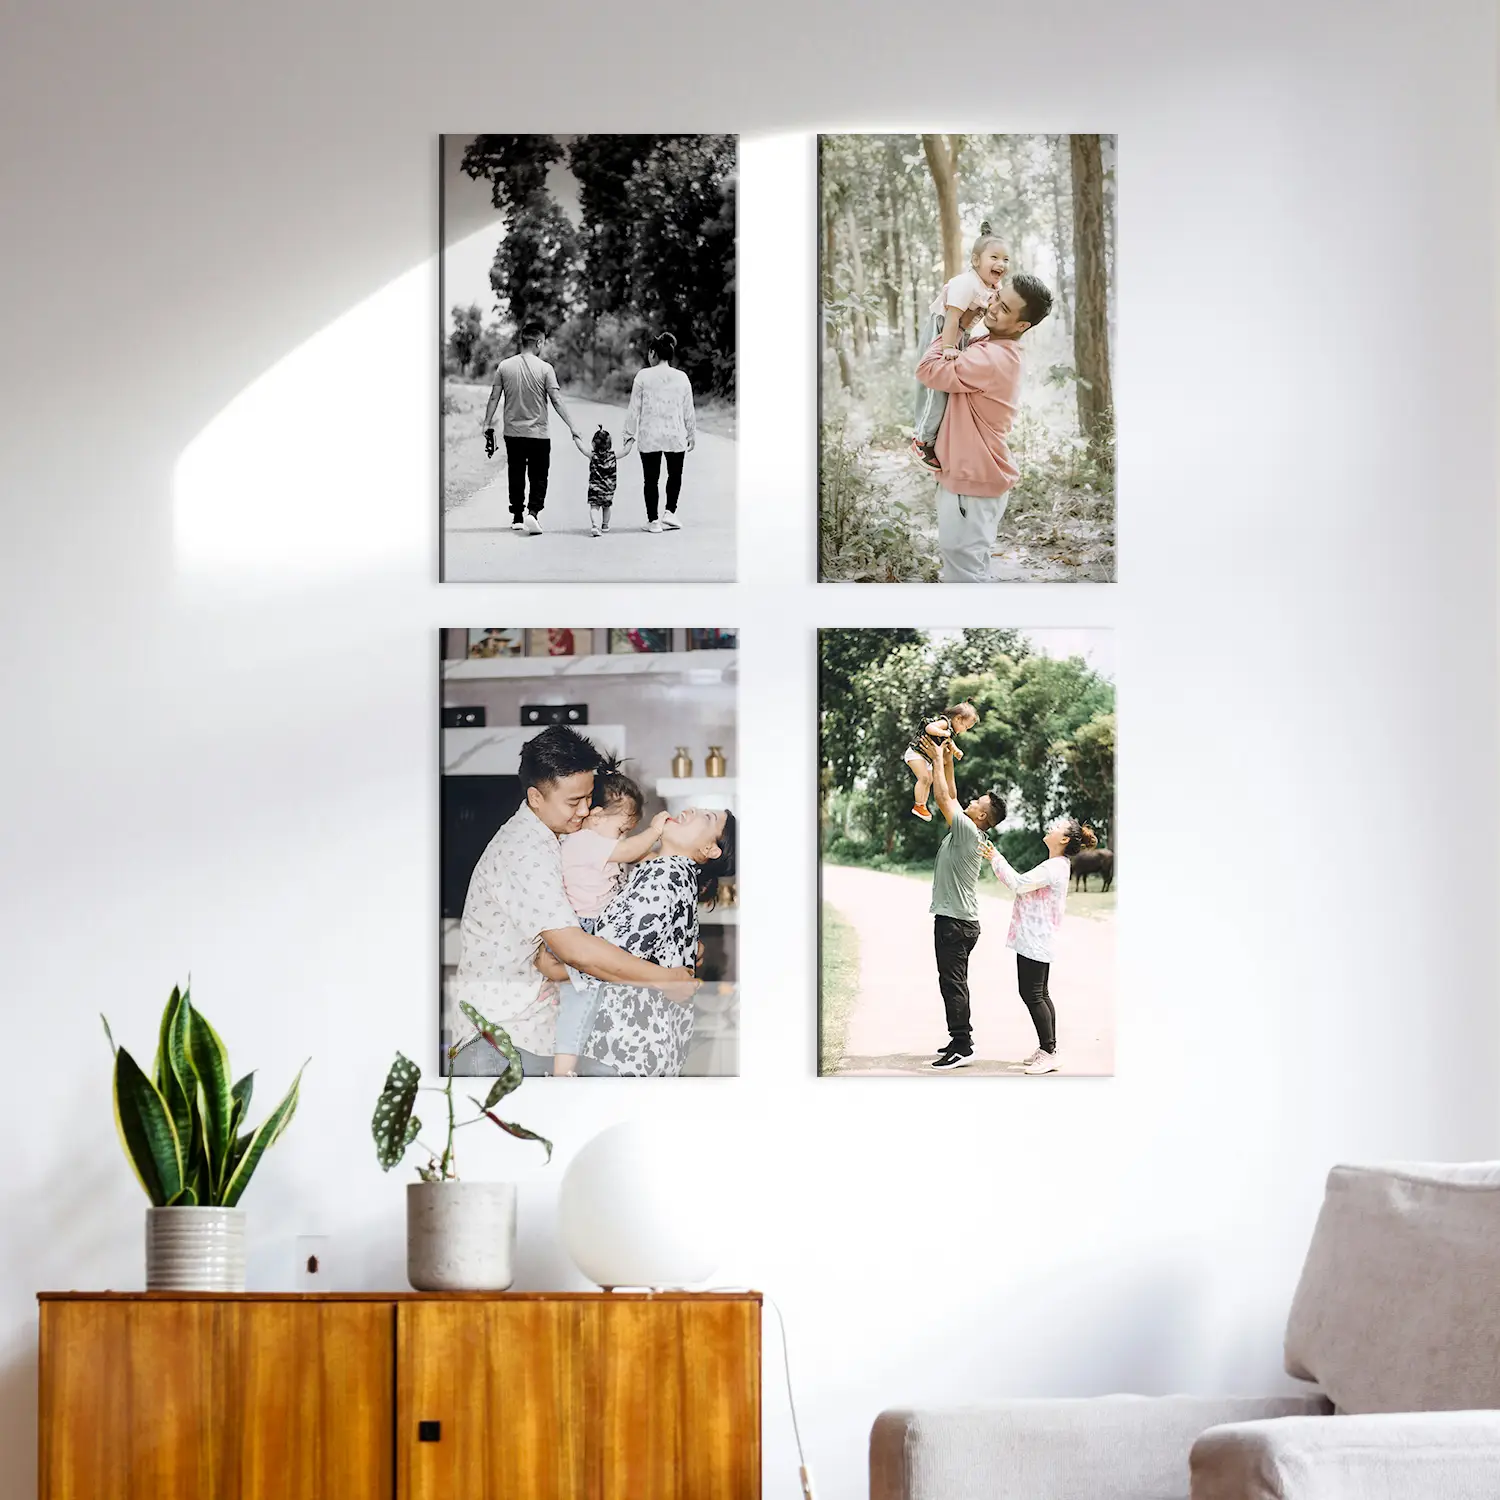
Four prints in the same format give you a simple way to display pictures from different years. Pick images that balance each other by keeping faces at roughly the same scale. Use the same wrap and consistent gaps to tie the set together. Try arranging them in date order if the pictures follow a growing family, familiar place, or yearly ritual.
27. Add a Family Name to a Four-Photo Layout
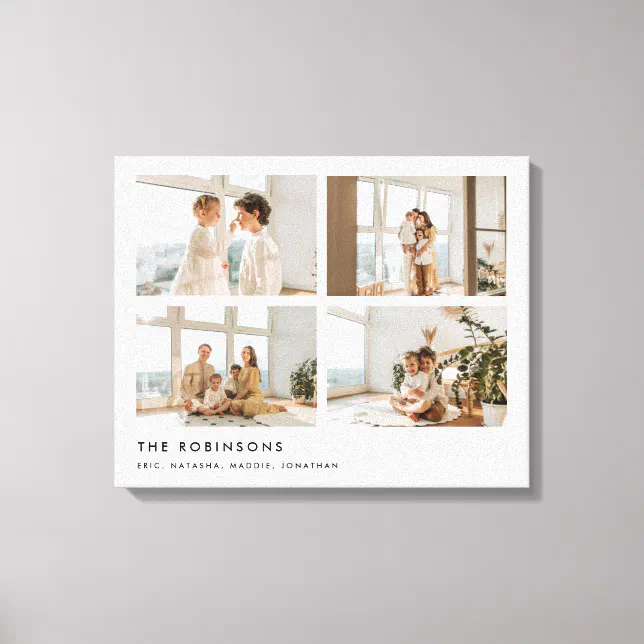
Combine four photographs in one canvas and use the family name as a quiet finishing detail. Put busier pictures opposite each other and leave a calm area around the words. This compact format works where several separate prints would crowd a short wall. Review the proof at its intended size so you can judge the text and the individual pictures together.
Give Your Photo Wall More Context
Once you’ve settled on a canvas layout, bring it into the room with a second texture, a handmade frame, or a modest shelf display. Use the next projects to work with the space you already have.
- Make Simple Cardboard Photo Frames
- Style a Cozy Living Room
- Frame Pressed Flowers for Display
- Make Pebble Art for Walls
Which photo would you take out of your camera roll and put on the wall first? Tell us in the comments where you’d hang it and what makes that particular moment worth seeing every day. If you’ve already built a canvas gallery, share what helped you get the spacing right.













0 Comments