How to Make a Sculptural Paper Wall Fan from Folded Cardstock

A sculptural paper wall fan is a small way to add texture to an empty wall. This version uses two scored cardstock rectangles and a folded band to hold the shape.
Choose a color that works with your existing wall decor ideas. Medium cardstock holds a crisp crease while still letting you spread the pleats without fighting the paper.
You’ll score the sheets, fold them into matching accordions, and join them into a semicircle. If you’ve made paper bag snowflakes, the same habit of lining up folds will help here.
Materials and Tools
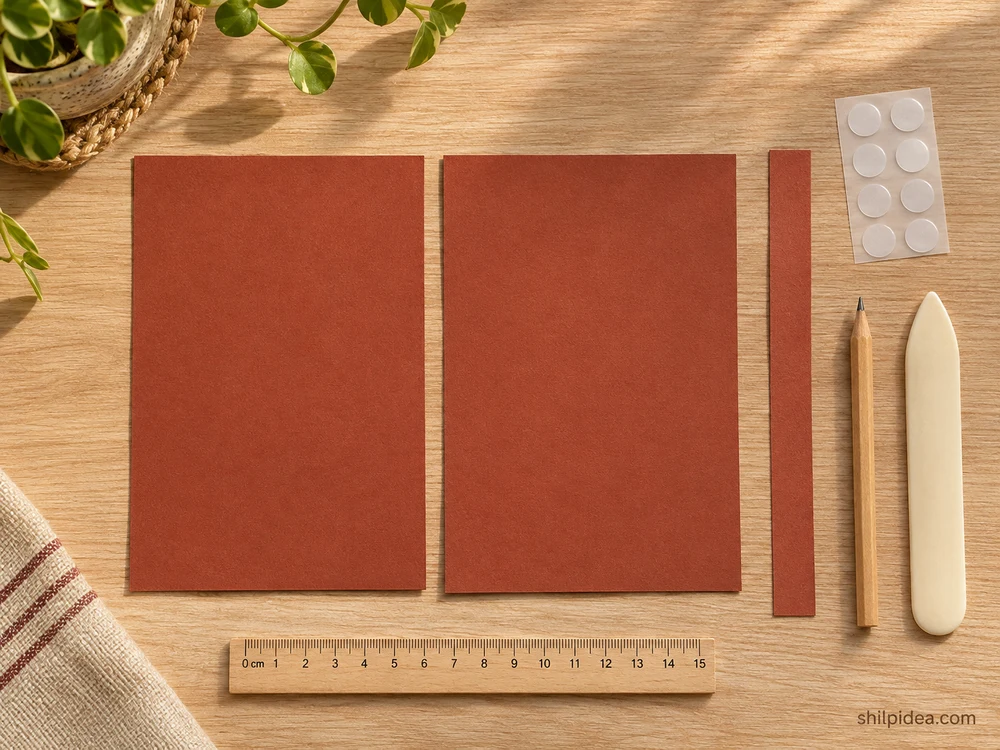
Gather the paper and tools before you start.
- Two cardstock rectangles – Cut two matching 8 × 12-inch sheets of medium-weight cardstock.
- Narrow cardstock strip – Cut a strip about ¾ inch wide and 4 inches long for the band.
- Ruler, pencil and blunt scoring tool – Use them to mark and crease the pleat lines.
- Double-sided craft tape – Choose tape that bonds to your cardstock and use a short piece to test it.
- Display backing – Use a rigid backing board or a lightweight frame sized for the finished fan.
Precautions
Set up the workspace and check these points before you begin.
- Score on a mat and use a blunt tool so the card stays intact.
- Test one pleat on a scrap. If the surface cracks, switch to a lighter card or score more gently.
- Use hanging hardware rated for the finished backing and wall surface.
1. Score the Two Cardstock Sheets
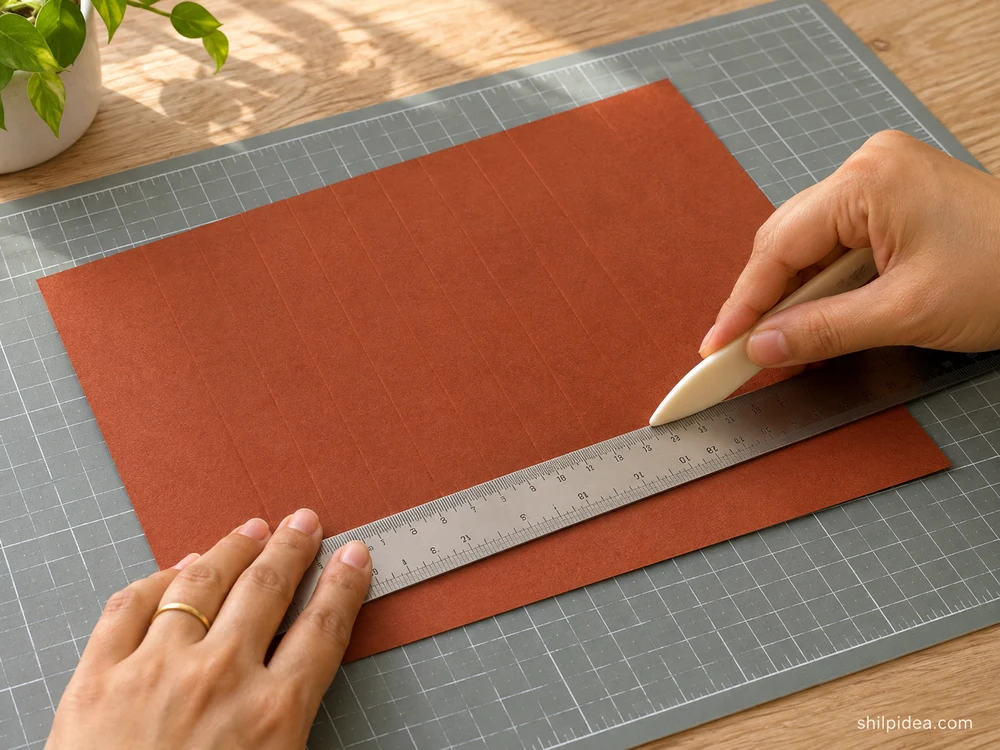
- Mark equal pleats Lay a rectangle with the 12-inch edge horizontal. Mark half-inch intervals along both long edges, then connect each pair of marks with a light score.
- Repeat the layout Set the second rectangle beside the first. Check that the first and last scores on both sheets line up before proceeding.
2. Fold Alternating Mountain and Valley Pleats
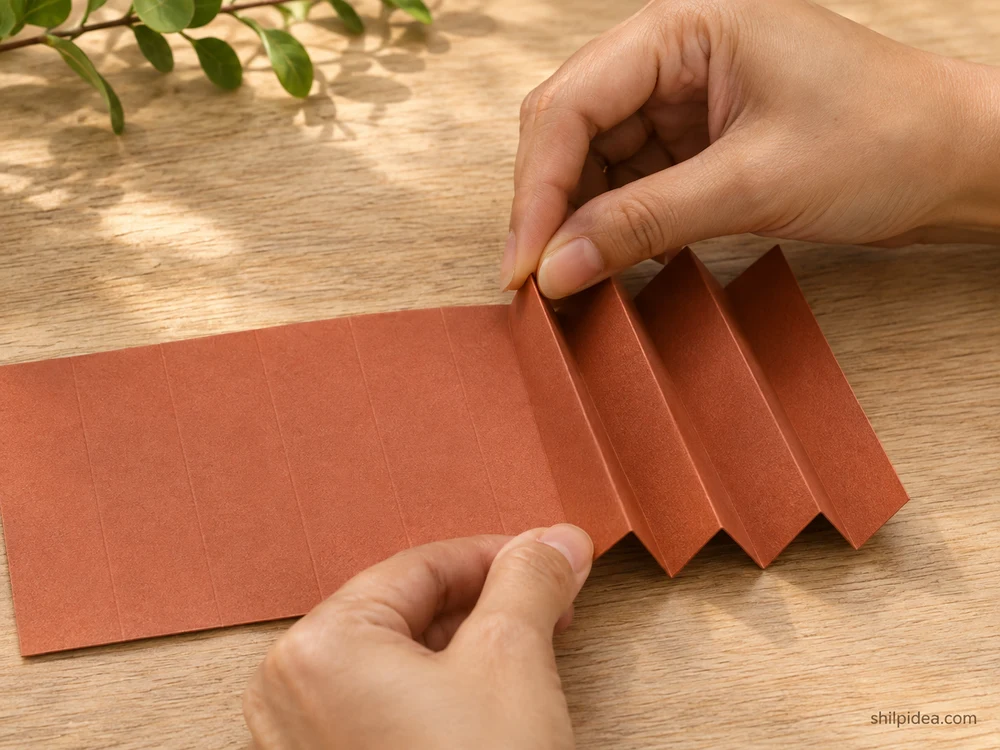
- Start the accordion Fold the first score toward you and the next one away. Continue alternating across the sheet, aligning the edges as you crease.
- Match the two stacks Fold the second sheet the same way and compress both stacks. Their ends should have the same width and their pleats should face the same direction. If you want more practice first, try paper bag snowflakes.
3. Join the Two Accordion Stacks
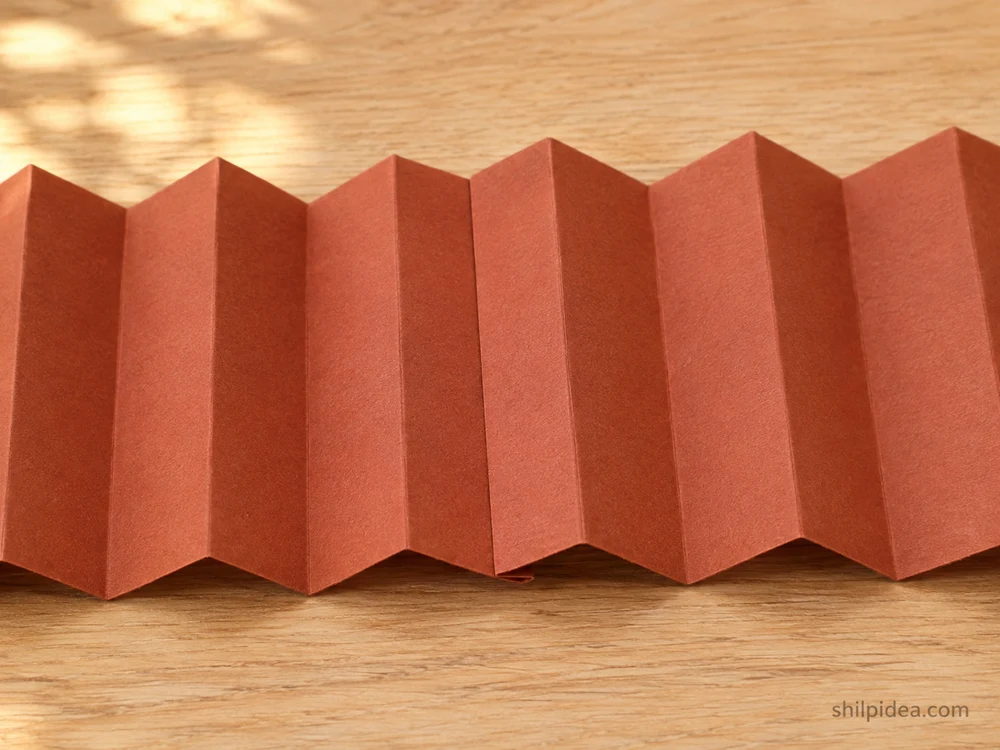
- Overlap one outer pleat Open the outside pleats and test how they overlap. Run tape along one pleat, align the other stack and press across the full join.
- Check the fold pattern Open the joined piece a little. The crease on each side of the join should continue the alternating pattern without a stiff double ridge.
4. Spread the Fan and Wrap the Base
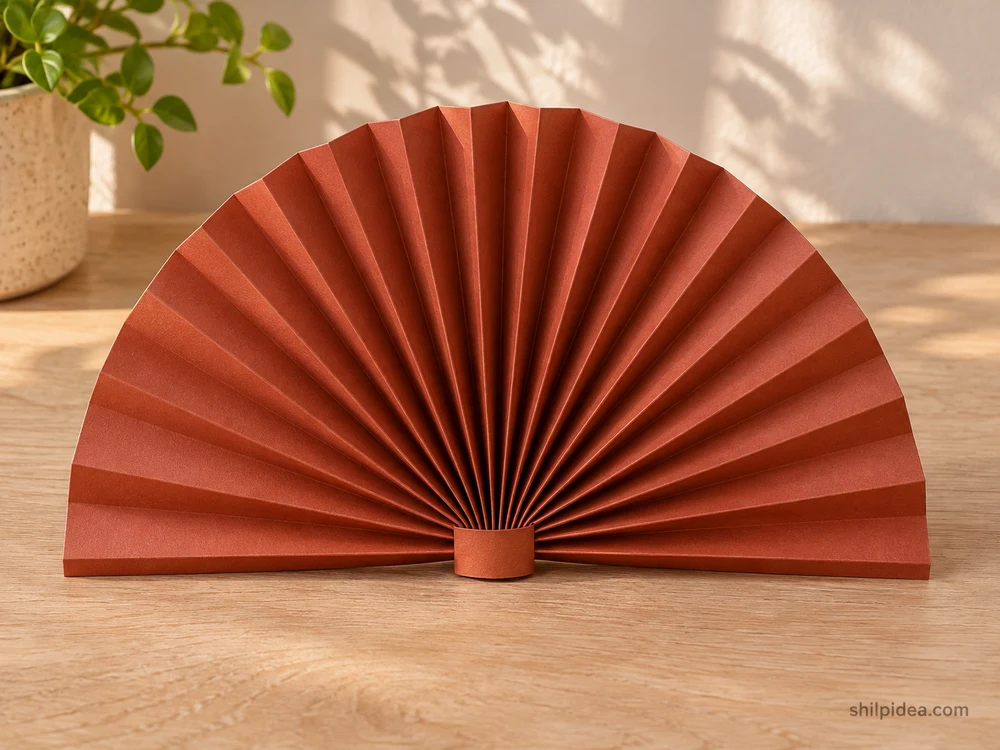
- Pinch the lower edge Keep the lower ends of the pleats together and gradually spread the top edge into a semicircle. Adjust the folds with your fingers to even the spacing.
- Fit the band Wrap the narrow strip around the pinched base and tape the overlap. Trim the strip if it covers too much of the visible pleating.
5. Mount the Fan and Check the Shape
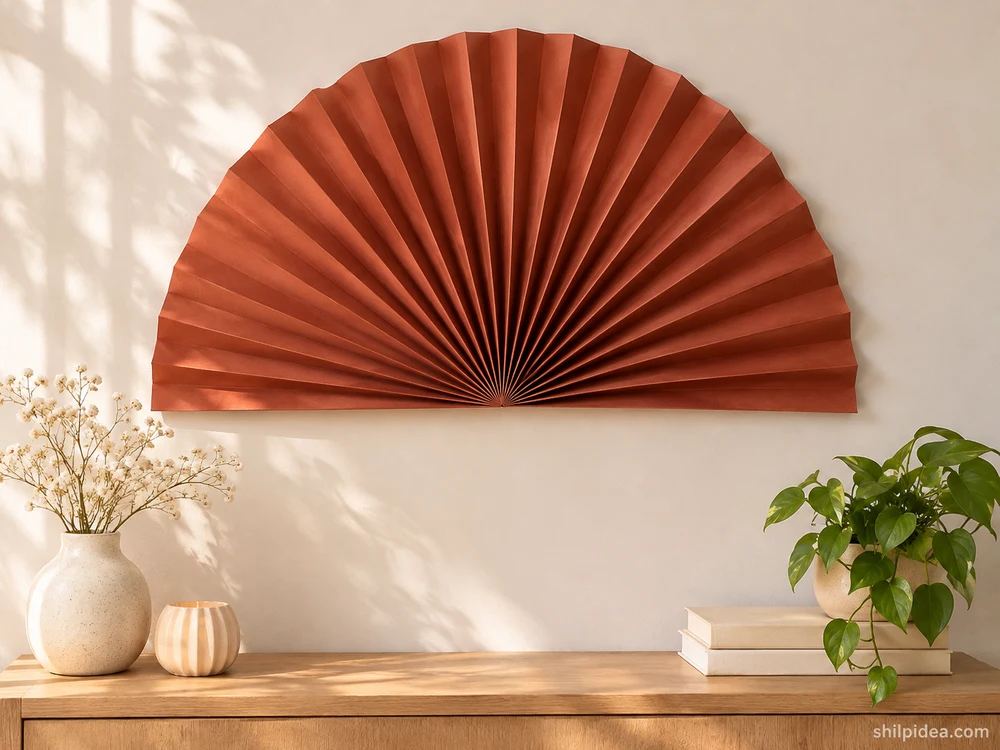
- Position the fan Lay the fan on the backing and align its straight edges. Secure the base and the two outer pleats with tape suitable for your backing.
- Display it securely Lift the backing upright before hanging. Reposition any loose outer pleat and use the appropriate hanging hardware for your wall.
More Paper Projects to Try
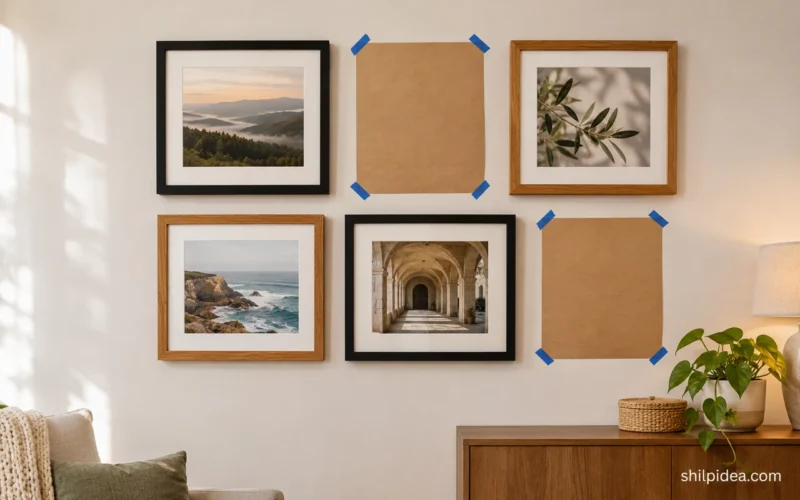
Once your fan is up, look at how its pleats catch the light throughout the day. A smaller paper piece nearby can repeat the folds without filling the wall. These projects give you a few more ways to work with paper, and a photo wall can help you plan the spacing around your fan.
- Paper Bag Snowflakes for Christmas
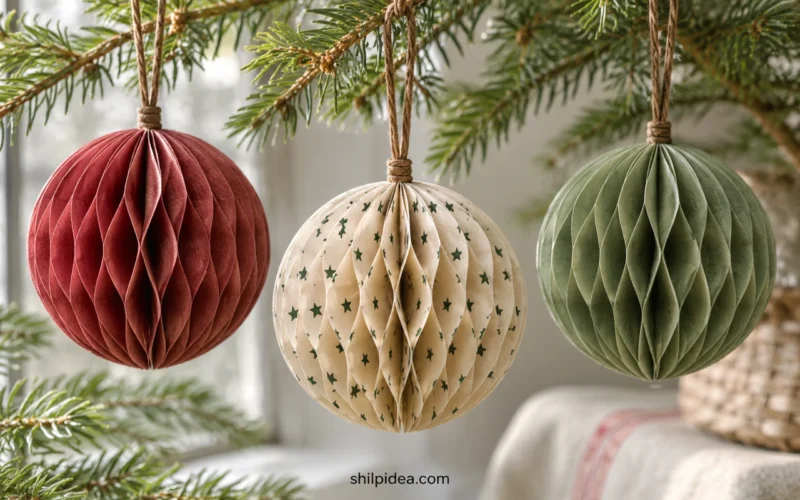
- Recycled Paper Honeycomb Christmas Ornaments
- Staircase Photo Wall for Family Memories
- Christmas Chandelier Decor for Dining Rooms
What color would you choose for the fan? Tell us in the comments where you’d hang it and whether you’d make one large fan or a small grouping.






























0 Comments