18 DIY Bag Charm Ideas for Gifts and Everyday Bags
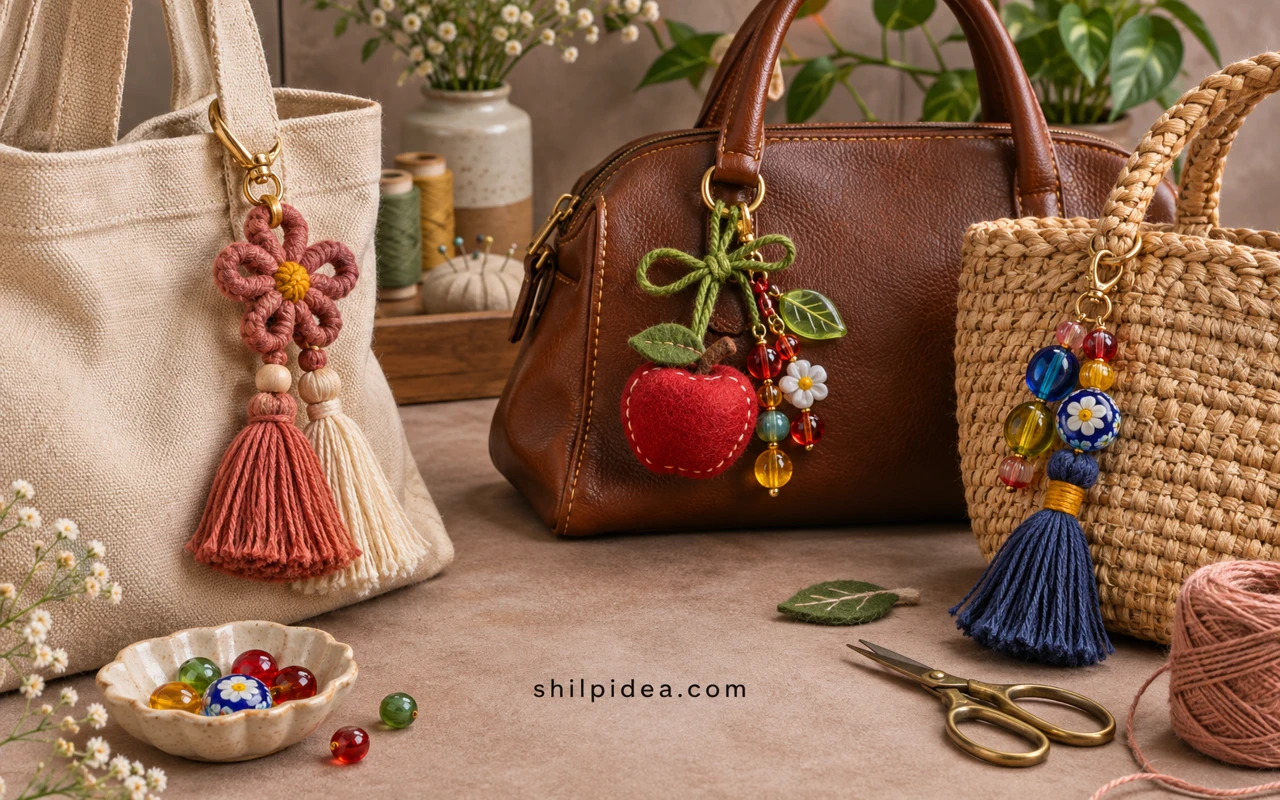
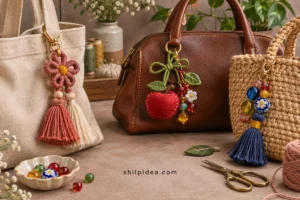
A bag charm gives a favorite tote or purse a detail you can swap without changing the bag itself. Try a short piece you can clip to a sturdy strap ring and still reach the zipper easily.
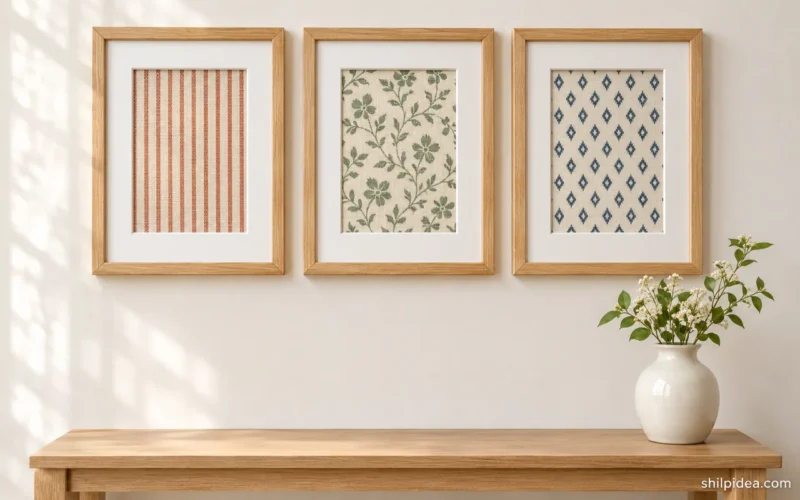
If you have fabric left from framed fabric art, use a scrap for a padded shape or a bow. A strong print works best when you can center one small part of it.
Beads, tassels and knots give the charm different kinds of movement. Borrow a color from your decorated paper bags if you plan to wrap it as a gift.
1. Layer Short Strands on a Swivel Clip

Group several beaded strands on one clip so they can move as a single accent. Try three lengths and make the shortest strand easiest to spot with one contrasting bead. A bright clasp can echo one of the bead colors. Before finishing each strand, hold it against the bag to check where it will sit.
2. Spell a Name in Pastel Letter Beads

Large letters can take up most of the space on a short charm. Lay them in order first, then add the smallest spacers you need between letters. A plain ribbon behind the name sets off the shapes and makes it easier to read. Keep the loops small enough that the name sits near the strap. If it turns on the clasp, test a shorter connector.
3. Thread Large Beads onto a Brass Ring

Round beads with generous holes turn a brass ring into a little circle of color. Leave a section of metal visible to show the shape of the ring. One gingham bow or a short tassel is enough if the beads already use several colors. Check that the ring can open without the beads spilling off.
4. Pair a Pearl Bow With Letter Beads
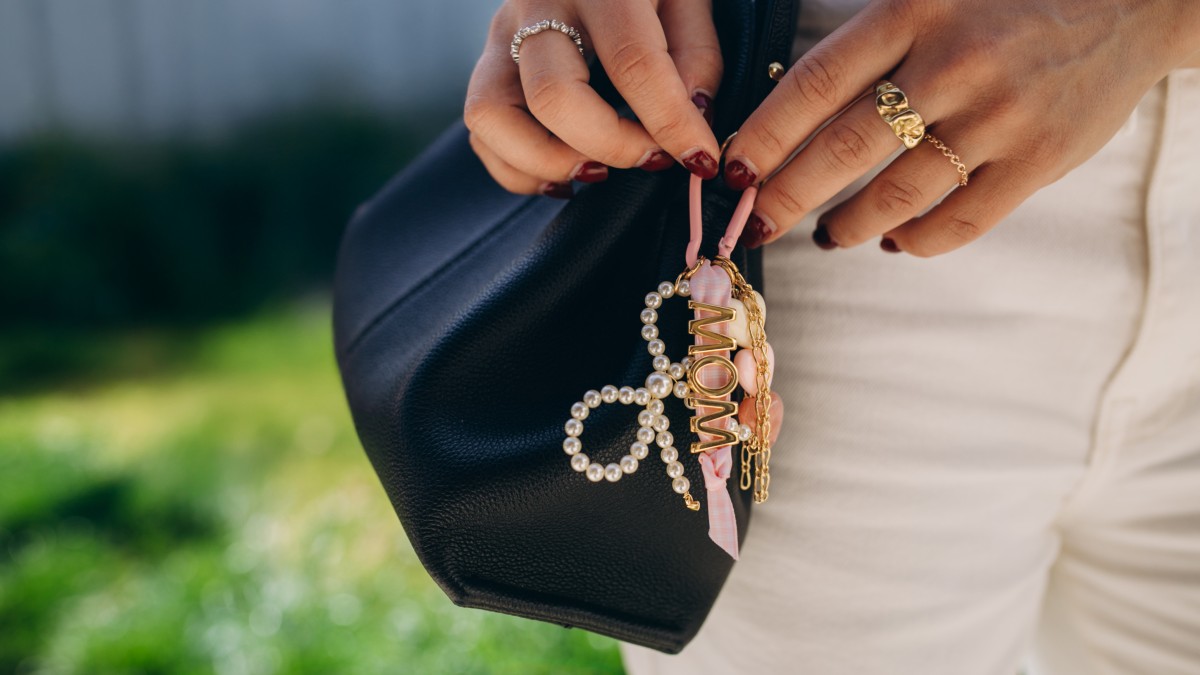
Use pale pearl beads to make the loops of a bow and try a short word in letter beads on the same clasp. A narrow piece of gingham adds a readable pattern without filling the space between the bow loops. Test the arrangement on a dark bag first so the pale beads and ribbon show clearly.
5. Tie a Soft Ribbon Beside a Crescent
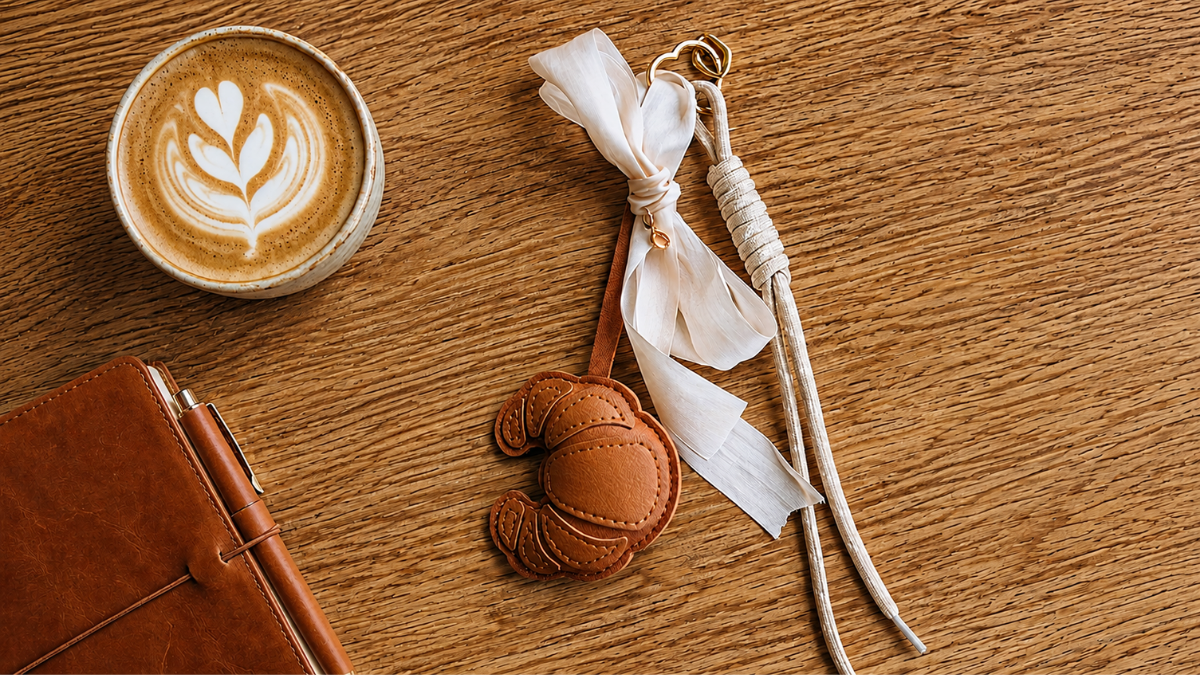
The small crescent gives this charm a crisp outline while the ribbon brings a softer shape to the clasp. Keep the bow close to the top of the charm so it does not hide the pendant. A narrow cord in the same cream family can fill the space between the two without adding a new color.
6. Make a Tiny Clay Snack Set

Pick a few small clay food shapes with different silhouettes so you can recognize them even on a busy beaded strand. Try a strawberry beside a pretzel or croissant. Use larger beads to separate the clay pieces and keep the strand from looking crowded. Follow the clay package directions if you make your own shapes.
7. Frame Dried Petals in a Letter

Single petals and small flowers leave space to read the outline of a clear resin initial. Pick a color range before placing the pieces so a tall letter does not look crowded. You can also build the charm around a finished initial. One short ring is enough to hang it beside a zipper.
8. Add One Long Leather Tassel

A turquoise leather tassel is large enough to stand out on a bright tote without any other charms alongside it. Look for soft leather strips that swing freely. Place the clasp where the tassel clears your hand as you lift the bag. You can shorten a paper mock-up before cutting the actual fringe. Try the same color with handmade Christmas gifts when you want the wrapping and charm to share one bright detail.
9. Roll Two-Tone Tassels With a Contrast Band

Tan and navy tassels show how a narrow band makes wrapped fringe look finished. Use a slim strip in a different color above the cut fringe, then plan where the join will face when it hangs. A small ring with a plain finish leaves the striped band and the leather texture visible.
10. Stack Tassels in a Color Gradient
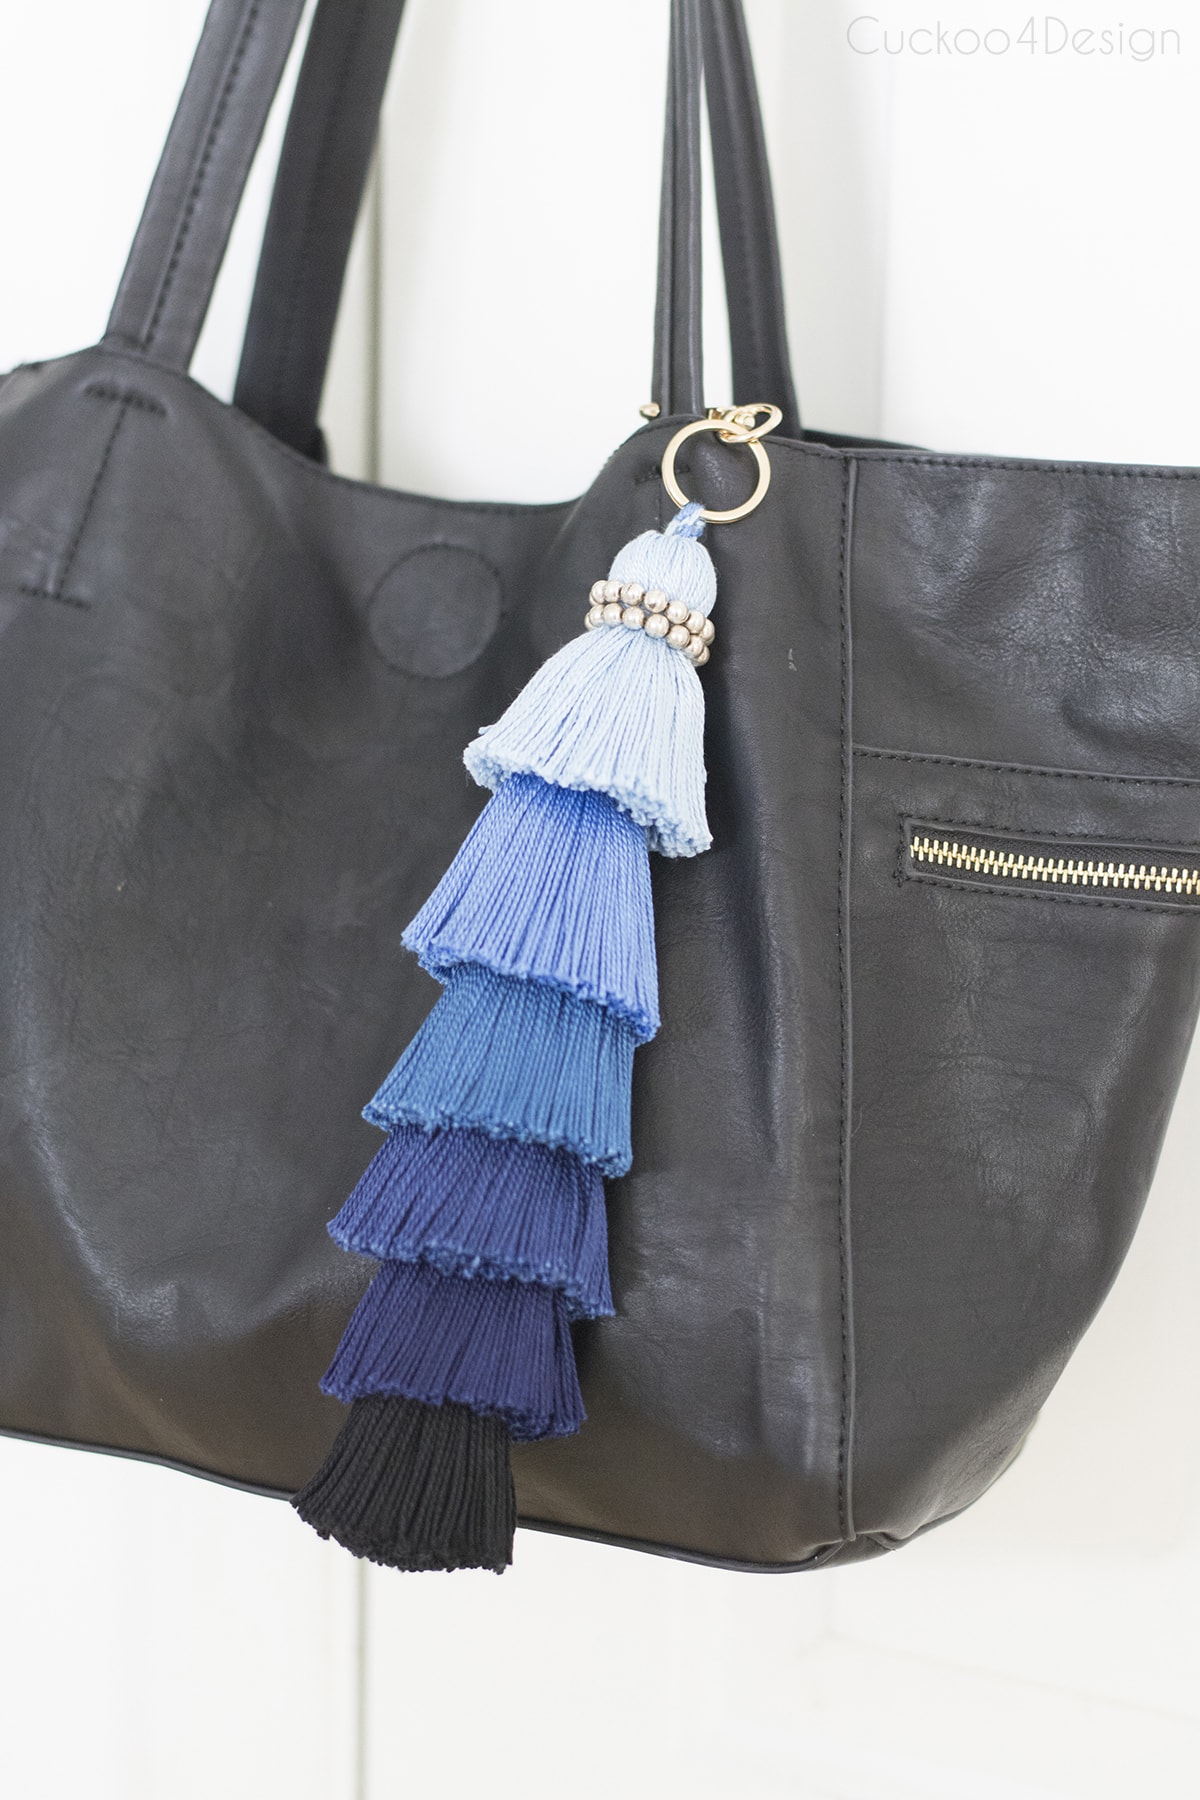
Start with your lightest tassel near the clasp and let the colors get darker as the stack drops. Keeping the tassels in one color family lets their edges do most of the work. Put the strand against an actual bag before choosing its length so the darkest section sits above the bottom seam.
11. Pair Pom-Poms With Smooth Wood Beads
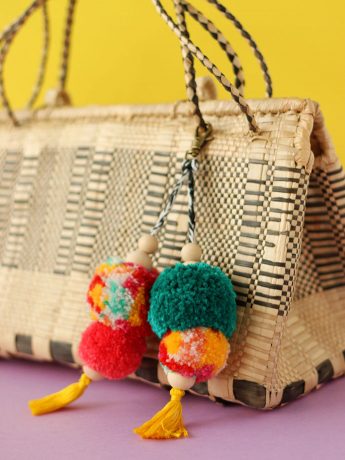
A wool pom-pom gives you color and volume without a large metal pendant. A plain wood bead above it separates the fluffy shape from the clip, while a short tassel underneath gives it direction. Trim stray yarn before attaching the clasp, and leave enough cord to tie and check a firm knot.
12. Sew a Ruffled Fabric Heart

A printed fabric heart has a broad face for showing a small pattern. Center the print before cutting and choose one color from it for the edge or clasp. A narrow ruffle lets the heart keep its outline. Clip it to a solid bag if you want the little print and soft edge to show. The offcuts can go into framed fabric art if they are large enough to show the pattern.
13. Stitch a Felt Fruit Charm
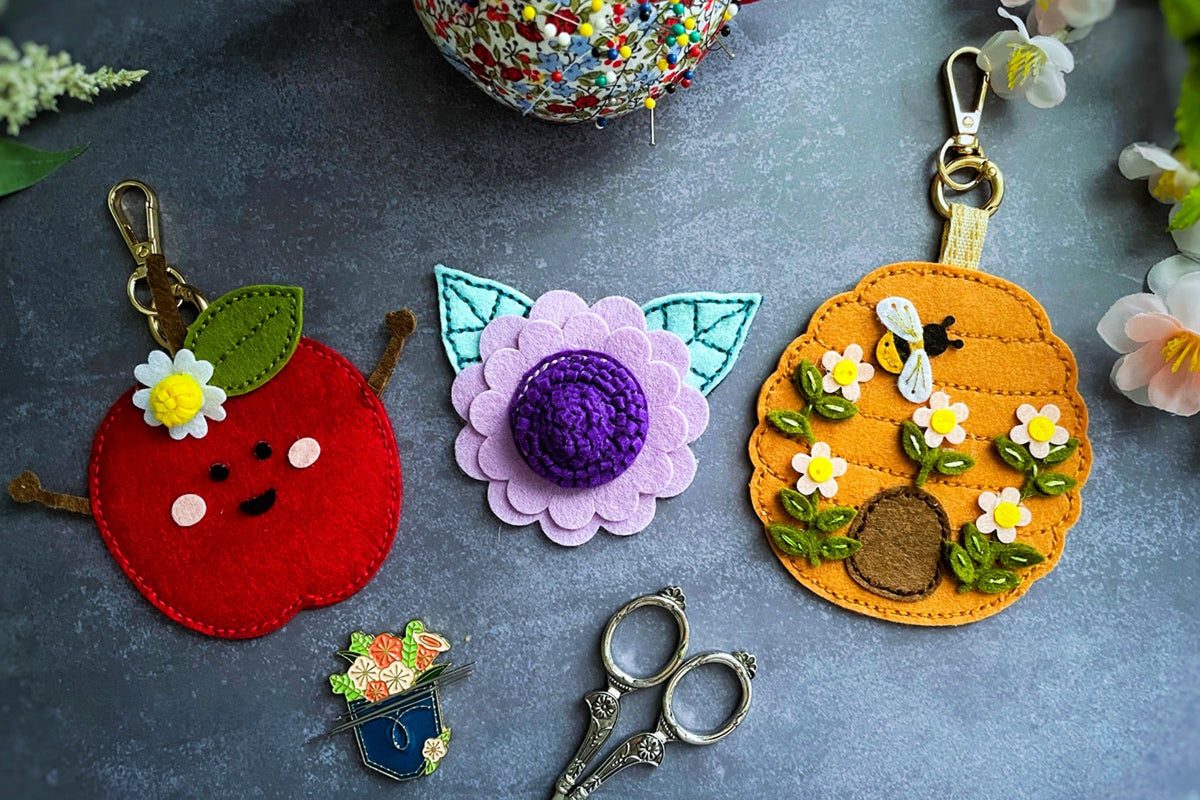
Flat felt shapes can carry small embroidered details without adding much bulk. Try an apple with a simple face, or cut a flower shape and stack two felt circles for the center. Keep the stitching clear near the clasp attachment. Set the charm next to your keys before adding beads that might catch on them.
14. Crochet a Little Bear With Its Own Bag

The tiny yellow bag helps the brown bear read as a character rather than a plain crochet shape. Use the bear’s head and body as the main silhouette and keep any other detail short. A plain clasp in a matching finish gives the bear room to swing against the side of a bag.
15. Hang a Lace Square Above a Tassel

An open crochet square shows its pattern when it rests against smooth leather. Add a wood bead between the lace and the tassel to keep the two textures apart. Choose a matching yarn for both pieces to make the square feel like the focus. Check the corners for loose ends before clipping it on.
16. Fringe a Macrame Feather in One Color
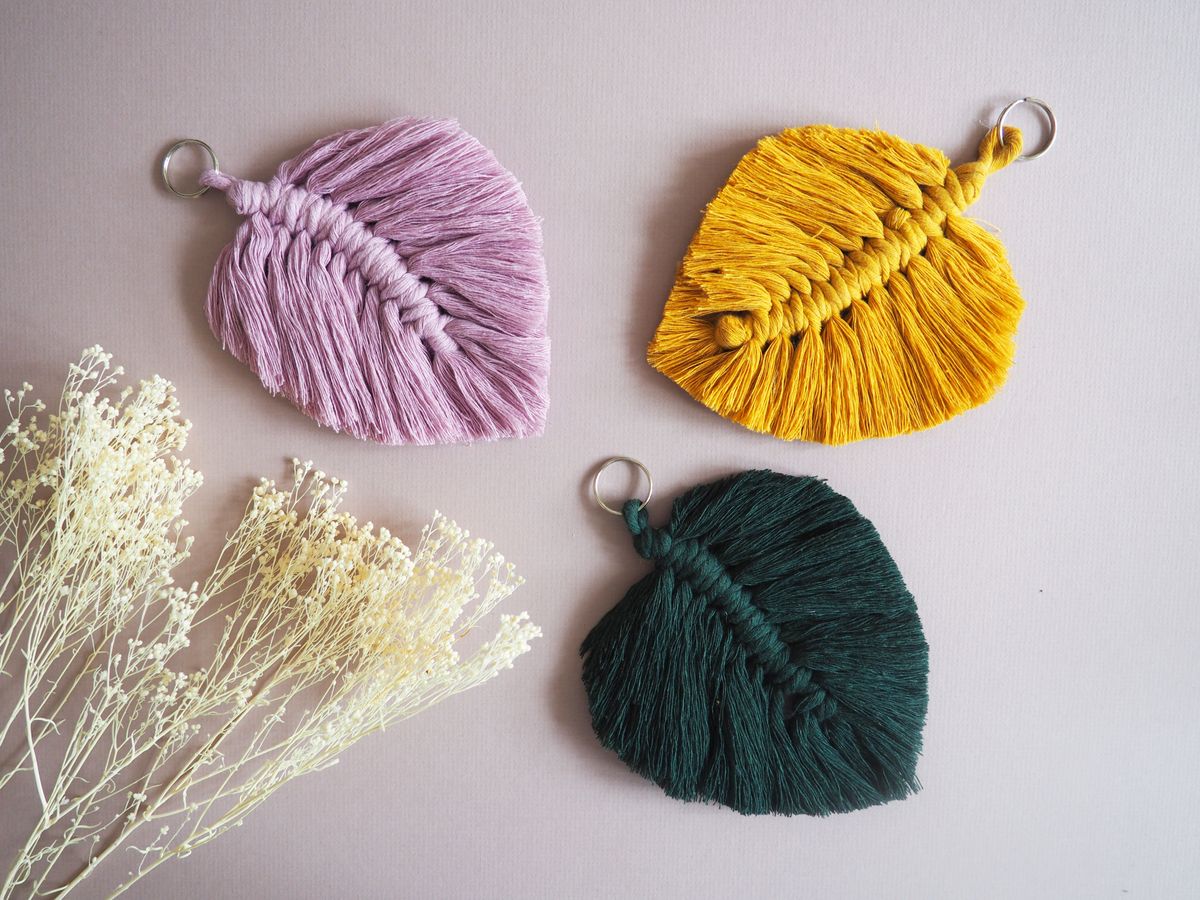
A simple knot down the middle gives a macrame feather enough structure to hang with a soft fringe on each side. Comb the ends before trimming the outline, then clip it temporarily to your bag to see how it moves. Mustard, lilac, or deep green works well as a single clear accent. Keep a little extra cord for old jeans crafts if you also like to add simple loops or trim to denim.
17. Add Wood Beads Between Square Knots

Set tan and cream macrame charms beside each other to see how much contrast the knots need. A few wood beads can break up the square knots and bring in a smoother texture. Check that the bead holes fit the cord. If the charm feels bulky near a zipper, remove one group of knots.
18. Draw a Small Pattern on Wood Blocks
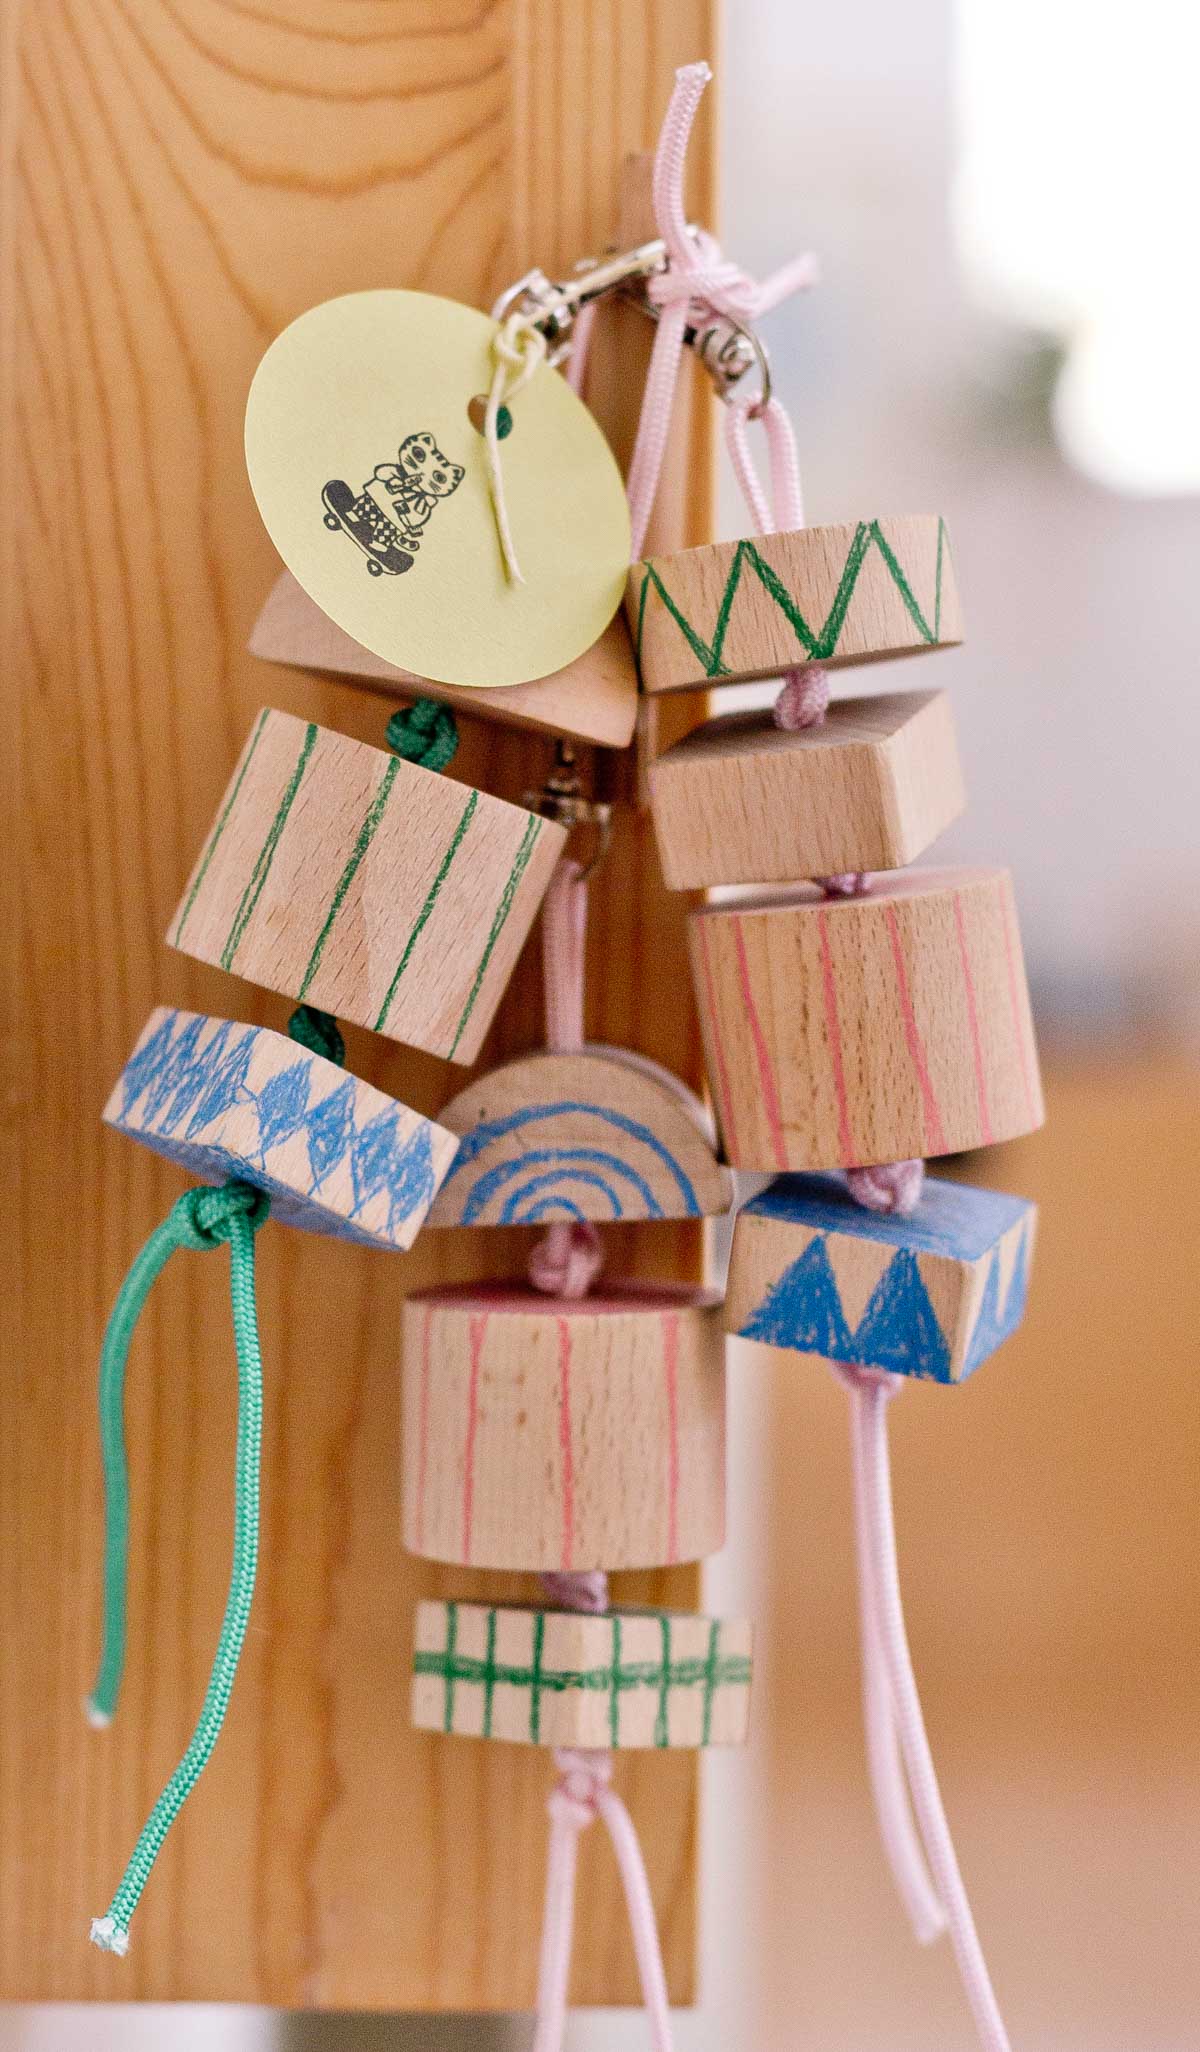
A colored pencil pattern gives a wood block a small graphic detail without covering the grain. Pick one surface for the drawing and keep the remaining faces plain. Pair the wood with a cord in a color from the design. Use blocks with rounded edges so the charm can rest against fabric.
Choose the Clasp Before You Finish Your Charm
Check where the finished charm will hang before closing the last ring. A short clasp keeps a heavy bead close to the strap, while a soft tassel can sit a little lower without getting in the way. Sort the leftover beads, cords, and fabric by size so you can use them in these other projects.
- Framed Wall Art from Fabric Samples
- Make and Decorate Paper Bags
- Homemade Christmas Gifts for Cozy Evenings
- Reversible Fleece Hand-Warmer Pocket
- Decorative Projects for Old Jeans
What would you clip to a bag you carry every day? Share your material and color choices in the comments. If you make charms for gifts, tell us what has made yours easier to attach and remove.


















0 Comments