18 Paper Bag Turkey Puppets for Thanksgiving Storytime
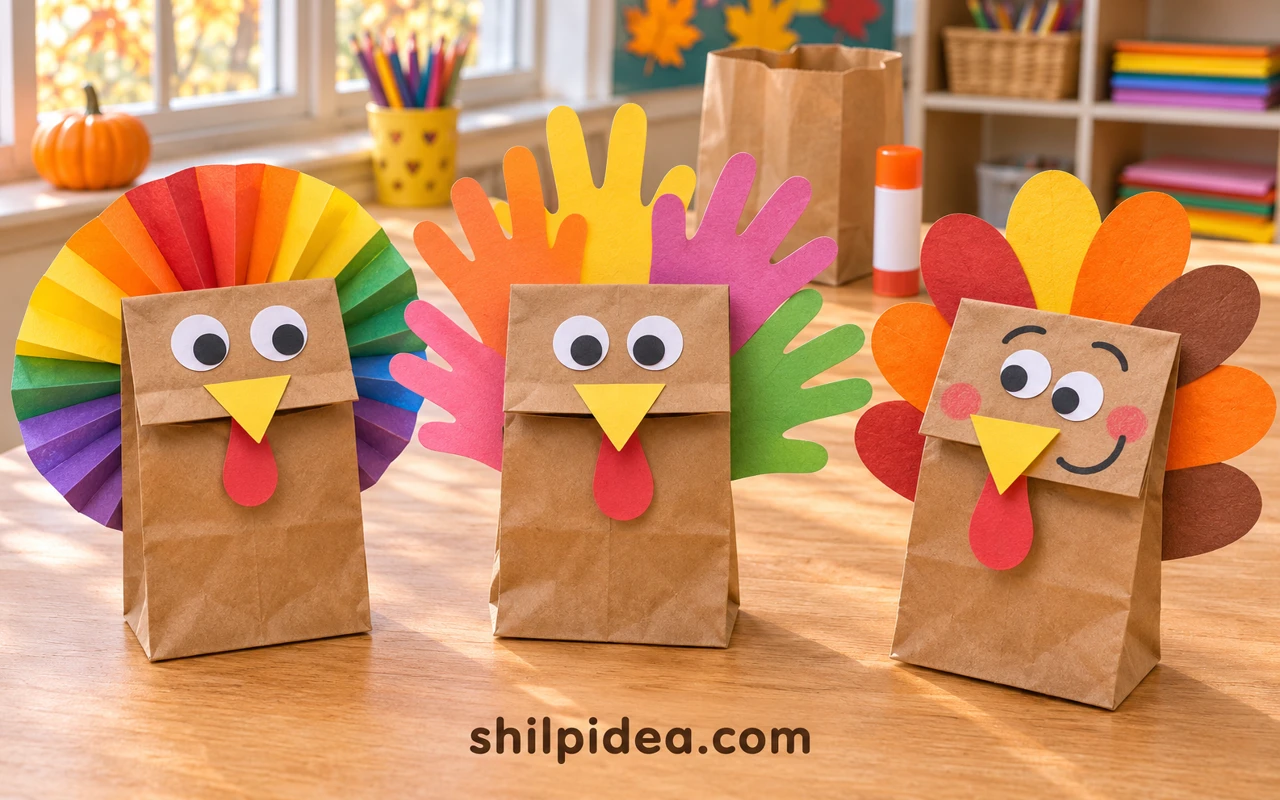
A lunch bag, paper scraps and a few crayons are enough to make a turkey puppet. Start with a simple face and let the colors or voices get sillier once the first character works.
If you are making several puppets, gather big paper shapes first. These paper plate turkeys offer other ways to use leftover feathers and bright shapes.
Leave a few minutes to practice before you open a book or set up a stage. Try pinecone turkey crafts another day if your group wants a character that can sit on a shelf.
1. Make a Simple Fold-Flap Turkey
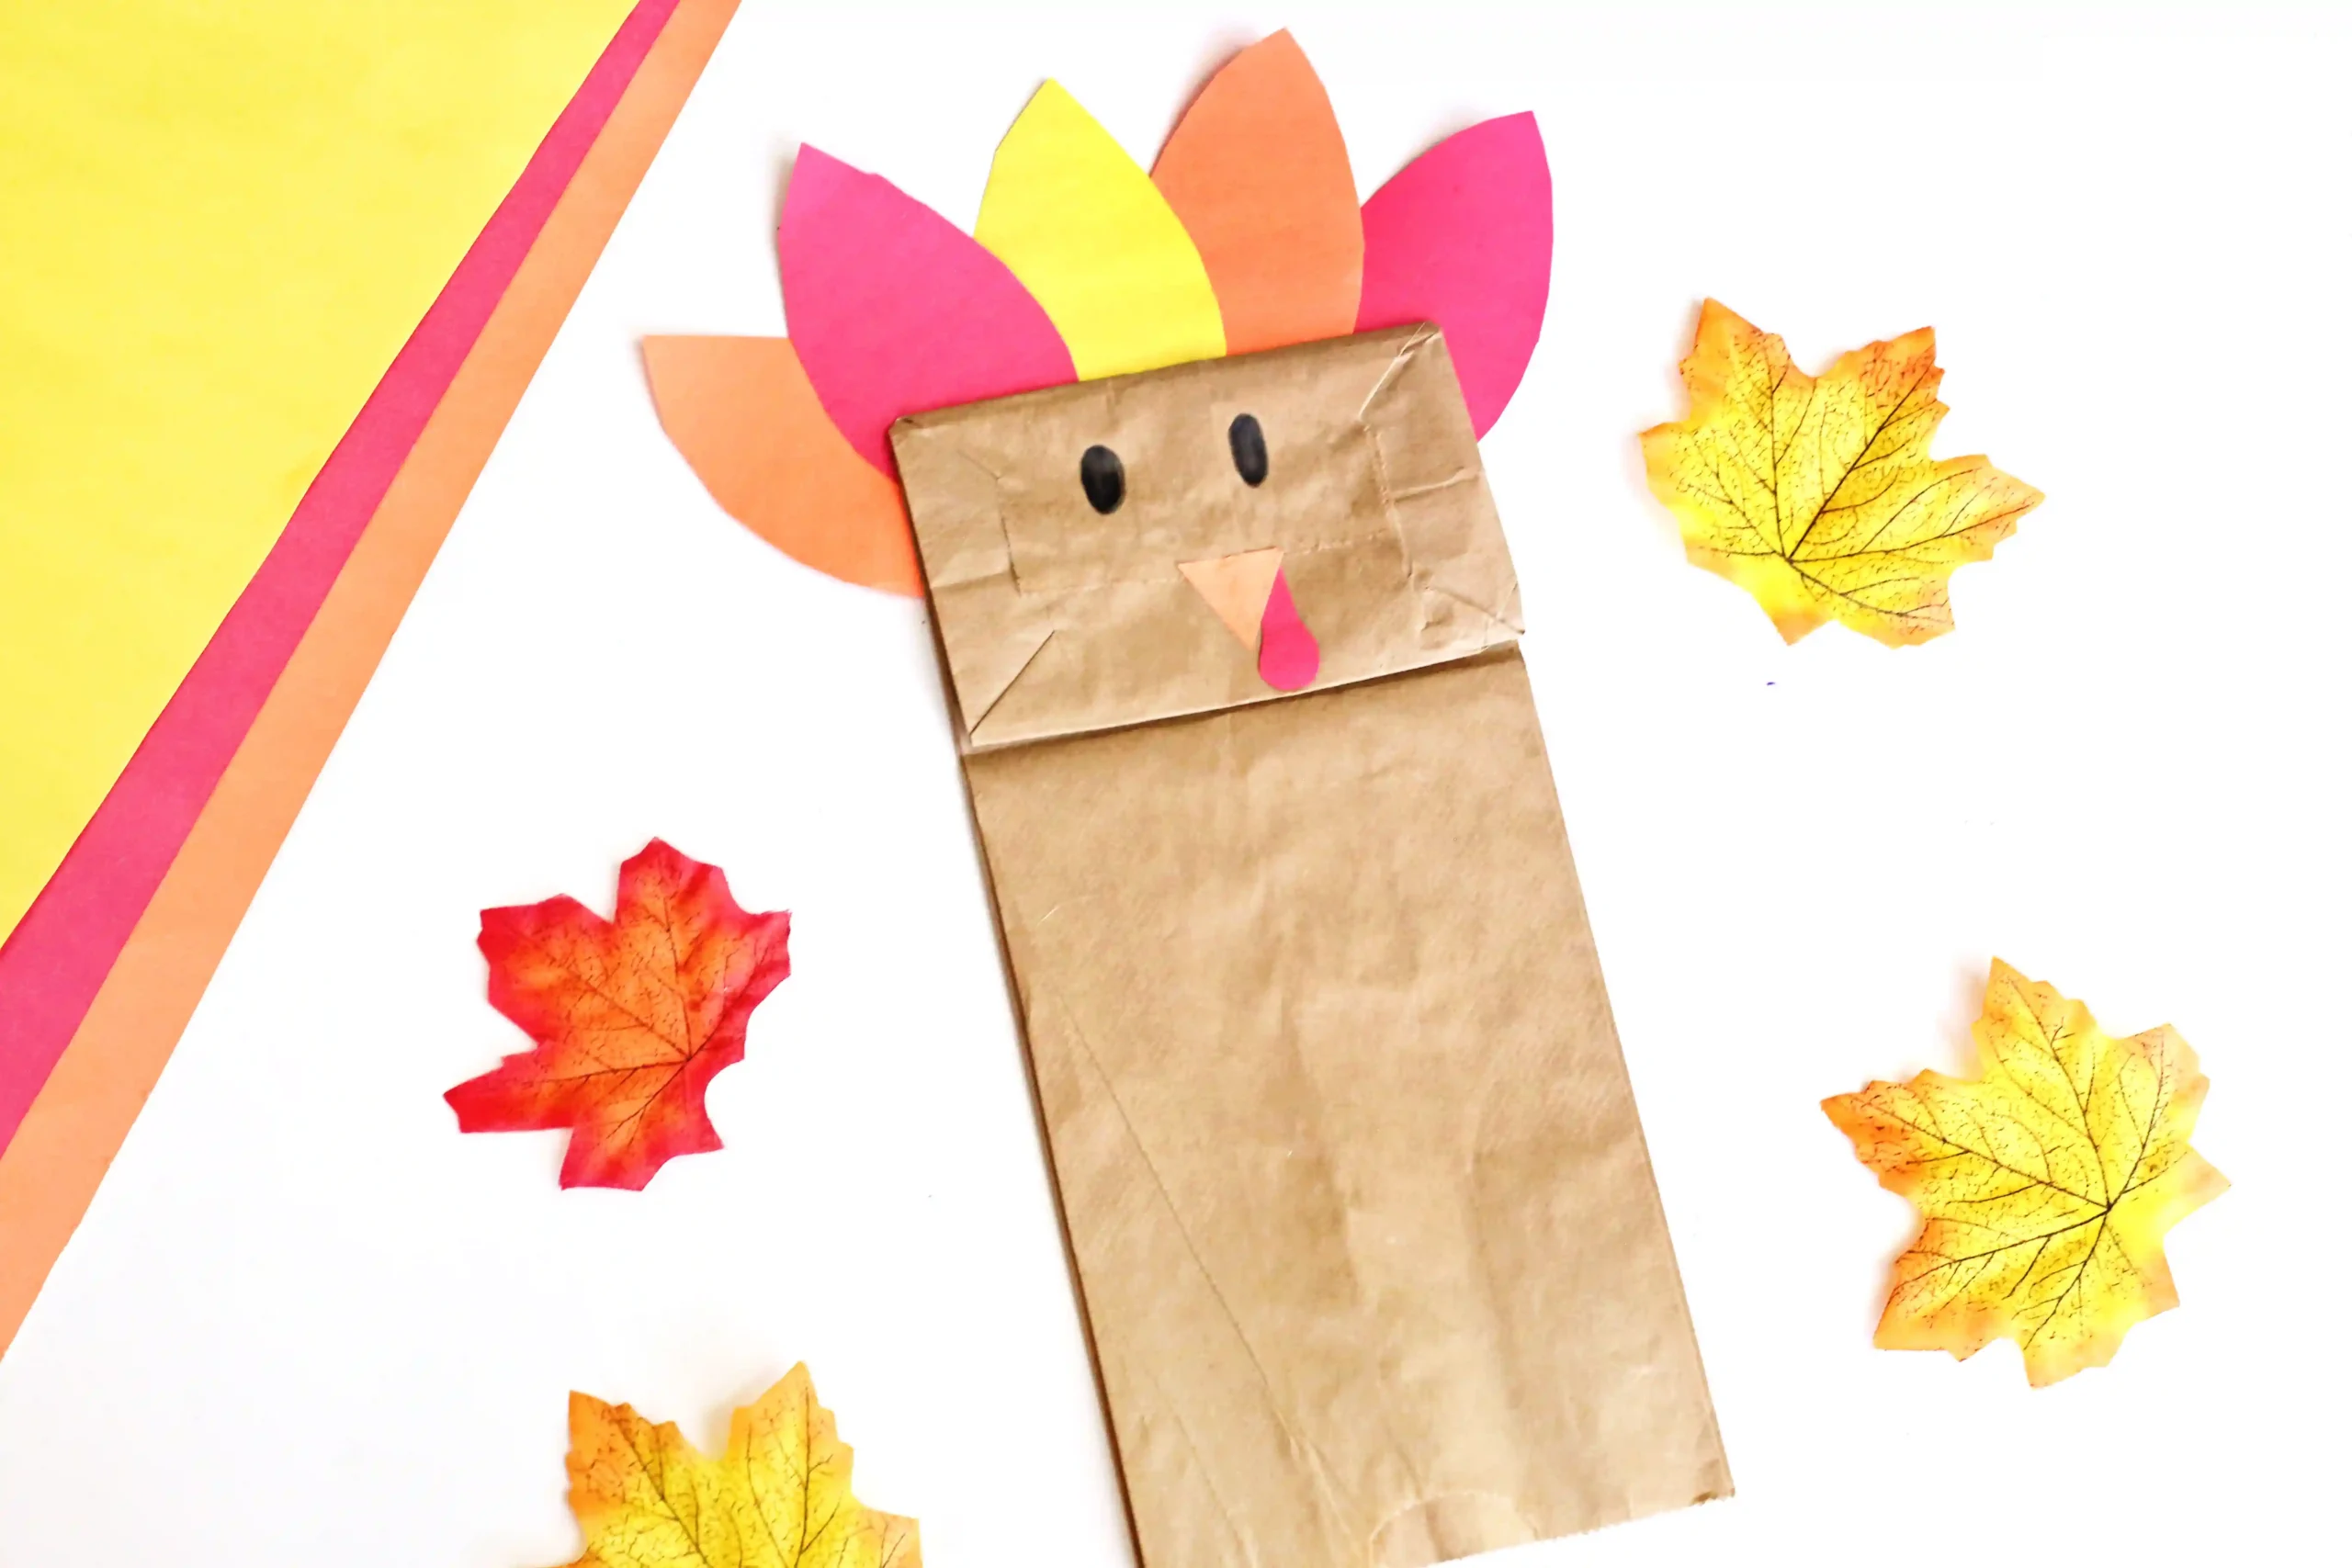
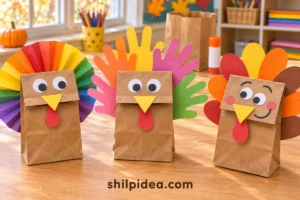
Start with a lunch bag that lies flat and has a neat bottom fold. Draw eyes on the folded section and attach a paper beak where the flap can still lift. Three or five feathers are enough for the tail. Slip your hand in and try one short greeting before adding anything else.
Make This at Home: Simple Paper Bag Turkey
2. Give the Turkey Paper Wings and Feet

Separate paper wings and feet make the turkey easy to recognize when it peeks above a table. Glue each piece on firmly while keeping the bottom opening clear. The wings can stick out a little from the sides without interfering with the mouth. Ask the puppet to march across an imaginary barnyard before it speaks.
Make This at Home: Paper Bag Turkey Puppet
3. Draw a Sleepy Face

Two curved lines are enough for sleepy eyes. Draw them on the face before attaching it to a bag flap. Give this turkey a low, slow voice, then let it wake up and ask a question about the story. Children can make a more alert face on the next bag and compare how the characters sound.
Make This at Home: Crayola Paper Bag Turkey
4. Try a Soft Feather Fan

A few soft craft feathers make a narrow fan behind the face and move a little when the puppet turns. Use long pieces near the middle and shorter ones at the sides. For little hands, pick large paper pieces if loose plumes are unsuitable. Set them in place before gluing, then turn the puppet slowly to show the profile.
Make This at Home: Paper Bag Turkey Project
5. Assemble the Rainbow Tail Separately
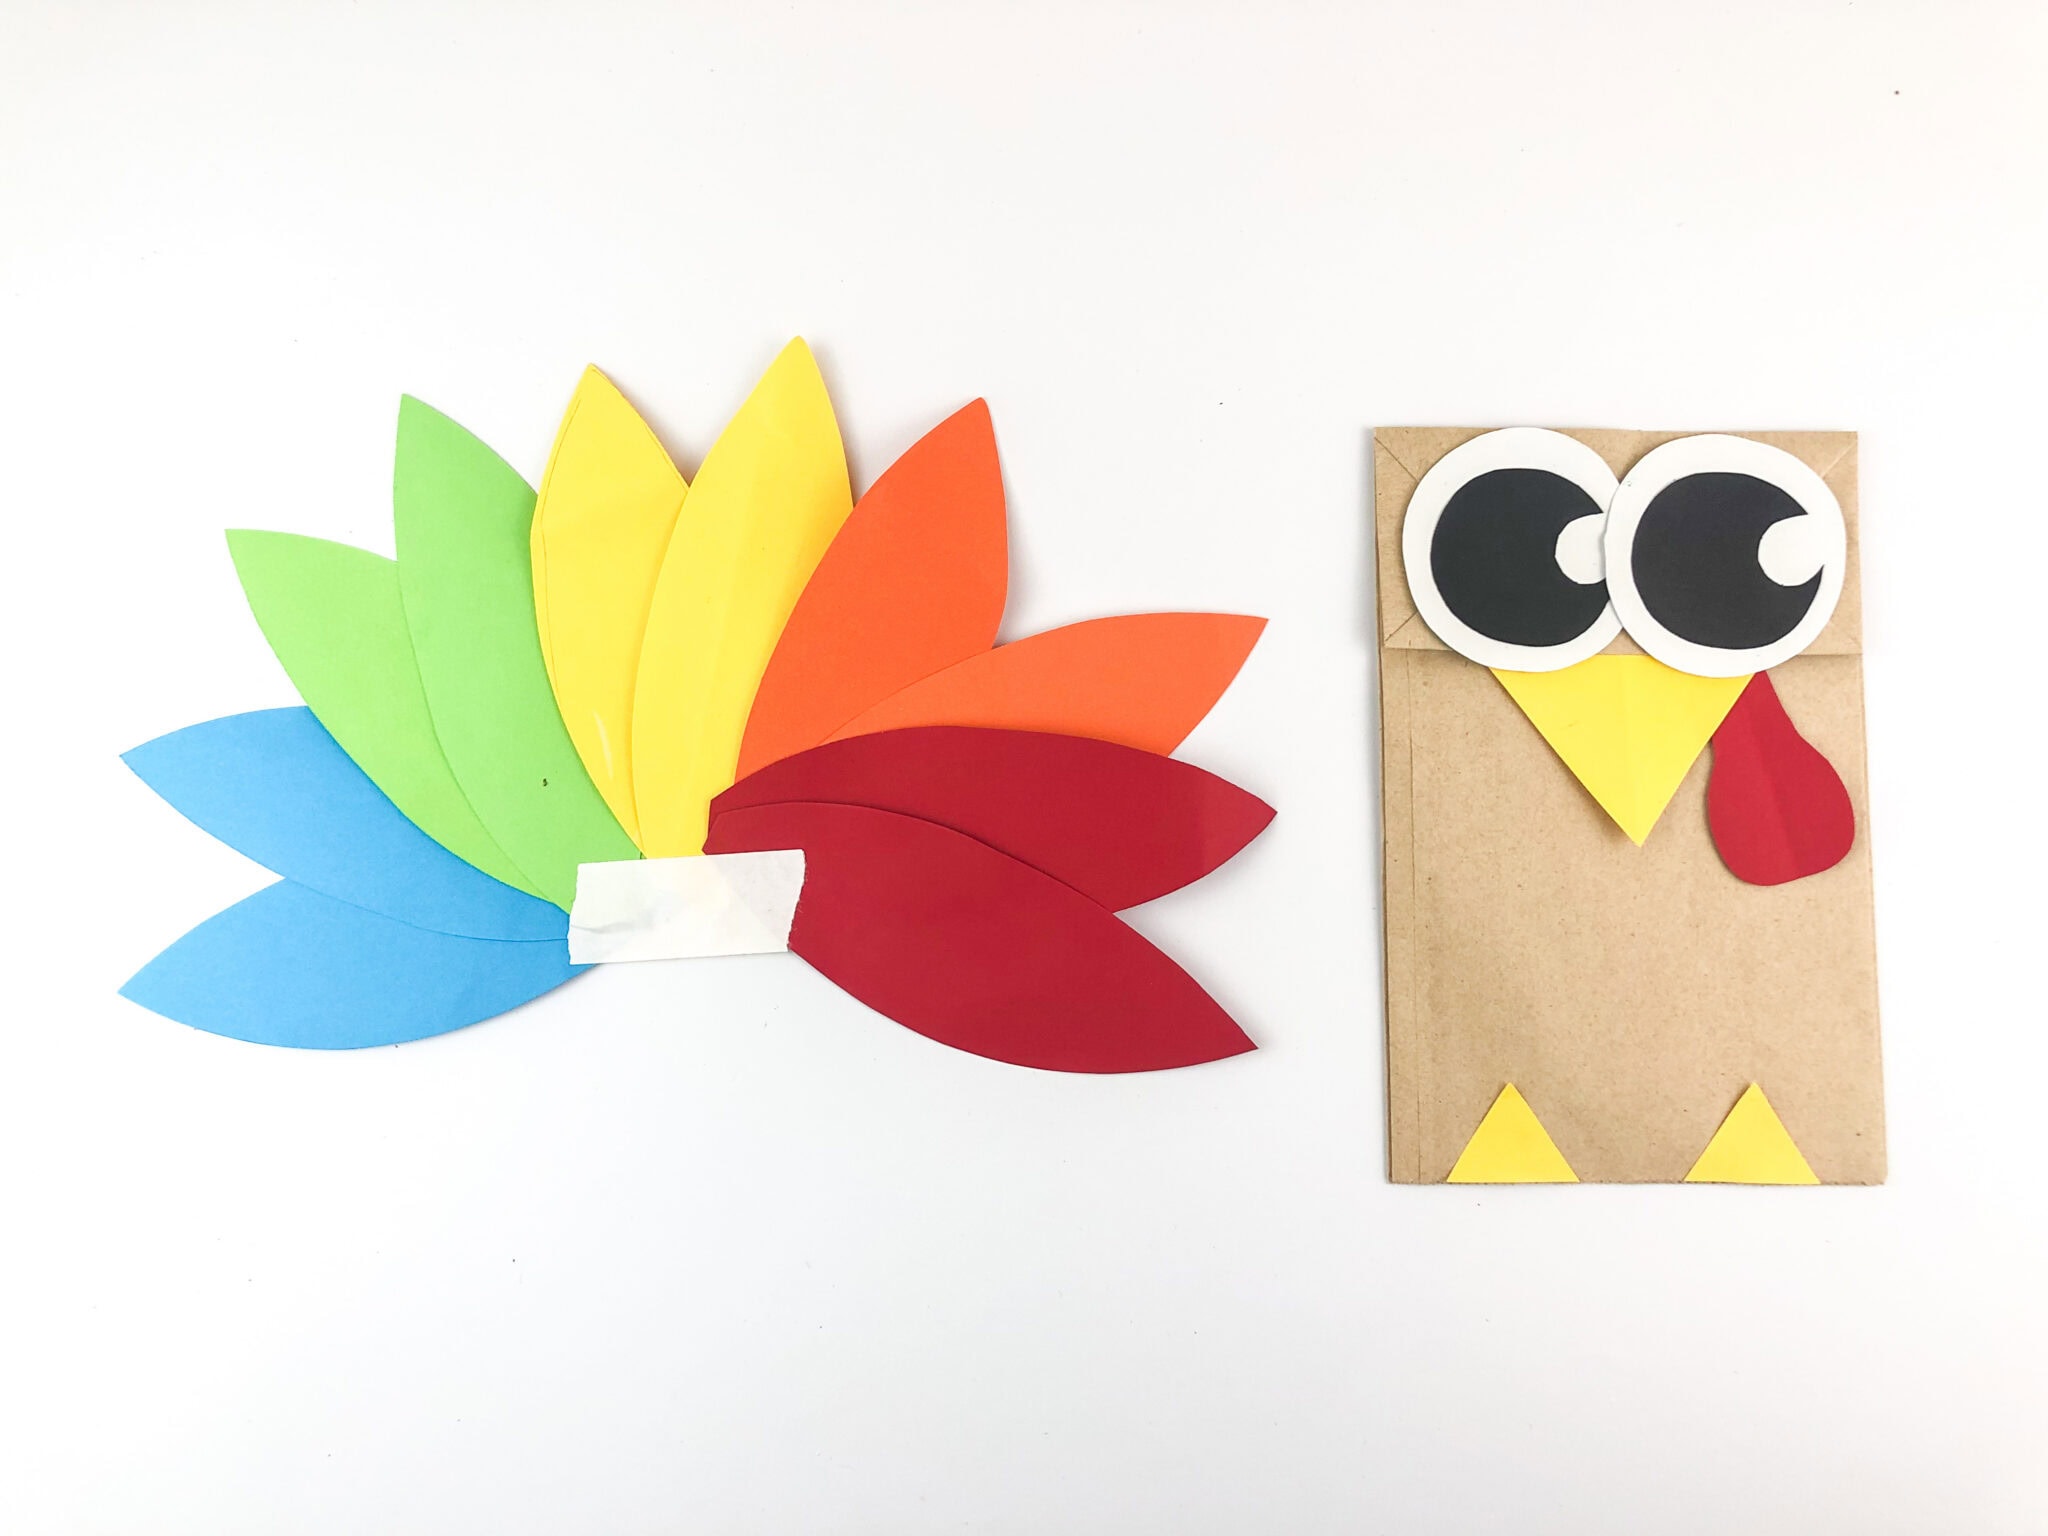
Arrange the feathers on a scrap of card first so children can move the colors around before attaching them to the bag. Put the tallest pieces near the middle. Once the section is dry, glue it on as one piece. This is handy when several children make puppets together and want to compare tail patterns.
Make This at Home: Rainbow Turkey Paper Bag
6. Use Two Handprints for Tail Feathers

Trace one hand twice and angle the two shapes behind the bag so the fingers spread like a fan. Keep the thumbs close together where the bag will hide them. This is a quick variation when there is no time to cut separate feathers. Try these handprint turkey keepsakes if you want to save an extra tracing.
Make This at Home: Handprint Turkey Bag Activity
7. Layer Family Handprints around One Puppet

Use different sizes of traced hands to frame one turkey in several layers. Arrange the largest shapes first and use the smaller ones to fill spaces near the middle. Glue the handprints to a light backing if they need extra support. This version gives each family member a piece to contribute before someone tells the story.
Make This at Home: Layered Handprint Puppet Craft
8. Trace Big Feather Shapes for Easy Cutting

Trace a few big rounded feathers rather than cutting fiddly individual points. Children can pick up each piece and decide which one fits on the left, middle or right. Keep the first feather as a tracing shape if you are making more than one puppet. That leaves more of the session for trying it out.
Make This at Home: Trace Paper Turkey Feathers
9. Color a Printable Body and Fan
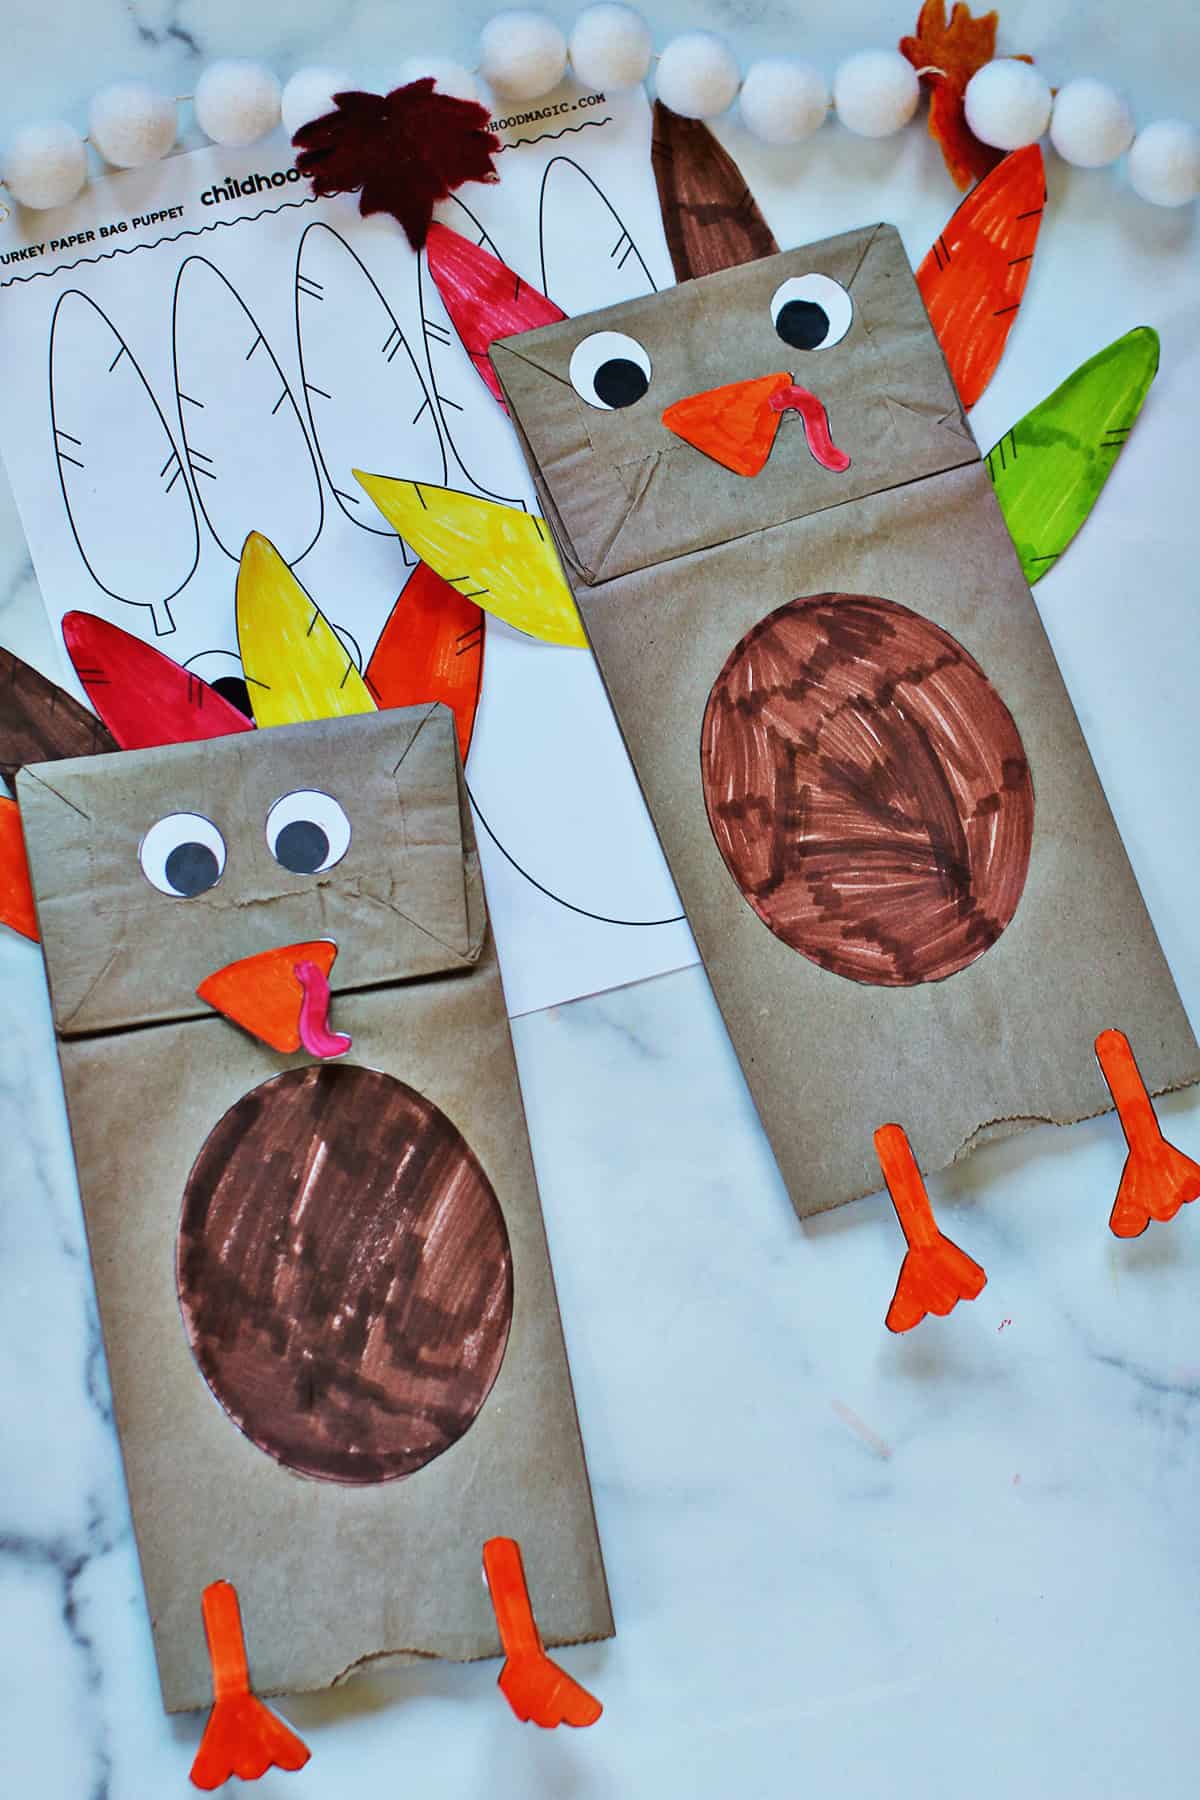
Printed outlines let children choose colors without needing to draw every shape. A wide belly patch gives younger makers space to color, and the separate feet help the character read from across the room. Use short crayons or washable markers. Set the design beside these turkey disguise ideas for another story session.
Make This at Home: Color a Turkey Puppet
10. Use Two Bag Colors for Two Characters

A blue bag and a brown bag give two puppets an easy way to look different, even when they use the same feather pattern. Give them different names and let the first ask the second a simple question. When children switch roles, leave the easiest lines with the person who is new to puppet play.
Make This at Home: Two Paper Bag Turkeys
11. Make the Eyes Large Enough to Read
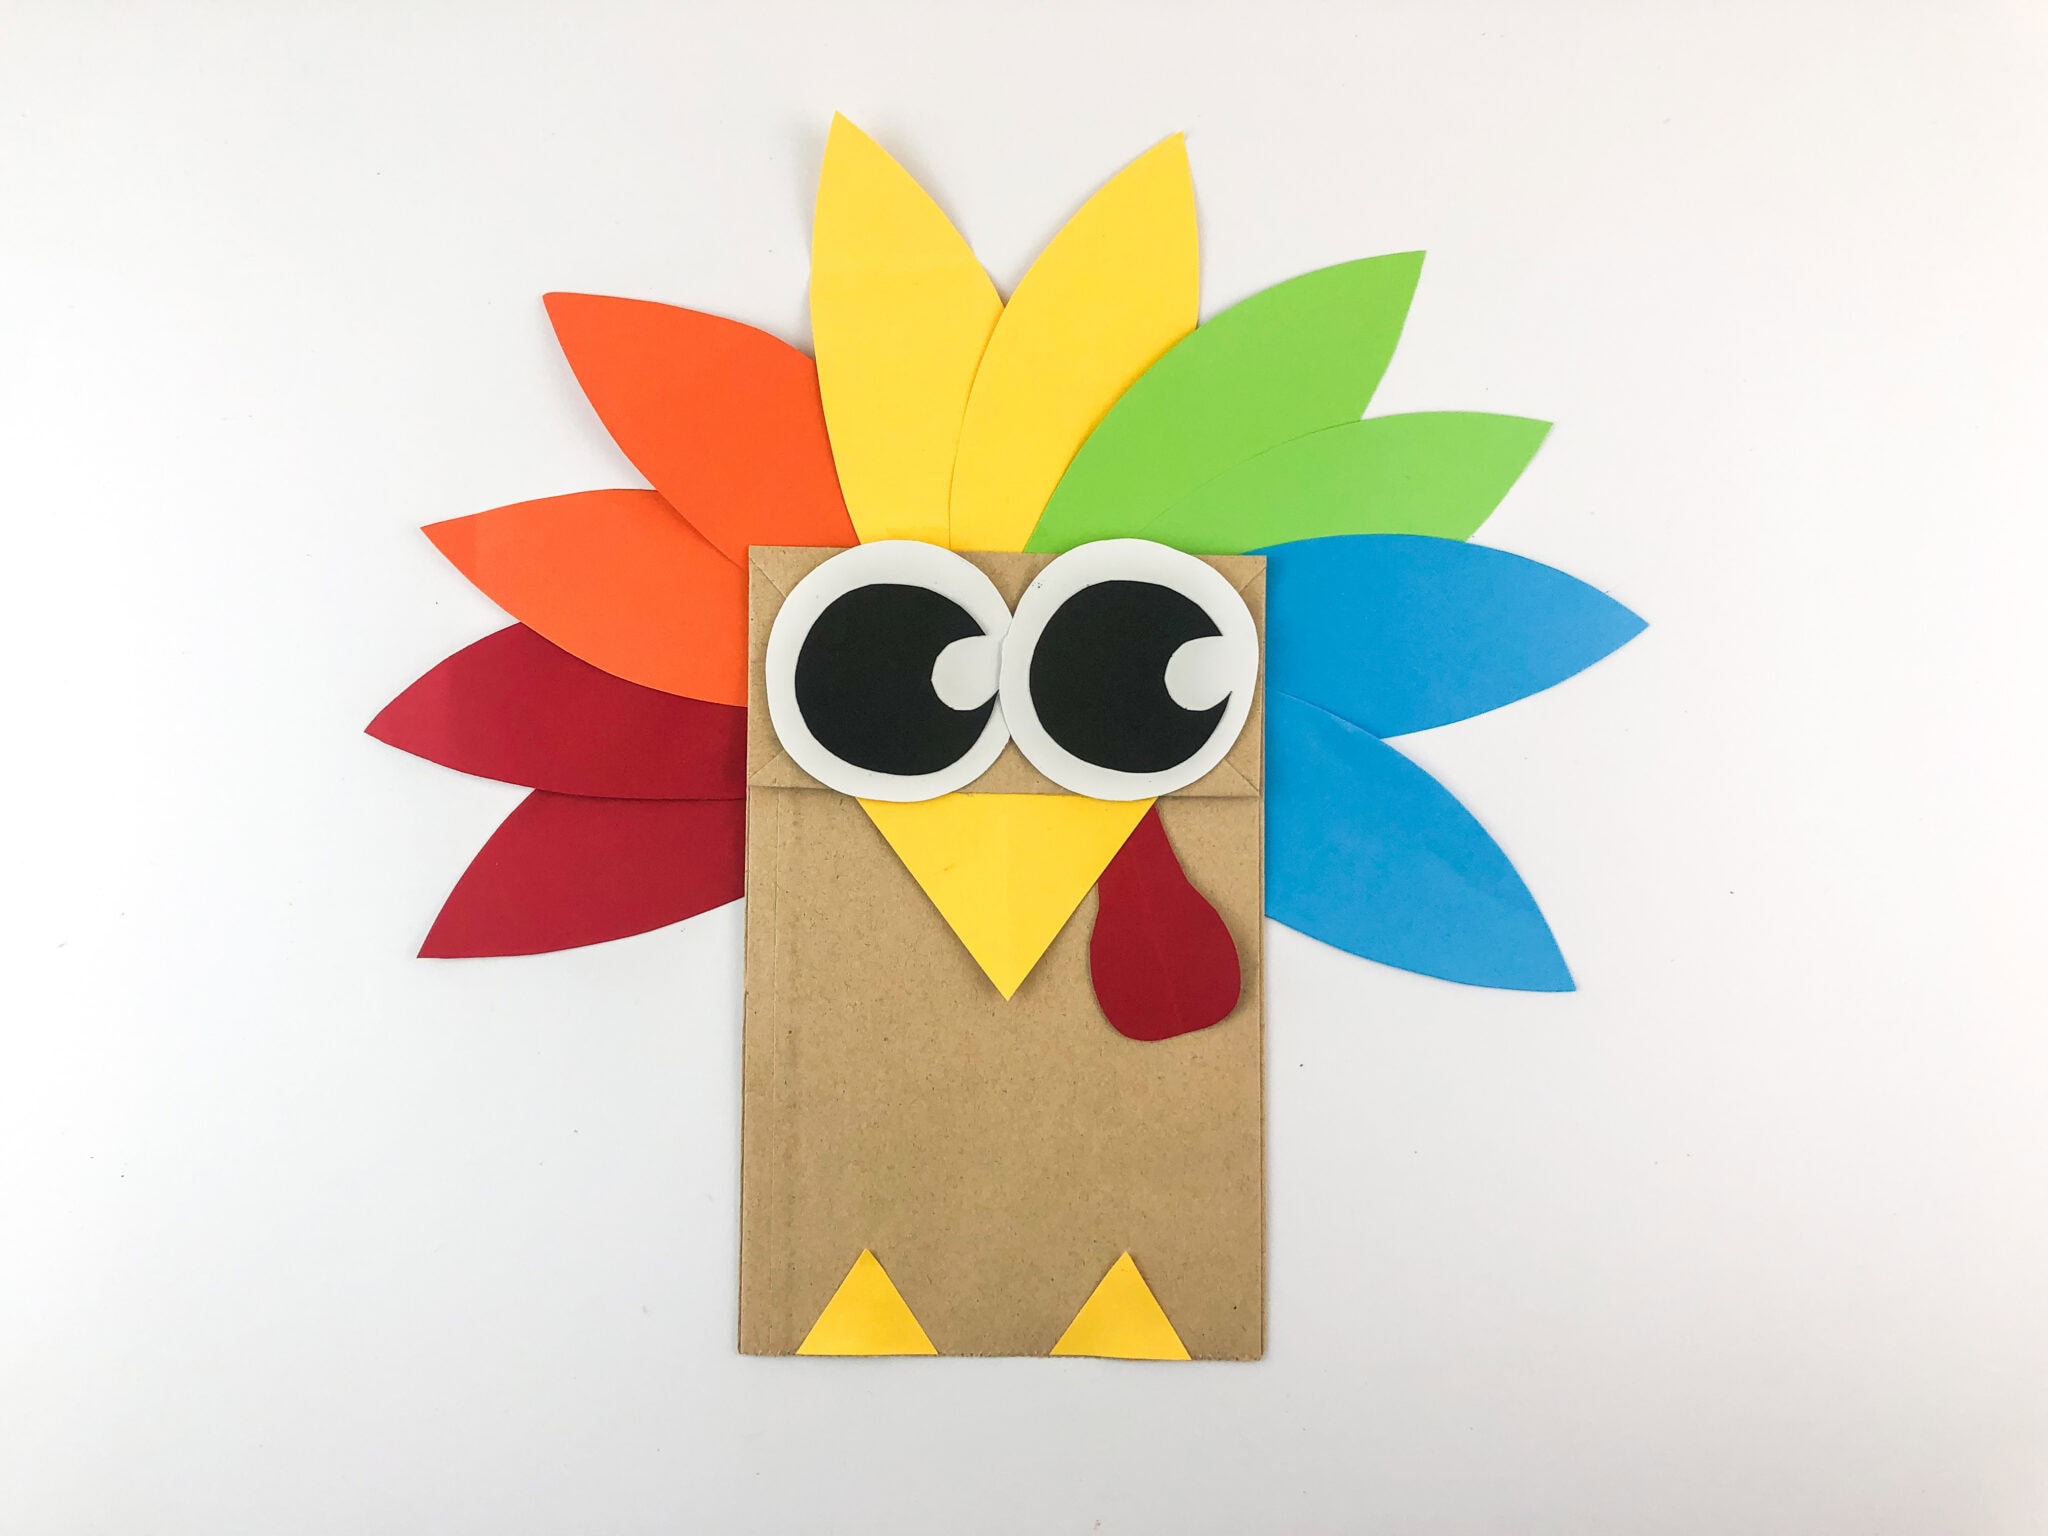
A pair of big paper eyes makes this close-up friendly and gives an audience something to look at when the puppet talks. Try moving the black circles on the white shapes before you glue them. Eyes looking sideways are especially useful for a character who spots something just outside the frame of a story.
Make This at Home: Paper Turkey Face Pieces
12. Write Thankful Messages on the Bags

Write one idea on the body of each puppet and let its maker read it aloud. A child who prefers drawing can put a picture in the same spot. Display the finished puppets near the story corner so each child can find their own. Try a Thanksgiving activity placemat during the quieter part of the gathering.
Make This at Home: Thankful Turkey Bag Puppets
13. Bring a Turkey into a Read-Aloud

Leave the puppet beside the book until there is a clear moment for it to join in. Let it repeat a short refrain, ask what happens next or greet the next character. Take a pause before moving the mouth so children can answer. The reader and puppet operator can trade places after a few pages.
Make This at Home: Turkey Storytime Bag Craft
14. Practice Holding the Puppet at Eye Level

Make a puppet small enough for the performer to lift comfortably. Let children practice bringing it up just far enough to show the face and fan, then lower it when another puppet has the line. A plain wall makes it easier to see the head move. Give each performer a calm place to stand or sit.
Make This at Home: Paper Bag Turkey Storytime
15. Try a Detailed Turkey to Color

For children who like a longer coloring session, choose a template with clear individual feather sections. Let one or two colors repeat to keep the pattern easy to follow. Cut out the larger pieces only after the coloring is finished. Check the assembled page against the size of the bag before attaching the face.
16. Choose a Puppet Set for a Group

A maker’s printable puppet can help a group start from the same shape and finish in different ways. Print according to the listing and check that the parts fit your actual bag. Offer a mixture of crayons or paper scraps so every child can make an easy-to-tell-apart character. Give finished puppets somewhere flat to dry.
17. Build an Oversized Paper Fan

Use a broad fan when the puppet needs to be seen from a little farther away. Keep the feathers light and avoid making them so long that they fold forward over the face. Start with the middle shade, then add one shape on either side. Ask a partner to see which colors are visible from the audience spot.
Make This at Home: Easy Paper Bag Turkey
18. Take Turns Sharing a Thankful Line
Give each puppet one short line about something its character appreciates. Children can take turns lifting the puppet when their turn comes, so the activity stays manageable with a group. Let a quieter child point to a color or drawing instead of speaking. Keep the closing round brief enough for everyone to join.
Make This at Home: Give Thanks Turkey Puppets
Make Room for a Thanksgiving Puppet Show
Set two chairs or a low table near an uncluttered wall and give each performer a turn. Name the turkeys together, then choose one short scene to tell. Younger children can make a sound or hold up their puppet while someone else narrates. If the group wants another craft, these projects use many of the same supplies.
What would your turkey say when it first appears on stage? Share a line or a favorite feather idea in the comments. We would love to hear what your group came up with.






























0 Comments