18 Paper Butterfly Craft Ideas for Cards and Decor
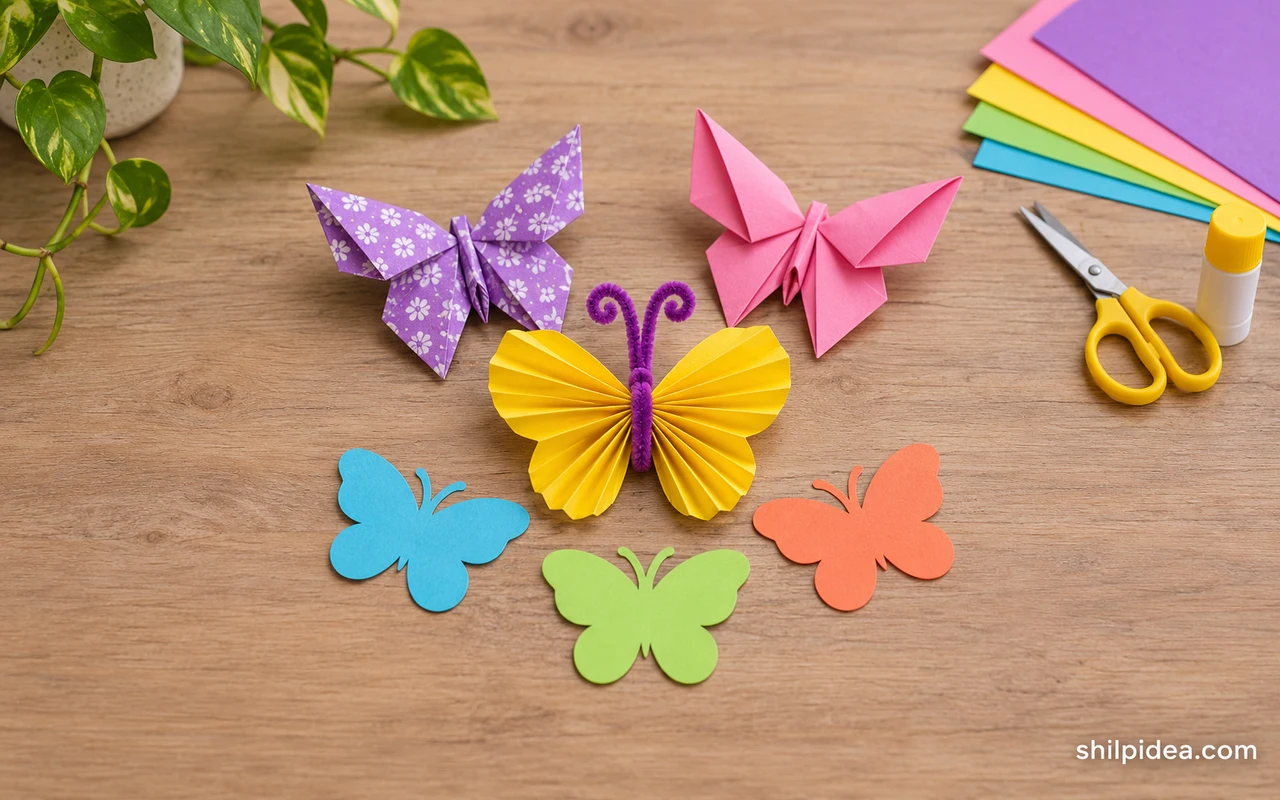
Choose a paper butterfly by how you want it to sit. A cut silhouette can lie flat on a card and a folded one can stand away from a wall.
Keep the first wing open while making the second one so you can compare both sides. Try quilled paper butterflies if you want curves and open loops that sit higher off the backing.
Try one design before choosing the colors or sizes for a whole group. Choose the butterfly size after folding one of these paper gift boxes for it to sit on.
1. Pink and White Butterflies in a Loose Group

Fold the wings just above the center and turn a few butterflies upward. Leave enough space between pieces so the light catches both sides. Set up a small version and look at it from the angle where it will be seen. Check the outlines and spacing before you finish the smallest details or repeat the layout.
2. Pastel Butterflies With Raised Wings

Mix pink and purple shapes and crease the wings lightly. Put the darker pieces near a pale background to show where the folds lift. Try the main shape first and compare it with the reference before making more pieces. Keep a little extra room around the edges so the most useful detail stays visible.
3. Pale Butterfly With Cutout Details

Make the large outline before cutting the narrow open shapes within it. Keep a firm edge around the cutouts so the paper does not tear when lifted. Set up a small version and look at it from the angle where it will be seen. Check the outlines and spacing before you finish the smallest details or repeat the layout.
4. Soft Pink Wings Against a Pale Wall

Use several subtle shades and turn the wings in different directions. Place the darkest one slightly away from the larger shapes. Try the main shape first and compare it with the reference before making more pieces. Keep a little extra room around the edges so the most useful detail stays visible. See these paper flower displays if you want to mix wings with larger shapes on the wall.
5. Butterflies Arranged on a Blue-Green Wall

Keep the pattern broad and change the angle from one butterfly to the next. Set a few taller shapes near the top to lead the eye. Set up a small version and look at it from the angle where it will be seen. Check the outlines and spacing before you finish the smallest details or repeat the layout.
6. Small Patterned Paper Butterflies

Pick patterns with marks small enough to show inside each wing. Repeat one color across the left and right sides to bring the shapes together. Try the main shape first and compare it with the reference before making more pieces. Keep a little extra room around the edges so the most useful detail stays visible.
7. Paper Butterfly Display on Thin Stems

Set a few folded shapes at different heights and keep the supports fine. Turn the wings to the front so they stay visible beside stems and leaves. Set up a small version and look at it from the angle where it will be seen. Check the outlines and spacing before you finish the smallest details or repeat the layout.
8. Two Butterfly Details on Round Pale Backings

Set each butterfly near the middle of a round shape and let the parts sit upright. Use an open border so the wing edges remain clear. Try the main shape first and compare it with the reference before making more pieces. Keep a little extra room around the edges so the most useful detail stays visible.
9. Pink and Turquoise Cut-Paper Butterflies

Use opposing colors to compare the same wing pattern. Give the butterfly points enough room that the shapes can be turned without bending them. Set up a small version and look at it from the angle where it will be seen. Check the outlines and spacing before you finish the smallest details or repeat the layout.
10. Purple Butterflies in Two Sizes

Give the larger piece a slightly broader lower wing. Set the smaller one a short distance away when you want to show the scale change. Try the main shape first and compare it with the reference before making more pieces. Keep a little extra room around the edges so the most useful detail stays visible. A shallow folded butterfly can also sit on decorated paper bags.
11. Accordion Butterfly Folded From a Rectangle

Make the first set of folds the same width as the second. Open both ends after securing the middle and adjust the shape without flattening the folds. Set up a small version and look at it from the angle where it will be seen. Check the outlines and spacing before you finish the smallest details or repeat the layout.
12. Origami Butterflies With Tall Raised Wings

Make a firm base crease and let the upper wings stand. Use a slightly thicker sheet if the smaller wings keep folding under themselves. Try the main shape first and compare it with the reference before making more pieces. Keep a little extra room around the edges so the most useful detail stays visible.
13. Accordion Butterflies in Several Colors

Try the same fold on sheets in distinct colors. Keep the folds shallow if the butterflies will be mounted as a group. Set up a small version and look at it from the angle where it will be seen. Check the outlines and spacing before you finish the smallest details or repeat the layout.
14. Bright Pink and Yellow Fan Wings
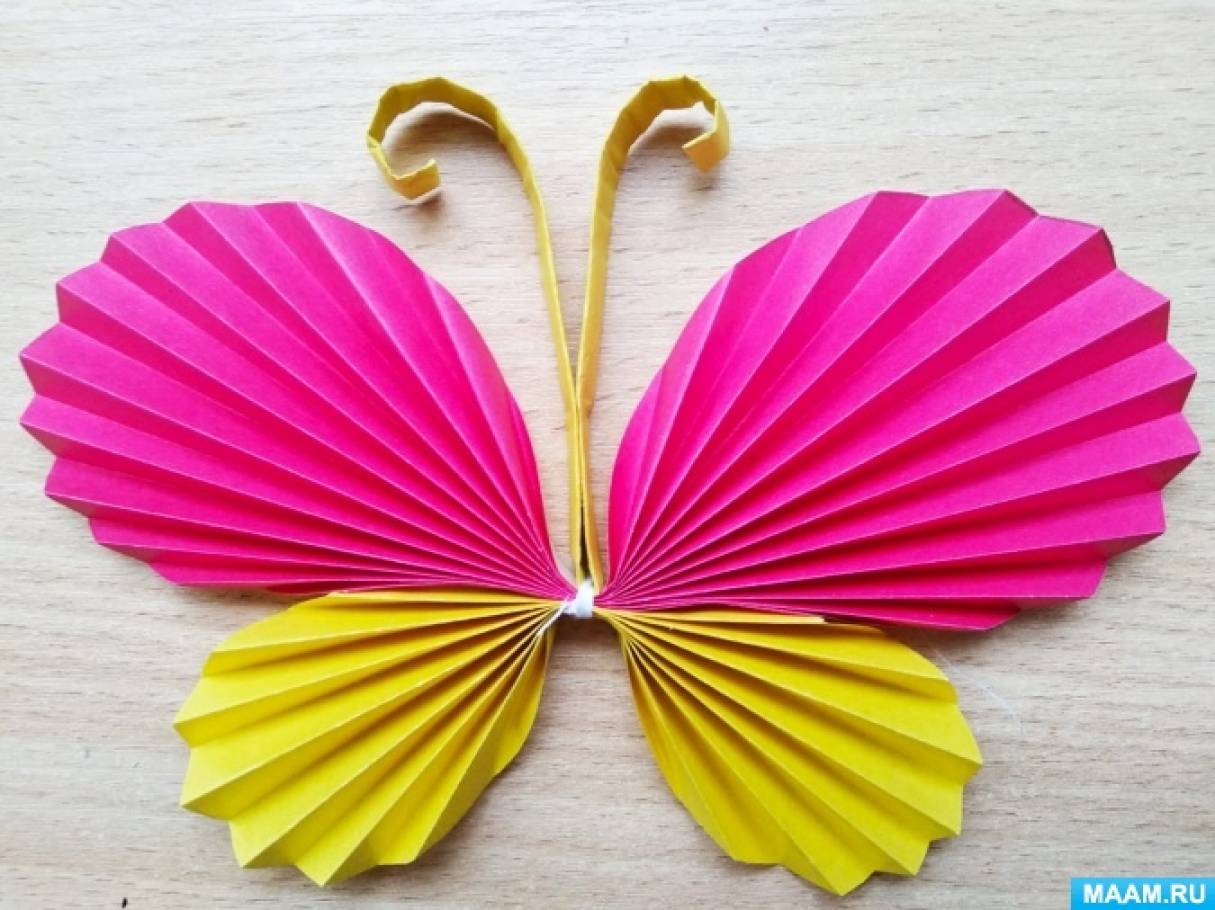
Use one color for the upper fans and another for the lower ones. Leave a narrow dark section at the center to hold the shape visually. Try the main shape first and compare it with the reference before making more pieces. Keep a little extra room around the edges so the most useful detail stays visible.
15. Orange Folded Butterflies With Angled Wing Tips
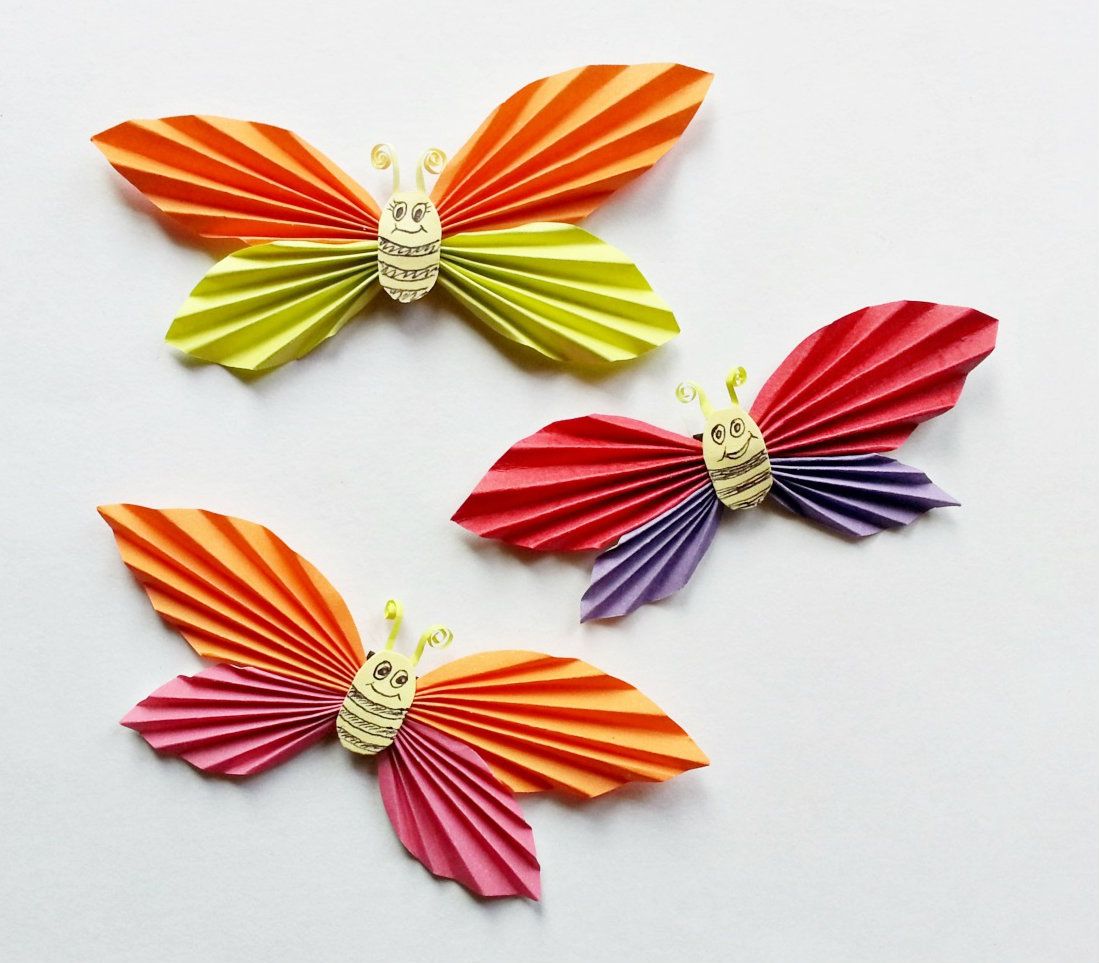
Keep fold lines sharp and tilt the wings at different angles when displaying the finished pieces. Use a darker orange for a small second group. Set up a small version and look at it from the angle where it will be seen. Check the outlines and spacing before you finish the smallest details or repeat the layout.
16. A Group of Butterflies With Patterned Wings

Use one common outline and choose patterned paper that shows up against the backing. Rotate some pieces so the repeating outlines feel less rigid. Try the main shape first and compare it with the reference before making more pieces. Keep a little extra room around the edges so the most useful detail stays visible. Pair the small wings with these handmade paper flowers on a display that needs a second texture.
17. Pale Blue and Orange Folded Pair

Make two butterflies the same width and open one more than the other. Set them close enough for the colors to work as a pair. Set up a small version and look at it from the angle where it will be seen. Check the outlines and spacing before you finish the smallest details or repeat the layout.
18. Single Yellow Butterfly on a Green Background

Lay each bright wing against the green and keep the center narrow. Open the folds outward from the middle to preserve the rounded silhouette. Try the main shape first and compare it with the reference before making more pieces. Keep a little extra room around the edges so the most useful detail stays visible.
Fit the Wings to the Surface You Want to Decorate
Set a sample butterfly on the card, wall, or gift wrap before making the rest. A shallow fold keeps the wings close to paper, while a deeper fold gives a wall display shadows. Try different angles and leave a little space near the wing tips. The related projects below give you more ways to work with the leftover paper.
- Make Butterflies With Paper Quilling
- Make Paper Flowers for Decorations
- Decorate With Paper Flowers
- Fold Paper Boxes for Gifts
- Make and Decorate Paper Bags
What would you decorate with paper butterflies? Tell us in the comments whether you would fold the wings, cut them flat, or make a group with several colors and sizes.

















0 Comments