18 Quilled Butterfly Ideas for Cards and Paper Art
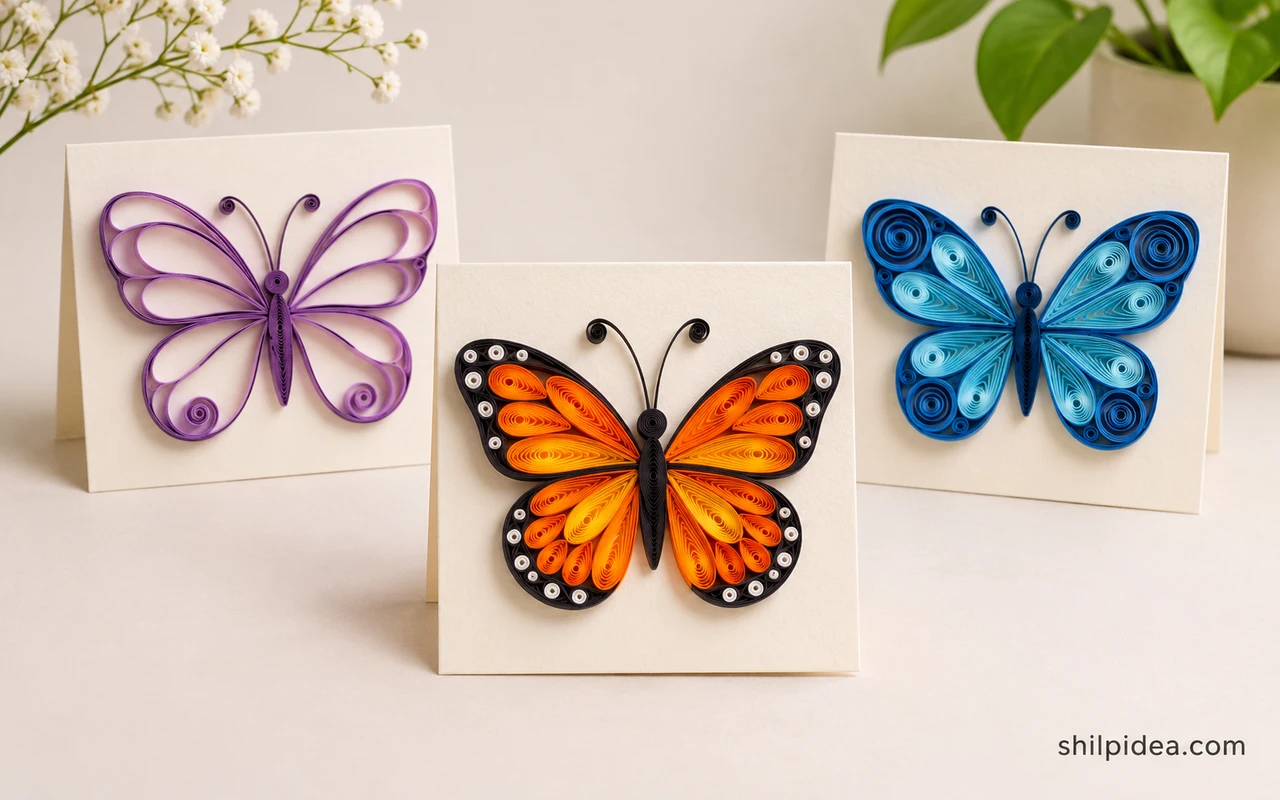
A butterfly gives you two matching shapes to practice as you learn how paper coils behave. Start with the widest part of each wing, then work inward to the body.
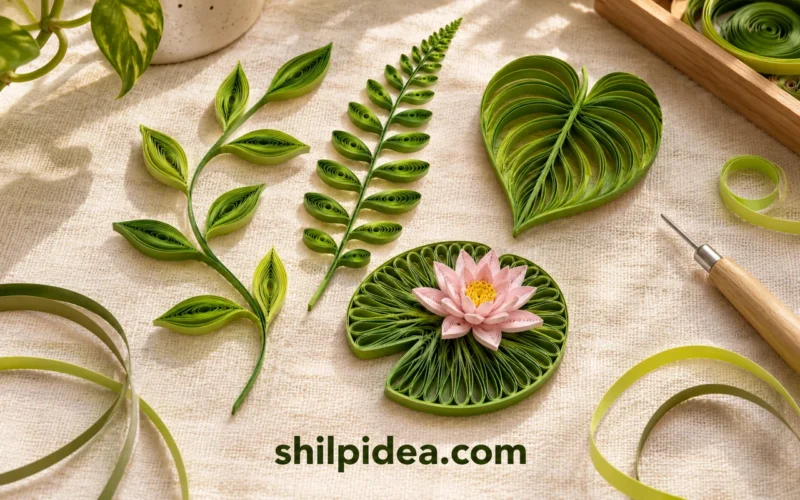
It is easier to match them before the glue dries. Practice these quilled leaf shapes if you want more control over the pointed tips.
Choose a simple pair of wings or try one of the compositions below when you want to add flowers, leaves, or a background. Try paper butterfly crafts with flatter folds and cutouts for another way to make wings.
1. White Butterfly With Open Wings

Leave gaps between the white loops to keep the shape light. Use a dark background when you want the wing outline to show clearly. Lay the two sides around a paper body before adding glue. Compare the outline from above and adjust the coils while they are still loose so the wing tips sit at similar angles.
2. Orange Butterfly With Long Loops

Angle the lower loops toward the body and let the larger upper loops spread outward. Keep the antennae short so the wings remain the focus. Try a small sample wing to see how the paper bends. Keep the matching wing nearby while you work and use a dry layout to check that the body and antennae have room.
3. Purple Butterfly With Layered Wings

Use thin violet strips to trace several veins inside each wing. Repeat the shape on the second side and let the tips curve gently. Lay the two sides around a paper body before adding glue. Compare the outline from above and adjust the coils while they are still loose so the wing tips sit at similar angles.
4. Blue and Yellow Fan Wings

Group blue and yellow strips in broad fans and attach them at a narrow center. Vary the outer lengths so the wings look tapered. Try a small sample wing to see how the paper bends. Keep the matching wing nearby while you work and use a dry layout to check that the body and antennae have room.
5. Butterfly Paper Clip Bookmarks

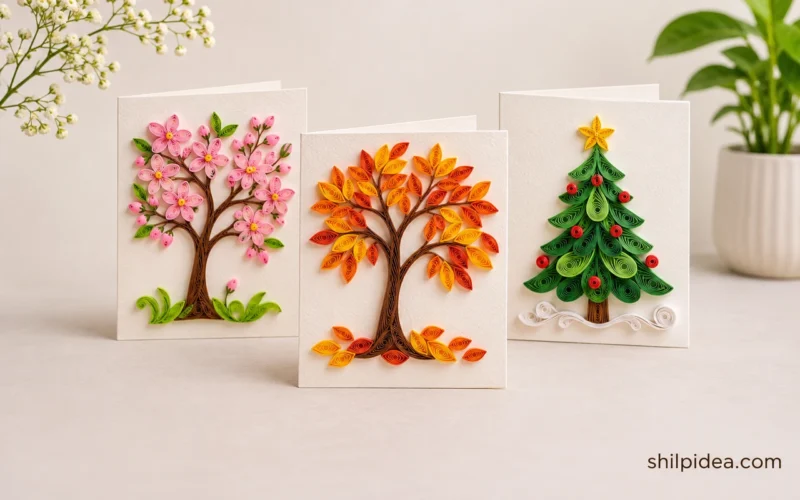
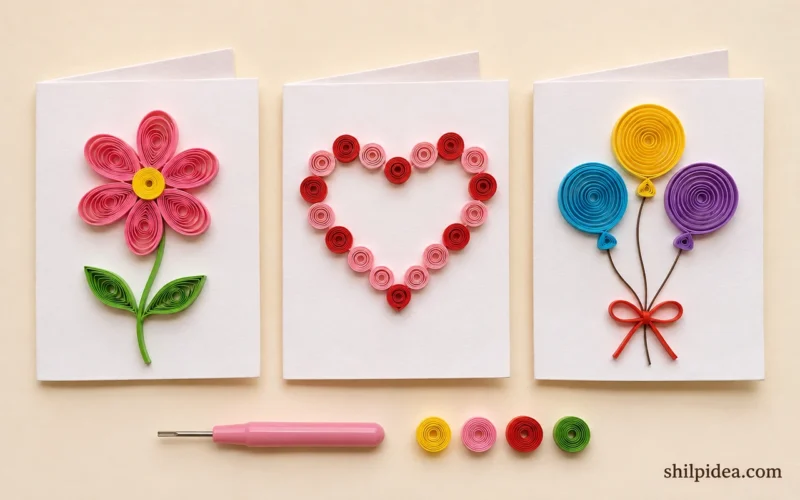
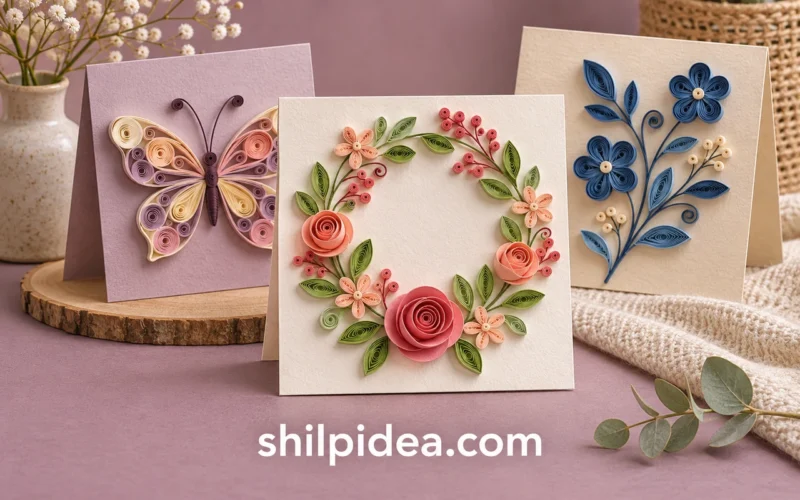
Use two small coils per side and leave most of the clip exposed. It is easier to slide onto a page when the wing tips stay clear of the bend. Lay the two sides around a paper body before adding glue. Compare the outline from above and adjust the coils while they are still loose so the wing tips sit at similar angles. Set a small butterfly on one of these quilled greeting cards to see how it fits a greeting.
6. Mixed Butterfly Embellishments

Make several small butterflies in different sizes before deciding how to group them. Use just one or two colors in each so the wing patterns remain readable. Try a small sample wing to see how the paper bends. Keep the matching wing nearby while you work and use a dry layout to check that the body and antennae have room.
7. Yellow Wings With Black Edges

Outline the wings in black and keep a wide yellow area inside. Fit small black and white details along the edge. Lay the two sides around a paper body before adding glue. Compare the outline from above and adjust the coils while they are still loose so the wing tips sit at similar angles.
8. Blue Butterfly Made From Long Scrolls

Bend long strips outward and curl them toward the center. Leave the inside of each scroll open so the blue layers can be seen. Try a small sample wing to see how the paper bends. Keep the matching wing nearby while you work and use a dry layout to check that the body and antennae have room.
9. Green and Amber Butterfly Stems

Fix two tight pairs of coils to a slim stem and turn each butterfly toward the front. Combine small and tall stems in a container. Lay the two sides around a paper body before adding glue. Compare the outline from above and adjust the coils while they are still loose so the wing tips sit at similar angles.
10. Pink and Blue Wings Beside a Paper Flower

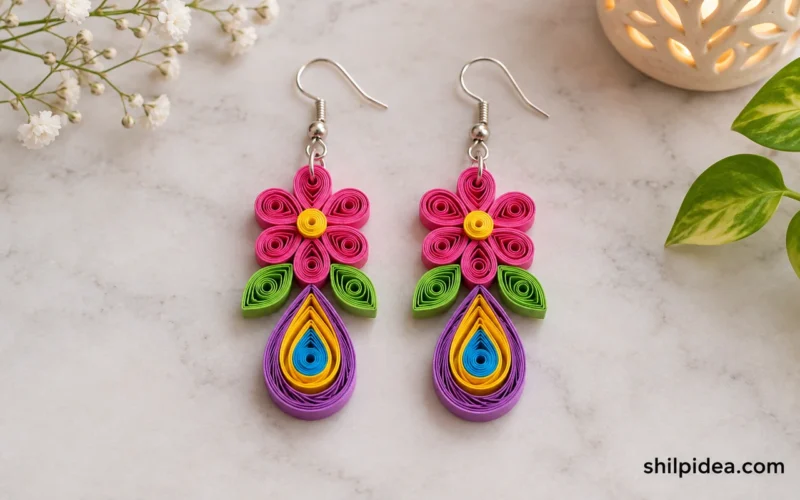
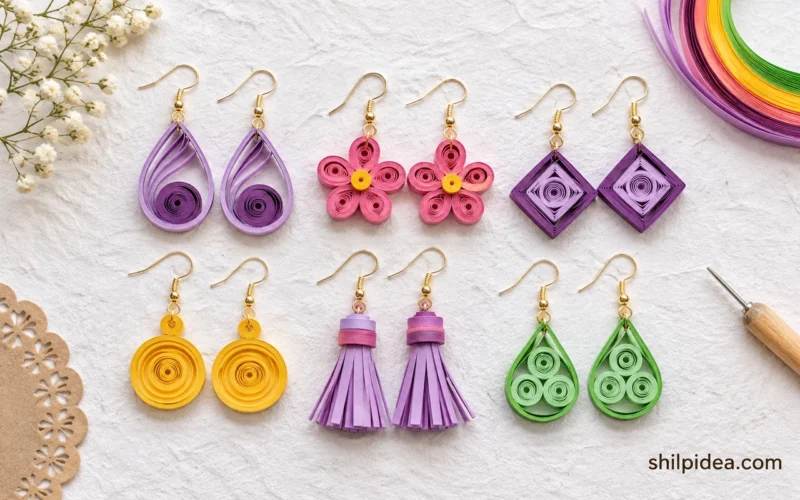
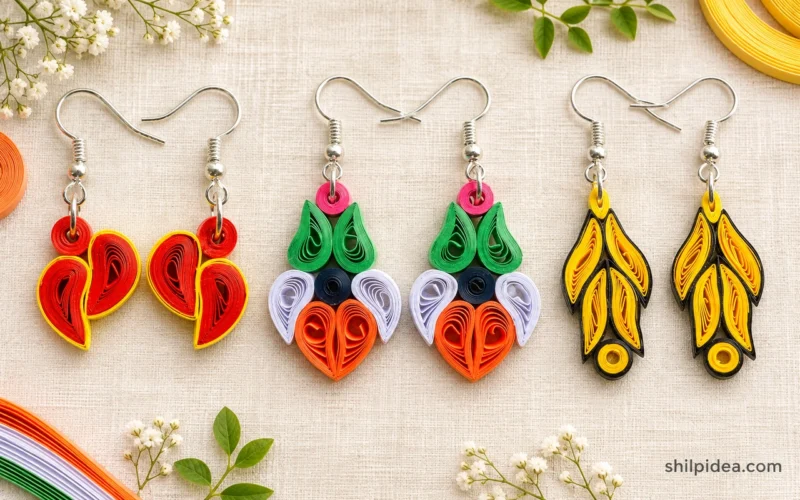
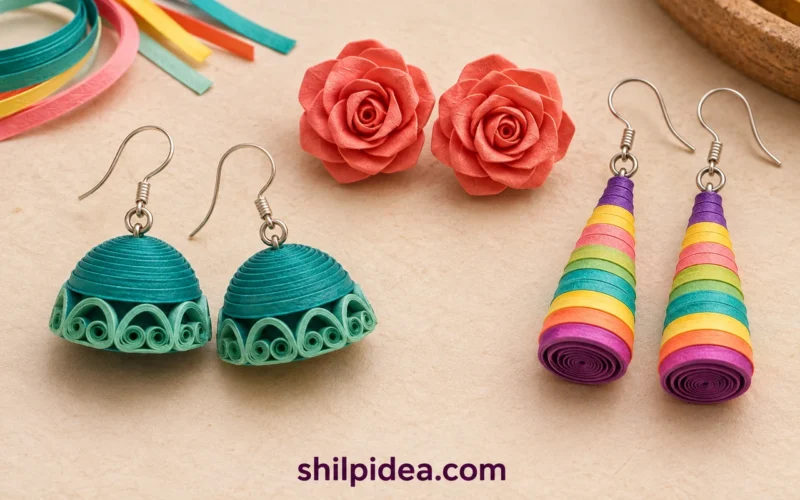
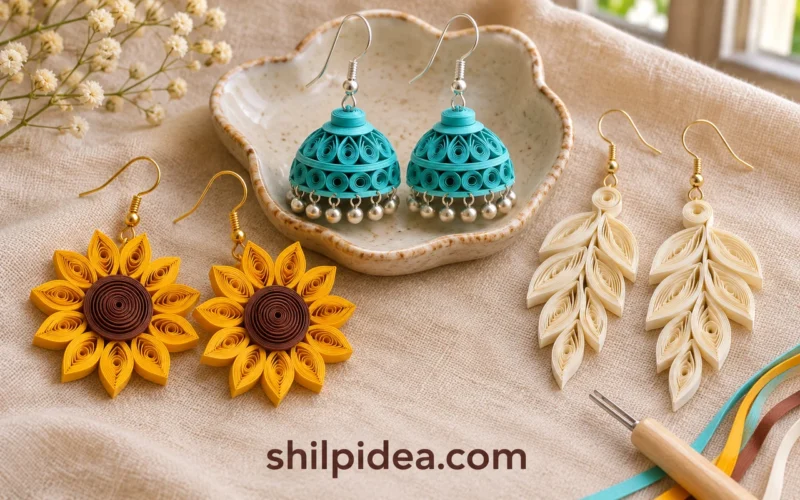
Use a pale frame for each wing and a darker pink interior. Set the butterfly a little above the flower so both silhouettes stay visible. Try a small sample wing to see how the paper bends. Keep the matching wing nearby while you work and use a dry layout to check that the body and antennae have room. Try a smaller open coil on paper quilling earrings once the shape is easy to repeat.
11. Orange Monarch With Fine Black Veins

Plan the dark wing divisions before you add orange paper. Keep white accents small and concentrated near the outer edge. Lay the two sides around a paper body before adding glue. Compare the outline from above and adjust the coils while they are still loose so the wing tips sit at similar angles.
12. Small Butterflies With Contrasting Bodies

Repeat the same general outline and vary the body color or wing fill. Turn some sideways in a group so the arrangement feels less rigid. Try a small sample wing to see how the paper bends. Keep the matching wing nearby while you work and use a dry layout to check that the body and antennae have room.
13. Monarch Above a Painted Flower Background
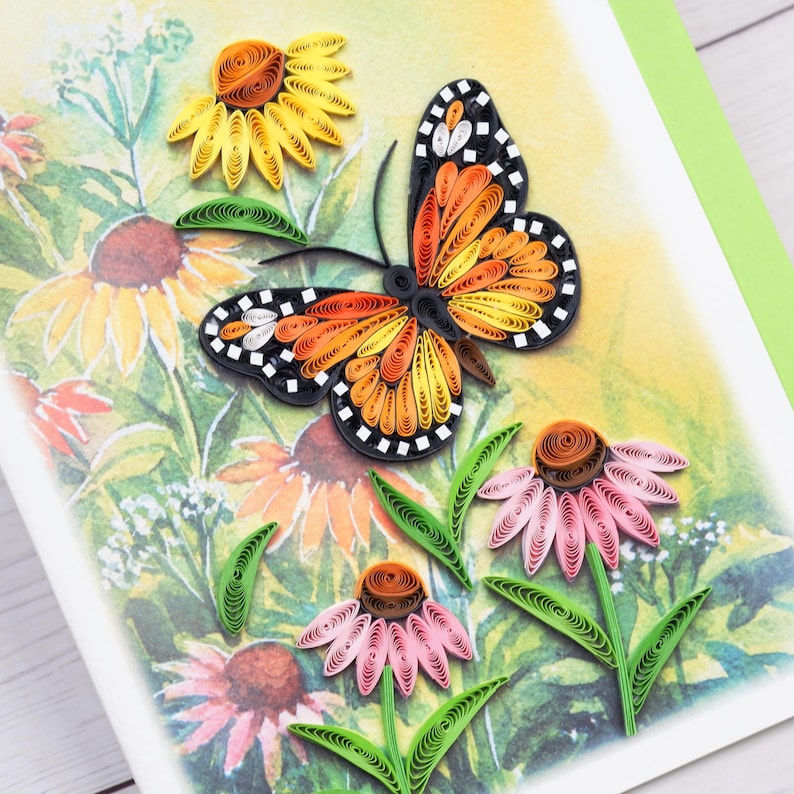
Keep the background flowers light behind the orange wings. Use fewer painted marks close to the butterfly so the paper relief stands out. Lay the two sides around a paper body before adding glue. Compare the outline from above and adjust the coils while they are still loose so the wing tips sit at similar angles.
14. Single Butterfly on a Layered Card

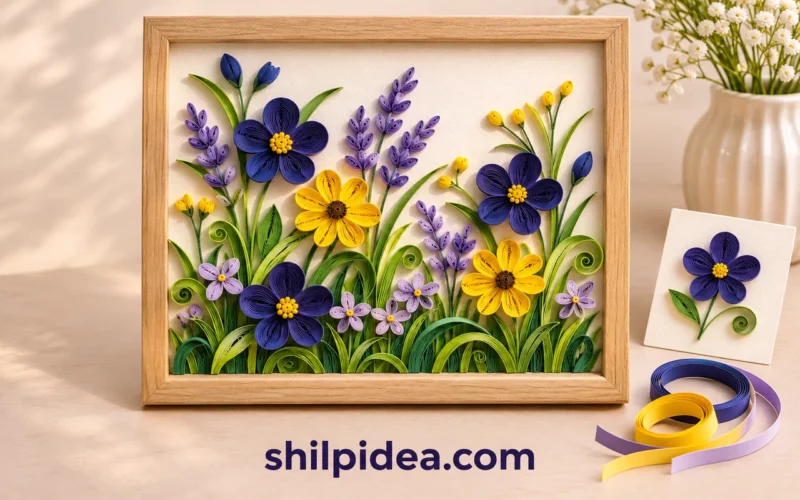
Put the wing tips inside the card margins with room on all sides. Repeat a wing color on the edge of the mat to tie the layers together. Try a small sample wing to see how the paper bends. Keep the matching wing nearby while you work and use a dry layout to check that the body and antennae have room. Compare quilled wall art if the wings need a deep frame or a larger backing.
15. Butterfly Angled Above Pink Blossoms

Place the orange butterfly diagonally over the flowers and let the lower wing overlap a little. Keep a gap beside the upper wing. Lay the two sides around a paper body before adding glue. Compare the outline from above and adjust the coils while they are still loose so the wing tips sit at similar angles.
16. Bright Butterfly Among Simple Green Leaves
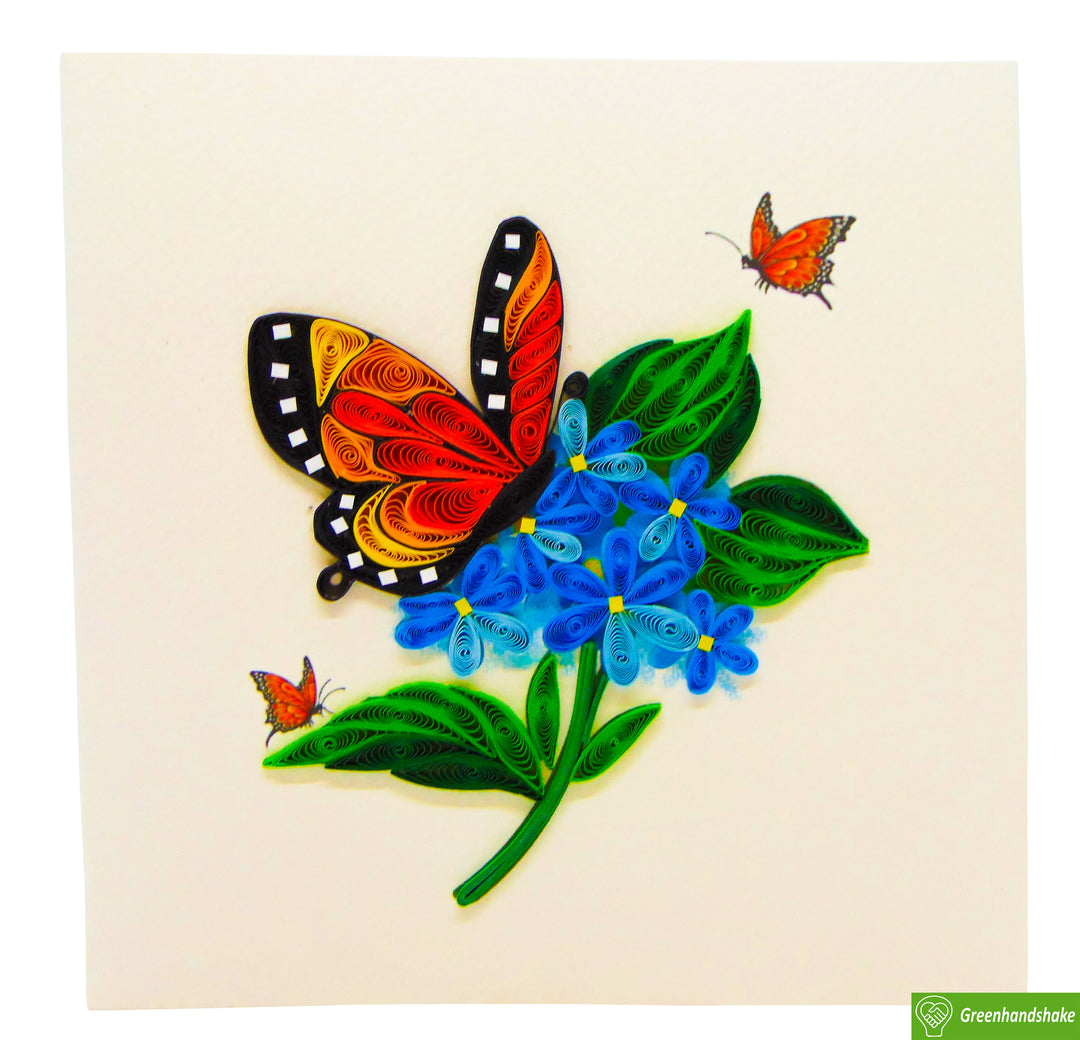
Use a few long green leaves to anchor the orange and blue wings. Keep the plant low on the card and leave a sunny open area above. Try a small sample wing to see how the paper bends. Keep the matching wing nearby while you work and use a dry layout to check that the body and antennae have room.
17. Butterfly Beside Drooping Purple Flowers
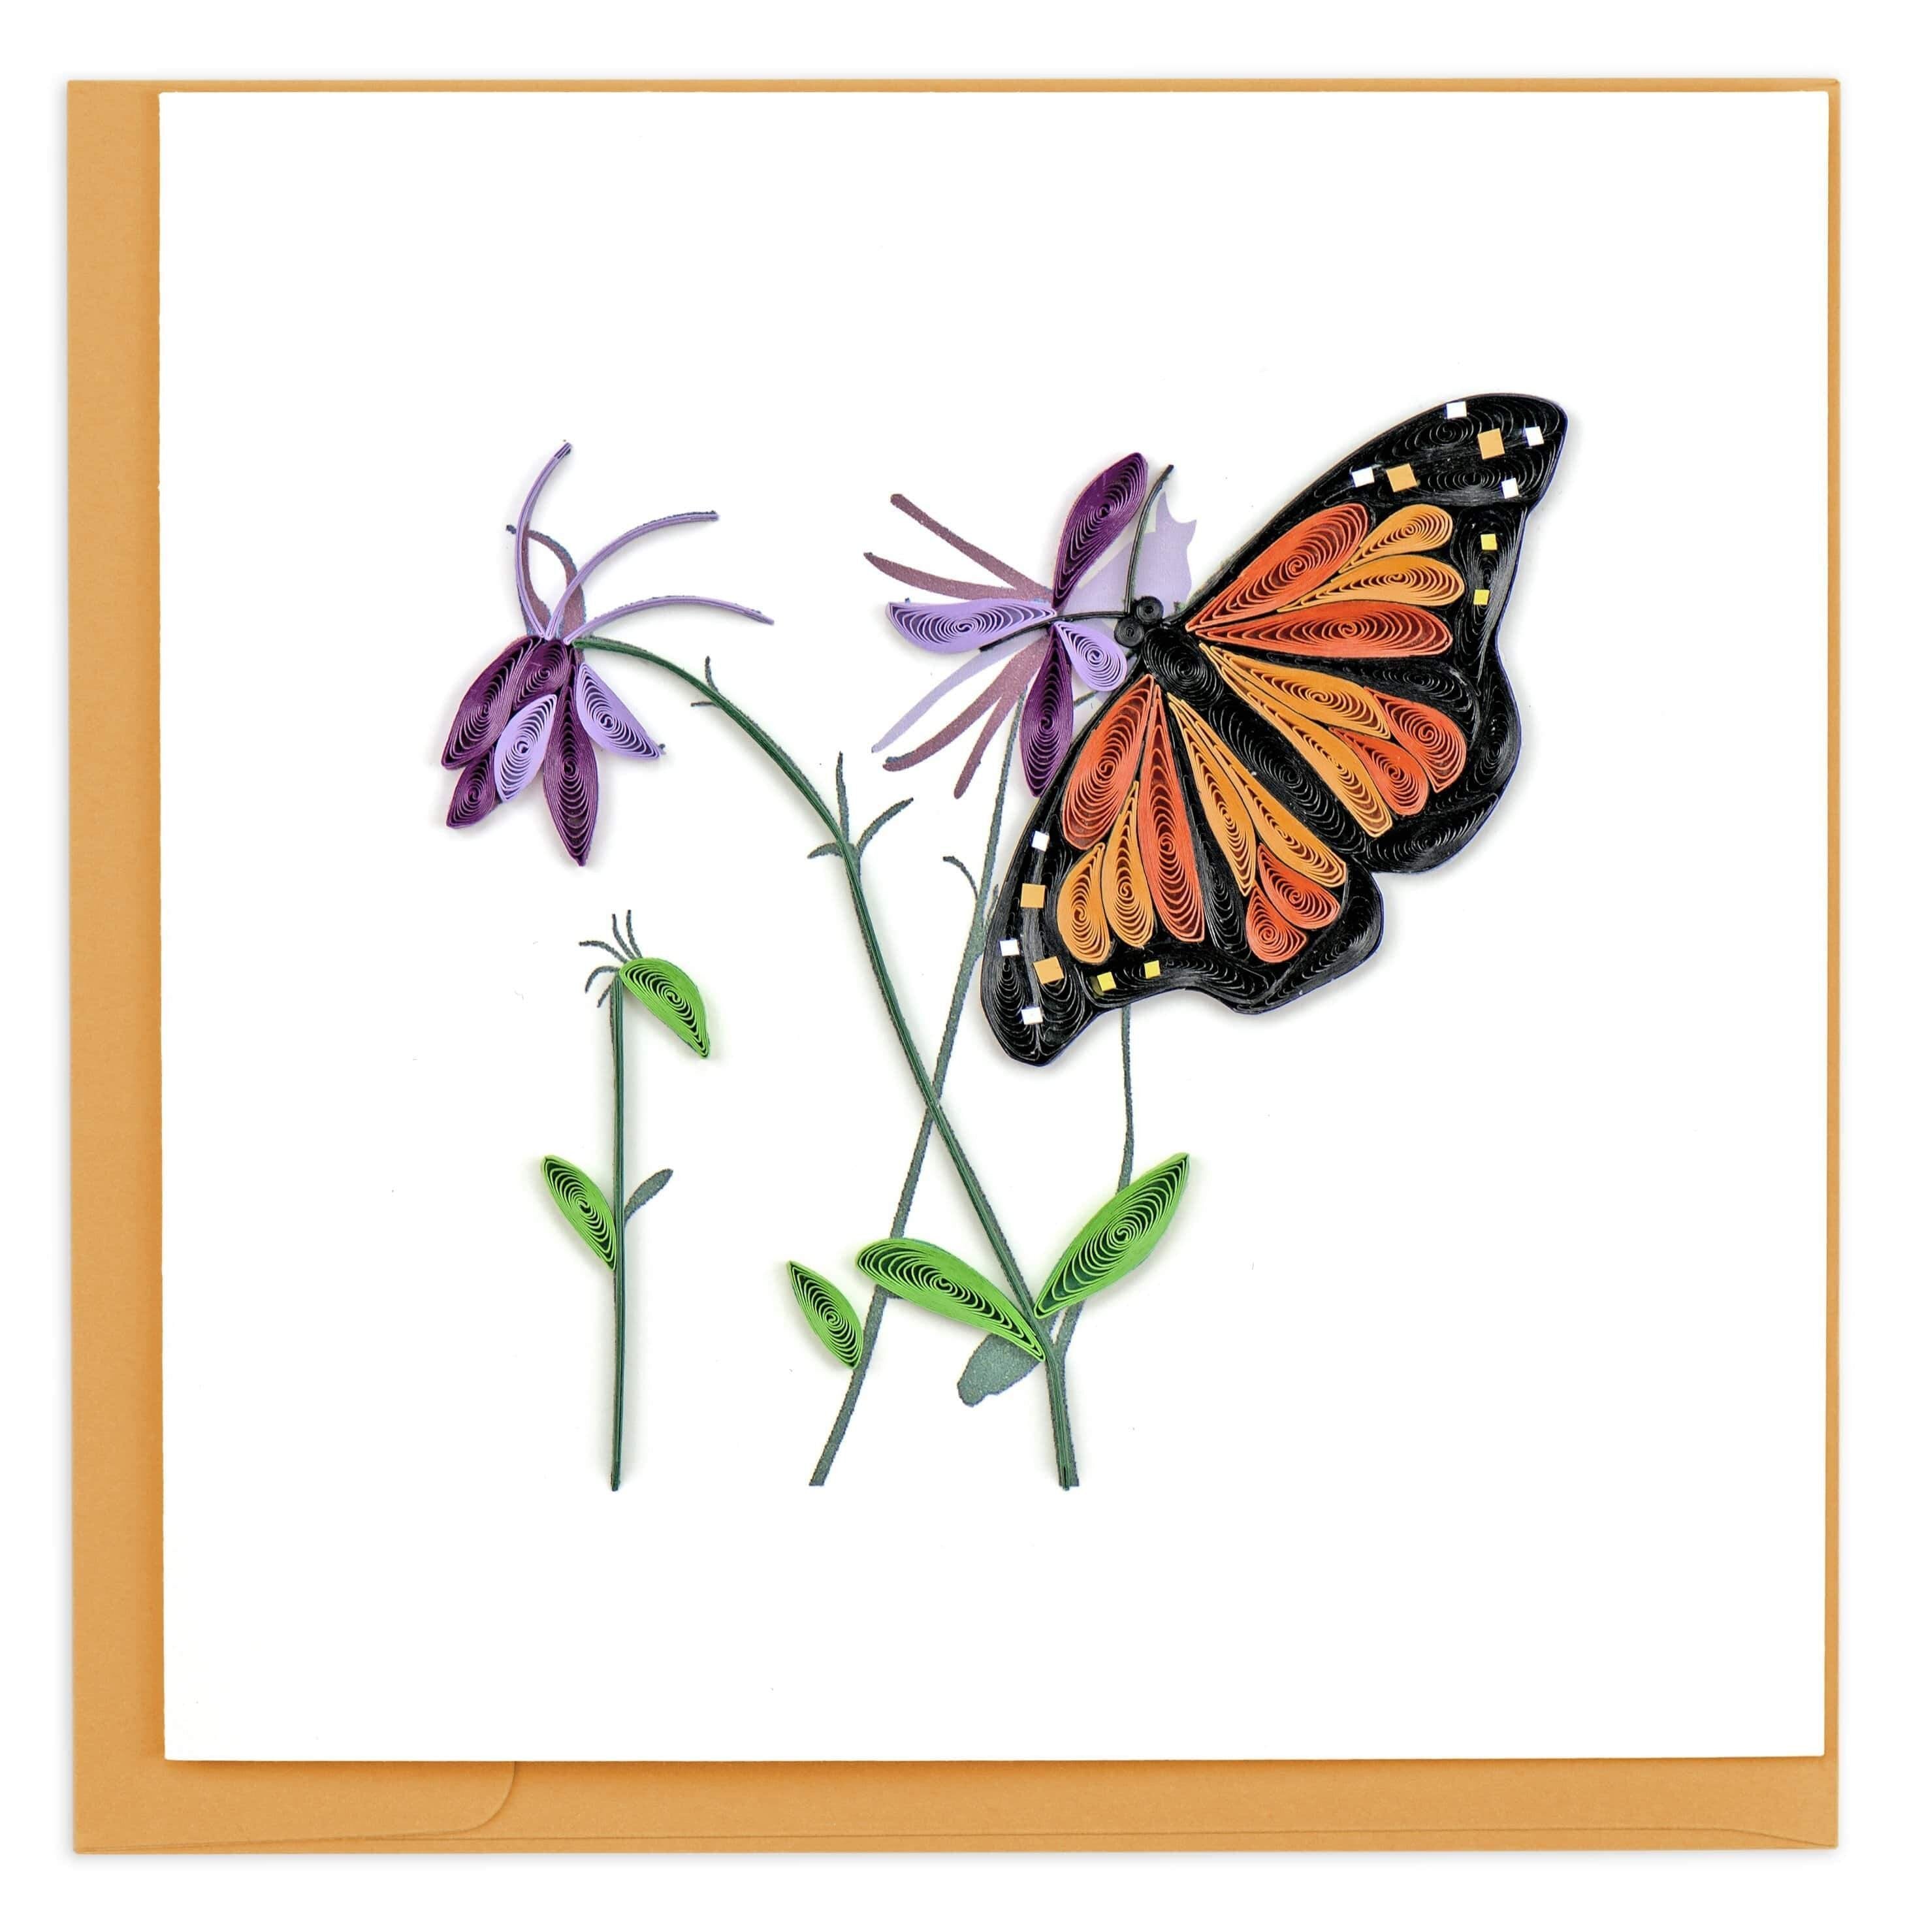
Use slender stems and small purple petals so the butterfly remains the largest shape. Point the stems toward its wings without covering their edges. Lay the two sides around a paper body before adding glue. Compare the outline from above and adjust the coils while they are still loose so the wing tips sit at similar angles.
18. Monarch Over a Pair of Yellow Flowers
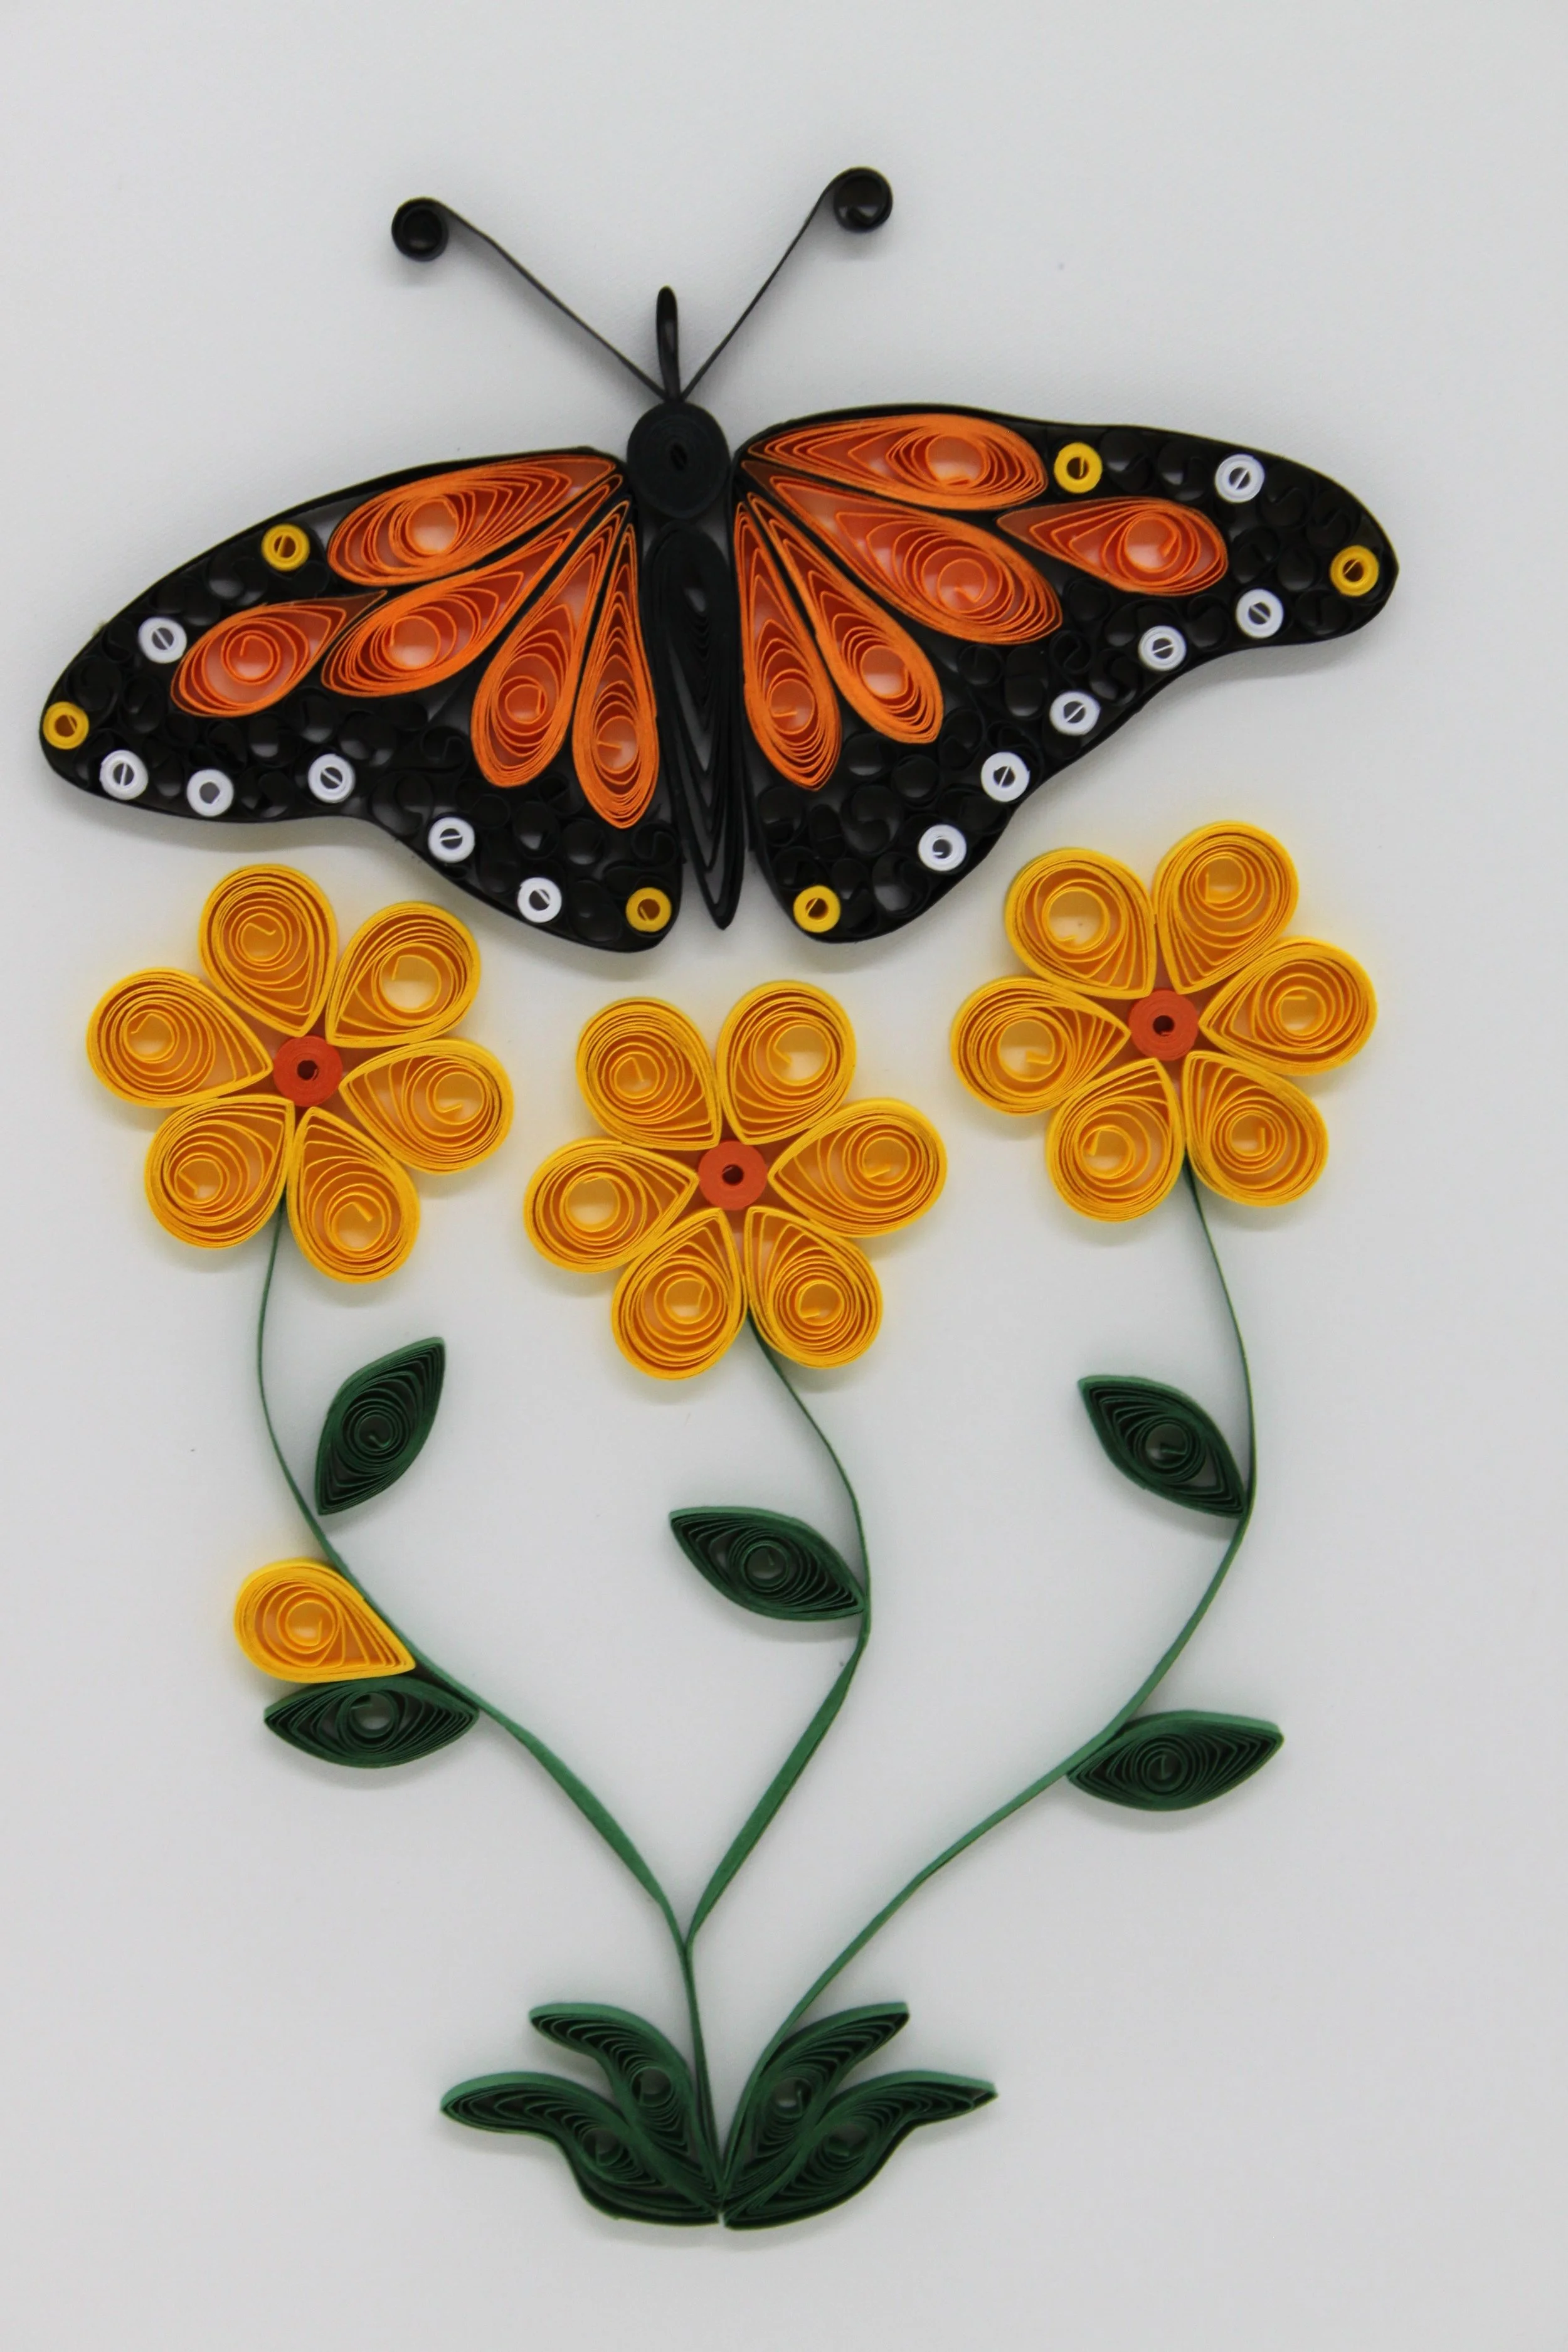
Choose two simple flowers with similarly sized heads and let the orange butterfly be wider than both. Leave an open area around the dark wing tips. Try a small sample wing to see how the paper bends. Keep the matching wing nearby while you work and use a dry layout to check that the body and antennae have room.
Choose a Wing Shape for the Finished Piece
Place the butterfly on its backing before attaching the wings. A bookmark benefits from a small shape that lies close to the page, while a framed design gives you room for fuller coils. Try matching the silhouettes first and move on to the markings once the two sides balance. Use the projects below to practice more paper shapes.
- Make Butterflies From Paper
- Explore Handmade Quilled Cards
- Make Paper Quilling Earrings
- Practice Making Quilled Leaves
- Try Paper Quilling Wall Art
Which butterfly would you make first? In the comments, share the colors you would put together and whether you would use it for a card, a bookmark, or a small framed display.















0 Comments