Newspaper Tube Crafts: Basket Weaving Guide
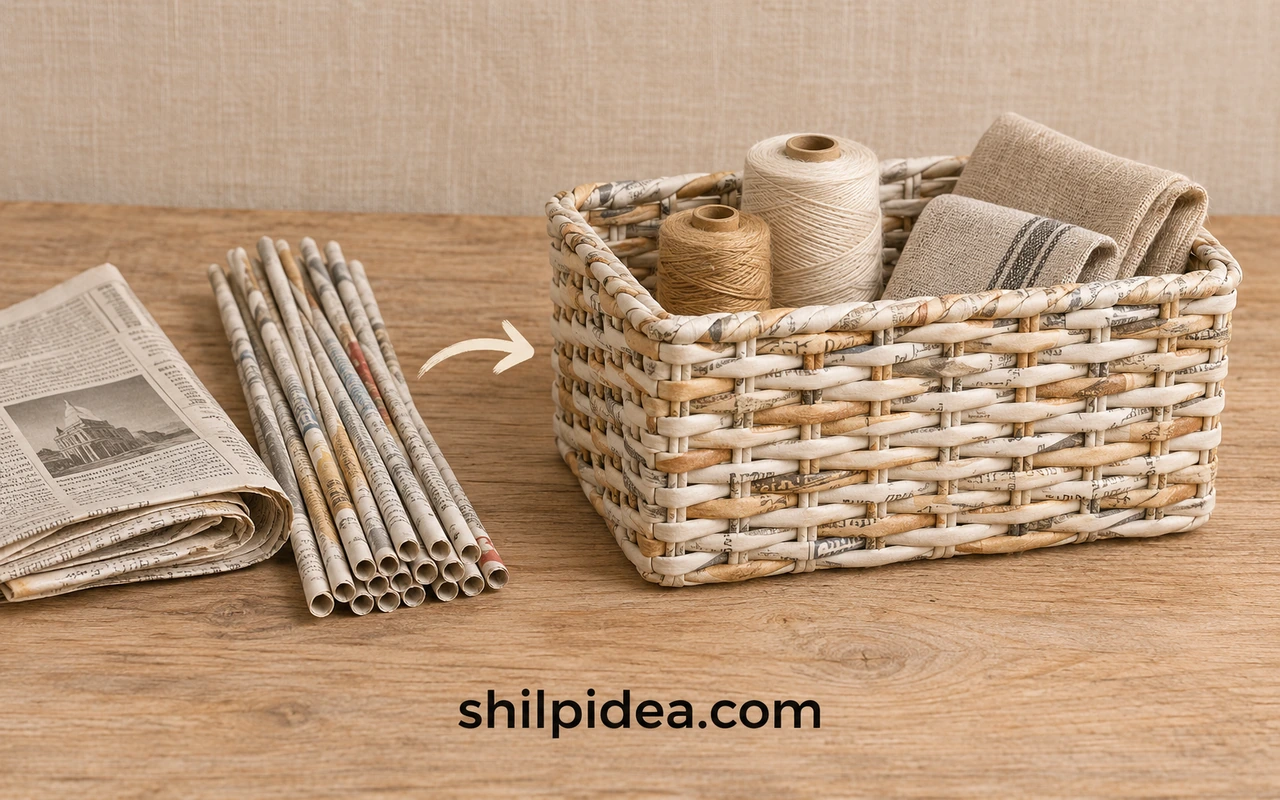
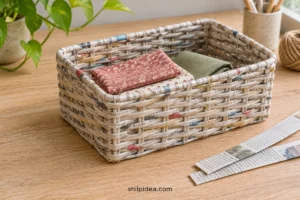
Newspaper tube crafts turn ordinary newsprint into textured baskets for ribbons, thread and other lightweight supplies. A small cardboard box gives your first woven project a firm shape while you learn to roll, join and guide the paper tubes.
If you enjoy paper strip baskets, this method offers a different look using round tubes, glue and a few clothespins.
Follow the six preparation and weaving stages below, then explore finishing ideas and denim upcycling projects for more ways to organize a creative corner.
Choose Your First Basket Shape

The photos show preparation examples and several finished designs. The suggested method below keeps a small cardboard box inside as permanent support; fitted lids and shaped round baskets are later projects.
Materials and Tools
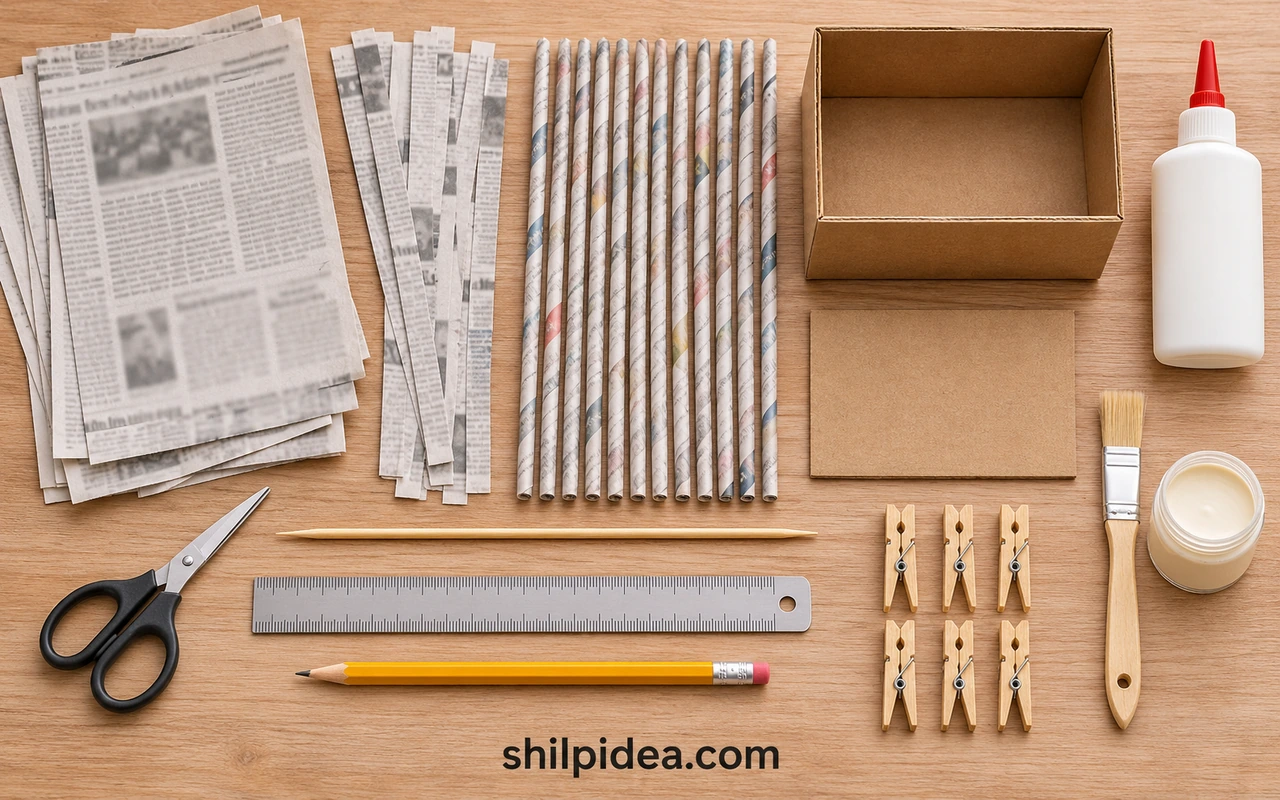
Gather these supplies before rolling a trial batch; the tube quantity depends on your box size and how tightly you weave.
- Newspaper – Clean, dry sheets cut into strips about 3–4 inches (8–10 cm) wide; start with roughly 40–60 tubes for a small box and make more as needed.
- Cardboard box and base cover – One sturdy open box, approximately 6 × 4 × 3 inches (15 × 10 × 7.5 cm), plus a cardboard rectangle matching its underside.
- Rolling rod – One thin knitting needle or smooth skewer, approximately 1/16–1/8 inch (1.5–3 mm) thick.
- PVA craft glue – A small bottle suitable for paper and cardboard; check its drying instructions.
- Cutting and marking tools – Scissors, a ruler and a pencil.
- Clothespins – Six to ten clips to steady the upright tubes and hold glued joins.
- Optional finish – Acrylic craft paint, a small brush, a suitable paper-craft sealer and a scrap of fabric for lining.
Precautions Before You Begin
Set up a dry work surface and keep the finished basket suitable for its materials.
- Use scissors for paper cutting; supervise children around scissors and pointed rolling tools.
- Let glued joints hold firmly before pulling on them, and follow paint or sealer ventilation and curing directions.
- Keep the basket away from water, hot cookware and flames; a decorative coating does not make paper waterproof.
- Use it for lightweight dry items. Keep food packaged or in a separate food-safe container.
1. Cut Even Newspaper Strips

- Measure the width. Mark strips about 3–4 inches (8–10 cm) wide along the longest usable section of a sheet. These are starting dimensions, not a requirement to use a particular newspaper size.
- Cut a small batch. Keep the edges reasonably straight and remove staples or damaged paper. Try rolling one strip before cutting the whole stack; if it repeatedly splits, test a strip cut in the other direction.

Even strips help you repeat a consistent tube thickness. Avoid soaking the newspaper to check its grain: dry trial strips are easier to handle, and wet newsprint can tear before you start.
2. Roll, Glue and Join the Tubes

- Start at a corner. Place the rod diagonally near one corner, at roughly 30 degrees to the strip’s long edge. Fold that corner over the rod and roll snugly, keeping the first turns compact.
- Secure the final flap. Add a small dab of glue to the last paper corner. Press it flat, then gently slide the rod out while the tube still releases easily. Keep glue off the rod.
- Sort your tubes. Let the glued ends set. Save straight, firm tubes for the vertical supports, called uprights; choose more flexible tubes for the horizontal weaving strands. Slightly tapered ends are useful for joining.
- Extend a short tube. Add a little glue to a narrow end and slide it into a wider end until the join feels secure. Test the fit gently, allow the glue to grip, and keep joins away from tight corners.
3. Plan the Color and Finish

- Choose a simple first finish. Natural newsprint is the easiest starting point. Alternatively, weave the basket first and brush on light coats of craft paint afterward, rather than trying to bend heavily painted tubes.
- Test any precolored tubes. If you want separate colored bands, paint a spare tube lightly, let it dry, and bend it around your box corner. Flaking paint or a cracked tube means that finish is unsuitable for weaving.
The colored bundles illustrate the range of possible finishes; they do not establish a particular dye recipe. Avoid printer ink, fabric dye or household chemicals unless their manufacturer specifically recommends them for this use.
4. Fix the Uprights Around the Box

- Mark the support positions. Measure around the box and mark uprights roughly 3/4–1 inch (2–2.5 cm) apart, including each corner. Adjust the spacing slightly so the supports are even; the exact count depends on the box.
- Anchor the tube ends. Turn the box upside down. Flatten about 2 inches (5 cm) at one end of each support and glue it to the underside, with the remaining tube pointing outward past its marked edge.
- Cover and raise the supports. Glue the spare cardboard rectangle over the anchored ends and press until set. Turn the box upright, bend the tubes up against its outside walls, and clip them at the top. The box stays inside.
The preparation collage shows the support-and-weave arrangement. Use uprights long enough to reach the top with at least 2 inches (5 cm) left for folding and tucking later.
5. Weave the Walls in Steady Rows

- Start with two working strands. Join two flexible tubes into one long tube, fold it near the middle and loop it around a starting upright close to the base. You now have one working strand on either side.
- Work around each support. At the next upright, take the front strand behind it and bring the rear strand in front, crossing them between supports. Repeat in the same direction. This two-strand twining method does not require an odd number of uprights.
- Keep each row level. Gently settle the new row against the one below. Keep the uprights straight and avoid pulling so tightly that the cardboard bends. Ease the strands around each corner instead of creasing them sharply.
- Add length and height. Join fresh tubes as needed, staggering the two joins. Continue until the weaving reaches the box rim. Clip the working strands whenever you pause, so the last section cannot loosen.
Make This at Home: Dezine’s Newspaper Basket Weaving Tutorial
6. Tuck the Rim and Finish

- Secure the working ends. Leave a tail of about 2 inches (5 cm), tuck it under nearby woven rows and add a small amount of glue. Trim only after the tail is anchored; do not cut every end flush.
- Fold the upright ends. Bend each upright over the box rim into the inside. Trim it to fit neatly and glue it flat against the inner cardboard wall. Hold with clips while it sets; an optional fabric lining can cover these ends.
- Add the final surface finish. Once the glue is dry, apply light coats of paint if wanted, allowing each coat to dry as directed. Use an optional compatible paper-craft sealer according to its label, then let everything cure before filling the basket.
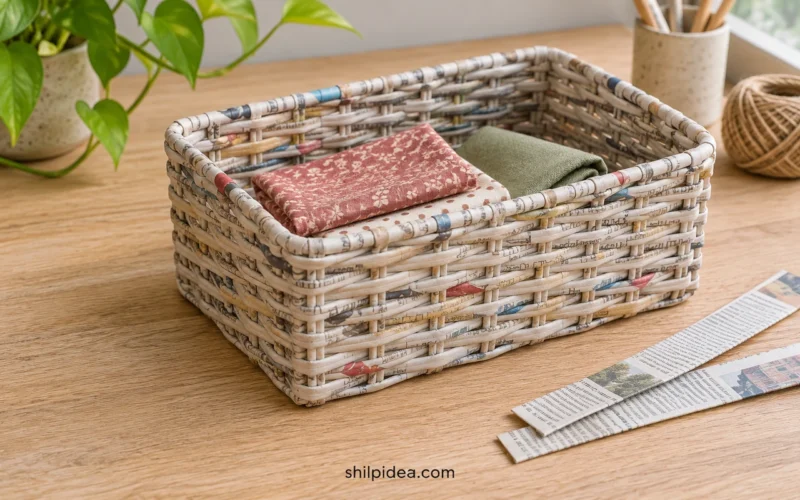
The striped box shows how a limited color palette changes the result. Its fitted lid is a separate construction: complete an open basket first, then make and test a lid against the actual finished measurements.
A Round Basket to Try Later

A round container with a decorated lid makes an appealing keepsake box, but its shaped base and fitted closure need a different plan. Treat this photograph as inspiration rather than an exact result of the rectangular-box instructions. Once your tube diameter and tension are consistent, practice a shallow round form before attempting a tall lidded basket.
Fix Common Newspaper-Weaving Problems
- Tubes unravel: the final flap may need a little more glue or more time to set. Repair it before weaving.
- Strands split at corners: use a more flexible tube and a gentler curve. Do not force a thick painted tube around a sharp bend.
- Rows lean or leave gaps: check upright spacing and settle each new row evenly. Correct a few rows early instead of pulling the finished wall into shape.
- Joins pull apart: select ends that fit snugly and let the adhesive grip. A loose oversized opening will not improve with extra pulling.
- Paint hides the weave: use lighter coats and clear any pools before they dry. Test your finish on spare tubes first.
Care for Your Paper Basket
Keep the basket indoors in a dry spot and lift it from underneath. Dust gently with a soft dry brush; avoid rinsing it or leaving it beside a damp sink. Check the base and rim occasionally, and repair loose ends before adding supplies. A lining helps keep thread and ribbon from snagging on the inside.
Keep Creating with Everyday Materials
A small basket is a useful place to practice patient, even weaving before trying curved shapes or fitted lids. Let your next project build on something you enjoyed here: cutting paper, choosing a color palette or finding a new purpose for a discarded material. These related projects offer different ways to keep that creative habit going with supplies already at home.
- Handmade Baskets with Paper Strips
- Handmade Earrings from Plastic Bottles
- Whimsical Plastic Bottle Fairy Houses
- Creative Animals from Plastic Bottles
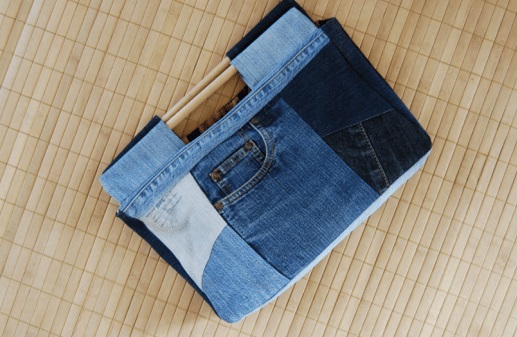
- Useful Crafts from Old Jeans
- Plastic Bottle Projects for Home
What would you keep in your first newspaper basket: ribbons, sewing thread or something else? Share your plans or questions in the comments. If you have tried paper weaving, your tips for neat corners and sturdy joins are welcome too.






















0 Comments