18 Newspaper Basket Ideas for Handmade Storage
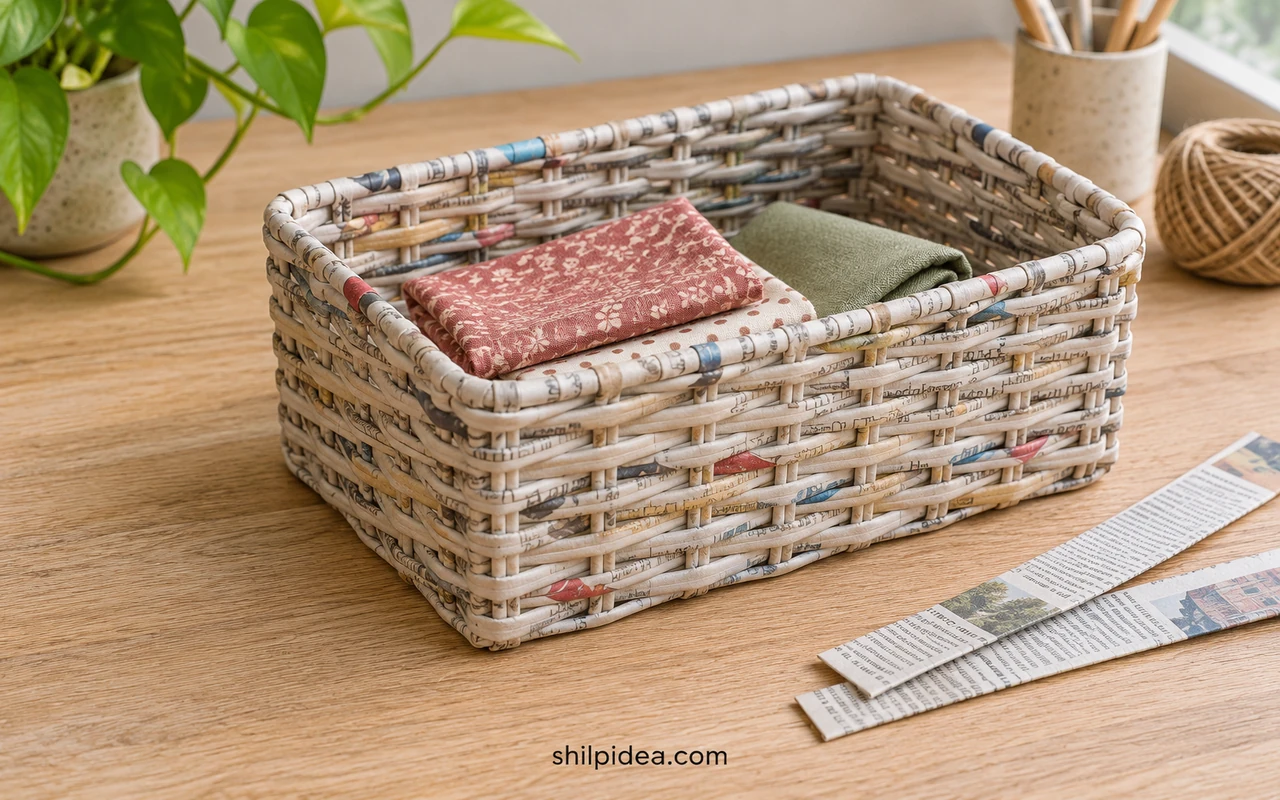
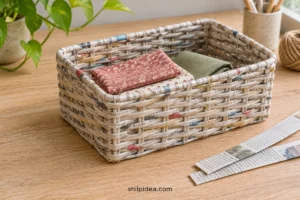
A newspaper basket can give the little things that usually pile up on a table a place to go. Start with what you want it to hold, then pick a shape that makes those things easy to reach.
Most of these projects use tightly rolled tubes or folded paper strips. The basket weaving guide shows how to roll the tubes and make a first box if you need the basics.
Choose a low tray for small items or taller sides for papers. These paper strip baskets show more ways to work with a flat weave.
1. Fold Wide Strips for a First Small Basket

Wide folded strips are easy to see as you pass each piece over and under its neighbor. Make a small sample square before you build the sides so you know where the strip ends will fall. Try the finished basket with gift tags or a few spools. Adjust the length of the strips when you want to repeat it in another size.
2. Coil a Low Catchall for Keys

Use a broad, low bowl to hold small things you want to get to quickly. Keep the base steady enough that it won’t tip as you reach in. Changing colors between coils gives the edge some definition. If you like how the print looks in layers, save some scraps for everyday mixed-media art instead of throwing them away.
3. Flare the Rim for Easy Access
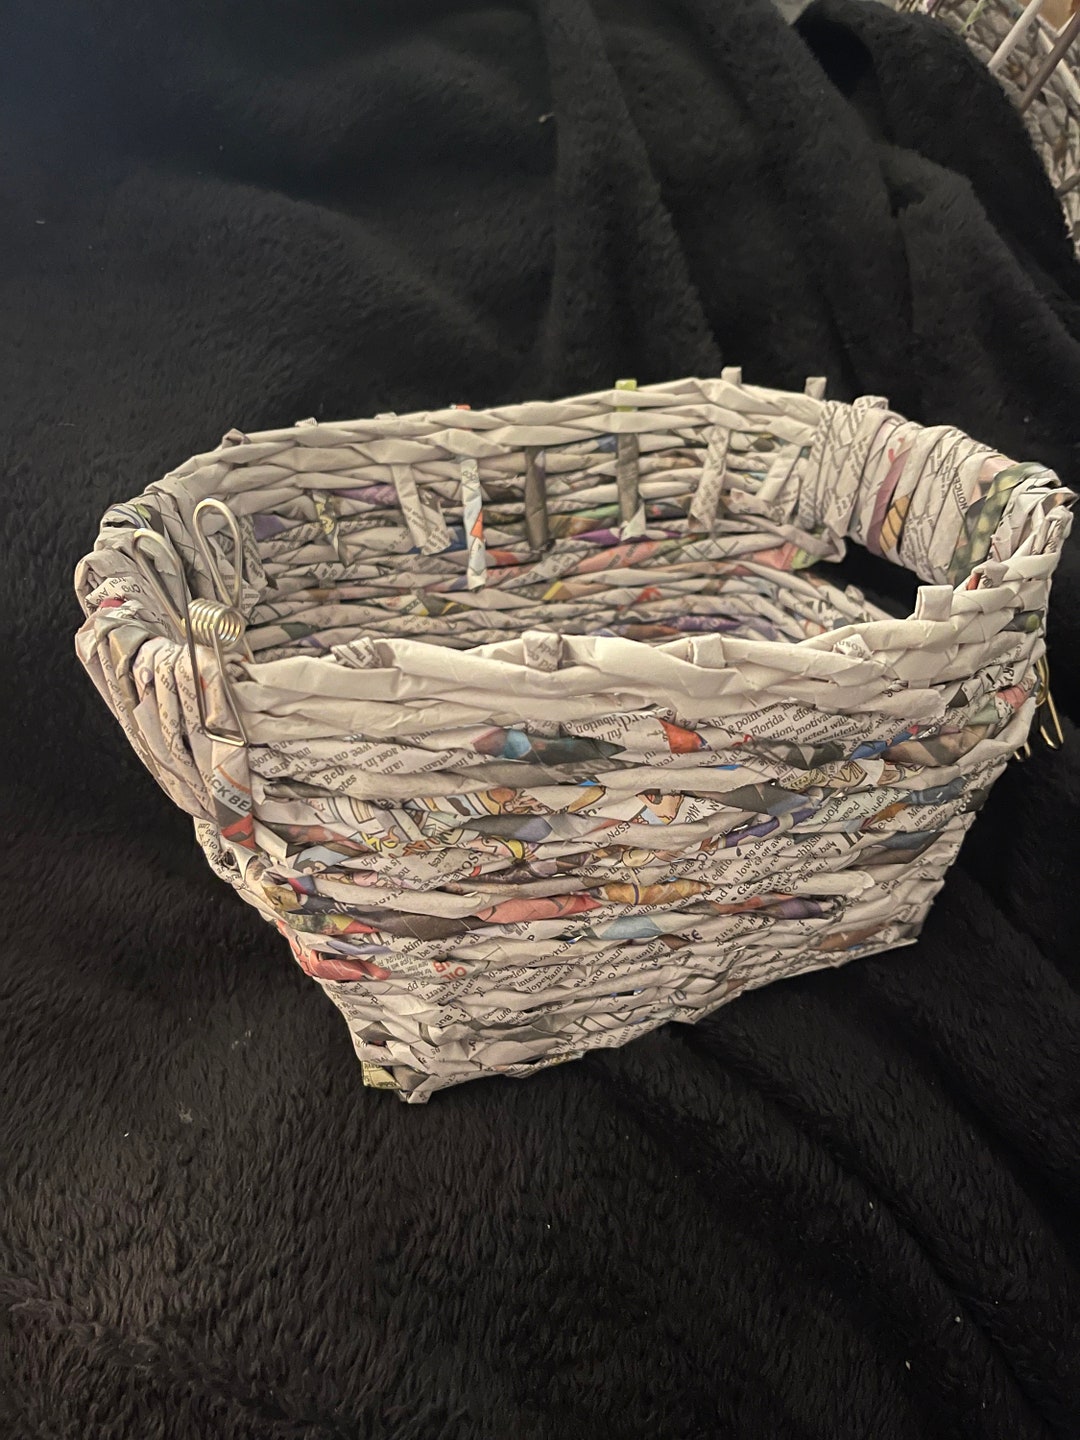
A modest flare at the top gives your hand a little more room to reach in for a roll of tape. Use a consistent angle around the form and check both short sides as you weave. Keep the base broad enough to stay steady. A narrow strip of simple finishing at the rim will make the opening easier to see.
4. Make a Tiny Basket for Sewing Notions

Make a small basket that fits in the corner of your sewing tray. Give it enough height to hold a few spools of thread, buttons or clips together while you work. Stop weaving before the rim hides the smallest item. Test the basket on the tray before adding an outer coat or decorative edge.
5. Raise the Sides for a Pencil Basket
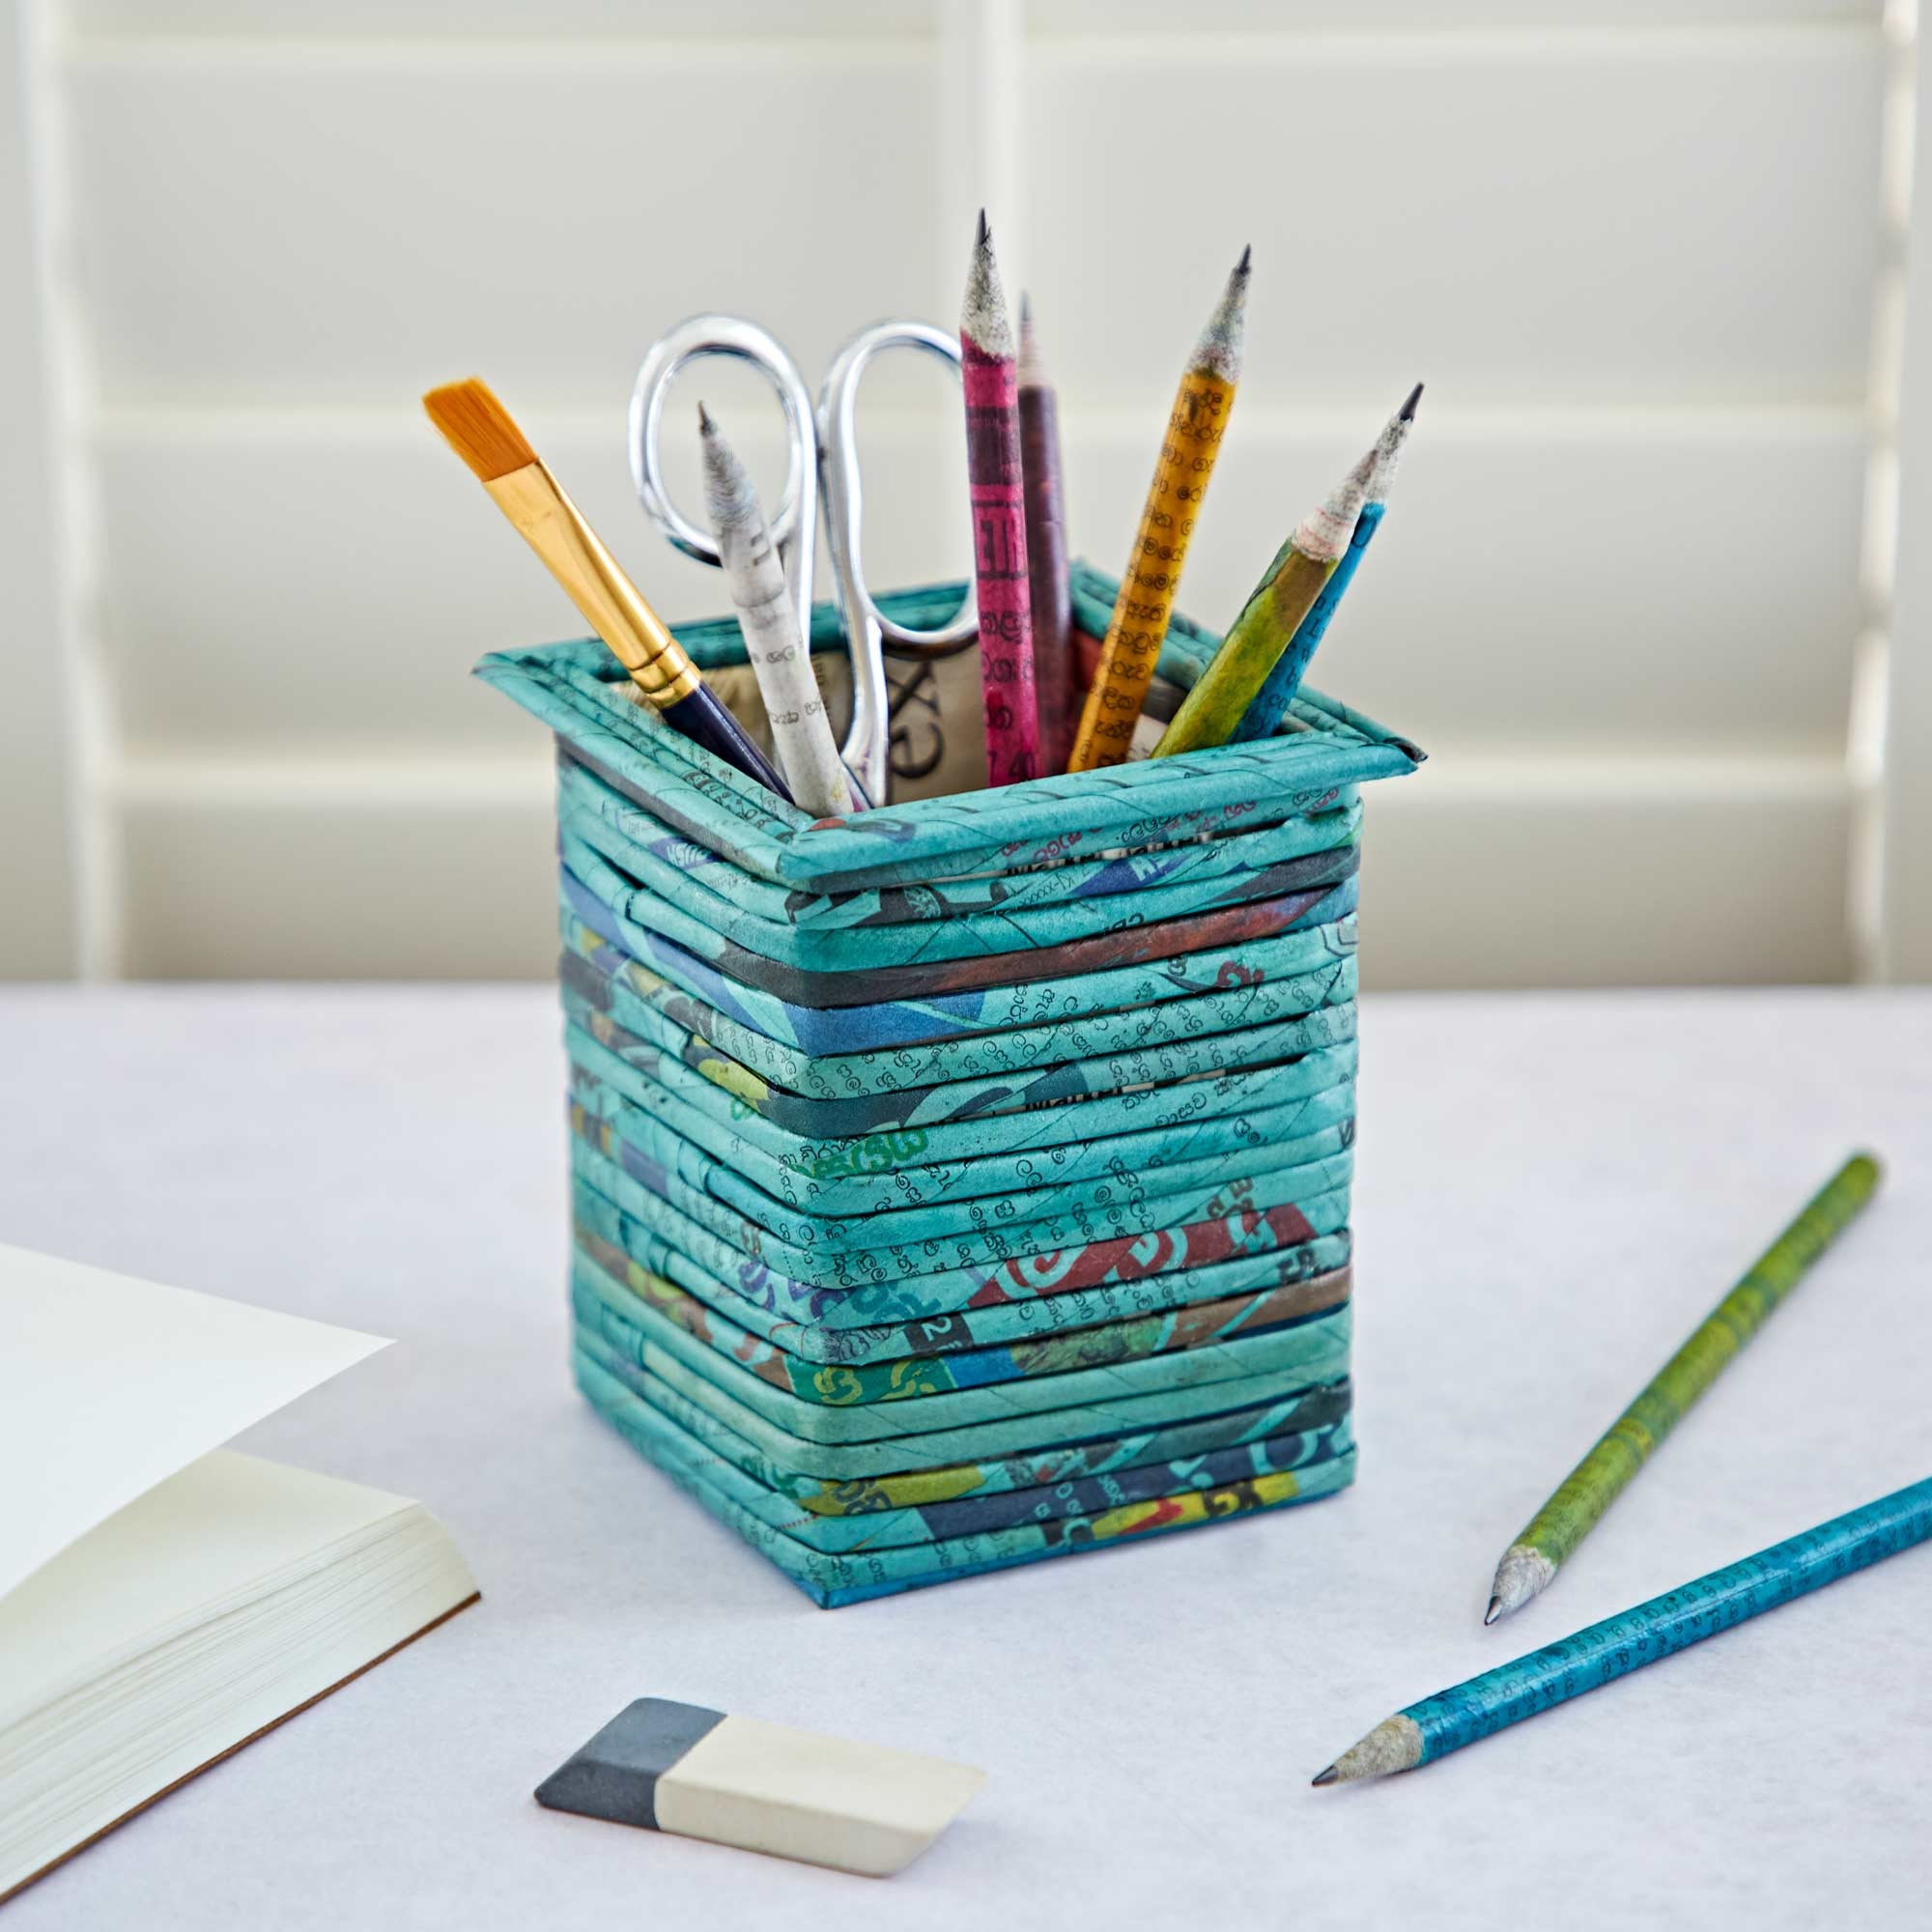
Pencils need more wall height than paper clips, so start from the shortest pencil you use and give it a side it can lean against. Use a flat base and test the basket with a few pencils before putting in heavier tools. Consider a separate holder for scissors or longer items if they make the basket tip.
6. Use a Tall Basket for Clean Paper Scraps
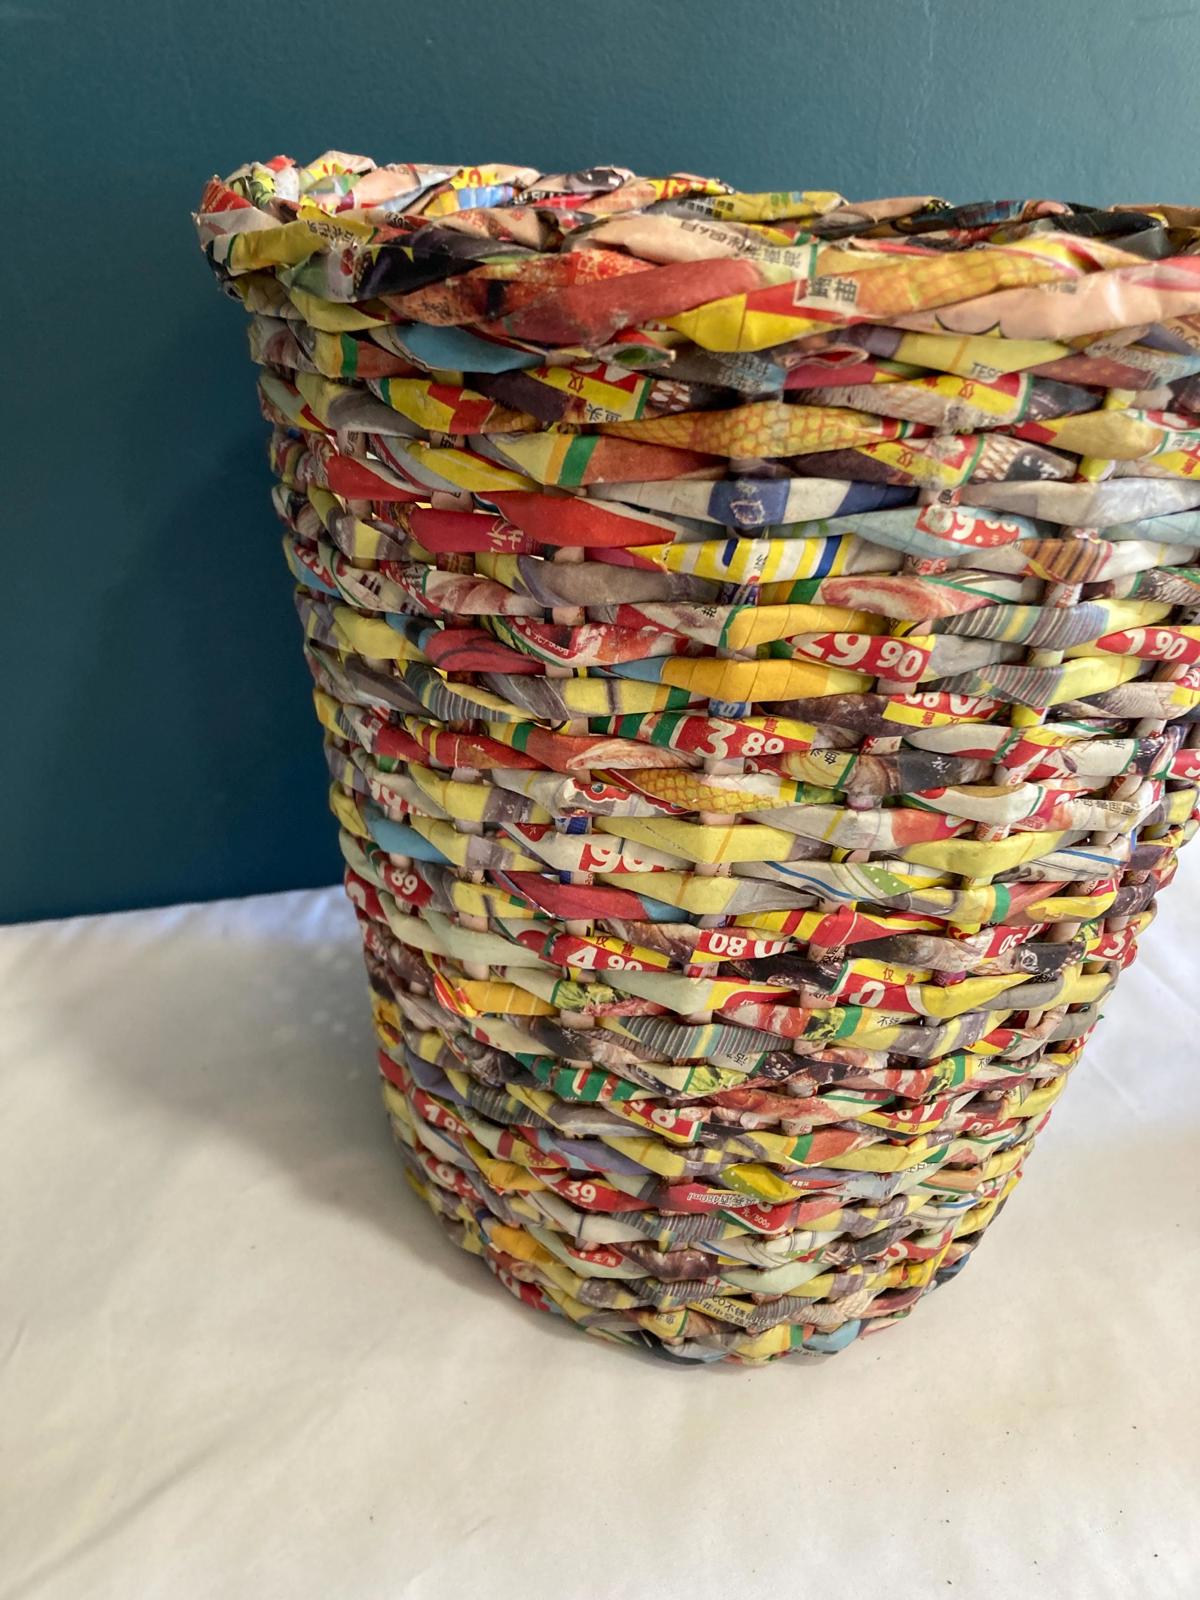
A tall paper basket can collect clean, dry scraps in a craft area. Make the opening wide enough to drop scraps in without pressing down on the sides. A removable lightweight liner is useful when you empty it. Keep wet items and food waste out, and press down on the liner rather than stretching the woven rim.
7. Stand Newspapers Up in a Woven Rack

Think about the length of a folded newspaper before you size the rack. Put the finished stand against a wall where you can slide a paper in from above. Give it enough depth to hold a few issues without tipping forward. If you want other practical ways to reuse paper, these recycled craft ideas offer a different direction.
8. Build a Larger Basket Around a Grid Base

A grid base helps keep a larger basket square as you raise the sides. Set a piece of paper underneath while you check the outline so you can see if one corner has drifted outward. Reserve the finished basket for lightweight goods, and compare it with your shelf before committing to a row of sides that will be hard to shorten.
9. Use Layered Strips for a Strong-Looking Rim

Layered strips can make the edge feel substantial without adding paint or trim. Keep the long edges smooth so the paper won’t catch on what you’re storing. Work with a dummy load before you decide where to place the basket. For containers you expect to rinse, explore these bottle storage projects for a different material.
10. Use Different Heights for a Matching Pair

A pair made with the same weave can organize two kinds of clutter without looking mismatched. Keep one low for frequently used pieces and take the other higher for supplies that would fall out of a tray. Use the same finish on both rims. This keeps them visually related even if the papers inside are different colors.
11. Leave an Open Top for Wrapped Snacks
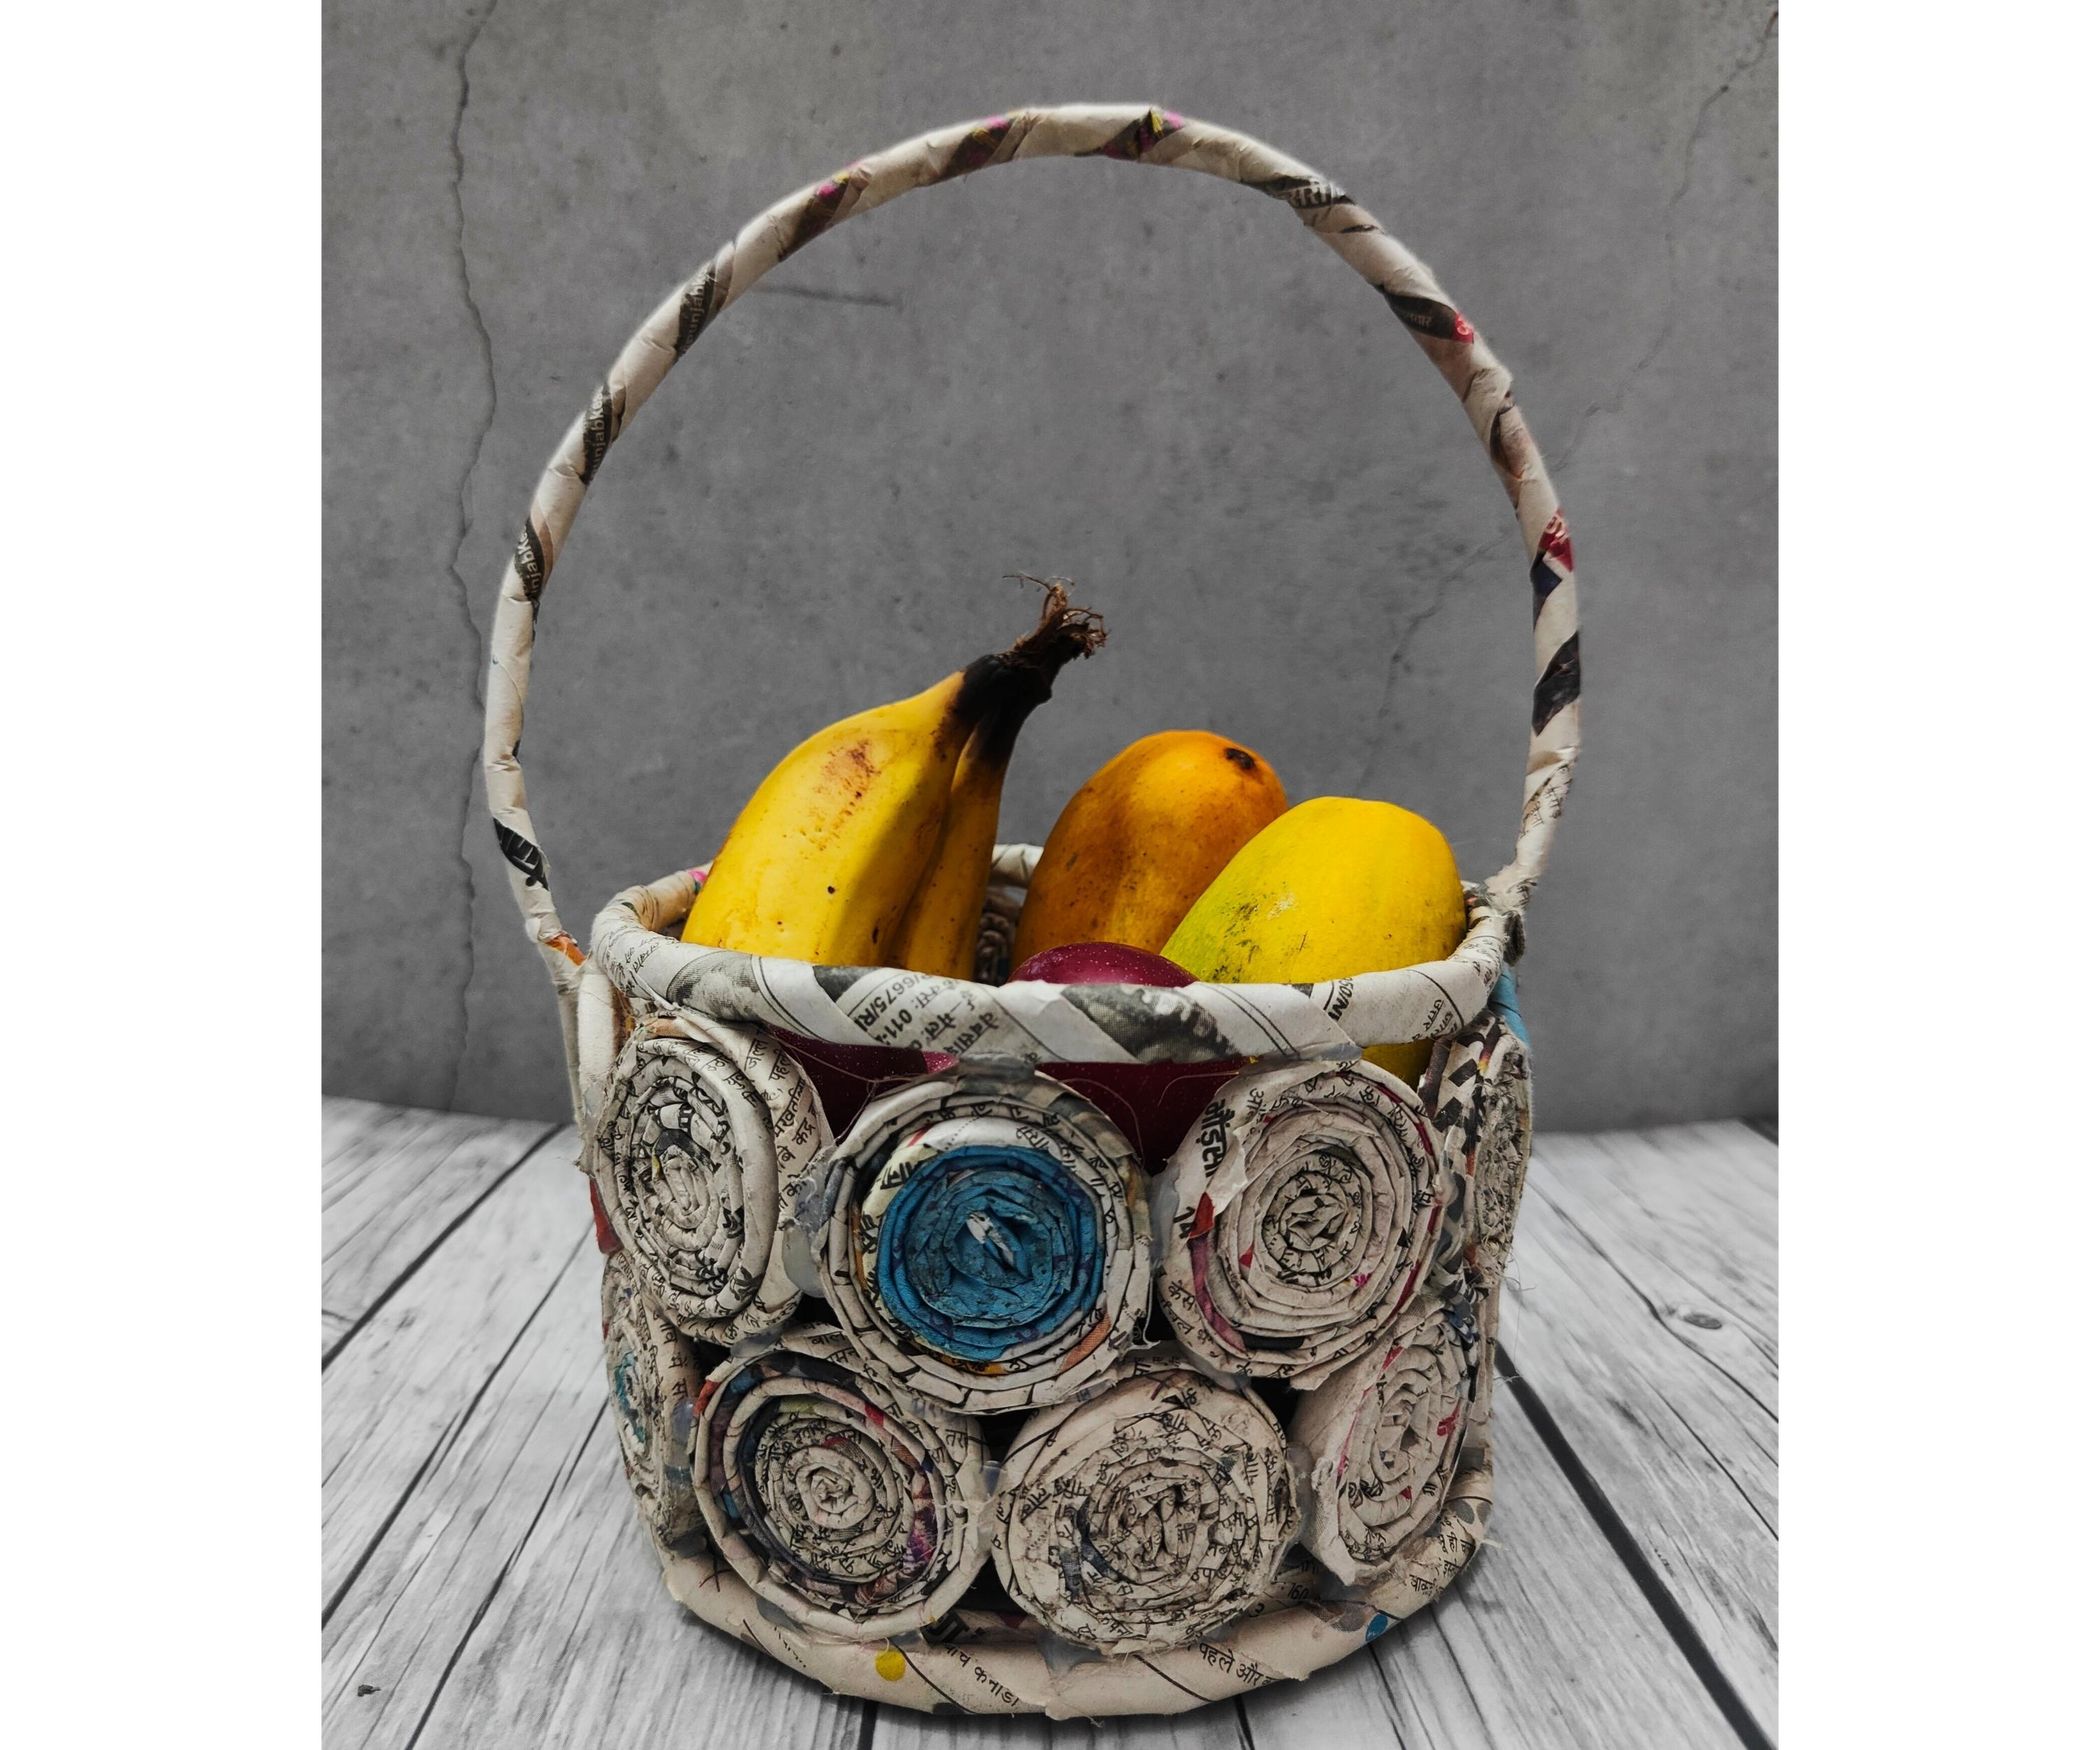
A shallow open basket makes individually wrapped snacks easier to see when you set them out. Try it with paper packets or wrapped items and keep unpackaged food off the craft surface. Work around a form that leaves enough room for fingers to reach the bottom. Finish with a rim you can lift without pulling on the woven sides.
12. Make a Tall Bucket for Rolled Fabric
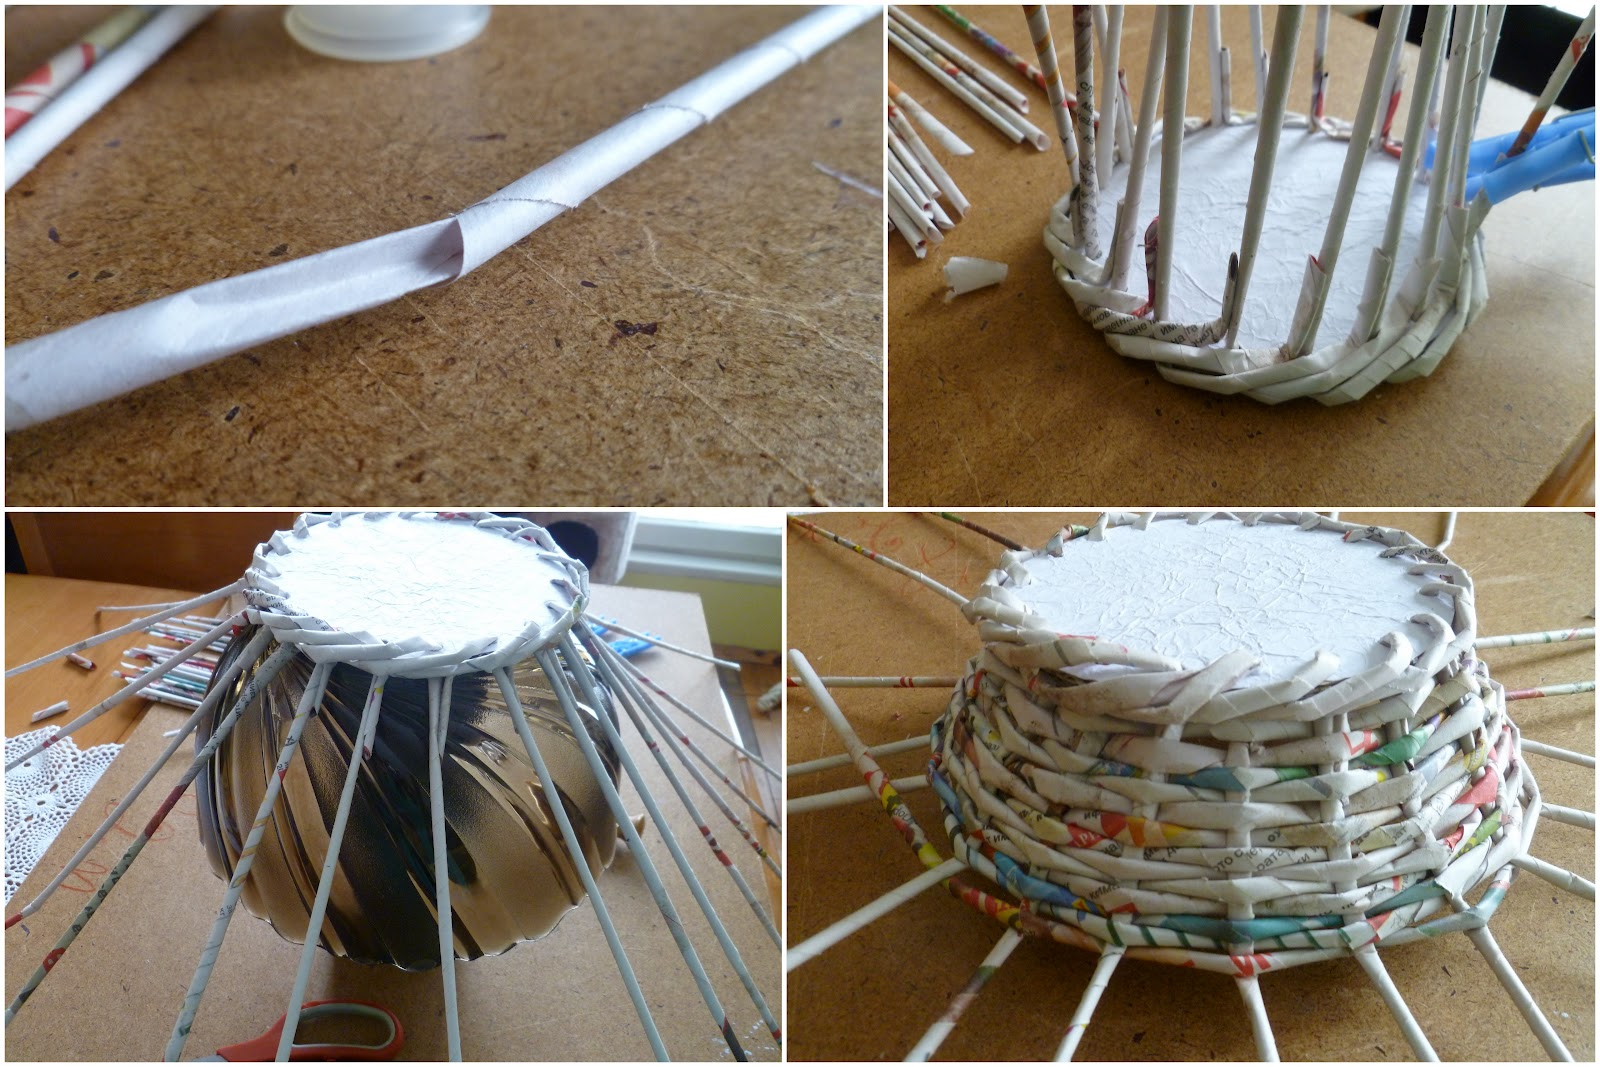
A deeper paper bucket can hold clean fabric rolls upright. Set the rolls inside before you decide which rim height feels easiest to reach. If the outside needs more support, keep a firm lightweight inner form in the finished basket. A loose fabric lining from denim upcycling projects can keep rough edges away from delicate material.
13. Give a Deep Tub a Single Bold Finish

A single color can make a deep paper tub look calmer beside busy supplies. Try the finish on spare woven strips before you coat the whole basket, then follow the product instructions for drying and curing. Use the tub for light items such as ribbon spools. Leave enough room above the rim to lift out a piece without tugging at the others.
14. Keep the Newsprint Visible on an Open Basket
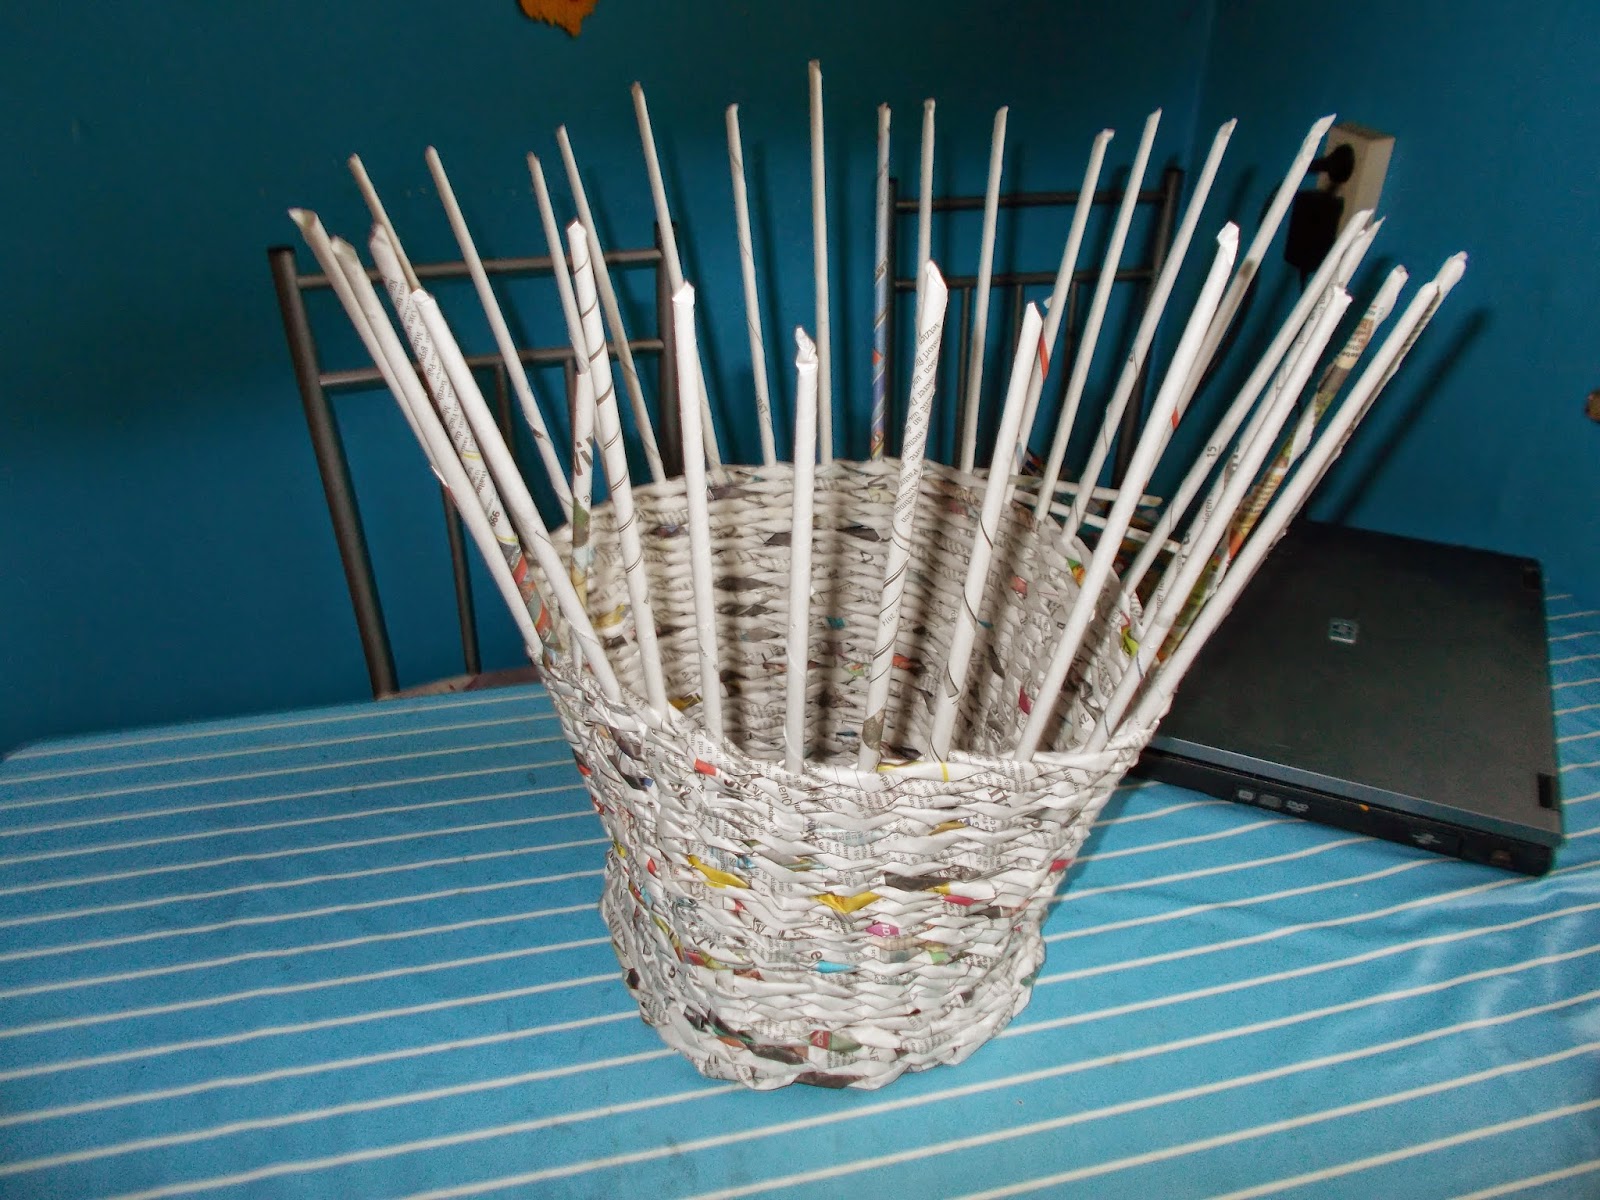
Leave a few bands of newsprint visible if you want the material to show. Alternate plain margins with darker printed areas to build up a pattern without covering the whole thing in paint. Use the basket on a bookshelf for things that won’t drag against the paper. Avoid placing it where a wet glass will drip onto the rim.
15. Fit a Lid Over a Paperwork Box

A fitted lid keeps loose notes and spare tags together on a shelf. Finish the basket before measuring it for the lid, since the rim can shift slightly as you weave. Leave an easy spot to lift the lid without pressing the paper walls. Use a distinct color at the edge if you need to find it in a busy work area.
16. Use a Heart-Shaped Weave for Small Keepsakes

A heart shape can hold lightweight notes or keepsakes on a dresser. Sketch the curves on cardboard first so you have a shape to follow as you weave. Keep the walls fairly low so the outline stays easy to see from above. Put any heavy objects in a separate container so the point of the shape doesn’t deform.
17. Make a Batch with Different Openings

Choose different openings if you’re making several storage pieces at once. An open tray suits objects you use daily, while a smaller opening can keep a bundle upright. Repeat one paper finish across the group so the set looks related. Put each basket where you use its contents so you’re less likely to combine everything in one big bin.
18. Let a Contrasting Rim Mark One Basket

Use a band of distinct paper around the top so you can recognize the basket from across a room. Test the colors against the intended shelf before you start, especially if the wood is dark. Keep the brighter band fairly narrow. This makes a useful difference when you want to mark one basket for supplies you’re currently using.
Pick What Your First Basket Will Hold
Gather the items you want to store before you start weaving. Try them in a small box or bowl you own to get a useful size. These projects can help you compare paper techniques or find a second use for the scraps left on your worktable.
- Learn to weave newspaper tubes
- Make baskets with paper strips
- Find uses for old jeans
- Turn everyday scraps into art
- Reuse plastic bottles at home
- Explore recycled crafts for fairs
What’s the first thing you’d put in a newspaper basket? Tell us in the comments what size and shape would work for it. If you’ve tried weaving with old paper before, share how you finished the rim.















0 Comments